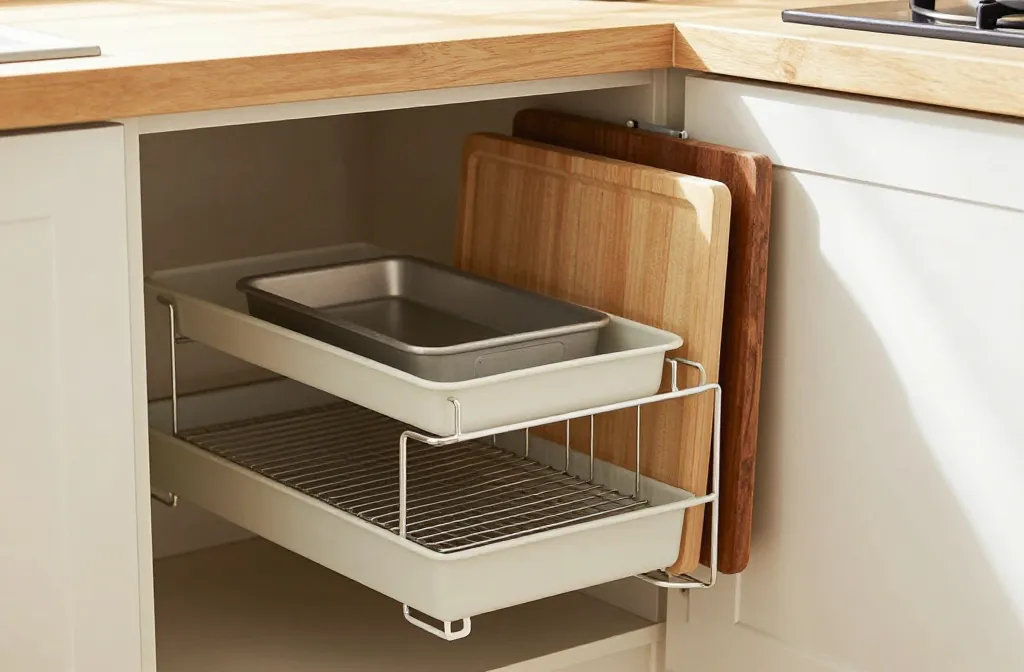
How to Organize Baking Sheets and Cutting Boards in a Small Kitchen
Posted in :

The moment you open that junk drawer and see pans stacked like a game of Jenga, you know something’s gotta change. Baking sheets and cutting boards don’t have to be a scavenger hunt every time you cook. Let’s get them organized so you can actually find what you need without wrestling the cabinet demons.
Make a plan before you grab the tape measure
If you try to hunt down a solution without a little plotting, you’ll end up with more chaos than you started with. Start by taking stock of what you actually use daily.
– How many baking sheets, cutting boards, and cooling racks do you reach for most weeks?
– Do you bake in batches or only occasionally?
– What cabinet or counter space is actually open and accessible?
Once you know the basics, sketch a rough layout. You don’t need architectural genius—just a simple idea of where everything will live and how you’ll access it. FYI, the goal is to minimize steps. The fewer times you bend, twist, or reach, the happier your back will be.
Pick a home that fits your habits
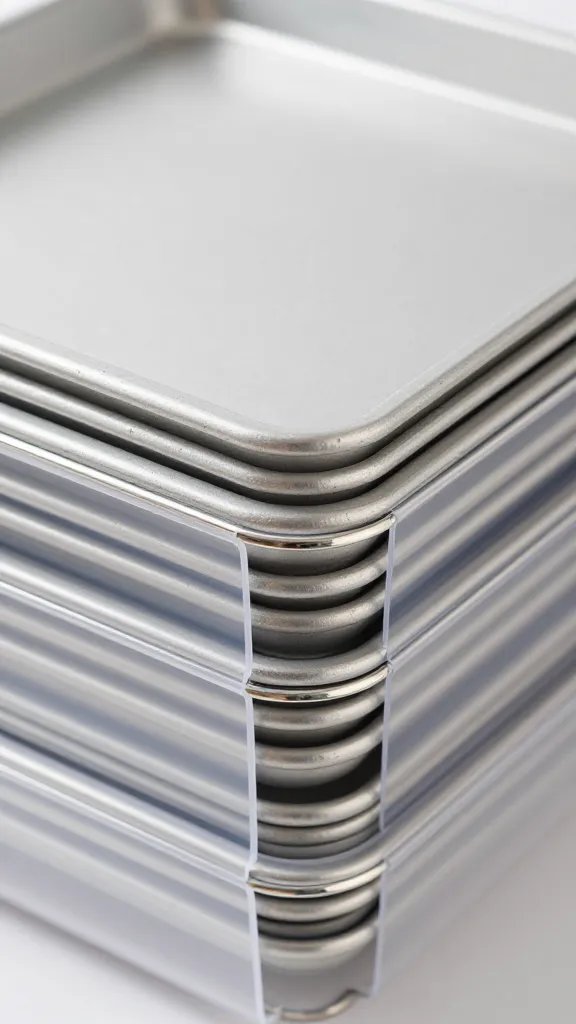
There are lots of ways to stash sheets and boards, but the best choice fits how you cook. Consider these popular setups:
- Pull-out tray or organizer: Great for shallow cabinets. You pull out a tray and slide sheets in and out like a pro.
- Vertical file or rack: Stand sheets upright in a slim rack. Easy to grab the one you want without moving the rest.
- Dedicated lid and board dividers: If your cabinets are wide, add dividers to separate baking sheets from cutting boards and even from cooling racks.
- Over-the-door or wall-mounted: In tiny kitchens, vertical space wins. A mounted rack keeps things reachable and off the countertop.
Think about weight, too. Heavy sheets don’t belong in a dangling front-of-cabinet surprise, and flimsy racks will complain when you slide a pan across them. Go sturdy, but not superhero-level overkill.
Vertical storage tricks that actually work
If you’re short on horizontal space, vertical storage is your best friend. Here are options that minimize chaos and maximize accessibility.
Vertical baking sheet organizers
– Use a slim rack designed for baking sheets to keep them upright.
– Label the slots if you have multiple sizes; you’ll save time hunting for the right one.
– For added stability, place a rubber liner or a small mat on the bottom so sheets don’t slide.
Cutting boards that stand tall
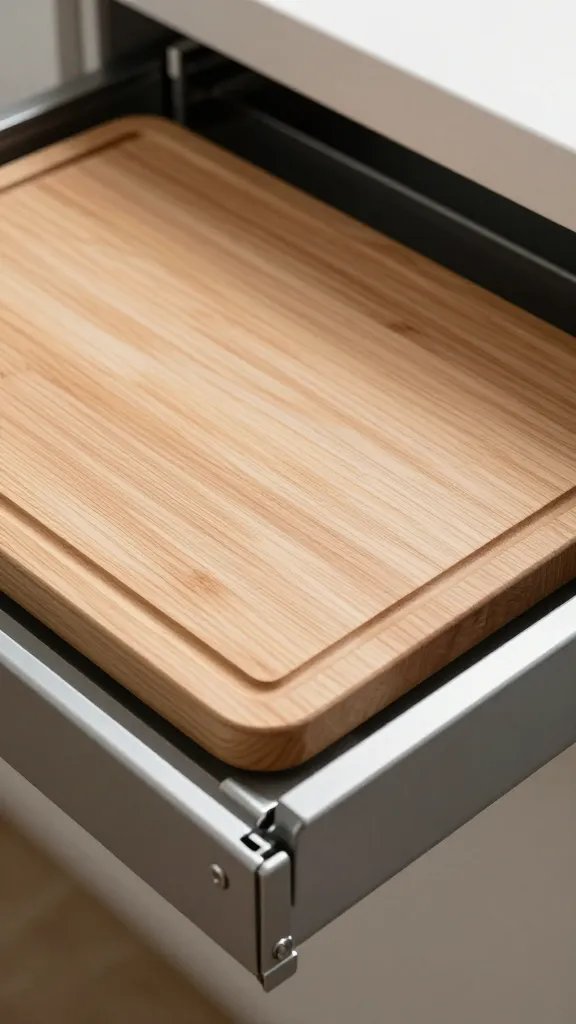
– Choose a dedicated cutting board stand or a set of wall-mounted rails.
– If you’re tight on wall space, lean boards in a shallow cabinet with a backstop to prevent tipping.
– Consider color-coding or labeling boards by usage (bread, meat, veggies) to keep cross-contamination in check.
Stacking strategies that won’t crumble under pressure
Stacks are fast and space-saving, but they can turn into a jumbled mess if you’re not careful. Here’s how to keep stacks neat and accessible.
- Use separators: Foam, cardboard, or silicone separators keep sheets from sticking together and make grabbing the top one a breeze.
- Mind the weight: Heavier sheets should sit lower in the stack to avoid toppling drama.
- Group by size: Keep 9x13s with other large sheets, 11x17s with other bigs, and smaller pans in their own group. Less digging, more grabbing.
Protective liners and padding
Slip a thin silicone mat or parchment between sheets in a stack if you’re worried about scratches. It widens your “grab-and-go” window and protects the finishes.
Counter- and cabinet-friendly systems you can actually maintain
The best system is the one you’ll actually keep tidy. Here are practical setups that don’t demand a renovation.
- Under-sink or pantry nook: Some folks tuck a shallow, sliding organizer under the sink or in a pantry corner for easy reach when baking.
- Door-mounted hacks: If you hate cabinet chaos, mount a slim rack on the inside of a cabinet door to hold small sheets or lids.
- Drawer inserts for flat items: If you have deep drawers, use shallow dividers to lay sheets flat in a single layer.
Maintenance: turning “organized” into “staying organized”
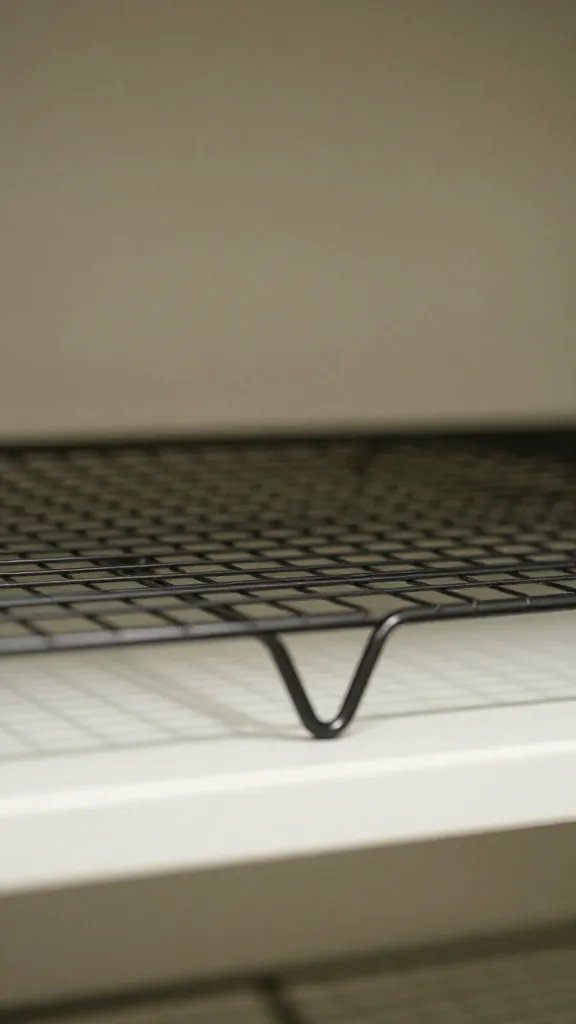
Clearing clutter once isn’t enough. You’ll need a tiny routine to keep the system working.
- Weekly quick tidy: When you wash sheets or boards, return them to their home immediately. Yes, every time. It’s a moment of discipline with big payoff.
- Seasonal audit: Every few months, review what you actually use. If you haven’t touched a sheet or board in ages, it might be time to donate or repurpose.
- Labeling for the win: Label the slots or containers. Your future self will thank you when you’re mid-recipe and your brain is in “must eat now” mode.
When to upgrade or replace parts
Not all setups age well. If you notice rattling racks, bent pans, or stubborn warps, it’s time to swap.
- Invest in a sturdier rack for heavy baking sheets—metal with a solid frame beats plastic every time.
- Replace warped boards; chew on this: warped boards don’t lay flat on counters, which invites cross-contamination and uneven slicing.
- Consider a set of mixed-size organizers so you don’t fight over the last 9×13 in the middle of a bake-off.
FAQ
What’s the best way to choose between a vertical rack and a pull-out tray?
Both work great, and it comes down to cabinet depth and how often you reach for items. If you’re impatient with clearance issues, a vertical rack keeps everything in sight. If you want to minimize frequent friction with cabinet walls, a pull-out tray feels like a tiny kitchen miracle.
How should I arrange boards to avoid cross-contamination?
Label boards by use (e.g., red for meat, green for veggies, blue for dairy) and store them in separate zones or on different racks. If space is tight, use colored stickers to keep them visually distinct and easy to grab.
Can I mix baking sheets and cutting boards in the same organizer?
Absolutely, as long as the organizer supports it and you won’t stack things on top of each other. Some people like combining them in a large, tiered rack. Just ensure you can pull one sheet or board without upsetting the stack above it.
What’s the simplest routine to maintain everything?
Do a 5-minute reset after you finish cooking: return items to their homes, wipe down surfaces, and check for any new scratches or warps. Tiny, consistent habits beat gigantic cleanups.
Any hacks for tiny kitchens with almost no storage?
Go vertical, optimize door space, and use multi-purpose tools. Consider a wall-mounted rail for cutting boards and a slim, under-cill organizer for baking sheets. It’s all about converting unused space into functional real estate.
Conclusion
Organizing baking sheets and cutting boards in a small kitchen isn’t about fancy gear or a Pinterest-perfect pantry. It’s about a system that fits your habits and your space, plus a little discipline to keep it that way. Start with a plan, pick a setup that matches how you cook, and refine as you go. Before you know it, you’ll be reaching for the right pan or board in seconds, not minutes. IMO, that’s the tiny kitchen victory we all deserve. FYI, progress over perfection always wins.