
The good news: you don’t need a fancy shop full of tools to make stylish bookends. The even better news: you probably have most of what you need lying around already. Here are DIY bookend ideas using affordable materials that look pulled-together, not Pinterest-perfect. Let’s jump in and get those shelves singing.
Start with what you’ve got: repurposed finds that shine
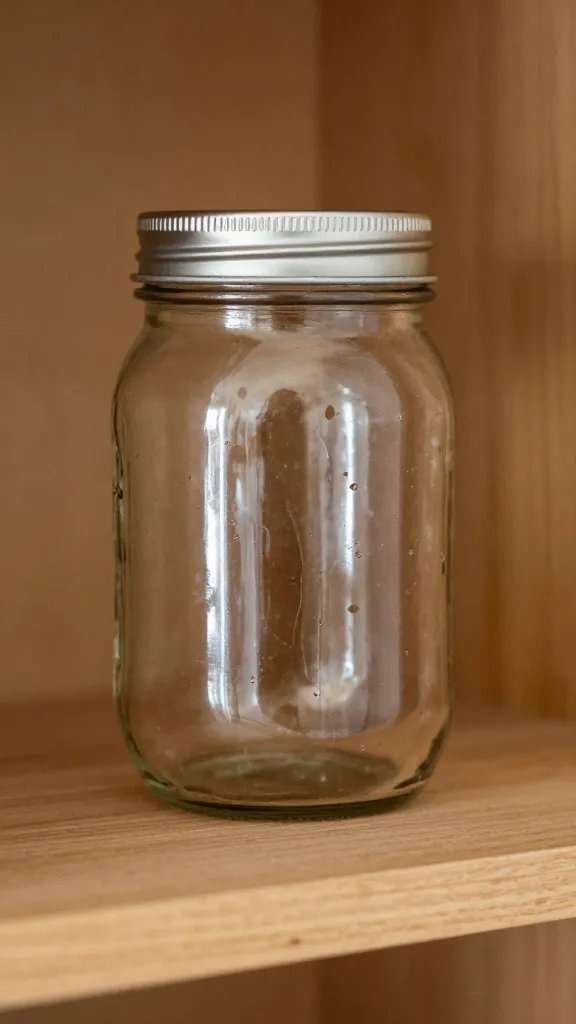
We all collect little things that deserve their moment in the sun. Old mason jars, ceramic mugs, skateboards, or a stack of thrifted vinyl—these can become eye-catching bookends with a tiny bit of elbow grease.
– Gather a few sturdy candidates: a pair of heavy books, bricks, or small concrete blocks work wonders.
– Think weight and stability: DIY bookends should feel like they could outlive a college roommate’s playlist.
– Sketch a vibe: do you want industrial, whimsical, or minimalist? Your materials will steer the style.
If you’re short on “heavy” options, add a felt pad or cork bottom to protect shelves and prevent slipping. FYI, a simple diagonal cut with a DIY edge can give a modern, factory-chic look without breaking the bank.
Classic concrete block bookends—cheap, solid, and oddly satisfying
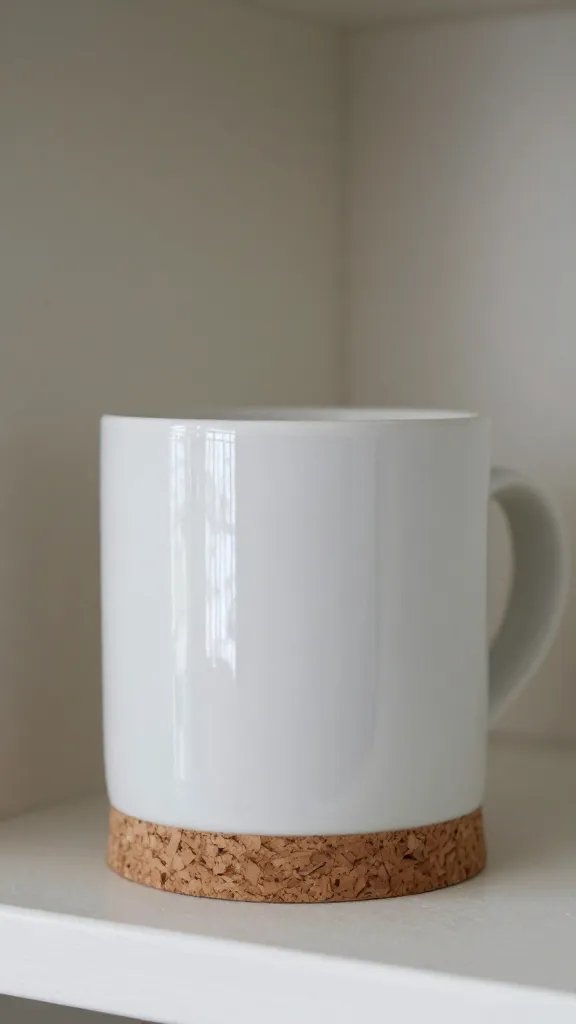
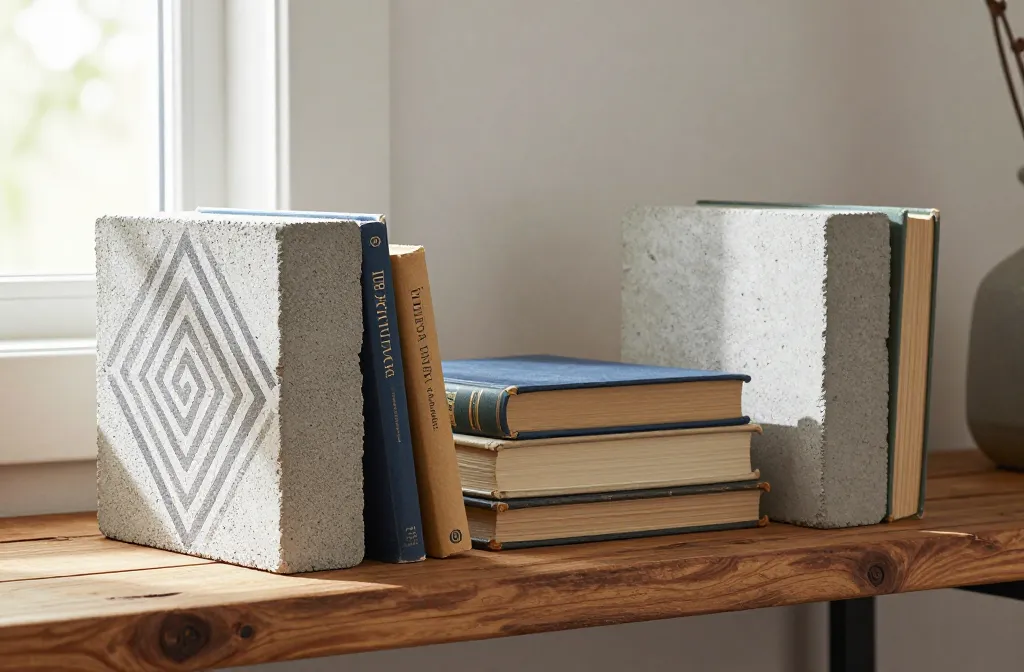
Concrete blocks are the unsung heroes of affordable decor. They’re heavy, sturdy, and surprisingly stylish when finished right.
– Materials: two small concrete blocks, craft paint or spray paint, sandpaper, and optional stencils.
– Steps:
1) Sand the edges just enough to smooth sharp corners.
2) Paint in your chosen color or wrap in fabric for a softer vibe.
3) Add a label, mini plants, or a geometric pattern with stencils for personality.
– Pro tip: seal with a matte sealant to keep paint from chipping when books get bumped.
If you want a quick boost of flair, wrap the blocks in decorative contact paper or ribbon, then finish with a clear sealant. It’s durable and way cheaper than a fancy metal option.
Whimsical bookends using everyday mugs and jars
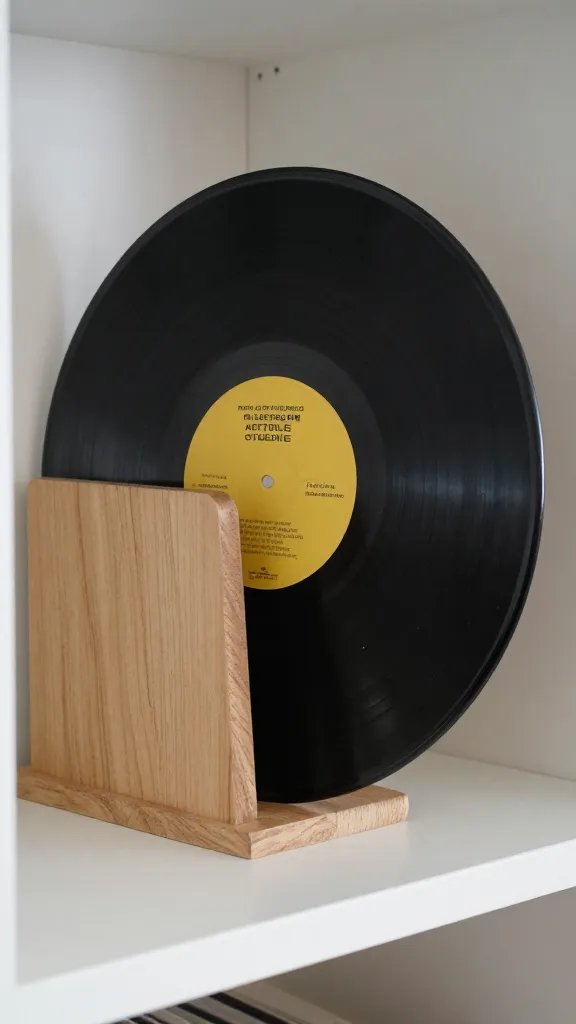
Mugs and jars are everywhere, and they make adorable, functional bookends when paired properly.
– Materials: two sturdy mugs or jars, hot glue or epoxy, a small weight (like a washer) to anchor inside the base, optional paint or stickers.
– Steps:
1) Remove any loose parts or handles that could snag pages.
2) Glue the base of each mug/jar to a small weight or flat stopper to stabilize.
3) Decorate as you please—fun colors, patterns, or quirky labels.
– Bonus idea: fill a jar with decorative stones or shells for a beachy vibe, then seal to keep things tidy.
Why this works: mugs and jars bring personality without breaking the bank. They’re easy to swap if your shelf style changes with the seasons (or your mood).
Industrial chic: repurposed hardware and metal accents
If you lean toward minimal, metallic vibes, turn to affordable hardware store finds. You’ll get a clean, modern look that still feels handmade.
– Materials: metal brackets or L-brackets, sturdy wooden planks or blocks, screws, optional spray paint.
– Steps:
1) Attach a small wooden block to the bottom of each bracket for stability.
2) Paint metal parts or leave them raw for that industrial edge.
3) Secure the two pieces so they stand firmly and won’t topple when you flip through a dictionary.
– Design twist: create mismatched but cohesive ends—one with a bold color, the other with a brushed metal finish.
Fun factor: the industrial look pairs well with bold typography book spines and a clutter-free shelf layout. It’s the “I’m serious about reading” vibe without trying too hard.
Geometric wonders: DIY shapes that hold their ground
Geometric shapes feel modern and can be made from simple, affordable materials. Think cardboard, plywood offcuts, or foam board wrapped in contact paper.
– Materials: cardboard or thin plywood, craft knife, ruler, glue, and paint or tape for color blocks.
– Steps:
1) Cut two identical shapes (like squares or triangles) that will stand upright.
2) Glue them together at the back or across the bottom for stability.
3) Paint in bold color blocks or keep it sleek with a monochrome finish.
– Tip: add a felt strip to the bottom to protect shelves and prevent sliding.
These are forgiving to beginners and scale up nicely if you want a few sets for a bigger shelf. Bonus: they’re surprisingly sturdy if you use a double-thick card or small plywood cuts.
Natural vibes: wood slices, driftwood, and plant-inspired ends
If you love nature-inspired decor, bring in organic shapes that still keep your books upright.
– Materials: smooth driftwood slices, small logs, or thick wooden offcuts; optional stain or natural finish.
– Steps:
1) Sand rough edges and seal with a clear finish to protect from moisture (dry shelves, friendly humidity).
2) Add a tiny decorative touch like a brass nail, a shell, or a painted leaf.
3) Pair with a complementary block or a simple weight to balance the look.
– Maintenance note: natural materials show wear, so a quick wipe-down keeps them looking intentional rather than worn.
Who knew something so earthy could do so much lifting? It’s a handy reminder that simple materials can be elegant when arranged with intention.
Mini tutorials and quick swaps: making it your own
Here are a few quick, extra-deep dives you might find helpful as you tinker.
How to choose the right weight for stability
– Heft matters: the heavier the ends, the less likely your books topple.
– Use a hidden weight: a small stone or metal piece inside a hollow base keeps lines clean.
– Test as you go: place a stack of books and nudge gently to see if they stay put.
Painting tips for beginners
– Prep: sand lightly, wipe clean, then prime if you’re painting raw wood.
– Finishes: matte looks modern; satin is forgiving if you don’t want to fuss.
– Sealant: a light spray sealant prevents chipping and makes cleanup easier.
Budget-friendly materials to watch for
– Thrift stores often have sturdy mugs, mismatched plates, or decorative bricks that can be repurposed.
– Dollar stores stock craft foam, wood shapes, and paints that won’t scare your wallet.
– Reuse packaging: cardboard tubes and foam boards can be cut into stylish accents.
FAQ section
Are these bookends durable enough for daily use?
Yes, as long as you choose materials with some heft and assemble them securely. Start with heavier pieces for a pair and ensure any glued joints have time to cure before loading with books.
Can I customize bookends for a gift?
Absolutely. Pick a theme the recipient loves, add initials or a short message, and tailor colors to their space. It’s the kind of handmade gift that says you actually listen.
What finishes are best to protect painted ends?
A clear matte sealant works well on most surfaces and keeps colors vibrant without creating glare. If you’re using wood, a light varnish adds durability without changing the look too much.
How many bookends do I need per shelf?
Aim for one pair per shelf group of about 1–2 feet of book length. If you have tall, heavy books, go with larger, weighted ends. If you’re shelving light paperbacks, smaller ends do the trick.
Do I need to be “crafty” to pull this off?
Not at all. These projects are designed to be approachable. If you can glue, paint, and measure roughly, you’re good. The point is to have fun and make something that feels personal.
Conclusion
Boring bookends? Not on your watch. With a few affordable materials and a pinch of creativity, you can craft bookends that refine your shelves and reflect your style. The best part is you can mix-and-match as your decor changes—and FYI, the more you experiment, the better your “oops” moments look. Ready to start? Gather a couple of sturdy candidates, pick a vibe, and go. Your books will thank you for the stylish support, and your shelf will finally feel like a curated corner rather than clutter with potential.