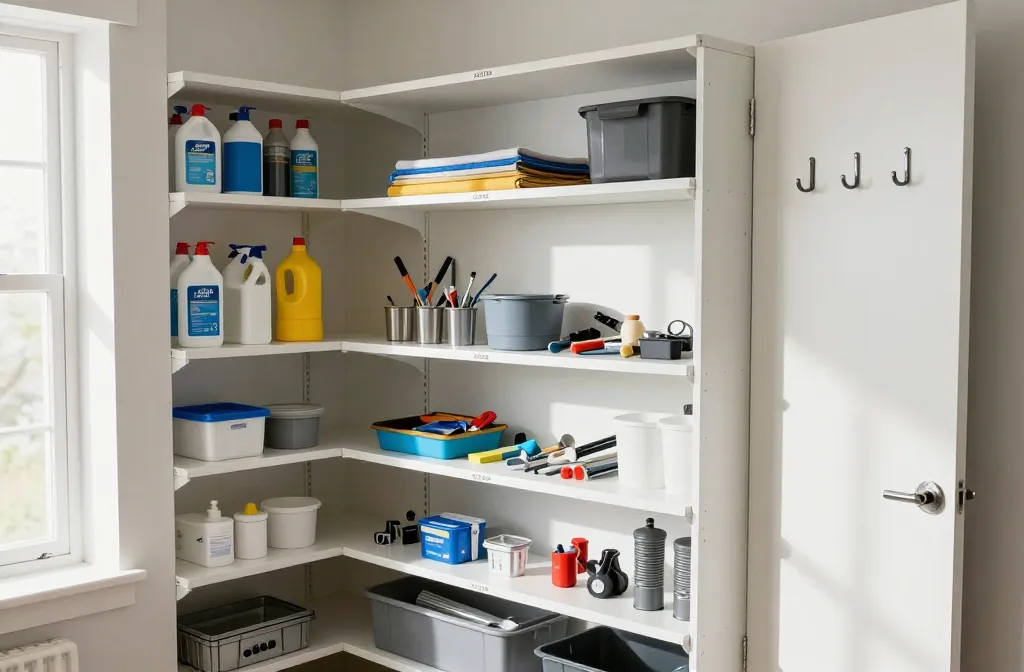

We all know the utility closet is basically the Bermuda Triangle of your home: brooms vanish, cleaners multiply, and somehow six different takes on duct tape appear at once. Let’s stop the chaos and get you a closet that actually helps you find things without a scavenger hunt. You’ll be amazed at what a little planning can do.
Map It Before You Move It
Want to avoid the “everything in the wrong place, all the time” vibe? Start with a quick plan.
– Take everything out. Yes, all of it. Audit as you go.
– Group items by use: cleaning supplies, tools, hardware, paper products, seasonal gear.
– Decide on a home for each group. A place that makes sense for how you reach it in real life.
By the end, you’ll see the real culprits: awkward sizes, duplicate products, and stuff you haven’t touched since the last remodel. FYI, a simple layout paper or a photo of your shelves helps you picture the setup before you start moving boxes around.
Shelving that Actually Supports Your Stuff
Your shelves are the backbone. Cheap boards bending under pressure are not a vibe.
– Measure your space and choose adjustable shelving if you can. Flexibility is everything when you rotate through seasons and cleaning cycles.
– Use full-depth shelves for bulky items and shallower levels for small jars and sprays.
– Add a sturdy rod or hooks on the inside of the door for hangables like dusters, spray bottles, and microfiber cloths.
Tip: leave 6–12 inches of clearance beneath lower shelves for bins and mop heads. It’s the little things that add up to big organization.
Containers That Make Every Item Think It’s Organized
Containers turn chaos into order, but cheap containers that don’t seal are just cute fish bowls for lint.
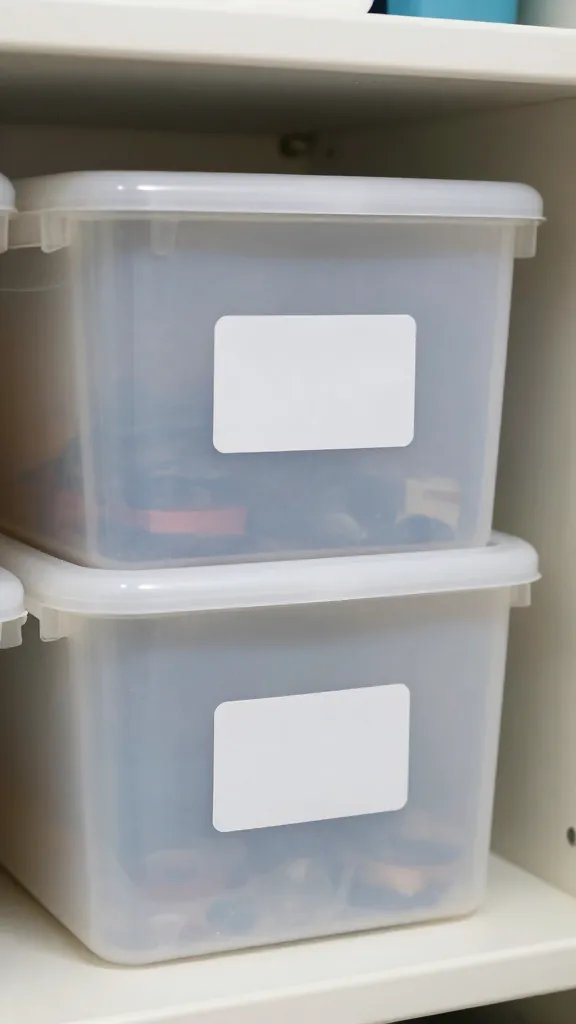
– Use clear, labeled bins for open items (rags, sponges, rags again—you get the idea). Transparent helps you see what you’ve got without digging.
– Color-code by category: blues for cleaning, greens for tools, oranges for hardware. Simple, but effective.
– Invest in airtight canisters for powders or liquids that stain or spill. No more mystery puddles on your shelf.
Don’t Forget Stackable Bins
Stackable bins maximize vertical space and keep smaller items from drifting into the abyss.
– Use one bin per small item family: spare screws, nails, washers, and wall anchors.
– Label the outside of each bin with what’s inside. You’ll thank yourself later.
Labeling Like a Pro (Without Turning It into a Crossword Puzzle)
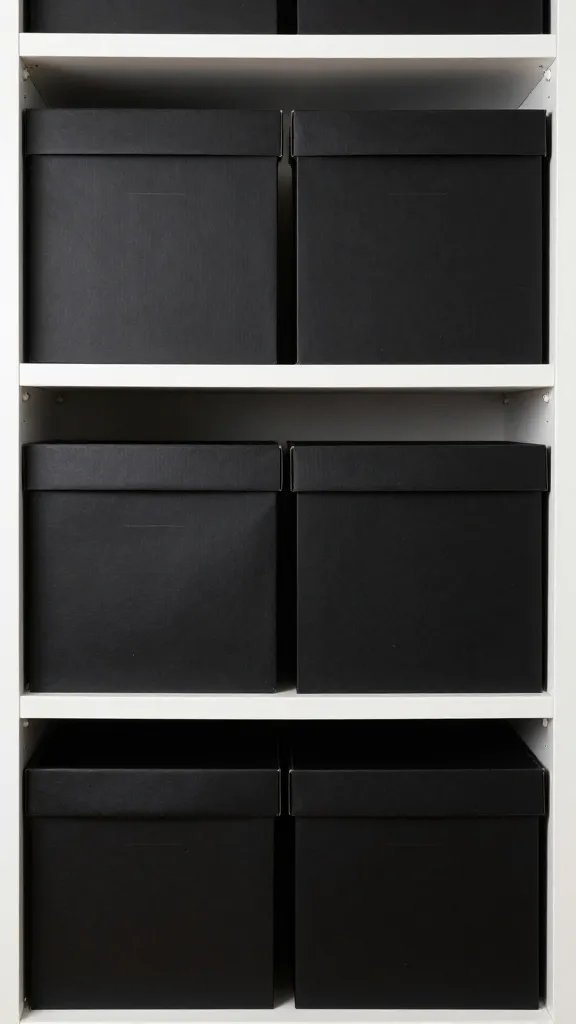
Labeling is not optional; it’s the secret sauce.
– Use a consistent labeling method: large font on bins, small font on drawers.
– Include useful details on the label: contents, quantity, and location. If you’re feeling fancy, add the date you opened a product for expiration-minded folks.
– Put a master list on the inside of the door or on a hook where everyone can see it. IMO, it prevents “No, not the blue spray, the other blue spray!” moments.
Aside: laminated labels survive humidity, which is nice when you’re dealing with mops and cleaners.
Keep Tools Handy Without Losing Them
You don’t need a full-on workshop, but a few smart tweaks keep tools usable.
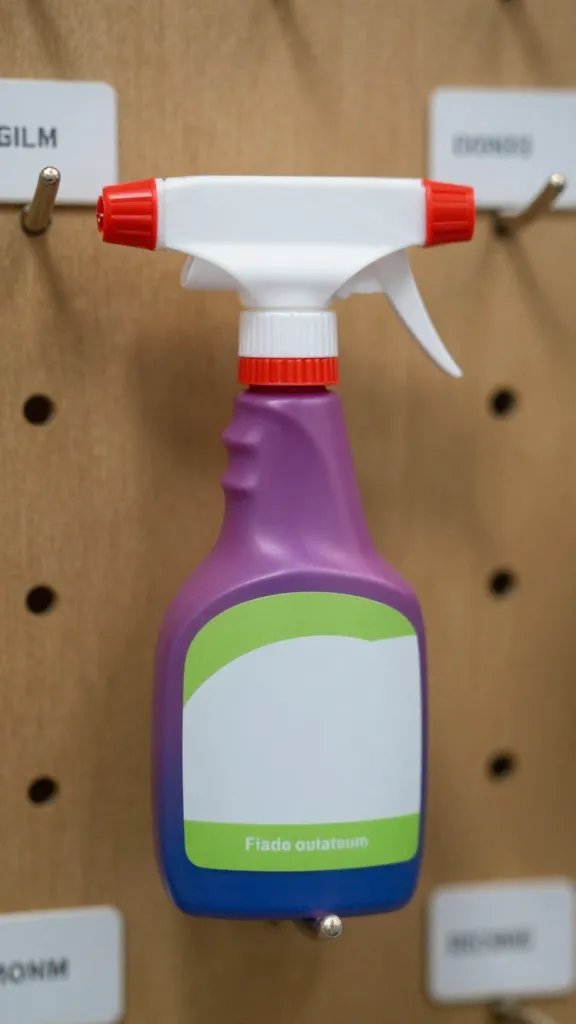
– Mount a pegboard with hooks for frequently used items: hammer, pliers, tape, scissors. Arrange by how you grab them in the moment.
– Install a magnetic strip for small metal tools if your closet has a metallic back panel. It’s surprisingly satisfying.
– Place a small rolling cart or tote at the bottom for awkward items you reach for rarely, like a staple gun or extra screwdrivers.
H3: Quick Inventory Trick
– Do a 30-second check each month: do you have three rulers, two tape measures, and one pair of corrugated gloves? If not, adjust.
Seasonal Things: Stow Smartly, Then Forget About It
Seasonal items are the sneaky culprits behind clutter.
– Use labeled bins or totes for seasonal gear: winter salt, summer fans, holiday lights.
– Store heavier totes on lower shelves and lighter ones higher up to keep things safe.
– Create a “Seasonal Stop” shelf. When a season ends, drop the items there and rotate the next one in. You’ll never fight a pile of holiday lights again.
Subsection:
What to Keep, What to Toss
– Keep a finite number of each item where it makes sense (e.g., spare bulb packs, extra batteries).
– Toss or donate expired cleaners or items you truly never use. Your closet will thank you.
– If you’re unsure, label a bin “Decision Pending” and revisit after a month.
Safety and Accessibility: Don’t Sacrifice Your Back or Your Breath
Closets hide potential hazards. Let’s keep you out of trouble.
– Store corrosive chemicals and flammables in a separate, well-ventilated area if possible. If not, keep them in a high, hard-to-reach spot and away from kids and pets.
– Keep cleaning products in their original containers with clear labels. No guessing games about what’s what.
– Put a small fire extinguisher and a first-aid kit nearby. You never know when you’ll need them, but you’ll be glad you did.
H3: Height Matters
– Put the most-used items at chest to eye level. It reduces bending, reaching, and cursing.
– Heavy items belong on lower shelves to avoid shoulder drama and tumbling cleansers.
Maintenance Mode: Turn Your Closet into a Habit
Organization isn’t a one-and-done deal. You’re aiming for maintenance mode.
– Schedule a 5-minute monthly reset. Straighten, re-stack, and re-label as needed.
– Do a quarterly audit: check for leaks, expired products, and items you forgot you own.
– If something feels sticky or smelly, you probably stored it wrong. Fix it now, not later.
H3: Small Upgrades, Big Payoff
– Add a door rack for sprays and wipes. Keeps the shelves free for bulkier items.
– Install a slim hangrail for brooms and mops along the inside of the door.
– Use hooks for bags, extension cords, and cords you’d rather not wrestle with on the floor.
FAQ
How do I decide what goes where in a small closet?
Start with daily use items at eye level and within arm’s reach. Group similar items, and assign a home that makes sense for your routine. If you can grab it without thinking, you’ve nailed it.
What if I don’t have adjustable shelves?
No problem. You can still maximize space with stackable bins, clear tote organizers, and by using the vertical wall space for hooks and pegboards. A few wall-mounted elements make a big difference.
How should I label items if I don’t want to spend a lot on labels?
Use masking tape and a sharpie for a quick fix, or print simple labels on your computer and laminate them with packaging tape. Clear labels are the key—people (including your future self) need to read them fast.
How do I handle hazardous materials safely?
Keep them in their original containers, away from kids and pets, ideally on a high shelf or a locked cabinet. If you must store near other items, use a secondary containment tray to catch spills and label the area clearly.
What’s the best way to maintain it without turning into a dictator?
Set a small, realistic routine: 5 minutes a month for a quick reset, 10 minutes after a big project to reorganize, and a yearly purge of expired items. Keep it light, keep it flexible, and celebrate small wins.
Conclusion
A well-organized utility closet isn’t just for show—it saves you time, sanity, and possibly a few stray back muscles. Start with a plan, choose sturdy storage, and keep everything labeled and visible. Soon you’ll glide over to your closet and grab exactly what you need in seconds, not minutes. IMO, you’ll actually enjoy tidying, which is basically the opposite of a chore. Ready to tackle your closet? Let’s do this.