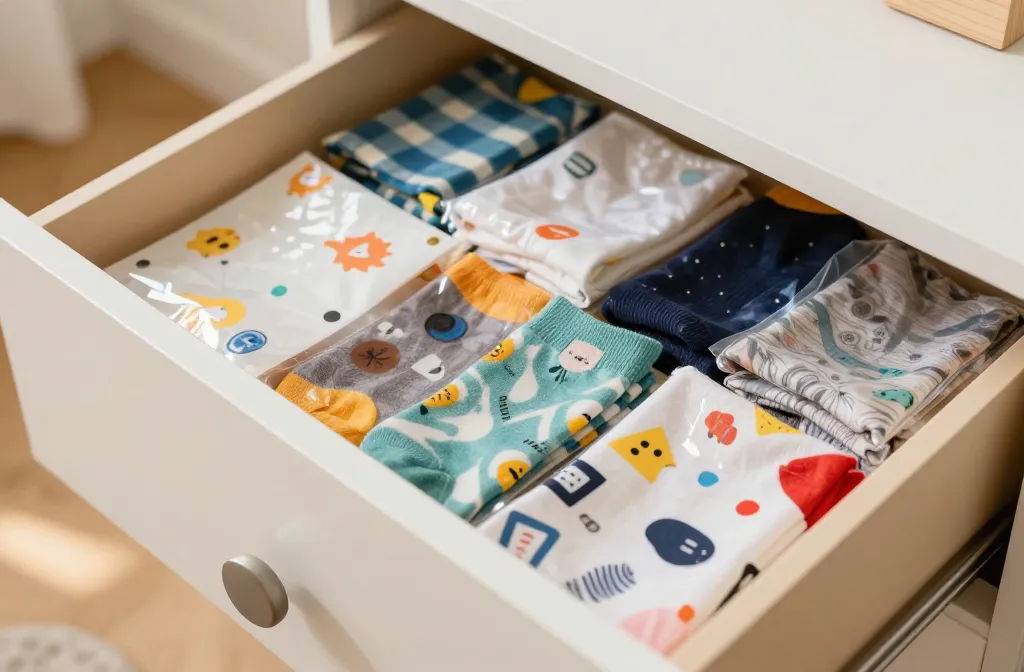

I’ll be real: drawers deserve love too. If you’re tired of boring liners or paying a fortune for fancy prints, you’re in the right place. We’re diving into DIY drawer liner ideas using affordable materials that look slick, feel durable, and won’t ruin your budget. Let’s get cozy with organization, one liner at a time.
Cheap, Cheerful: Why DIY Drawer Liners Make Sense
So, why bother with DIY liners instead of buying those pre-cut sheets? First off, you can customize to fit every awkward drawer size. Second, you’ll avoid those flimsy, peeling edges that hate life in a kitchen full of citrus zest. And third, it’s a small project with a big payoff—your socks won’t mingle with your kid’s lego pieces anymore.
– You control the look: pattern, color, texture
– You control the material: waterproof, spill-friendly, or scent-friendly
– It’s fast, fun, and forgiving
If you’re skeptical, FYI, small changes in liners create big organizational vibes. Ready to pick a material?
Material Picks: What Actually Works
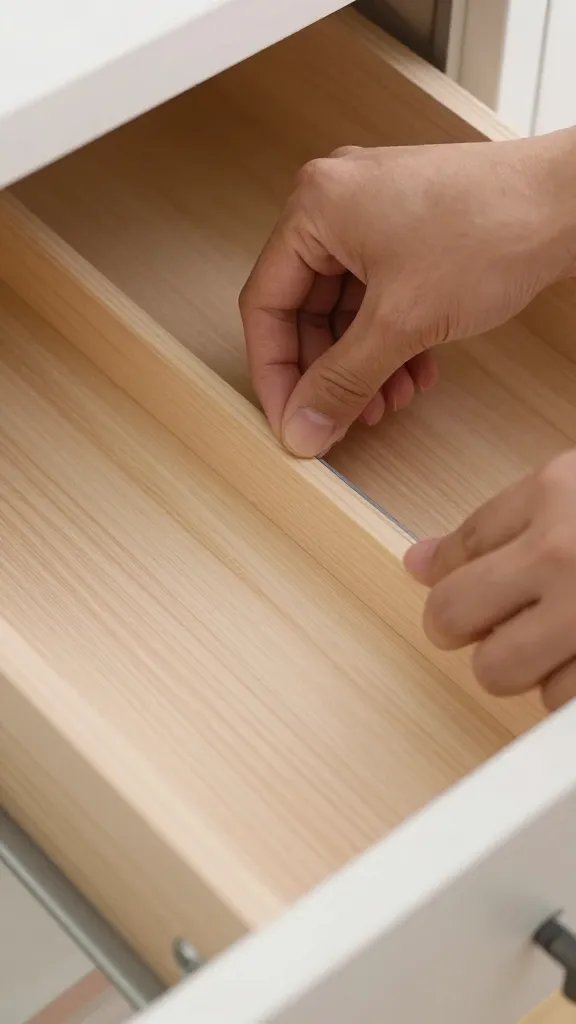
Here are the affordable champs that balance cost, durability, and easy handling.
- <strongVinyl tablecloth remnants or shower curtain scraps: wipe-clean and moisture-safe.
- <strongLiner paper products from craft stores: easy to cut, sometimes waxed for spills.
- <strongLaminated contact paper or shelf liner: classic, grippy, and it sticks nicely without glue.
- <strongFabric with a clear vinyl overlay: a cozy vibe that still resists crumbs and spills.
- <strongOld placemats or fabric scraps lined with thin book cover plastic: ultra-cheap and surprisingly sturdy.
If you’re worried about sticking, you can go the no-glue route with self-adhesive liners or double-sided tape. Want a no-fuss test? Try lining a small drawer first and see how you like the feel.
Pattern Play: Simple Looks That Read High-End
You don’t need seven layers to look chic. Here are easy, affordable patterns that elevate anything.
Monochrome Magic
– Pick one bold color and run with it. A solid liner makes items pop and drawers feel calmer.
– Pro tip: pair a color with your hardware finish for a cohesive look.
Geometric Groove
– Use painter’s tape to create chevrons, diamonds, or grid lines on vinyl or contact paper before sticking.
– Keeps things interesting without demanding serious design chops.
Natural Textures
– Recreate wood grain, cork, or linen vibes with printed vinyl or fabric backed with clear sheet.
– Adds warmth, especially in vanity or dresser drawers.
Practical Patterns: Patterns That Actually Help You Find Stuff
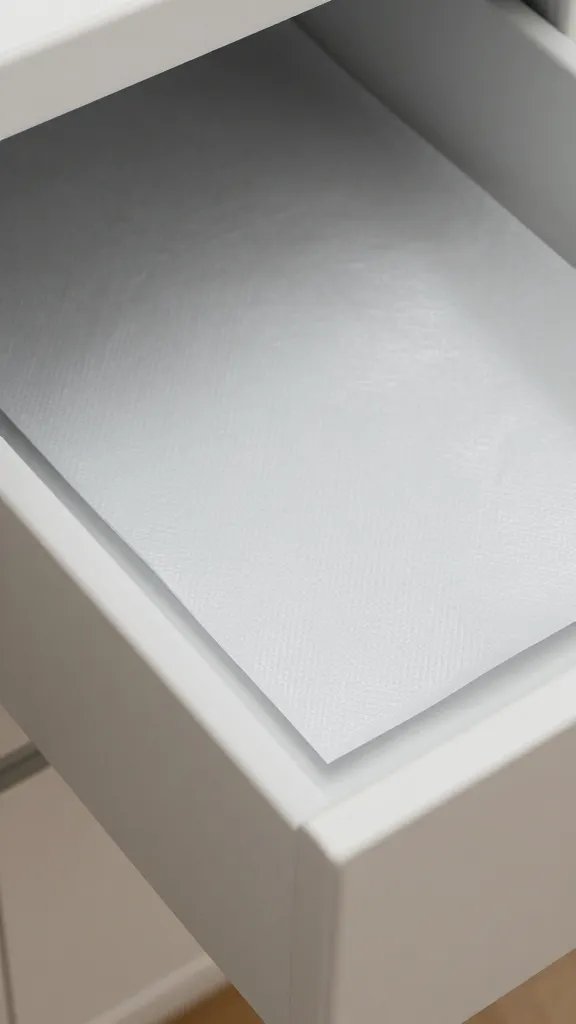
Here’s how to make liners not just pretty, but useful.
- <strongZoning: Use color blocks to designate sections for socks, underwear, or office supplies.
- <strongGrip zones: Matte or slightly textured liners help prevent items from sliding around.
- <strongEasy-clean zones: Pick moisture-resistant materials in humid areas like bathrooms or kitchens.
Texture Wins: From Smooth to Snappy
Texture affects feel and functionality as much as looks.
- <strongGlossy vinyl wipes clean in a snap, great for silverware drawers or makeup.
- <strongMatte contact paper offers grip and a modern vibe—less glare in sunlight.
- <strongFabric with vinyl overlay gives soft touch and durability for small items like jewelry or craft supplies.
If your drawer tends to spill things, skip ultra-slick surfaces. You’ll thank me later when you’re not fishing glitter out of the hinge area.
Step-by-Step: Quick, Budget-Friendly Liner DIY
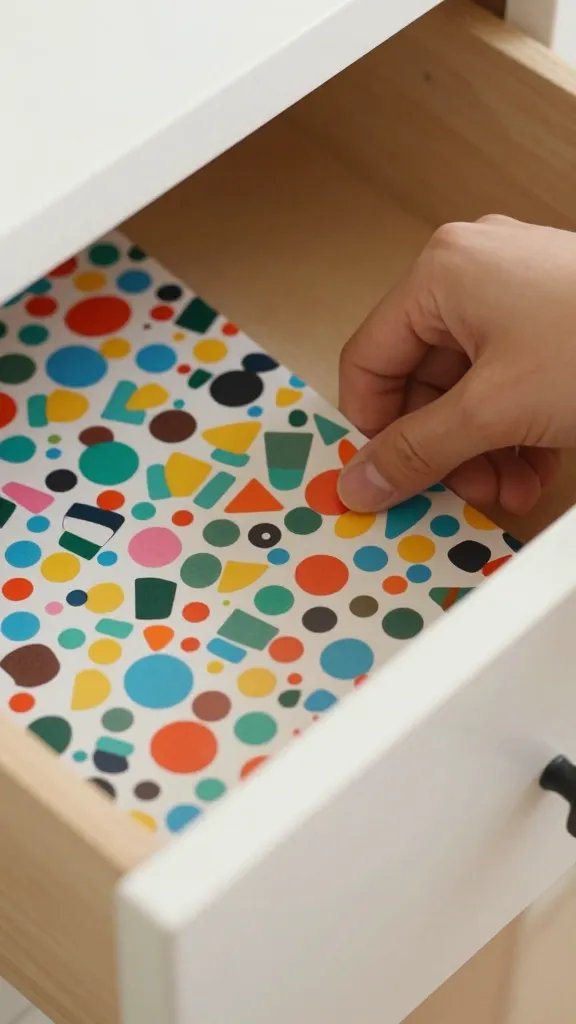
Let’s turn ideas into action. Here’s a simple, repeatable method anyone can follow.
- Measure the inside of the drawer. Note width, height, and depth. Add 0.5 cm to each side for wiggle room.
- Choose your material. Grab vinyl, contact paper, or laminated fabric—whatever you have lying around.
- Cut strips with a sharp scissors or a craft knife. Leave a tiny margin so you don’t overhang.
- Line the drawer base first, then the sides. Smooth from edge to center to avoid air bubbles.
- If your material is non-adhesive, secure with a light spray adhesive or double-sided tape along the edges only.
- Trim any excess with a utility knife for a clean finish. Boom, you’re done.
Want to make it extra neat? Use a ruler and a craft knife to cut straight lines. Pro tip: a scrap of cardboard under the liner helps prevent cutting into the drawer bottom.
Creative Tweaks: Small Details, Big Impact
Tiny touches can make your liners feel intentional rather than generic.
Labeling for Ultra-Organization
– Use small washi tape pockets or printable labels to mark what lives where.
– Color-code by drawer type: socks, underwear, office supplies, spices—whatever makes sense.
Waterproofing Without the Mess
– If you’re lining a spice drawer or a bathroom drawer, choose a waterproof option like vinyl or laminated fabric.
– Optional: seal edges with a thin bead of clear silicone along the underside to guard against leaks (test first to avoid stickiness on items).
Where to Save: Shopping Smart for Cheap Liner Materials
You don’t need to raid the expensive aisle to get quality results.
- Clearance racks at craft stores often hide great vinyl scraps or patterned remnants.
- Dollar stores sometimes stock basic shelf liners or placemats that you can repurpose.
- Old calendars or wallpaper samples can yield eye-catching liners when backed with clear plastic.
- Ask for leftovers from local shops or ask friends if they’re discarding a tablecloth or curtain piece—people love to swap clever stuff like this.
And if you’re worried about durability, FYI: most affordable options hold up well with light use. For heavy items or frequent spills, consider layering two liners (a sturdy base with a slim top layer).
Maintenance Hacks: Keep Liners Looking Fresh
A good liner stays with you for a long time if you treat it right.
- Wipe down weekly with a damp cloth and mild soap. Dry immediately to prevent warping.
- Avoid sharp objects that can tear the surface. Keep a small tray for items that crack or poke.
- Replace liners every 6–12 months if you notice peeling or staining. It’s cheaper than you think, and you’ll thank yourself later.
If you’re wondering how often people actually replace liners, I’ll admit: occasionally. It’s not the most glamorous part of home improvement, but it sure feels good when the results stay neat.
FAQ
Q: Can I reuse old liners or do I have to replace them entirely?
Depends on the condition. If they’re still sticky and intact, you can rinse them, dry them, and reuse. If they’re peeling or stained, it’s time for a fresh, clean look. FYI, repurposing keeps costs down and the vibe high.
Q: What’s the easiest material for beginners?
Vinyl tablecloth remnants or self-adhesive laminated shelf liner are hard to beat. They’re forgiving, cheap, and cut neatly with ordinary scissors. If you want something softer, fabric with a clear overlay works too.
Q: Will DIY liners damage the drawers?
Not if you measure correctly and use non-permanent adhesives or double-sided tape. Avoid heavy glue that can seep into cracks. The goal is a snug fit, not a glue bomb.
Q: How do I handle irregular drawer shapes?
Cut the liner in sections rather than one big sheet. This lets you contour around wheels, rails, or odd corners without wasting material.
Q: Can I add a scent or anti-microbial layer?
Sure. Use lightly scented sachets placed in the drawer (not the liner itself) or choose a liner with a subtle scent. For antimicrobial, fabrics with treated fibers or vinyl liners with built-in antimicrobial properties work well in kitchens and bathrooms. Still, test first to avoid staining items.
Conclusion: Your First DIY Liner Is Just the Start
There you have it—affordable, doable, and totally customizable drawer liners that you can actually finish before your next coffee break. The best part? You get to flex your design muscles without breaking the bank or committing to a long, boring project. IMO, the payoff is instant: drawers that feel calmer, items that stay put, and a sense of pride every time you open a drawer and don’t see chaos staring back at you.
If you’re ready to dive in, start with one small drawer and a single material you already own. Share your liner looks or ask for tips in the comments—I love seeing clever swaps and budget wins. And hey, FYI, once you nail one drawer, the rest become an afternoon project you actually look forward to.