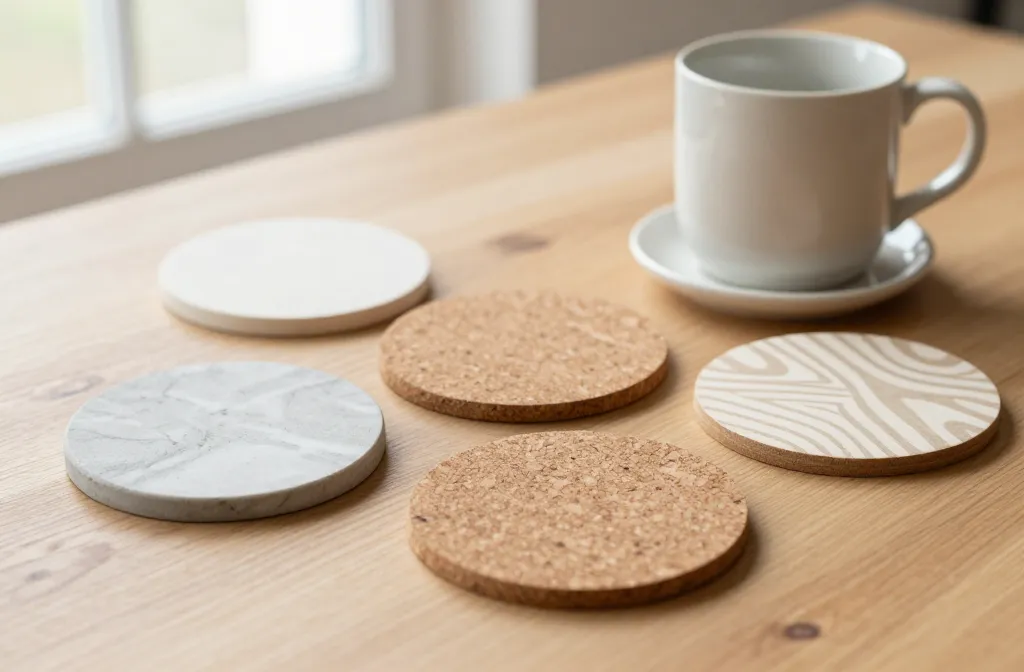

The coffee mug is hot, the table is naked, and you’re thinking: can I make coasters that look pricey without draining my wallet? Absolutely. DIY decorative coasters are the perfect side quest for a budget-friendly home refresh. You’ll get style, personality, and a little brag-worthy craft time all in one tiny circle.
Get the vibe right: choose a coaster style that fits your space
First things first: what look are you chasing? Do you want chic marble vibes, cozy wood textures, or playful patterns that spark joy every time you set down a cup? Pick a vibe you’ll actually enjoy every day, because repeat exposure makes the project worth it.
– Marble-esque concrete: sleek, modern, and durable.
– Wood-toned warmth: classic, rustic, and forgiving of imperfect cuts.
– Boho patterns: bold, colorful, and a little bit cheeky.
– Minimalist geometric: clean lines, easy to pair with anything.
If you’re unsure, start with two or three ideas that share a common color palette. FYI, you can mix and match later—coasters don’t have to be sister wives; they can be quirky cousins.
Budget-friendly materials that actually work
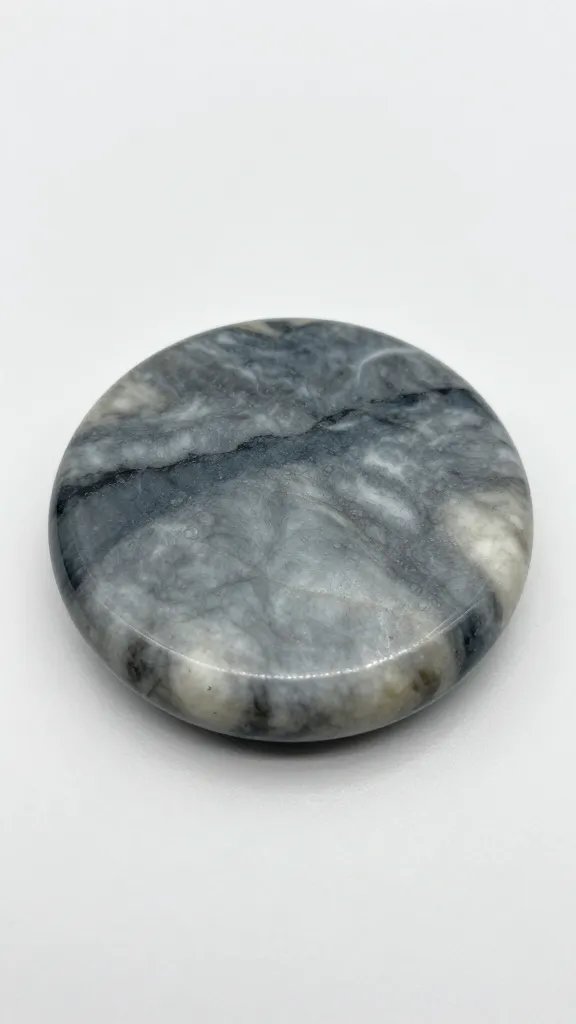
You don’t need a scavenger hunt through craft stores to get excellent results. Here are some accessible options, plus why they’re solid choices.
– Ceramic tiles: cheap, sturdy, and easy to customize with paint or decoupage.
– Cork discs: lightweight, natural look, and excellent for grip.
– Plywood or pine rounds: inexpensive, easy to cut, great for wood-grain vibes.
– Tile + resin: a little trickier, but you’ll love the glossy, durable finish.
– Cast plaster or air-dry clay: perfect for handmade textures.
Tools you’ll actually use
– Sandpaper (lots of it) for smooth edges
– Painter’s tape for clean lines
– Mod Podge or another decoupage glue
– Acrylic paints or markers
– Clear sealant/varnish (matte or satin)
– Foam brushes or a sponge for even coverage
Pro tip: repurpose what you already have. Old coasters from a previous life? Perfect. Spare tiles from a bathroom remodel? Even better. Your budget will thank you.
Step-by-step paths: three beginner-friendly coaster projects
1) Marble look with simple tile and paint
This one is instantly chic without the drama.
– Gather a plain ceramic tile, light gray or white acrylic paint, a thin brush, and a glossy sealant.
– Paint faint veining with a darker gray in quick wavy strokes. Don’t overthink it—organic is the point.
– Let dry, seal, and you’ve got a modern marble look for a fraction of the price.
Edge case? If you worry about durability, switch to a pre-made marble tile and just seal the top with a protective coat. Boss level: achieved.
2) Boho cork with painted patterns
Warm, tactile, and totally customizable.
– Cut cork discs to your desired size (2.5–4 inches works well).
– Tape off geometric patterns with painter’s tape.
– Paint bold colors in the exposed shapes; remove tape for crisp lines.
– Seal with a clear coat to prevent paint chipping.
Why this rocks: cork is naturally anti-slip, easy to source, and forgiving if you’re not a precision painter.
3) Wood slice coasters with resin accents
For a rustic-meets-glam vibe.
– Slice thin wood rounds or buy pre-cut rounds.
– Sand edges smooth with fine-grit sandpaper.
– Drip in a few resin droplets or pour a thin resin layer for a glossy finish.
– Seal the underside to prevent staining on wood.
Heads-up: resin can be a bit fussy. Work in a well-ventilated area and follow the resin instructions to avoid bubbles.
Adding texture and personality without breaking the bank
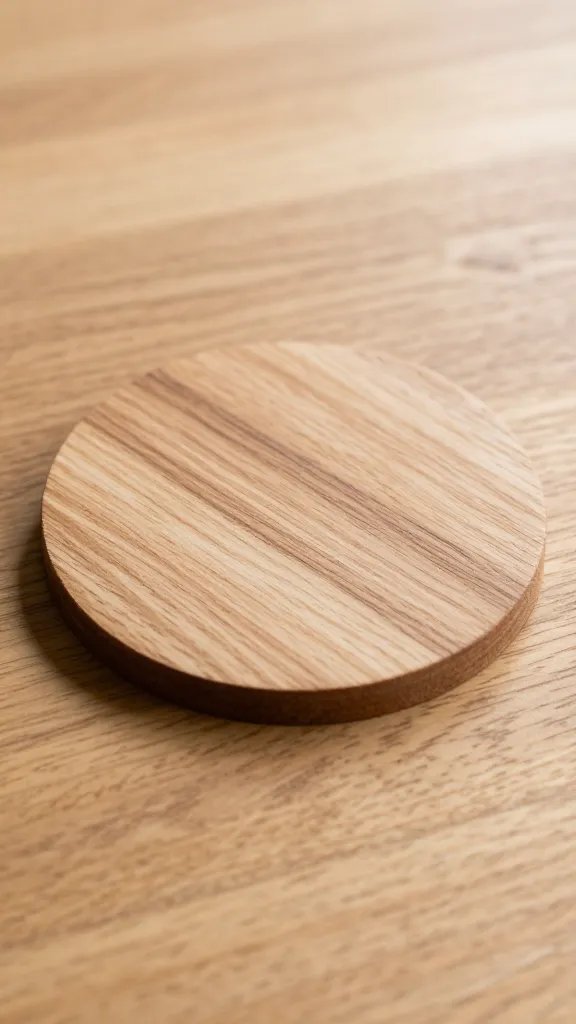
Texture tricks that punch up the look
– Embossed patterns: press an embossed stamp into soft clay or air-dry clay before it dries.
– Fabric glimpses: decoupage a fabric scrap onto a tile, then seal. Texture game: strong.
– Metallic accents: gold or copper Sharpies work wonders for tiny, luxe details.
Color palettes that actually play nicely together
– Monochrome with a twist: different shades of gray and white with one bold accent color.
– Earth tones: olive, terracotta, cream, and walnut.
– Brights with balance: a zingy color plus neutrals to keep the look cohesive.
Protect and maintain: making sure they last
Coasters aren’t just pretty; they’re workhorses. A quick maintenance routine goes a long way.
– Sealant matters: choose a water-resistant sealant to protect against moisture and spills.
– Avoid heat damage: don’t soak the coasters in water; wipe clean and dry.
– Periodic touch-ups: if a coaster starts to show wear, a light sand and a new coat of sealant can revive it.
If you want extra durability, consider double sealing—one layer of decoupage glue for adhesion, plus a hard clear sealant on top.
Creative themes you can try this weekend
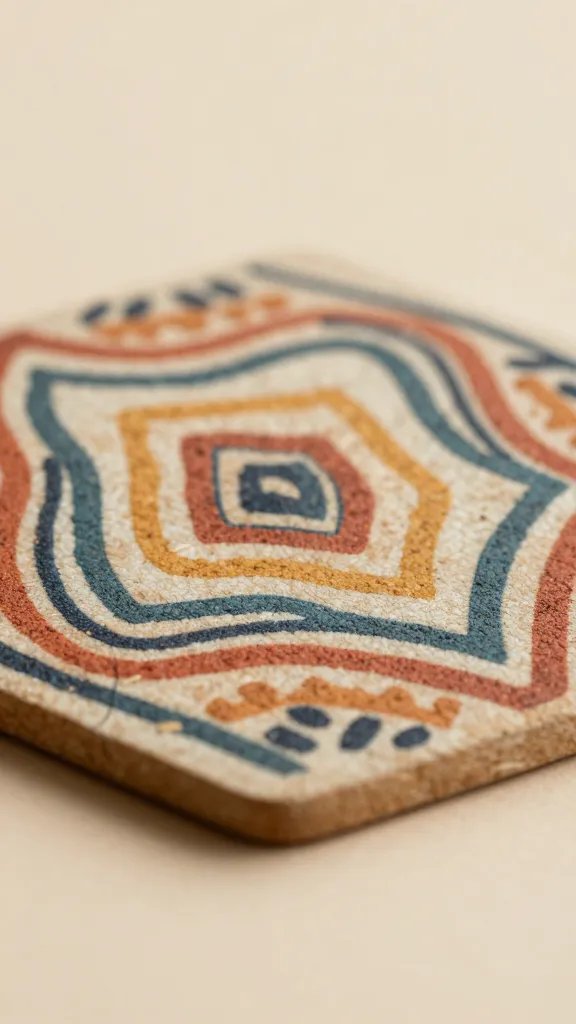
Minimalist monochrome set
Two to four coasters in varying shades of the same color family. They pair with any decor and look chic on a coffee table.
Nature-inspired series
Coasters shaped like leaves or painted with leaf patterns. Use natural fibers or pressed leaves for texture, then seal.
Pop culture sprinkle
Tiny, tasteful icons or quotes that reflect your personality. Nerf your friends with a subtle nod rather than a full-on mural.
FAQ
How long does a DIY coaster project take?
Most beginner projects can be completed in a single afternoon, with dry time factored in. If you’re layering paints or resin, you might spread it across a weekend. Plan for a little patience—the payoff is cute and practical.
What materials are best for durable coasters?
Ceramic tiles, wood slices, and cork discs are among the most durable options. For a glossy finish, resin or a tough sealant helps a lot. If you want easy removal of stains, a non-porous top coat is your best friend.
Can I make coasters as gifts?
Absolutely. Personalize with initials, favorite colors, or a small design that reflects the recipient’s vibe. Pro tip: include a little note or gift tag explaining the DIY aspect—it adds charm.
How do I clean them without damaging the finish?
Wipe with a damp cloth and mild soap if needed. Avoid soaking. If you used resin, a gentle wipe-down is fine, but don’t scrub aggressively. FYI, frequent cleaning keeps colors vibrant.
Do I need special tools to start?
Not really. Basic supplies like a craft knife, sandpaper, painter’s tape, brushes, and a sealant are enough for most projects. If you want to cut tiles or wood more precisely, a simple craft blade and a ruler help a ton.
Conclusion
DIY decorative coasters are a small project with a big payoff. You’ll grab attention at your coffee table, impress guests, and upgrade your space without blowing your budget. DIY coasters let your personality shine in tiny circles—no pretension, just style. Ready to start a weekend craft party? Grab a tile, pick a pattern, seal it, and claim your new favorite home accessory.