
The first thing you notice when you walk into a room isn’t the paint—it’s the door hardware. Cheap knobs scream “temporary,” while a thoughtful upgrade whispers “I care.” You don’t need a remodel budget to make a big impression. Let’s talk about budget ways to upgrade plain door hardware and knobs without turning your space into a DIY disaster.
Swap for a Fresh Look with a Minimalist Knob or Lever
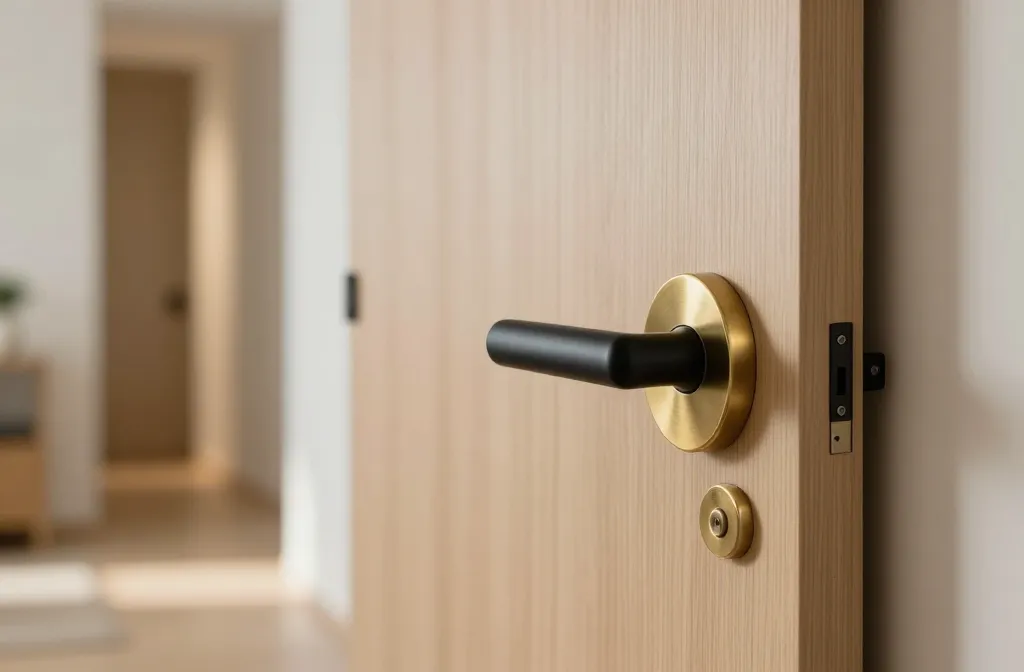
If your doors are basically blank canvases, a chic but inexpensive knob or lever can do wonders. You don’t always need a full hardware set; sometimes one standout piece does the trick.
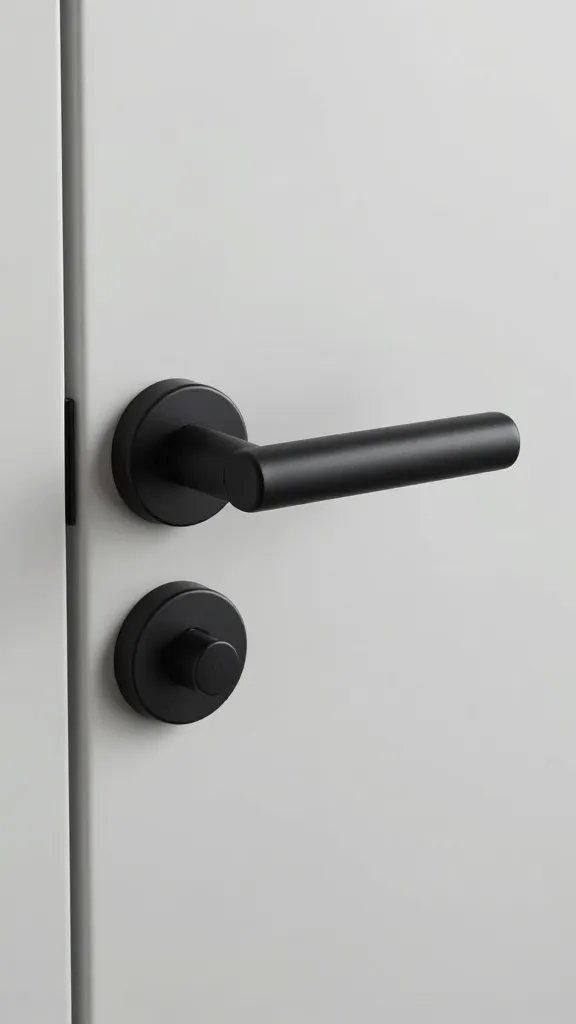
- Pick a finish that matches your vibe: brushed brass for a warm glow, matte black for modern drama, or satin nickel for a clean, versatile look.
- Consider a lever handle if you want a more accessible, contemporary feel. Levers are often more comfortable for everyone, not just superhuman DIYers.
- Measure properly: most doors use standard backsets, but a quick check saves you a return trip to the hardware store.
Dial Up the Style with Finish-Only Upgrades
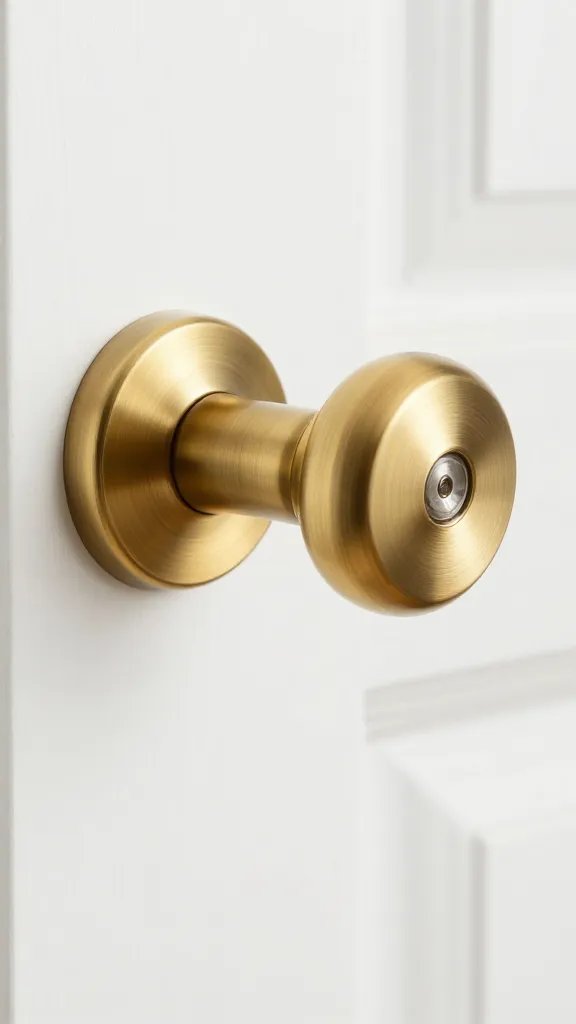
If your door and hinges are sturdy, you can focus on finishes rather than full replacements. Finish can transform the entire vibe with surprisingly little effort.
- Replace only the exterior plates (escutcheons) and rosettes. You’ll get the look without swapping the whole mechanism.
- Match finishes across doors for cohesion. FYI, mixing metals isn’t a crime, but it can feel chaotic—unless you’re intentionally going for industrial chic.
- Polish and protect. A quick wipe-down and a dab of multi-surface finish oil can revive dull hardware.
Install a Hola-That-Works Budget Kit
Budget kits aren’t gimmicks; they’re curated bundles with matching screws, latches, and mounting plates. The key is compatibility and durability.
- Choose kits labeled “universal” or “reversible” if you want flexibility across rooms.
- Check the spindle size and backset. If you’re unsure, bring an old piece to the store and compare.
- Don’t forget grub screws and strike plates. It’s easy to overlook tiny pieces and end up with a wobbly door—no one likes a creaky entrance.
DIY Hacks: Quick Fixes That Look Pricier Than They Are
You don’t need a fancy tool bench to elevate your hardware. A few smart tweaks can melt away the “cheap” vibe.
Upgrade Mounting Hardware
Small changes, big impact. Replace the mounting screws with shorter, darker ones that blend in, or swap out the strike plate for a reinforced, satin-chrome option.
- Use rust-resistant screws for longevity, especially in kitchens and bathrooms.
- Mask the screw heads with painter’s tape before painting the door for a seamless look.
Hide the Damaged Edges
If the door edge is gouged or the paint is chipping, a quick edge touch-up makes a huge difference.
- Sand lightly, then paint or stain the edge to match the door.
- Seal with a clear topcoat to protect against wear and tear.
Painted-Over Hardware: Creative, Not Cheap
Painted hardware can be a bold accent or a subtle blend, depending on your room’s personality. You don’t need to repaint doors to get this effect.
- Use high-adhesion spray paint for a smooth, durable finish on metal.
- For a vintage vibe, try satin black or antique bronze. If you’re feeling wild, metallic gold or copper can punch up a sleepy space.
- Protect the finish with a clear sealant after it dries to resist fingerprints and smudges.
Budget-Friendly If You Want a Full Change: Replacement Tips
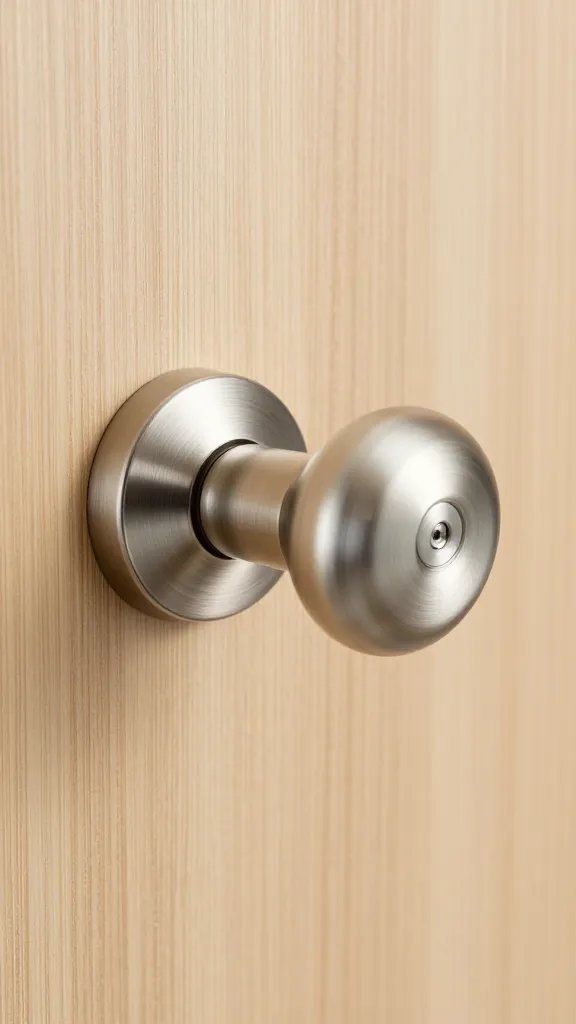
Sometimes you want the whole shebang: knobs, levers, plates, and hinges. You can still do it on a dime if you plan smart.
- Match your door thickness and backset. Most interior doors are standard, but check to avoid a flop at the install stage.
- Reuse existing hinges if they’re solid. If they’re creaky or bent, replace with budget-friendly hinges in the same finish.
- Opt for toggle or privacy packs for bedrooms and bathrooms. They’re commonly priced well and give you a cohesive look.
H3 Subsection: How to Measure Like a Pro
A quick measurement checklist keeps you from returning half your cart.
- Backset: the distance from the door edge to the center of the bore hole. Most are 2-3/8 inches, but some are 2-3/4 inches.
- Bore hole size: the hole in the door that accepts the knob or lever. Common sizes are 1-1/8 inches for many doors.
- Door thickness: most interior doors are 1-3/8 inches to 1-3/4 inches. If you’re out of range, you’ll get wonky alignment or poor operation.
Subsection: Quick Cleanup for a Sharp Look
Sometimes it’s not about new hardware but how it sits in the frame.
- Lubricate hinges with a graphite-based lubricant to avoid messy oil stains.
- Wipe door plates and knobs with a damp cloth and a touch of mild soap to remove fingerprints and grime.
Emergency Acknowledgment: When It’s Time to Call a Pro
DIY is fun until you realize the latch won’t align or the door starts sticking. Don’t let a tiny setback derail your vibe.
- If the latch keeps missing the strike plate, re-check alignment and screw depth.
- If you hear grinding or see visible wobble, you might have a misaligned bore or loose screws—tighten or replace as needed.
- When in doubt, a quick consult with a pro saves time and frustration. FYI, most hardware stores offer free quick-fit advice at the counter.
FAQ
What’s the cheapest way to upgrade door hardware without DIY chaos?
Upgrading with a single, well-chosen knob or lever and matching plates can transform a room without a full replacement. Stick to one finish, measure correctly, and use a budget kit designed for your door type. It’s all about intentional choices, not impulse buys.
Do hinges impact the overall look after a hardware swap?
Absolutely. Wunky or mismatched hinges can ruin otherwise sleek updates. If hinges are in good shape, swap only the knobs and plates. If they’re worn, replace them with affordable equivalents that match your chosen finish.
Is it hard to change door hardware myself?
Not at all if you follow a simple plan: remove the old hardware, measure, pick compatible parts, and install with basic screws. A basic screwdriver, a little patience, and a level are your friends. IMO, the payoff is worth a quick afternoon.
What finishes look best in a small space?
Matte finishes tend to hide fingerprints and smudges in busy spaces, while brass tones can warm up a compact room. If you’re uncertain, go with satin nickel or black for a modern, timeless look.
Can I mix finishes across doors?
Yes, but do it intentionally. If you’re ready for an eclectic vibe, mix metals on different rooms. If you want a cohesive look, pick one or two finishes and carry them through all doors and hardware.
How long does a typical hardware upgrade take?
For a single knob or lever, expect 15–30 minutes with basic tools. If you’re replacing hinges or multiple doors, budget a couple of hours. Pro tip: plan a small playlist and a snack break to keep the mood light.
Conclusion
Upgrading door hardware on a budget isn’t about vanity—it’s about small, smart choices that change how a space feels. You don’t need a toolbox full of gear or a big budget to make doors look intentional and polished. Choose a finish you love, make sure the parts actually fit, and don’t fear a little DIY spirit. FYI, sometimes the simplest swap—one lever, one plate—delivers the biggest payoff. So go ahead and give those plain doors a personality upgrade that won’t blow up your bank account.