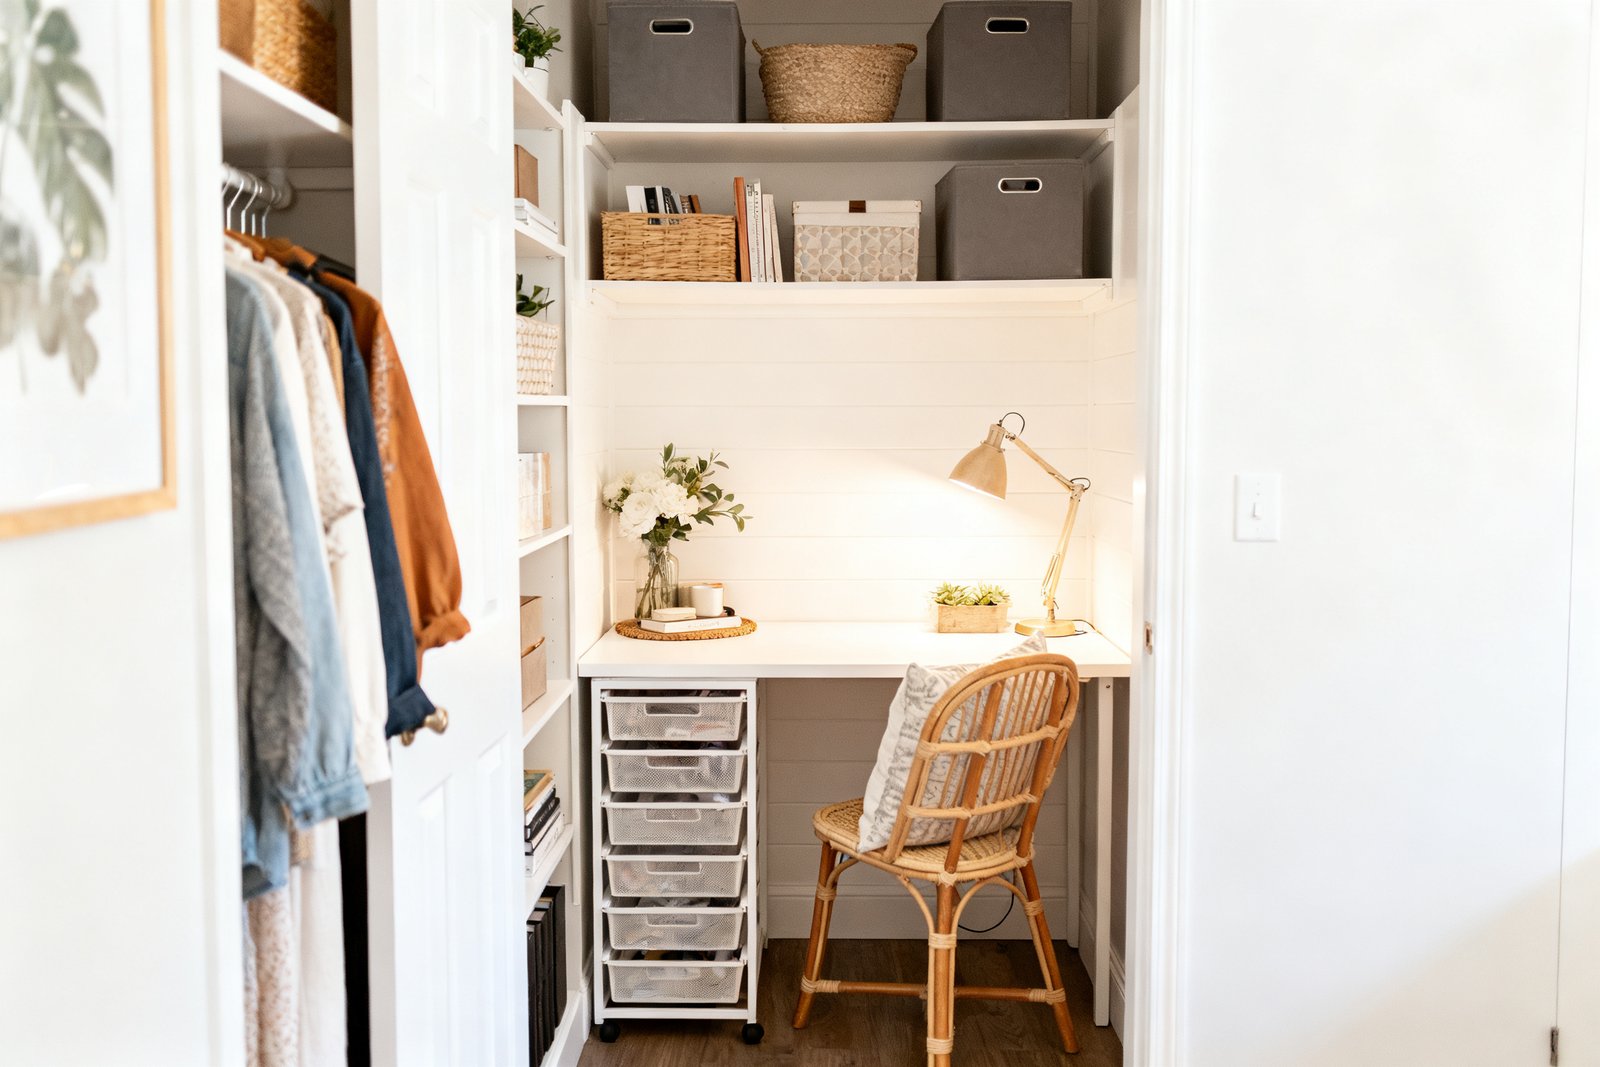

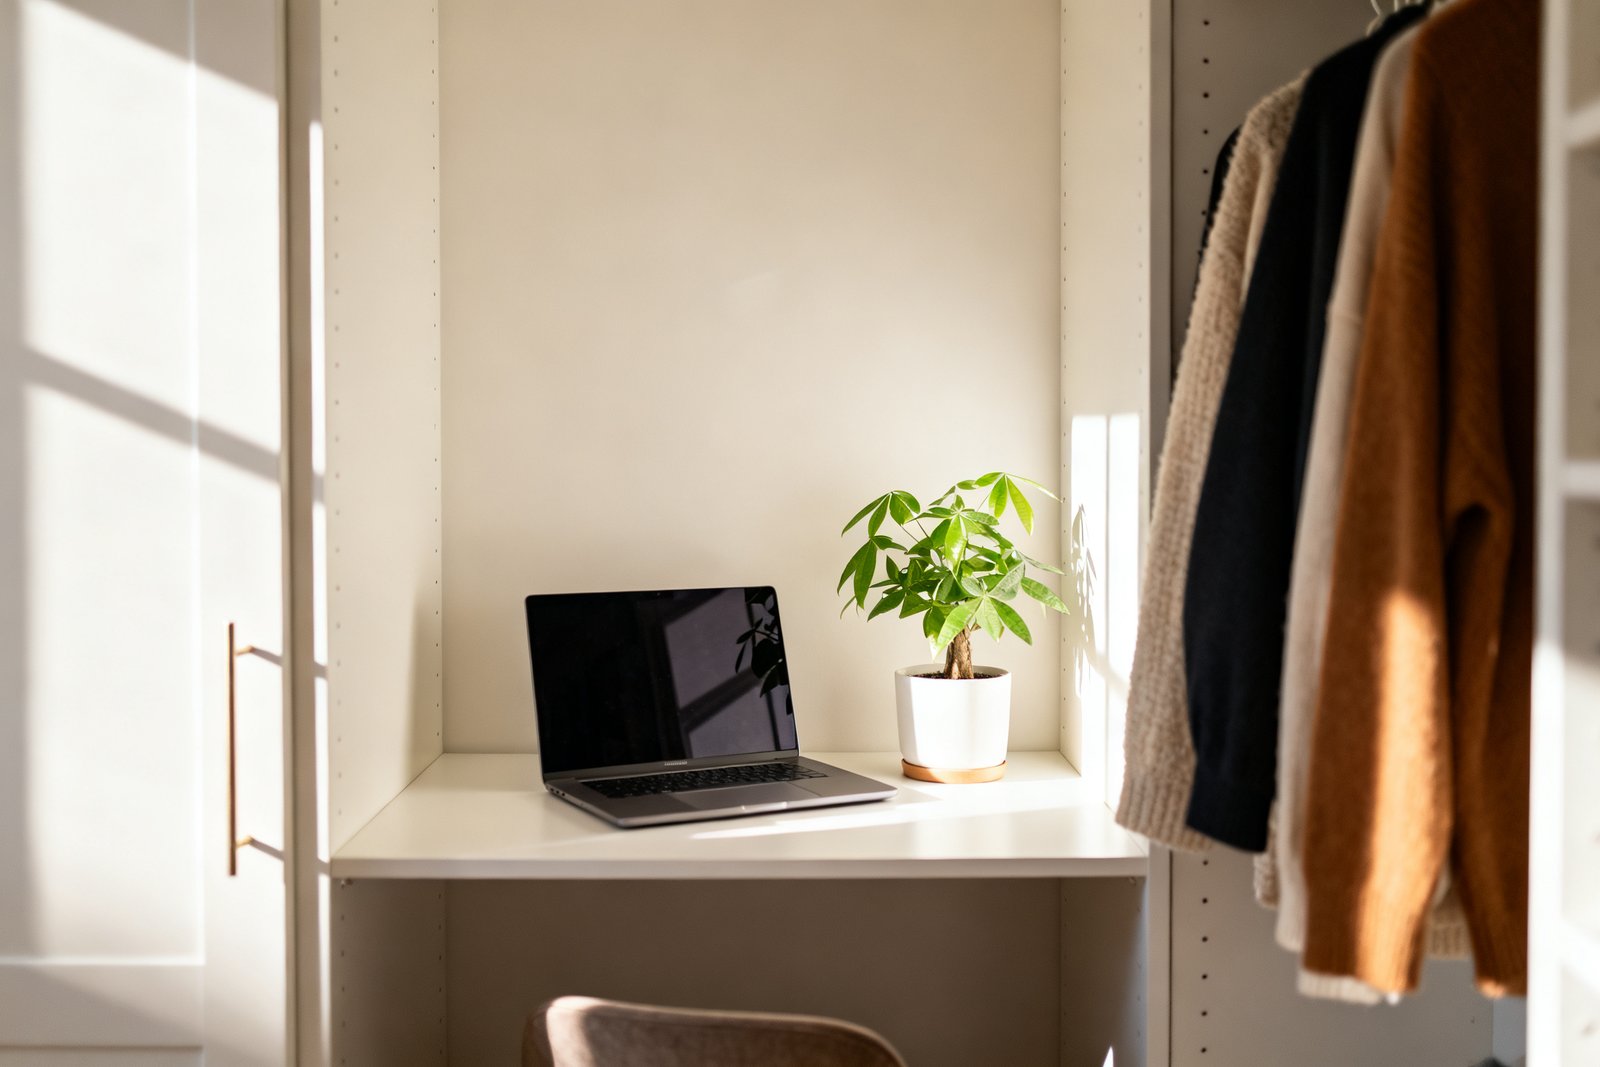
A spare closet can be the perfect spot for a focused, low-distraction workspace—no renovation crew required. With smart planning, a few basic tools, and some budget-friendly finds, you can create a tiny office (aka “cloffice”) that closes neatly out of sight when you’re done.
This guide walks you through layout, lighting, storage, cable management, and finishing touches so your closet office looks intentional and works hard for you.
Measure, Plan, and Pick a Purpose
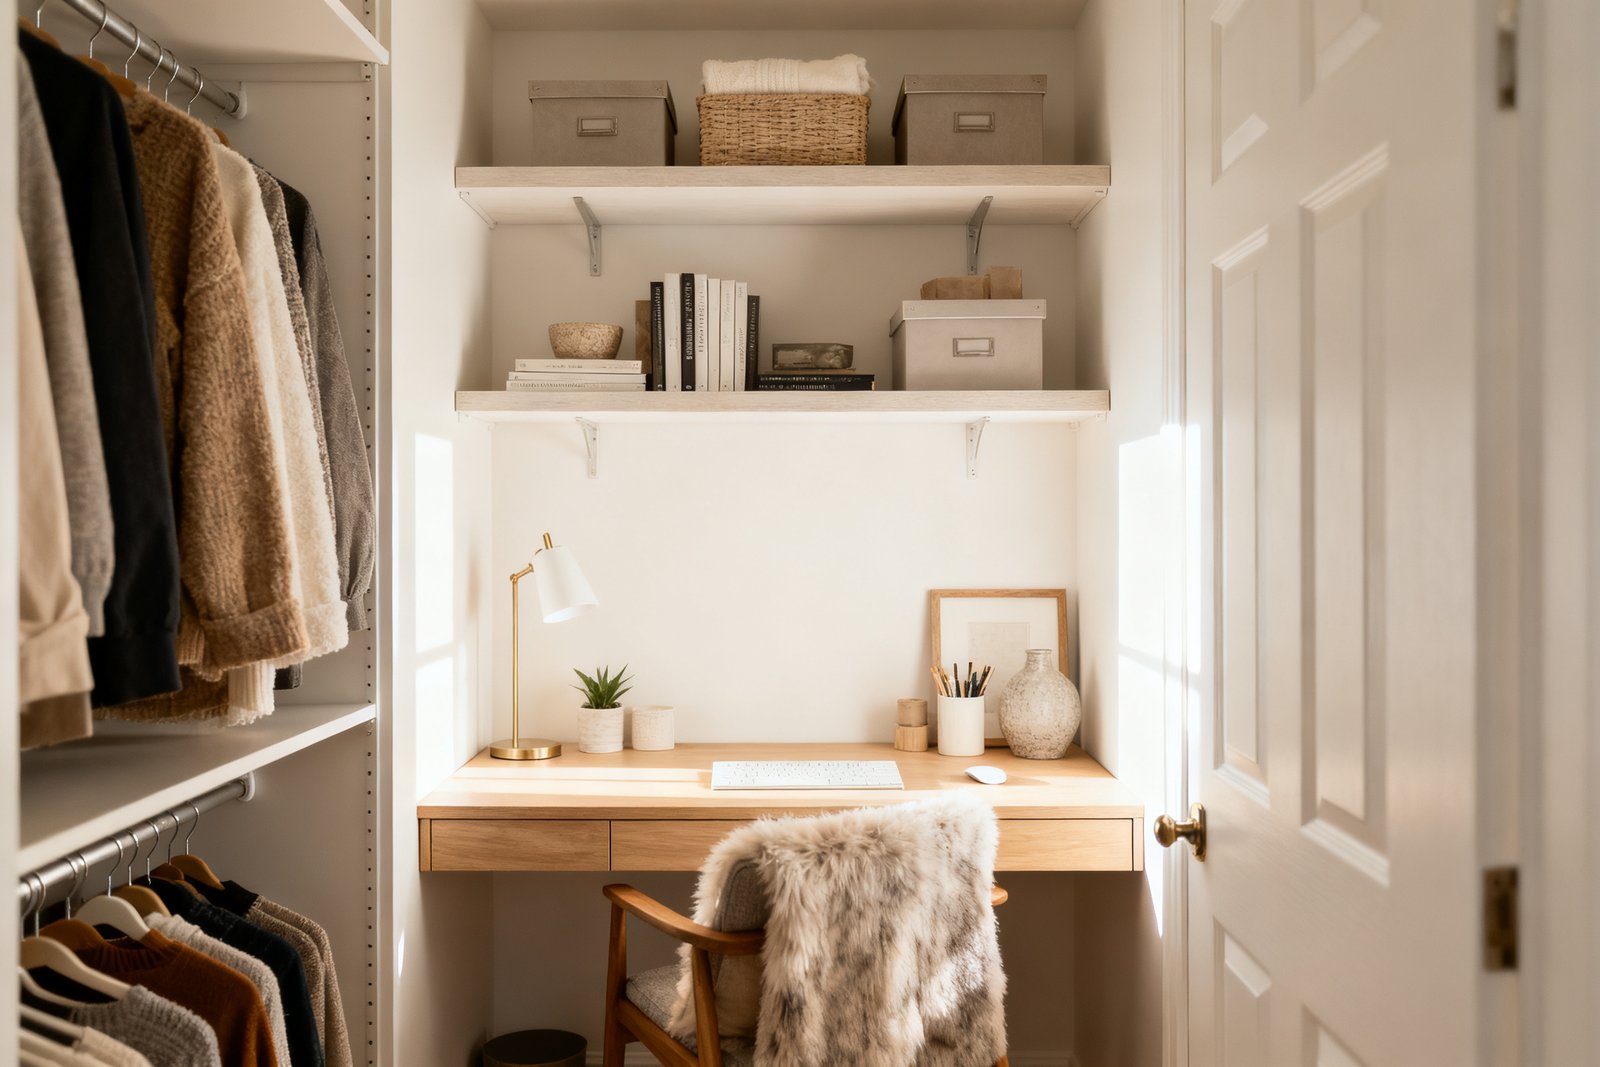
Before you buy anything, get clear on how you’ll use the space. Do you need a laptop station and a place for bills? A dual-monitor setup? Craft storage with a small work surface? Your intended use dictates desk depth, power needs, and storage.
Measure the space
- Width (wall to wall), depth (doorway to back wall), and height (floor to ceiling)
- Door type: swinging, bifold, or sliding; note how it affects access and knee space
- Existing outlets and light position (if any)
Most reach-in closets are 22–28 inches deep. Aim for a desk depth of 18–24 inches to keep knee room and still close the doors. A standard dining chair needs about 18 inches of leg depth.
Pick a layout
- Single-wall desk: simplest, ideal for narrow closets
- U-shaped shelves: adds upper storage on sides; keep center clear for headspace
- Floating desktop + drawers: good if you need file storage and a clean look
Budget-Friendly Desk Solutions
For more ideas, see our guide on how to budget home office setup ideas.
You don’t need custom cabinetry. Build your desk from common parts and keep costs under control.
Option 1: Floating desktop (cleanest look)
Use a 3/4-inch plywood or laminated shelf board cut to closet width. Support it with heavy-duty L-brackets on studs, or use cleats (1×2 or 1×3 strips) on three sides.
- Materials: 3/4-inch plywood or laminated board ($35–$80), brackets or 1x cleats ($10–$25), screws/anchors ($5–$10)
- Finish: sand + paint or stain + clear coat ($10–$20)
- Tip: Set desk height at 28–30 inches for a standard chair, 38–42 for a standing desk.
Option 2: Desktop on drawer units
Place two small drawer units or file cabinets as supports with a board on top. This adds storage and avoids wall drilling in rentals.
- Two small drawer units ($40–$120 each thrifted or flat-pack), top board ($20–$60)
- Add non-slip pads or a couple of screws underneath to keep the top from shifting.
Option 3: Adjustable shelf system
Install vertical standards and brackets (the same kind used for closet shelves). One shelf becomes the desk; others create upper storage.
- Track system starter set ($40–$100), shelf boards ($10–$25 each)
- Easy to change later if you move or repurpose the closet.
- Locate studs (use a $10–$20 stud finder).
- Mark desk height and level a reference line.
- Install cleats/brackets or shelf standards anchored to studs.
- Cut and place desktop; secure from beneath if needed.
- Test weight with your forearms before placing equipment.
Lighting That Works on Camera and in Real Life
Setting up your cloffice? Our free 5-Day Budget Home Reset makes the rest of your space just as functional, one day at a time.
Closets are notoriously dim. You need task light that’s bright, even, and flattering if you’re on video calls.
Layer your lighting
- Overhead: Replace a bulb with a 1000–1600 lumen LED (soft white 2700–3000K) if you have a ceiling fixture. Cost: $6–$12.
- Task: Clamp or gooseneck lamp mounted to the desktop or side wall for keyboard and note lighting. Cost: $15–$35.
- Face light for calls: A small LED panel or ring light mounted above/behind the monitor at eye level. Cost: $20–$40.
No ceiling power? Use plug-in puck lights or an LED light bar with a remote. Rechargeable motion-bar lights run $15–$25 and mount with magnets.
Control glare and shadows
Place the task lamp opposite your writing hand to reduce shadows. If you have glossy screens, angle lights away to prevent reflections. A thin, light-colored desk mat ($10–$20) reduces bounce glare and organizes the surface.
Smart Storage in Inches, Not Feet
It also helps to check out office nook styling for small spaces.
Every inch matters. Go vertical and use shallow-depth solutions that don’t crowd your arms.
Above-desk storage
- Shallow shelves (8–10 inches deep) for bins and books; mount 15–18 inches above the desk to keep headspace. Boards: $10–$25 each; brackets: $8–$15/pair.
- Magazine files or uniform bins labeled for bills, mail, and cables ($2–$8 each).
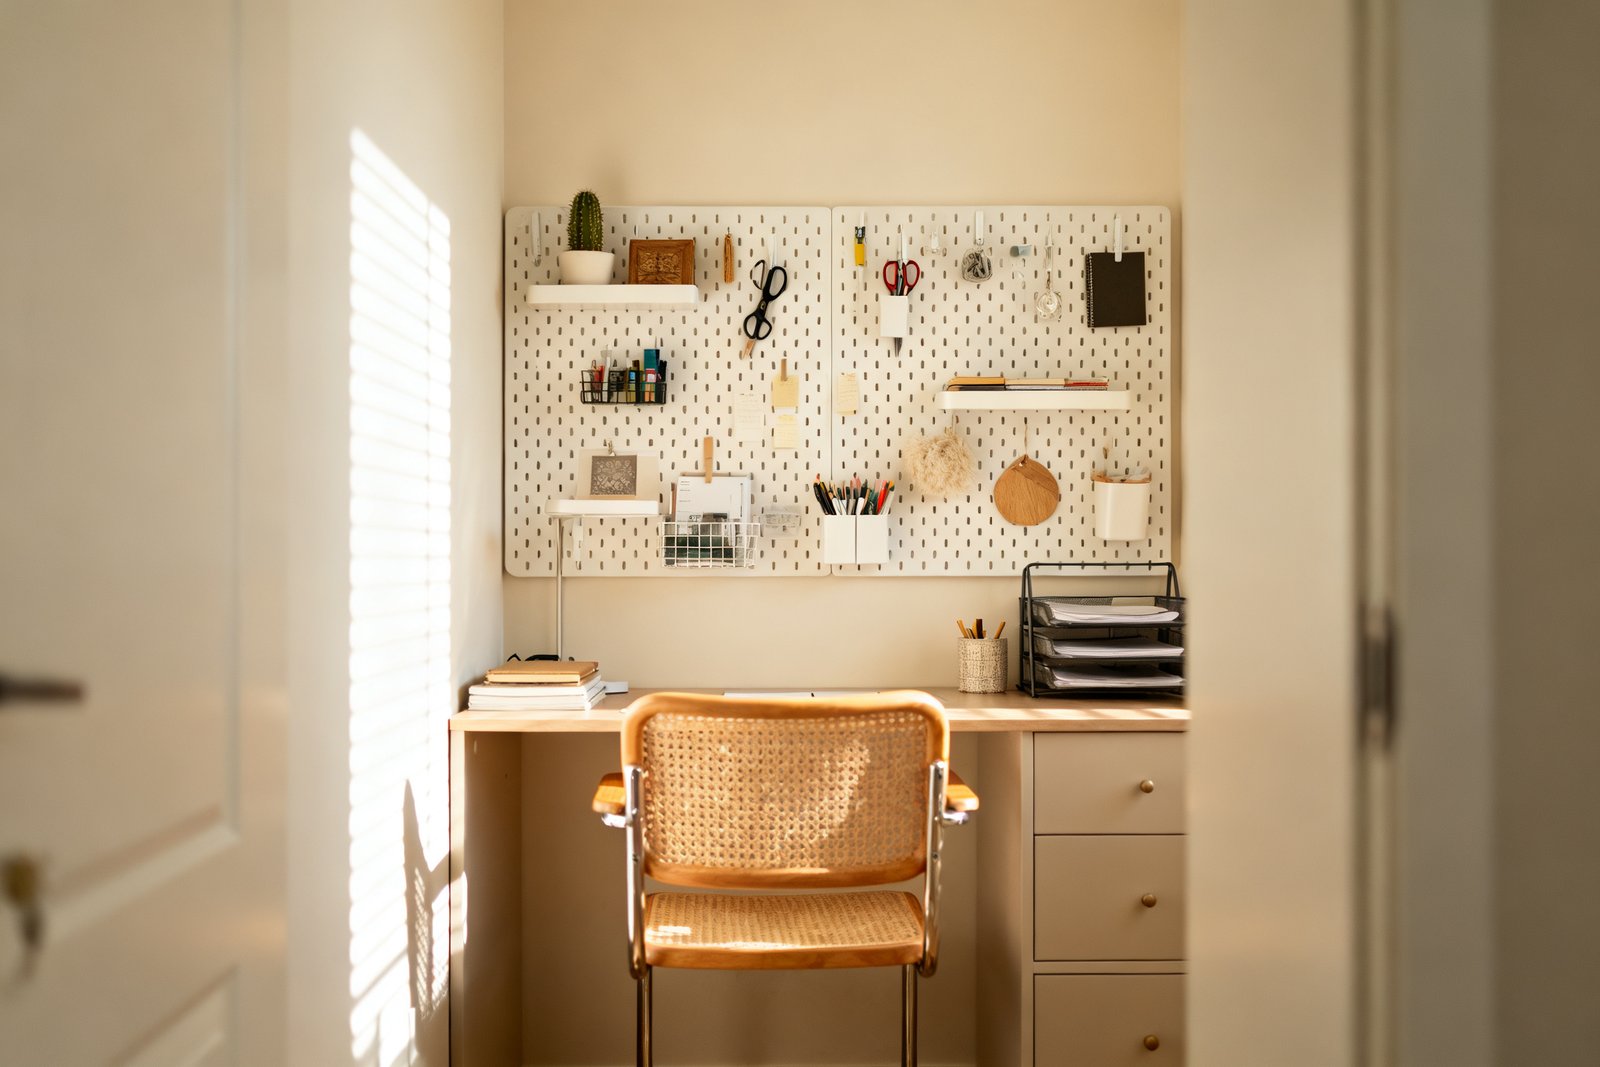
- A small corkboard or pegboard for notes and headphones ($10–$25).
Under-desk and side storage
- Low-profile rolling cart or a single file cabinet under one side ($30–$70 used).
- Adhesive hooks on side walls for bags and headphones ($6–$12 a pack).
- Slide a footrest or shallow storage box to the back when not in use.
Daily-use zone
Keep only what you touch daily within arm’s reach: pens, notepad, charger, sticky flags. Use a narrow desk caddy ($8–$15) or a wall-mounted rail with cups ($12–$20). Everything else lives above or below.
Cable, Power, and Ventilation Basics
A tidy cloffice depends on cord control and airflow. Plan this early to avoid a tangle under your keyboard.
Power safely and neatly
- Use a surge-protected power strip with a flat plug mounted under the desk or to a side wall ($15–$30).
- Stick-on cable raceways route cords to the strip ($10–$20 per kit).
- Velcro ties and adhesive clips manage slack ($6–$12).
- If you must drill a cable grommet in the desktop, use a 2-inch hole saw and a plastic grommet ($5–$8).
Don’t overheat your tech
Closets can get warm, especially with doors closed. If your laptop or router runs hot, keep doors cracked during use or swap solid doors for louvered or bifold types. A small, quiet USB desk fan ($10–$20) aimed at the back wall helps airflow without noise on calls.
Make It Comfortable and Good on Video
You’ll work better if the space feels inviting and fits your body. You don’t need to spend much—focus on the essentials.
Chair and ergonomics
- Chair: If depth is tight, go armless or a task chair with flip-up arms ($60–$150). For very shallow closets, consider a padded dining chair or a stool that tucks under.
- Monitor height: Top of the screen at or slightly below eye level; use a $25–$40 single-arm clamp mount or a stack of books.
- Keyboard and mouse: Keep forearms parallel to the floor; a compact keyboard can save inches.
- Footrest: A $15–$25 wedge improves posture if the desk is a bit high.
Background and color
Paint or line the back wall with a peel-and-stick wallpaper panel ($20–$40 per roll). Choose a muted color that flatters skin tones on video—soft gray, warm beige, or dusty green. Add one small piece of art or a plant on the side shelf to show in frame without clutter.
Sound control
Closets can be echoey if they’re empty. A rug square under the chair, a fabric pinboard, or even a folded throw on a side hook softens sound. Foam strips on door edges ($8–$12) reduce rattles.
Realistic Example: A 3-Foot Closet Makeover Under $250
Closet: 36 inches wide, 24 inches deep, sliding doors, one outlet on the adjacent wall.
- Desk: 3/4-inch laminated shelf board cut to 34.5 inches wide, supported by two 12-inch heavy-duty L-brackets into studs ($60 total with screws).
- Lighting: Rechargeable LED light bar mounted under upper shelf ($20) + small clamp lamp ($18).
- Storage: One 8-inch-deep shelf 16 inches above the desk with two fabric bins ($30); pegboard to the right for headphones and scissors ($18).
- Cable management: Flat-plug surge strip screwed to side ($20), adhesive raceways and Velcro ties ($15).
- Comfort: Armless task chair from a local swap site ($40), $15 footrest wedge.
- Finish: Peel-and-stick wallpaper panel on back wall ($30).
Total: About $236 using a mix of new items and secondhand finds.
Build Steps: From Empty Closet to Cloffice
- Clear and patch: Empty the closet, remove existing low rods or shelves that interfere. Patch holes and scuffs; quick-dry spackle is $6–$10.
- Paint: Light, matte or eggshell finish to bounce light without glare. One quart is often enough for a small closet ($18–$25).
- Layout lines: Mark desk height and shelf locations with a level. Pre-mark stud centers.
- Install supports: Brackets, cleats, or shelf standards anchored to studs.
- Place desktop and shelves: Check for level front-to-back and side-to-side.
- Add lighting and power: Mount strip, run cables in raceways, and secure the surge protector.
- Set up gear: Monitor/laptop, keyboard, mouse, lamp. Tidy cables with Velcro ties.
- Organize essentials: Bins labeled “Bills,” “Mail,” “Tech,” and a small caddy on the desk.
- Tune ergonomics: Adjust chair height, monitor height, and footrest. Test for 20 minutes and tweak.
- Style the backdrop: One art piece, a plant, and a neutral mat. Close the doors—ensure nothing snags.
Mistakes to Avoid
- Overdeep desks: Anything past 24 inches in a standard closet steals knee space and can block doors.
- Skipping studs: Desktops need solid anchoring; use studs or heavy-duty anchors rated for the load.
- No airflow: Closing hot electronics in a sealed closet shortens their life. Crack the door or add a small fan.
- Too much on the desk: Keep the surface clear; store bulk items above or below.
- Harsh lighting: Bare cool-white LEDs can wash you out. Try warm or neutral bulbs and diffuse with a shade.
FAQ
Can I build a cloffice in a rental without drilling?
Yes. Use a desktop resting on two drawer units or a rolling cart, then add removable adhesive hooks and shelves rated for damage-free use. For lighting, use clamp lamps and rechargeable light bars. If you must anchor something, ask about using existing screw holes or patching on move-out.
What if my closet has sliding doors that limit access?
Use a narrower desktop (18–20 inches) so you can slide in easily. Keep daily-use items in the open half of the closet. Consider removing the doors and hanging a curtain panel on a tension rod for full-width access while keeping the option to close it visually.
How do I handle a sloped or uneven floor?
Floating desks avoid floor issues entirely. If you’re using drawer units as supports, shim the bottoms with furniture shims ($3–$6) until the top is level. Always level the work surface, not just the supports.
What’s the cheapest way to make it look finished?
Paint the back wall a single cohesive color, add one shelf with matching bins, hide cords with a $10 raceway kit, and use a small desk mat to unify the surface. Even on a tight budget, those four steps make the space feel intentional.
If you want to keep going, take a look at maximize vertical storage.
Final Thoughts
A cloffice works when every element earns its keep: a right-sized desk, reliable lighting, tidy cables, and just enough storage. Start with accurate measurements, choose simple materials, and build upward. With a weekend of work and a sensible budget, you can carve out a calm, capable workspace behind a pair of doors.