
Your dresser top can look curated and intentional without spending a lot. With a few affordable pieces, smart styling rules, and items you already own, you can get a designer finish that fits your space and personality.
This guide walks you through a simple formula, budget sources, and real-life examples so you can style it once and tweak it seasonally with confidence.
Start with a Clean Slate and a Plan
Clear everything off the dresser and wipe it down. If the finish is tired, a $8-15 furniture polish or restorer can revive wood and make the whole setup look more expensive.
Decide the vibe you want: minimal, cozy, eclectic, or modern. Also take quick measurements of your dresser top and wall height. Knowing your dimensions helps you pick pieces that fit (for example, a mirror that’s roughly 60-80% of the dresser width typically looks balanced).
Use a Simple Formula: Anchor + Height + Layers + Life
For more ideas, see our guide on how to style a nightstand like a designer.
1) Anchor the composition
Add one large piece to center the look. Common anchors:
- Mirror (round or rectangular): thrift $10-30; new budget options $30-60
- Art (single large piece): thrift or printable in a thrifted frame $5-25
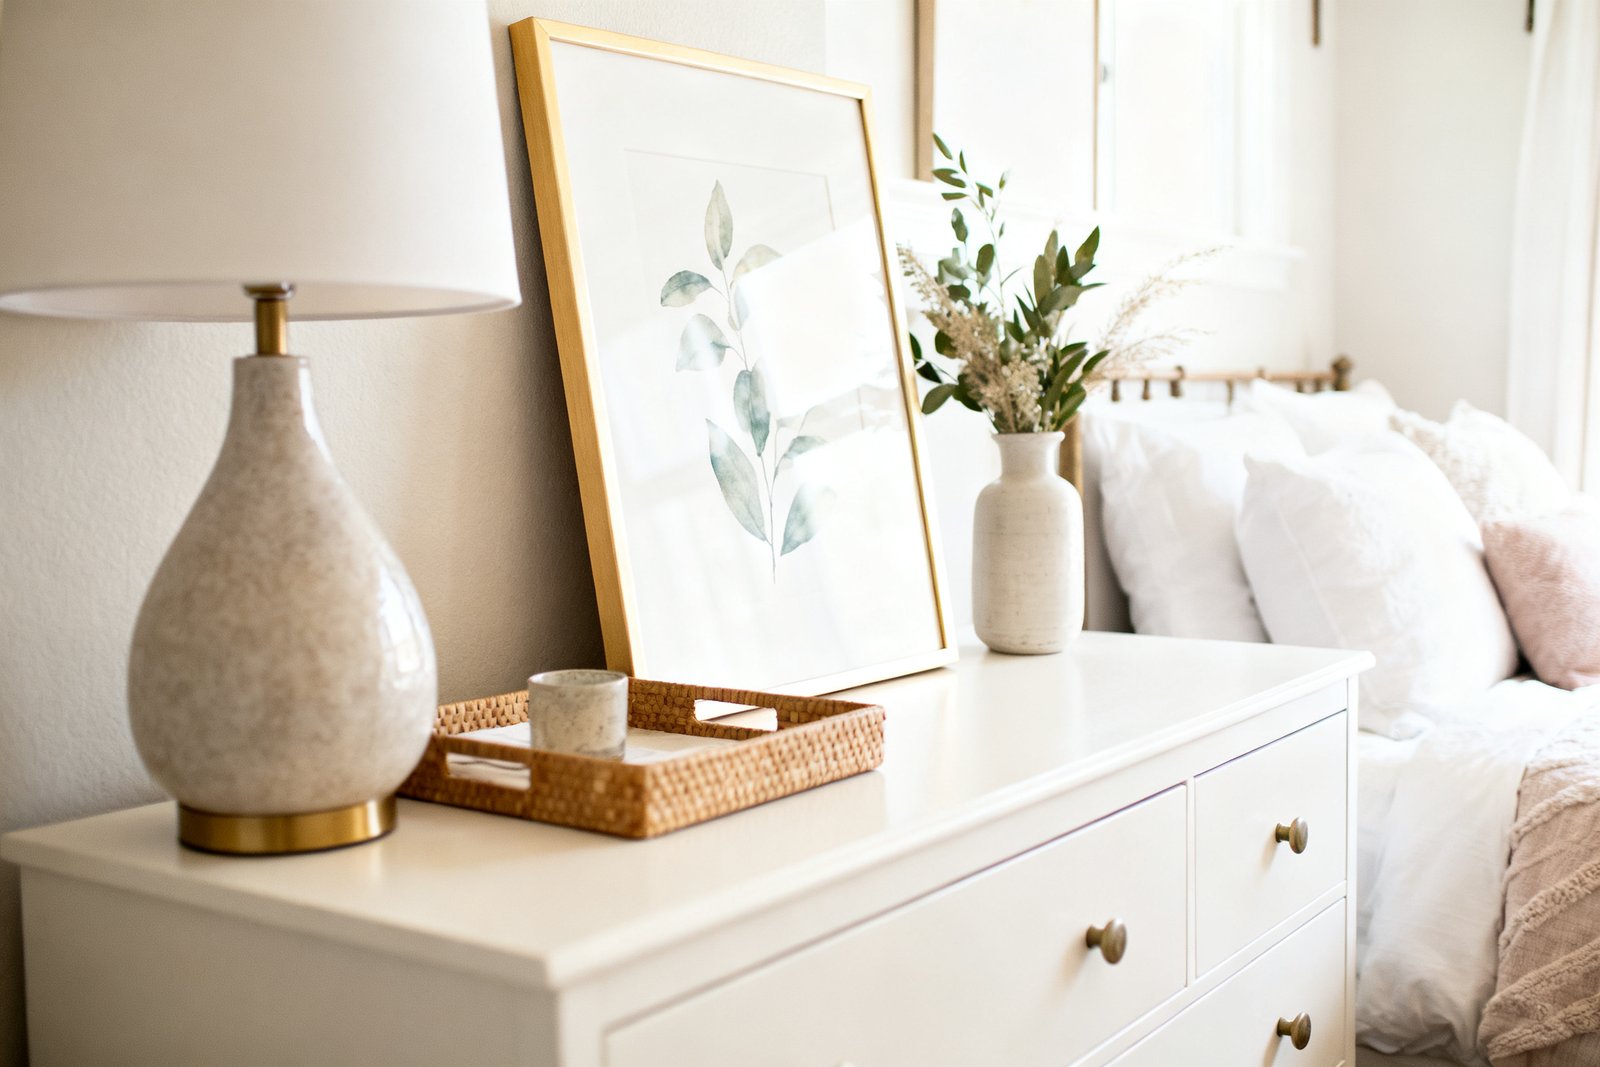
- Leaning frame gallery: 2-3 frames layered, all under $40 total if thrifted
Hang or lean the anchor. Leaning feels casual and lets you change things easily. If hanging, keep the bottom edge 2-6 inches above the dresser so it relates visually.
2) Add height for dimension
Height stops the setup from feeling flat. Use one of the following:
- Table lamp (24-28 inches tall): thrift $8-20; new shade $10-20
- Tall vase with branches or pampas: vase $5-15, branches free from your yard or $6-12 at craft stores
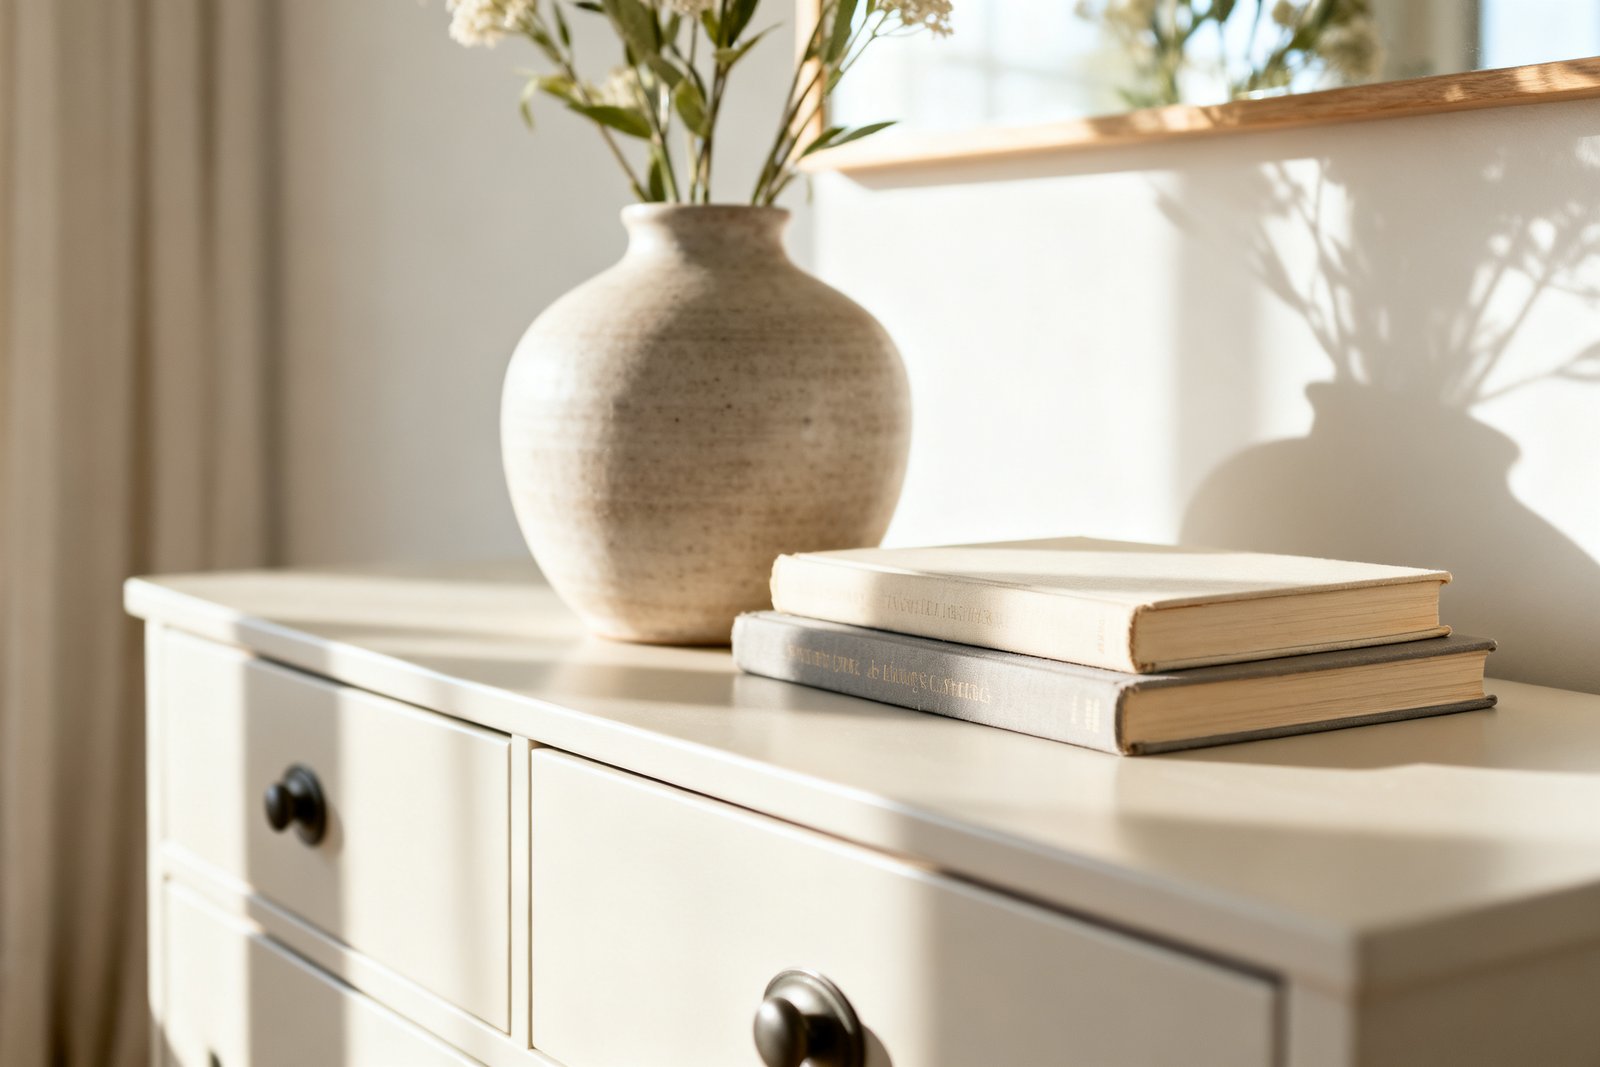
- Stacked books with a small object on top: thrift books $1-3 each
3) Layer horizontal surfaces
Corral small items with a tray or shallow basket. A tray cleans up visual clutter and instantly looks intentional.
- Thrifted wood or metal tray: $3-12
- Shallow woven basket: $6-15
- Marble-look cutting board as tray: $10-20
4) Add life and personality
Include organic elements and personal touches. Plants, fresh or dried stems, a scented candle, a framed photo, or a travel souvenir give character without overwhelming the space.
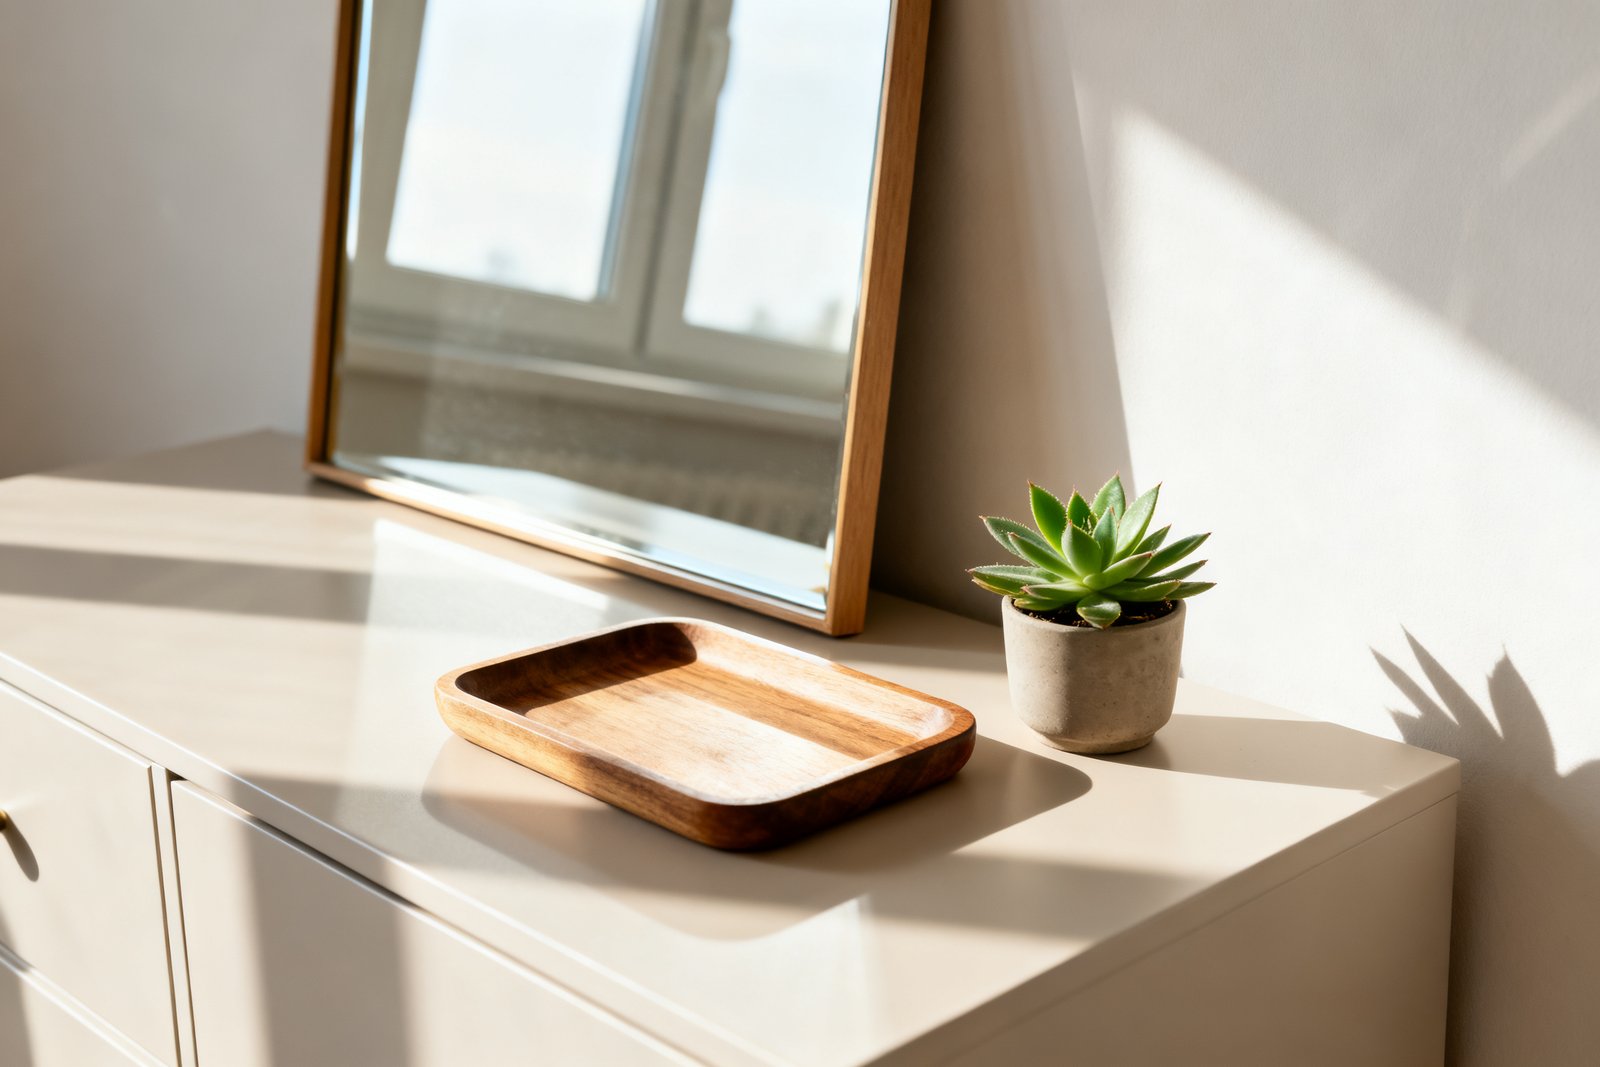
Follow the 3-2-1 Arrangement Rule
A styled dresser lifts the whole room—want to refresh the rest? Try our free 5-Day Budget Home Reset.
Designers often group items in odd numbers for balance. On a dresser, aim for three visual clusters, not three items. Here’s a simple layout:
- Left cluster (height): lamp or tall vase + small object or book stack.
- Center cluster (anchor): leaning mirror/art with a low item overlapping its edge (like a small bowl or frame).
- Right cluster (low-medium): tray with daily-use items + small plant or candle.
Vary heights within each cluster. For example, pair a 26-inch lamp with a 6-inch plant and a 2-inch dish. Overlap edges slightly so pieces feel connected rather than isolated.
Budget-Friendly Sourcing and Quick Upgrades
It also helps to check out style a console table.
Where to find affordable pieces
- Thrift stores and yard sales: mirrors, lamps, frames, hardcover books, trays ($2-20 each).
- Buy-nothing groups: free decor, leftover paint, branches, planters.
- Discount retailers or clearance aisles: simple lamps, candles, faux greenery ($5-25).
- Craft stores: dried stems, unfinished frames, wood bowls ($4-15, watch for coupons).
Easy DIY upgrades that look high-end
- Spray paint a lamp base in matte black, off-white, or brass ($6-8 per can).
- Swap a lamp shade for drum or pleated styles to modernize ($10-20).
- Mat a thrifted print with poster board for a custom look ($3-5).
- Use contact paper to line a tray or add a faux stone surface ($8-12 per roll).
- Rub-n-Buff or metallic wax accents on frame edges for subtle sheen ($7-10).
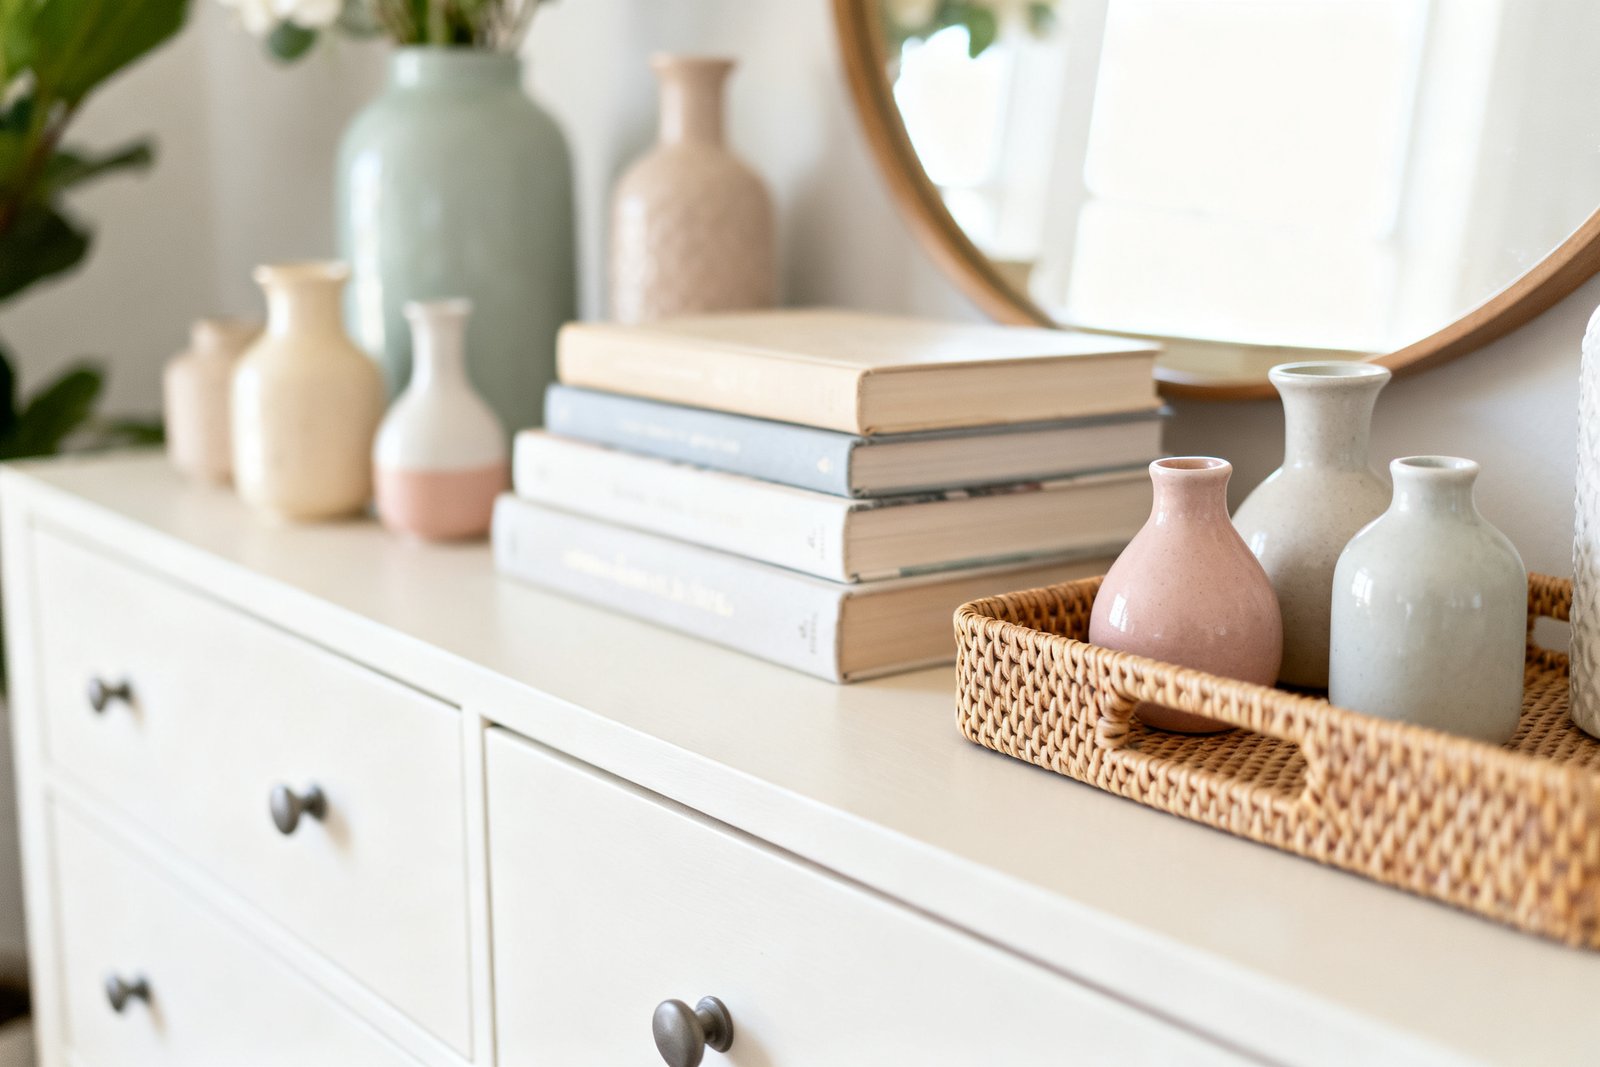
Make It Functional Without Looking Cluttered
Create zones
Think about how you use the dresser daily. If it’s in a bedroom, you may need a place for jewelry, wallet, keys, or a watch. Use a lidded box or small bowls on a tray to keep it contained but accessible.
Hide the everyday mess
- Small lidded box for receipts, cords, or chapstick ($5-12).
- Shallow dish for rings or keys ($2-6, thrifted saucers work well).
- Pretty tissue box cover or a minimal black/amber bottle for lotion ($5-10).
Keep the surface about 30-40% open so it doesn’t feel crowded. If you add something new, remove something else.
Style for Your Dresser Type and Room
Wide, low dresser
Use a large round mirror (30-36 inches) or a wide rectangular mirror. Balance with a tall lamp on one side and a medium group on the other. A long, narrow tray (18-24 inches) across the center can bring cohesion.
Tall, narrow chest
Choose a smaller round mirror (18-24 inches) or a vertical art piece. Keep the lamp slim or use a wall sconce if possible. Use one compact tray and avoid over-stacking books to maintain proportion.
Shared spaces (entry or studio)
Prioritize function: a bowl for keys, a catchall tray, a compact lamp. Add vertical interest with a small mirror to check before heading out. Keep decor durable and easy to reset.
Realistic Example: $60 Bedroom Dresser Top
Scenario: You have a 60-inch-wide dresser in a rental. You want it to feel calm, modern, and organized.
- Anchor: Thrifted 28-inch round mirror, painted frame matte black ($12 mirror + $7 spray paint = $19).
- Height: Thrift lamp base ($10) with a new drum shade ($12) total $22, placed on the left.
- Layers: Two hardcover thrifted books under a small ceramic bowl ($5 total), centered slightly right to overlap the mirror edge.
- Tray: Faux marble cutting board repurposed as a tray ($10) on the right, holding a candle ($4) and a small pothos clipping in a thrifted glass ($2).
- Total: $62. If needed, skip the candle or use a bowl you own to hit $60.
Result: Balanced height, a strong anchor, functional containment, and a touch of green—without visual clutter.
Simple Step-by-Step to Style Yours Today
- Clear the surface and measure the width and wall height.
- Choose your anchor (mirror or art) and place it centered; lean or hang.
- Add height on one side (lamp or tall vase with free branches).
- Create a low-medium cluster on the other side (tray + plant or candle).
- Layer in a small stack of books and one personal object.
- Adjust spacing: overlap edges slightly, leave open space in front.
- Edit: remove one item if it feels crowded. Test night lighting and glare.
Mistakes to Avoid
- Too many small items: they read as clutter. Group on a tray or remove extras.
- No height variation: add a lamp, branches, or a tall frame for dimension.
- Ignoring scale: a tiny mirror on a wide dresser looks lost—go bigger or add multiple frames.
- Flat layouts: overlap items slightly to connect the composition.
- Blocking drawers: keep decor clear of handles and allow hand clearance.
- Harsh lighting: choose warm bulbs (labeled soft white) to avoid a clinical feel.
Quick FAQ
How big should the mirror or art be above a dresser?
A good rule is 60-80% of the dresser width. For a 60-inch dresser, aim for a 36-48 inch wide rectangular piece or a 28-36 inch round mirror. If your piece is smaller, layer additional frames to build visual weight.
Do I need a lamp if there’s overhead lighting?
No, but a lamp adds warmth and height, and it’s helpful for nighttime routines. If space is tight, try a slim lamp, a wall sconce, or a rechargeable, cordless lamp to keep cords tidy.
What if I rent and can’t put holes in the wall?
Lean your mirror or art and use museum putty to keep it in place. Command hooks and strips can handle lighter frames. Keep heavier items centered and supported by the dresser back edge.
How do I keep it looking tidy long-term?
Use the “one in, one out” rule. Keep a small hidden container for everyday bits and do a 60-second reset at night: put jewelry in the bowl, blow out the candle, and clear stray mail into a drawer or bin.
If you want to keep going, take a look at choose décor that looks expensive.
Styling a bedroom dresser? The Budget Bedroom Makeover Planner walks you through a full bedroom refresh, from layout to finishing touches.
Final Thoughts
With one strong anchor, varied heights, and a few well-chosen layers, your dresser top can look polished and practical. Start with what you have, source a couple of budget upgrades, and edit until it feels balanced. Once the formula clicks, you can refresh it seasonally without starting from scratch.