
Wall art can make a room feel finished, but the wrong size or placement can throw everything off. With a few simple rules and some low-cost tools, you can choose pieces that fit your space and hang them so they look intentional. Here’s how to get it right without overspending.
Start with the Wall and Furniture Measurements
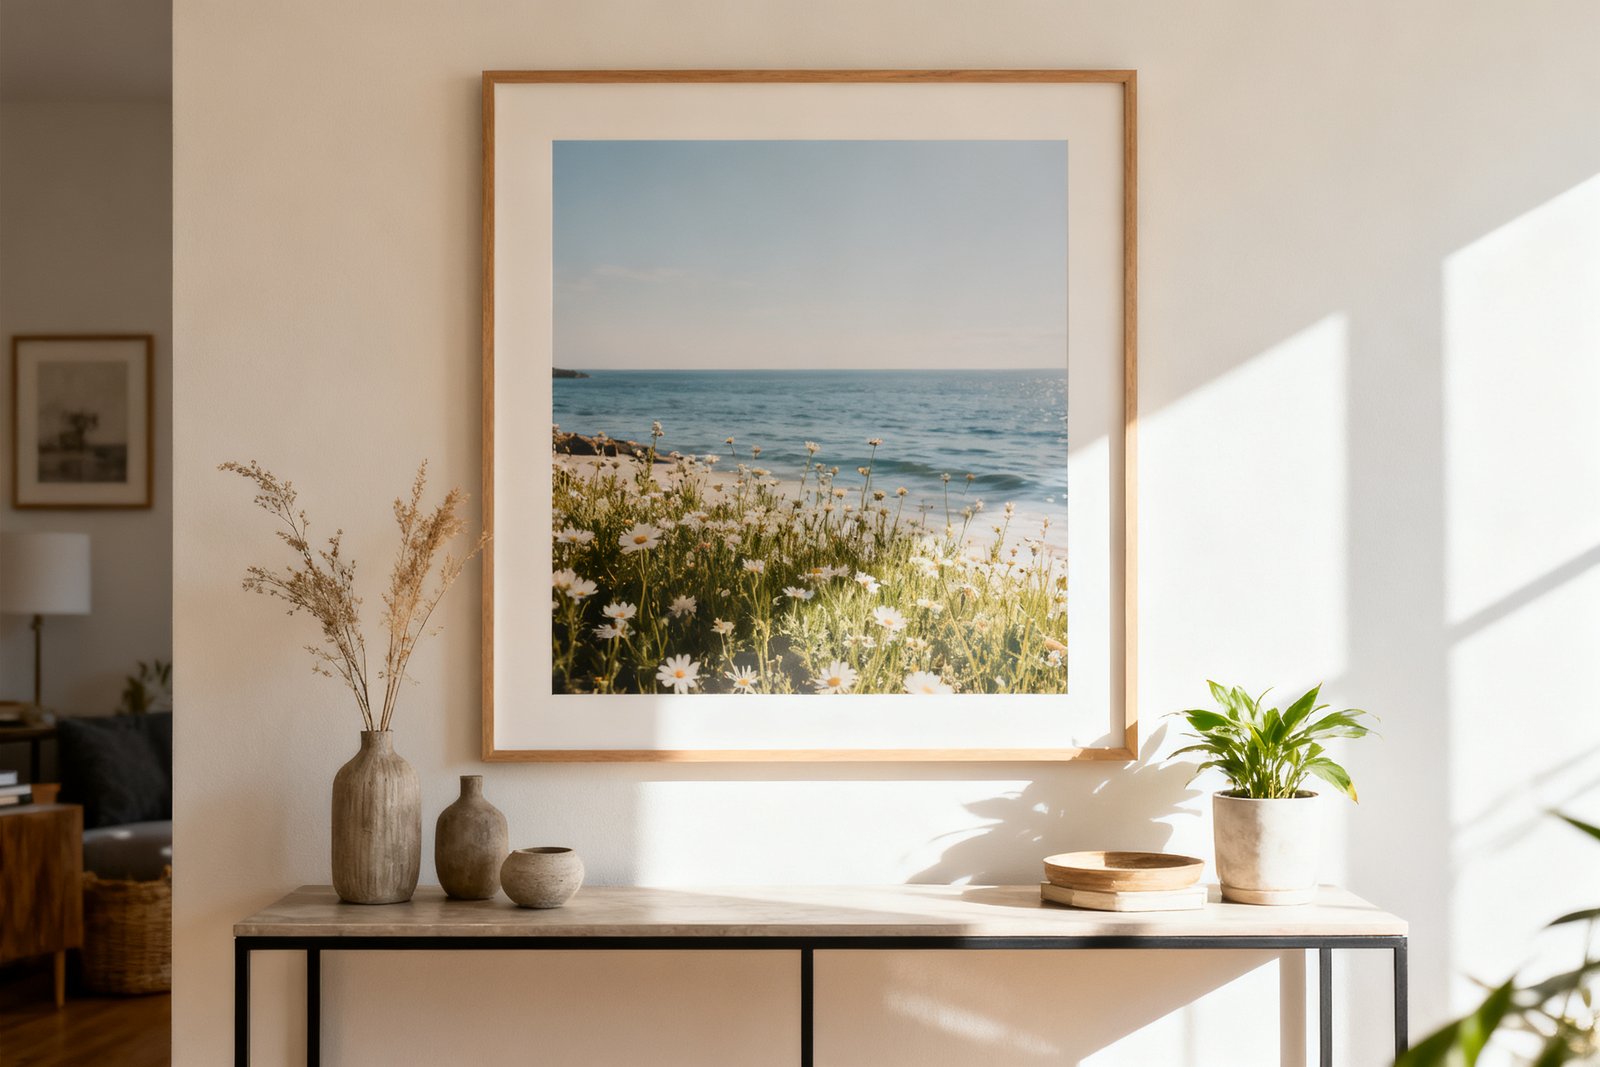
Before you shop, measure the wall and any furniture the art will relate to. Size is relative: a piece that looks large in a store can disappear over a sofa. Write measurements down so you’re not guessing later.
- For art over furniture (sofas, buffets, beds): aim for art that’s 2/3 to 3/4 the furniture width.
- For standalone walls: fill 60–75% of the available wall width with one large piece or a grouping.
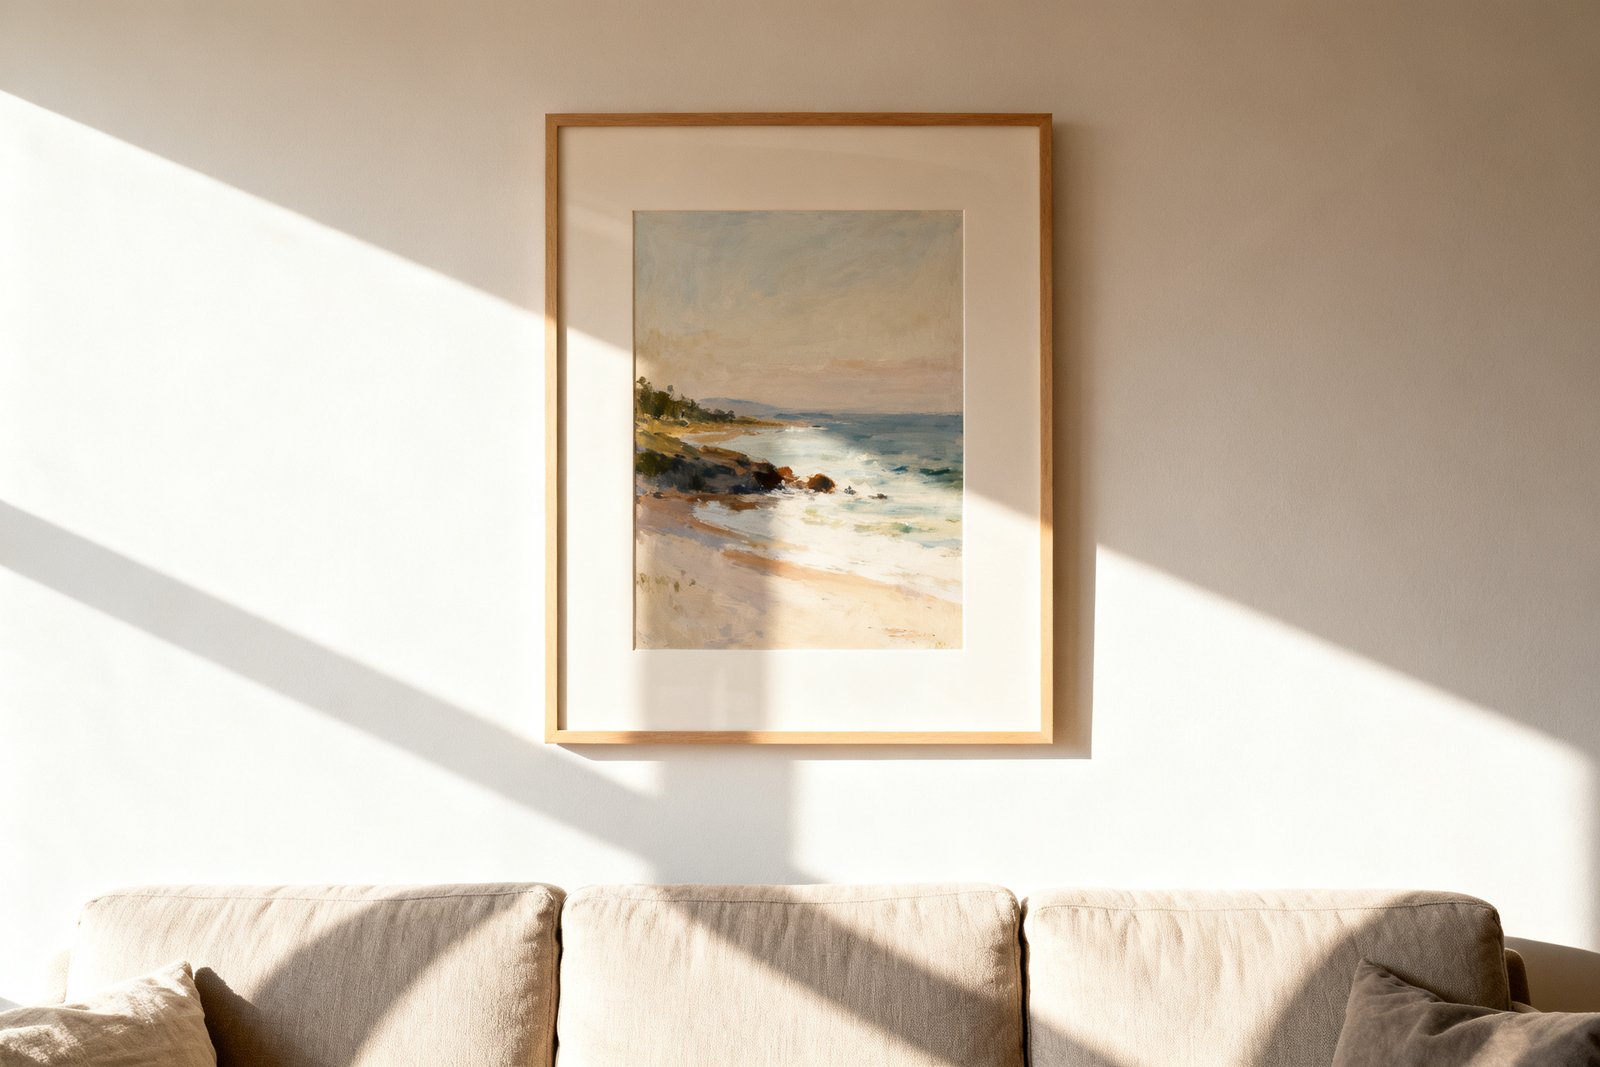
- For height: leave at least 6–12 inches of breathing room between the top of furniture and the bottom of the art.
Cheap tools help: a tape measure ($5–$10), painter’s tape ($4–$6), and a notebook. If you’re on your phone, snap a photo of the wall and jot measurements in the image notes.
Pick the Right Scale: Big, Medium, or a Gallery
For more ideas, see our guide on how to hang a gallery wall.
Undersized art is the most common issue. Lean larger when in doubt—one big piece often costs less than framing several small prints. If a single large piece isn’t in the budget, create scale with multiples.
One Large Statement
Choose a piece roughly 30–50 inches wide for a standard 72–84 inch sofa. In bedrooms, a 36–48 inch piece over a queen headboard works well. Canvas prints can be affordable: 24×36 canvas prints often run $30–$80 during sales; poster prints in that size cost $15–$30 plus a $25–$60 frame.
Diptych or Triptych
Two or three coordinating pieces can mimic a single large artwork. Keep 2–3 inches between frames so they read as one unit. This lets you split costs: three 16×20 prints ($8–$20 each) and basic frames ($12–$25 each) can cover a big wall for under $120–$180.
Gallery Wall
Use a tight arrangement to build presence. Plan a rectangular footprint that’s at least 2/3 the width of the nearby furniture. Thrift frames ($2–$8 each), printable art ($0–$10 per file), and family photos keep costs low. Consistent spacing (1.5–2.5 inches) makes an eclectic mix feel cohesive.
Get the Height Right: Eye Level and Furniture Rules
Got your art placement right? Keep going with our free 5-Day Budget Home Reset—five days of easy, low-cost updates.
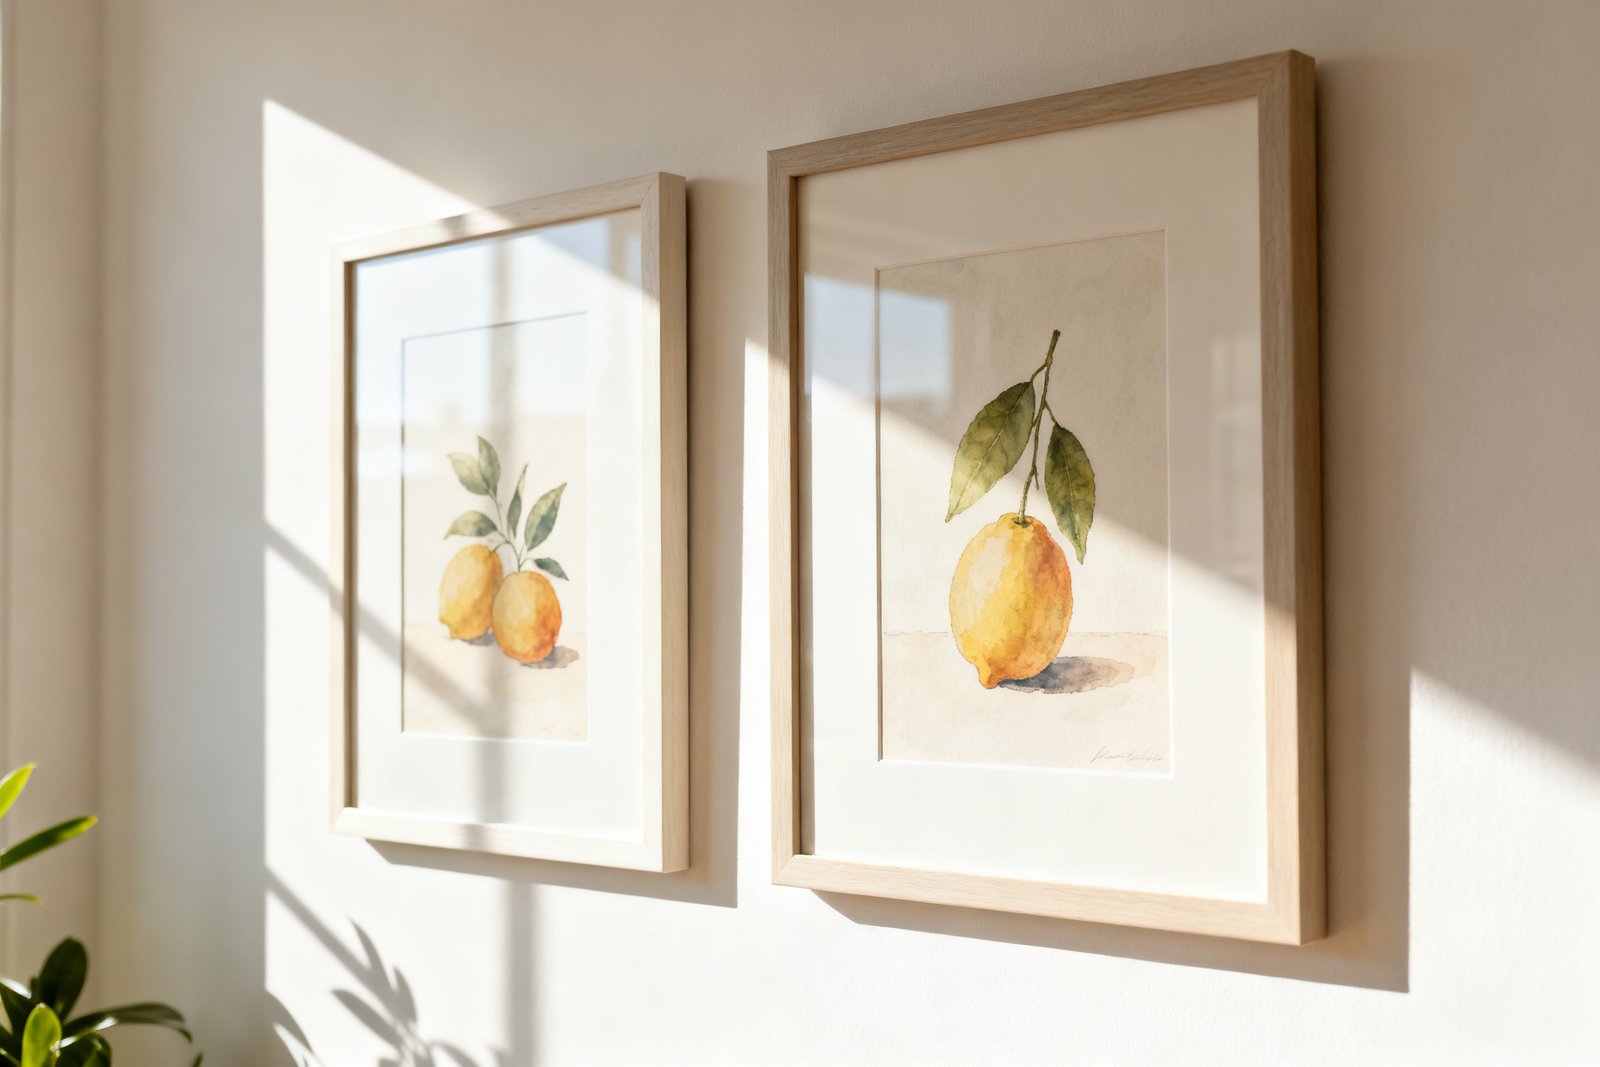
For most rooms, center art at eye level: 57–60 inches from the floor to the center of the piece. This matches common gallery standards and keeps lines calm across spaces. Adjust if your ceilings are very low or very high, but stay near this range for a balanced look.
Over a Sofa, Bed, or Console
- Bottom edge 6–10 inches above the furniture.
- Total width of art: 2/3–3/4 of the furniture width.
- Keep headboards and lamps in mind; you want the art to clear them by a few inches.
In Hallways and Dining Rooms
Hang a touch lower (center at ~57 inches) because you’re often standing. In dining rooms, you’re seated more—drop the center closer to 56–57 inches so the art doesn’t feel too high when you sit.
Staircases
Follow the rise of the stairs with the center of each piece staying roughly 57–60 inches above the stair tread beneath it. Use a consistent tilt to your line rather than trying to keep tops or bottoms level.
Plan Your Layout with Paper or Tape
It also helps to check out budget wall styling ideas.
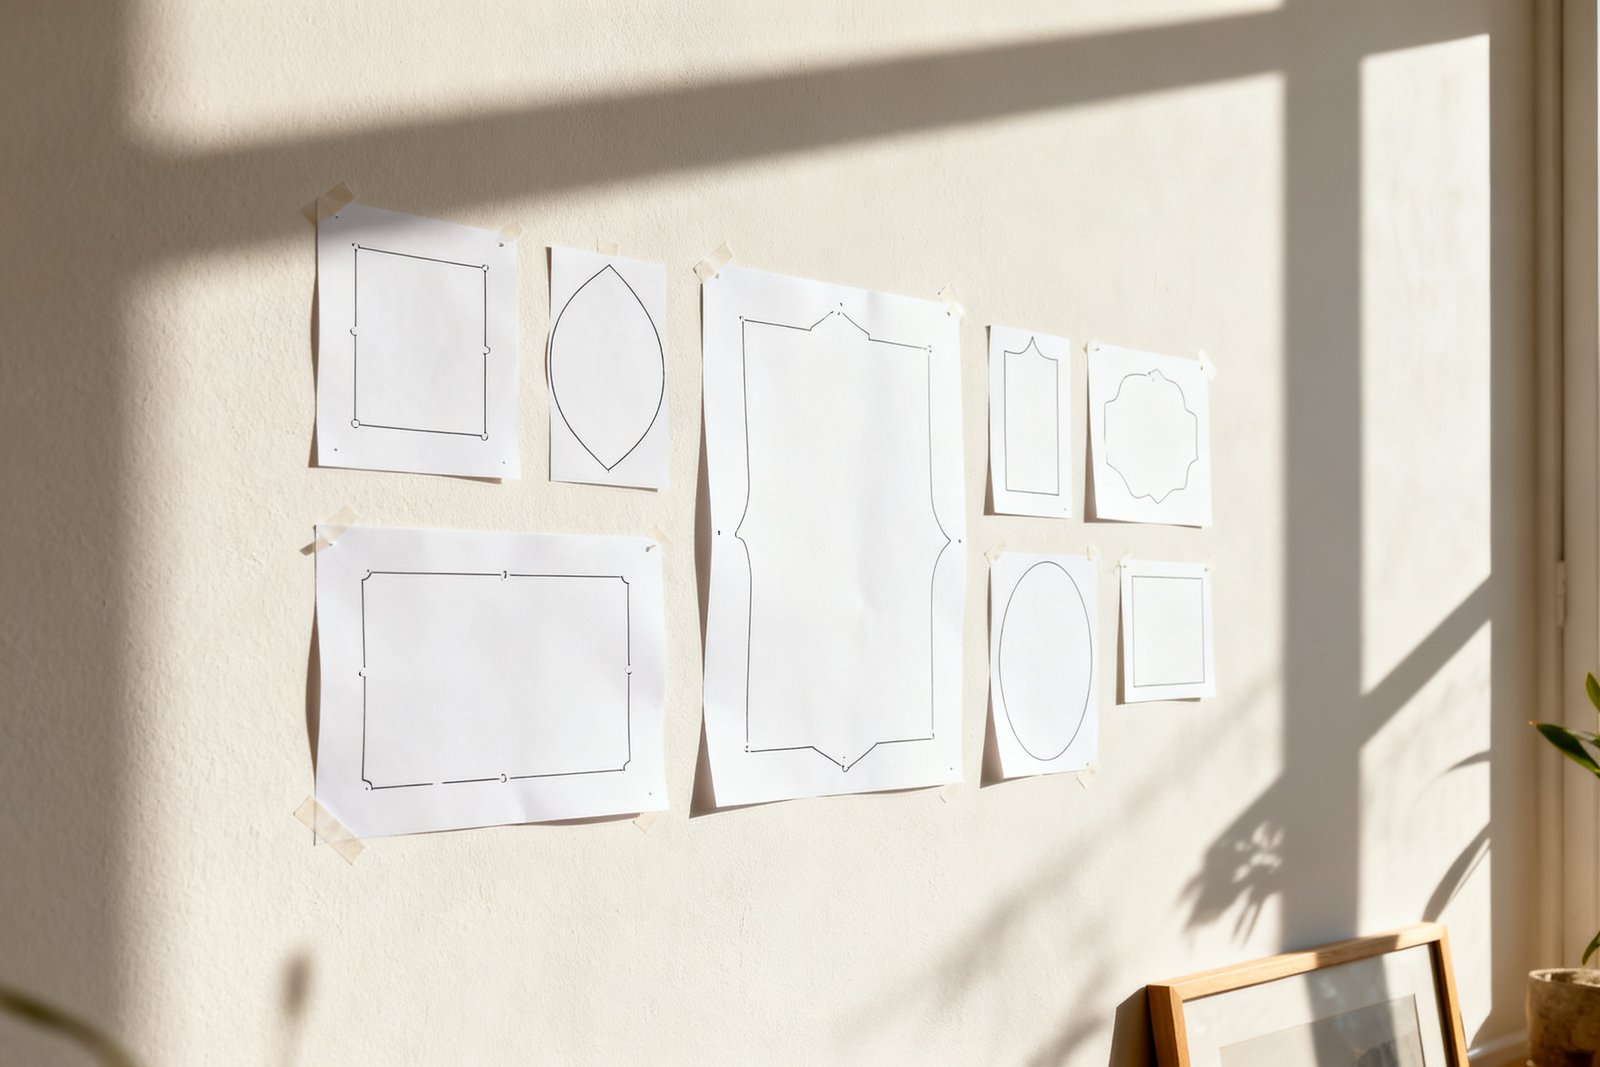
Mockups save mistakes, extra holes, and frustration. Use what you have at home to see proportions and spacing in real scale.
Low-Cost Mockup Methods
- Painter’s tape: Outline the frame footprint directly on the wall. Costs $4–$6.
- Kraft paper or grocery bags: Cut to frame size and tape up. Free to $5 per roll.
- Newspaper pages: Stack and trim to size; label each piece to avoid confusion.
Step-by-Step Hanging Plan
- Measure the wall and furniture width. Decide your target art width (2/3–3/4 of furniture, or 60–75% of open wall).
- Choose layout: single piece, diptych/triptych, or gallery. Sketch a simple rectangle representing the total footprint.
- Mock it up with tape or paper at the correct height (center at 57–60 inches, or 6–10 inches above furniture).
- Adjust spacing (2 inches for small frames, 2–3 inches for larger). Step back 8–10 feet and take a photo to check balance.
- Mark the top of each frame on the wall. Measure from the frame’s top to its hanging hardware to locate nail positions.
- Use appropriate hardware: small nails for frames under 10 lbs, picture hooks rated for 20–50 lbs for heavier pieces ($3–$8 per set). Anchors for drywall if there’s no stud.
- Hang and fine-tune with bumpers ($3–$5) to keep frames from shifting and to protect paint.
Frame and Mat Choices That Affect Perceived Size
Frames and mats can make art feel larger without needing a bigger print. This is especially useful on a tight budget.
- Use larger mats: A 12×16 image in a 18×24 frame with a wide mat creates presence. Pre-cut mat/frame combos cost $25–$45.
- Go thin on frame profile for gallery walls so the overall group reads as one shape.
- Pick two finishes max (e.g., black and natural wood) to simplify and keep the wall cohesive even with mixed art.
- If frames don’t match, spray paint them the same color ($6–$8 per can). Remove glass and hardware first.
Room-by-Room Sizing Cheats
Living Room
Over a standard sofa (72–84 inches wide), aim for 48–63 inches total width of art. If your piece is smaller, pair it with sconces, plants, or a second piece to visually extend the footprint.
Bedroom
Above a queen headboard (60 inches), try 40–48 inches total width. Keep the bottom of the art 6–8 inches above the headboard to prevent head bumps and visual crowding.
Dining Room
One large piece centered on the main wall tends to look calm. Consider non-glare glass or canvas if you have windows opposite the art. Center height closer to seated eye level.
Entry and Hallways
Use vertical pieces or stacked pairs to add height where floor space is narrow. Keep depth minimal if the walkway is tight; narrow frames (3/4–1 inch profile) are less likely to get bumped.
Bathroom
Smaller moisture-resistant pieces work best. Use sealed frames or canvas; avoid valuable paper art unless protected with good framing. Leave a few inches of space from towel bars to prevent splashes.
Realistic Example: Styling Art Over a Sofa on a Budget
Room: 12×15 living room, 84-inch sofa on a 10-foot wall. You want a finished look for under $150.
Measurements: Target art width is about 56–63 inches (2/3–3/4 of sofa). You choose a triptych: three 16×20 prints with 2-inch gaps.
Plan: Total width becomes 16 + 2 + 16 + 2 + 16 = 52 inches (a bit narrow). To reach target, you switch to three 18×24 frames with 2-inch gaps: 18 + 2 + 18 + 2 + 18 = 58 inches. Perfect. Center height: 60 inches to the middle line, with the bottom of frames 7 inches above the sofa back.
Costs: Printable art files $6–$12 each (or free personal photos), three 18×24 poster prints $12–$18 each during sales, three basic frames $20–$30 each. Total: roughly $108–$162. Use painter’s tape to mock up, then hang with 30-lb picture hooks and adhesive bumpers.
Mistakes to Avoid
- Going too small: Pieces under 24 inches wide often look lost over full-size sofas. Group them or size up.
- Hanging too high: Keep centers around 57–60 inches; resist the urge to float art near the ceiling.
- Ignoring furniture width: Art should relate to what’s beneath it. Measure first.
- Uneven spacing in galleries: Use a spacer (a scrap of cardboard cut to 2 inches) for consistency.
- Too many finishes: Limit frame colors to one or two to calm the wall.
- Skipping proper hardware: Use anchors for heavy pieces on drywall to avoid sagging or damage.
Quick Sizing and Placement Checklist
- Measure wall and furniture width.
- Choose total art width: 2/3–3/4 of furniture or 60–75% of open wall.
- Set center height: 57–60 inches from floor (adjust slightly per room use).
- Plan spacing: 2 inches for small frames, 2–3 inches for larger.
- Mock up with tape or paper before making holes.
- Use appropriate hooks/anchors; add bumpers to level and protect walls.
FAQ
What if my ceilings are high—should I hang art higher?
Usually, no. Keep the center near 57–60 inches so the art relates to the people in the room. If the wall still looks empty above, add a taller floor lamp, plants, or drapery to fill vertical space instead of raising the art.
Can I mix different frame colors and sizes?
Yes, but set a limit. Choose one or two frame finishes and keep spacing consistent. Use a shared element—like all white mats or similar frame profiles—to tie mixed sizes together.
How do I size art for above a fireplace?
Match the width to about the firebox or mantel, typically 1/2 to 2/3 the mantel width. Keep the bottom of the art 3–7 inches above the mantel. If the mantel is deep or tall, lean the art slightly or use layered smaller pieces that collectively match the target width.
What’s the best budget source for large-looking art?
Use printable files and large frames with wide mats, engineer prints for black-and-white photos ($5–$10), or canvas sales. Thrift stores are great for frames—swap in your own art and paint frames to match.
If you want to keep going, take a look at cheap printable wall art.
Final Thoughts
Choosing the right size and placement for wall art is mostly about simple measurements and consistent rules. Decide your target footprint, hang at eye level, and use frames and mats to stretch your budget. With a tape measure, painter’s tape, and a plan, you can make any wall look pulled together without overspending.