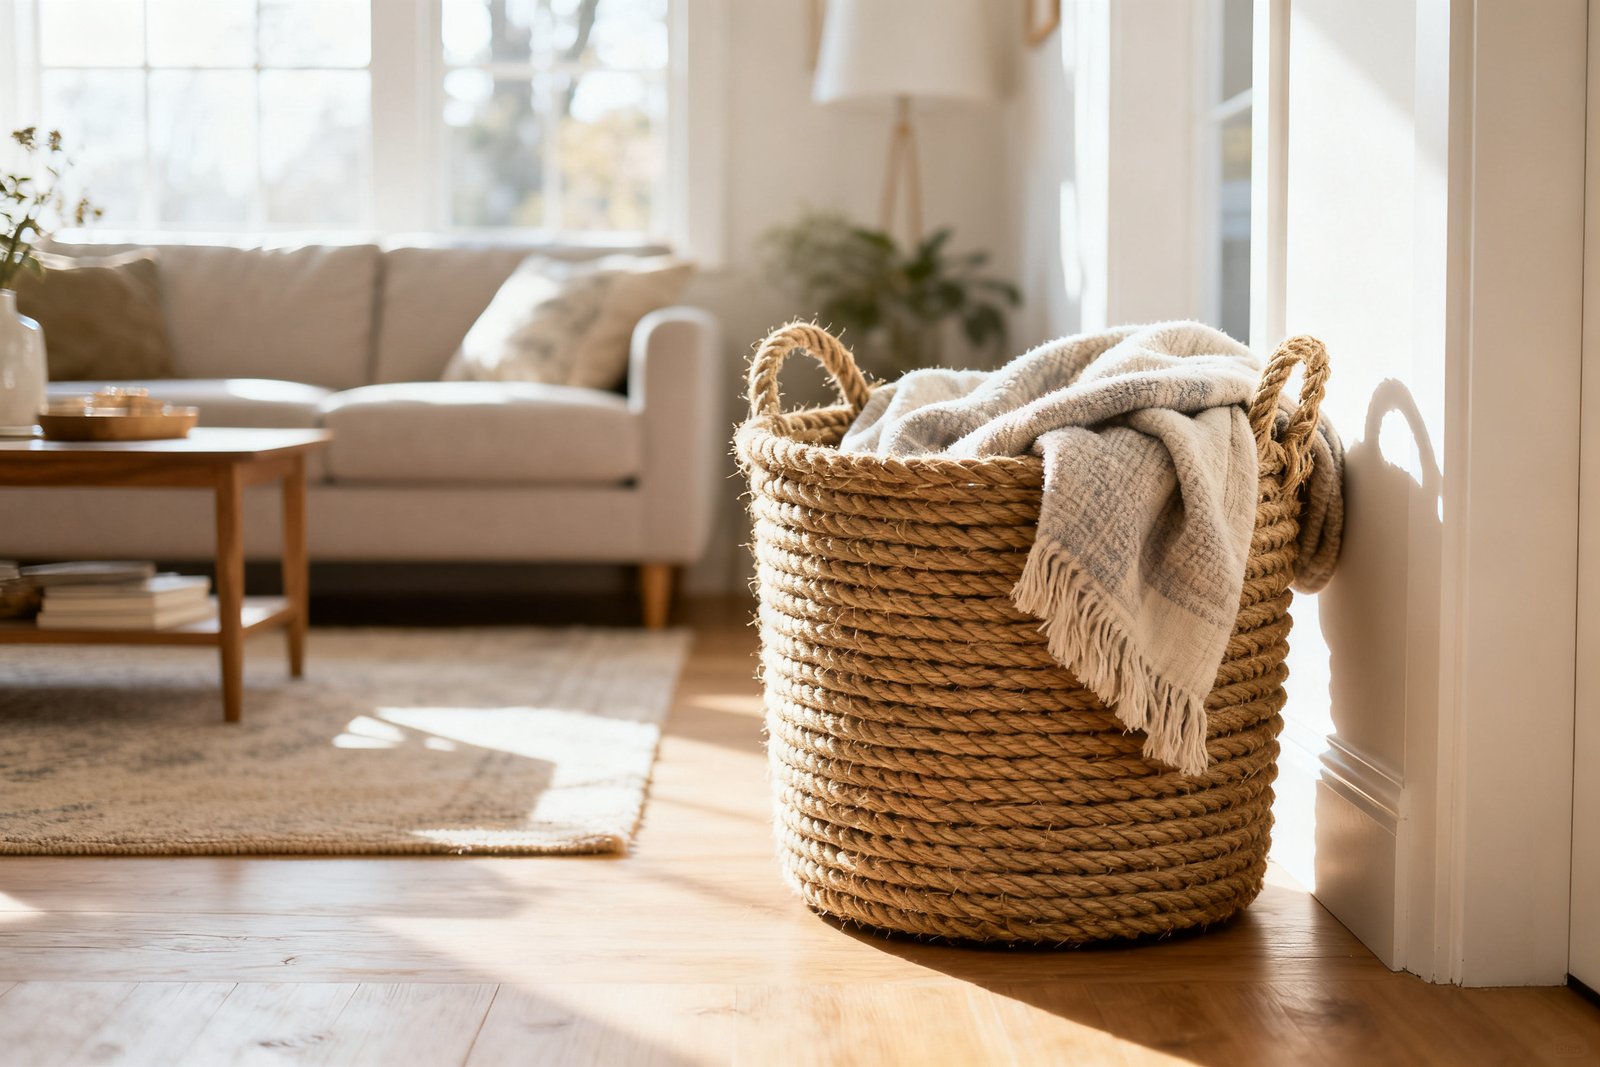

Rope baskets are a simple, stylish way to tame clutter without spending much. With inexpensive rope, glue, and a form to build on, you can create storage that looks upscale and fits your space. Here’s how to plan, build, and finish rope baskets that last.
Plan Your Basket: Size, Rope, and Budget
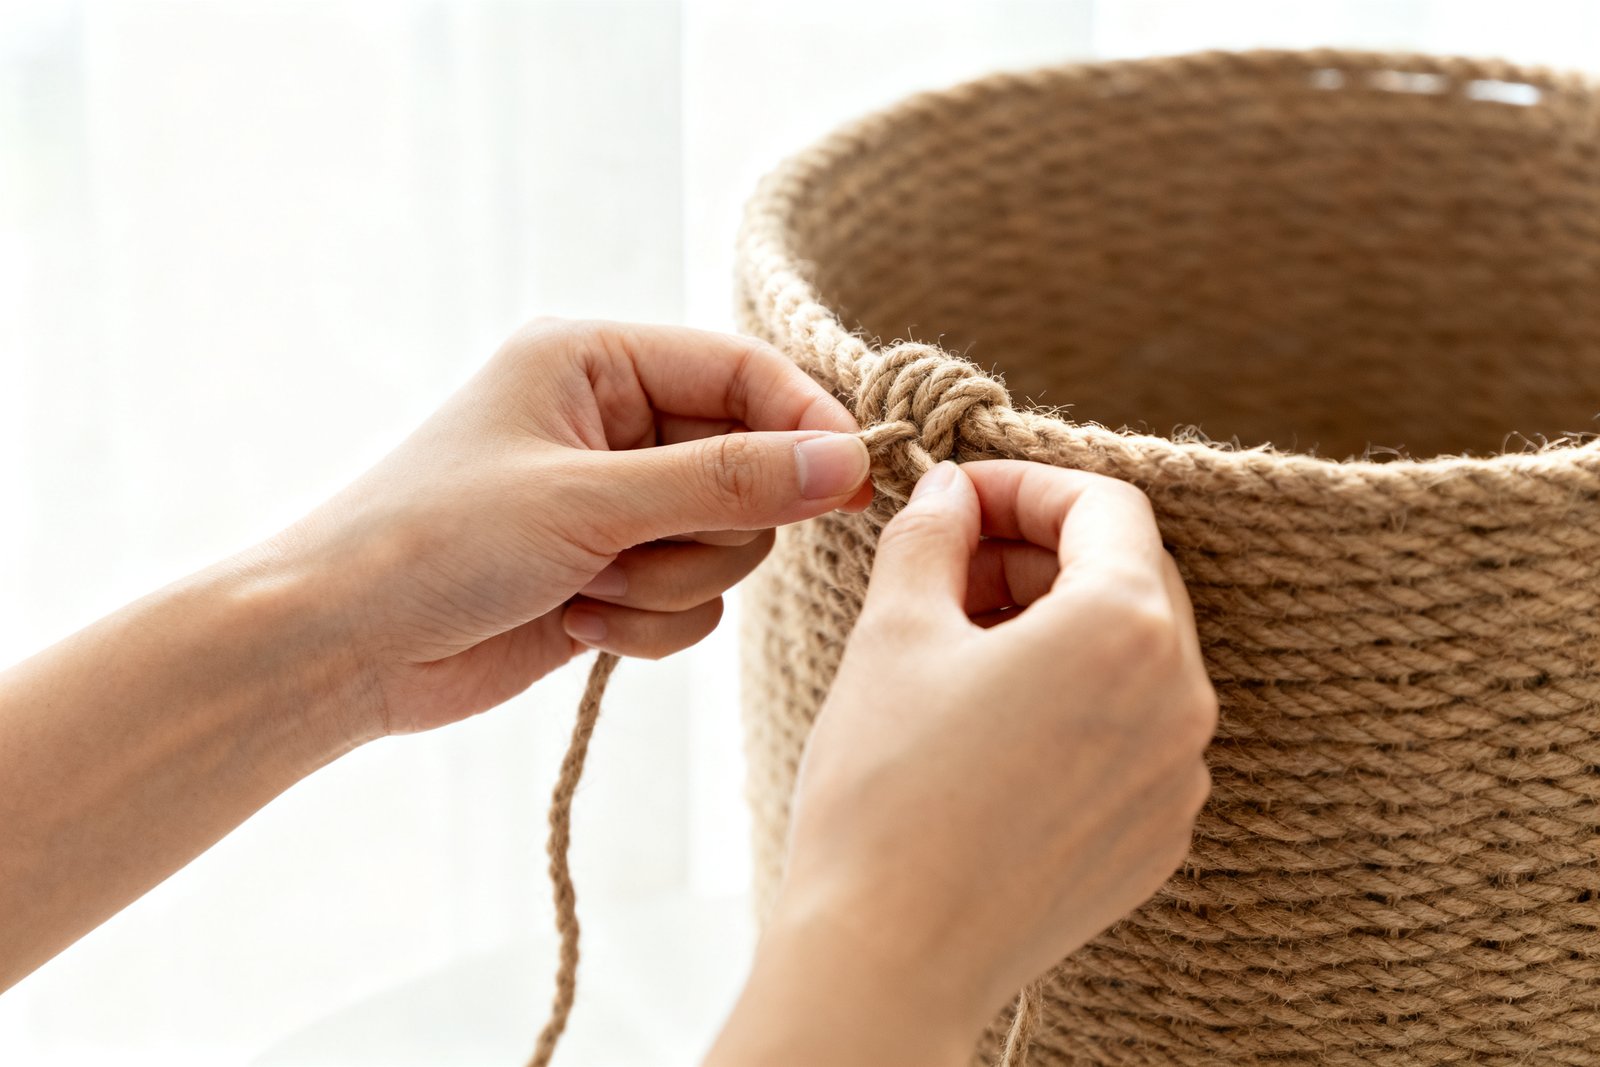
Decide where the basket will live and what it will hold. Measure the shelf opening, depth, and height, then subtract 0.5-1 inch on each side so the basket slides in easily. For toys or laundry, go bigger; for pantry or bath items, shallow and wide works best.
Rope options, roughly priced for a medium basket (10-12 inches diameter, 8-10 inches tall):
- Cotton clothesline (soft, paintable): $6-$12 for 100-150 ft
- Jute or sisal (rustic, textured): $5-$10 for 100 ft
- Polypropylene utility rope (wipeable, more rigid): $7-$12 for 100 ft
Plan on 80-150 ft of rope per medium basket depending on thickness (thicker rope needs less length). You’ll also need hot glue sticks or fabric glue ($3-$8), a base form (old bucket, cardboard box, mixing bowl), and optional fabric or paint for accents.
Method 1: Coil-and-Glue Basket (No Sewing)
For more ideas, see our guide on how to decorative storage boxes.
This is the most forgiving method and great for first-timers. It builds from a flat disc base upward into walls.
Supplies
- Rope: 1/4 to 3/8 inch thick
- High-temp hot glue gun and plenty of glue sticks, or strong fabric glue
- Scrap felt or cardboard circle for the base (optional)
- Clips or clothespins
- Painter’s tape and scissors
Steps
- Start the center: Wrap the rope’s end with painter’s tape to prevent fray. Curl it into a tight snail shell about 1.5 inches across. Add a thin bead of hot glue along the edge as you coil, pressing firmly.
- Build the base: Continue coiling and gluing until you reach your desired base diameter (e.g., 10-12 inches). Keep the base flat by pressing against a countertop. If edges lift, reheat with the glue tip and press flat.
- Form the walls: Slightly angle the rope upward on the next round. Add steady beads of glue along the edge of the previous round. Work slowly to maintain even height.
- Add handles (optional): When you reach 2-3 inches from the top, mark two opposite points. Skip 3-4 inches of coil to create handle gaps, bridging the gap in the next round. Reinforce edges of gaps with extra glue.
- Finish the lip: Taper the rope’s end by cutting at a diagonal, wrap in tape, and glue it against the previous round for a clean look. Hold with clips until set.
- Line or paint (optional): Add a fabric disc to the bottom with glue for a neat interior. For color blocking, brush on acrylic paint along the bottom third; let dry fully.
Cost and Time
Expect $10-$20 in materials and 60-90 minutes for a medium basket. Using thicker rope speeds things up and reduces glue use.
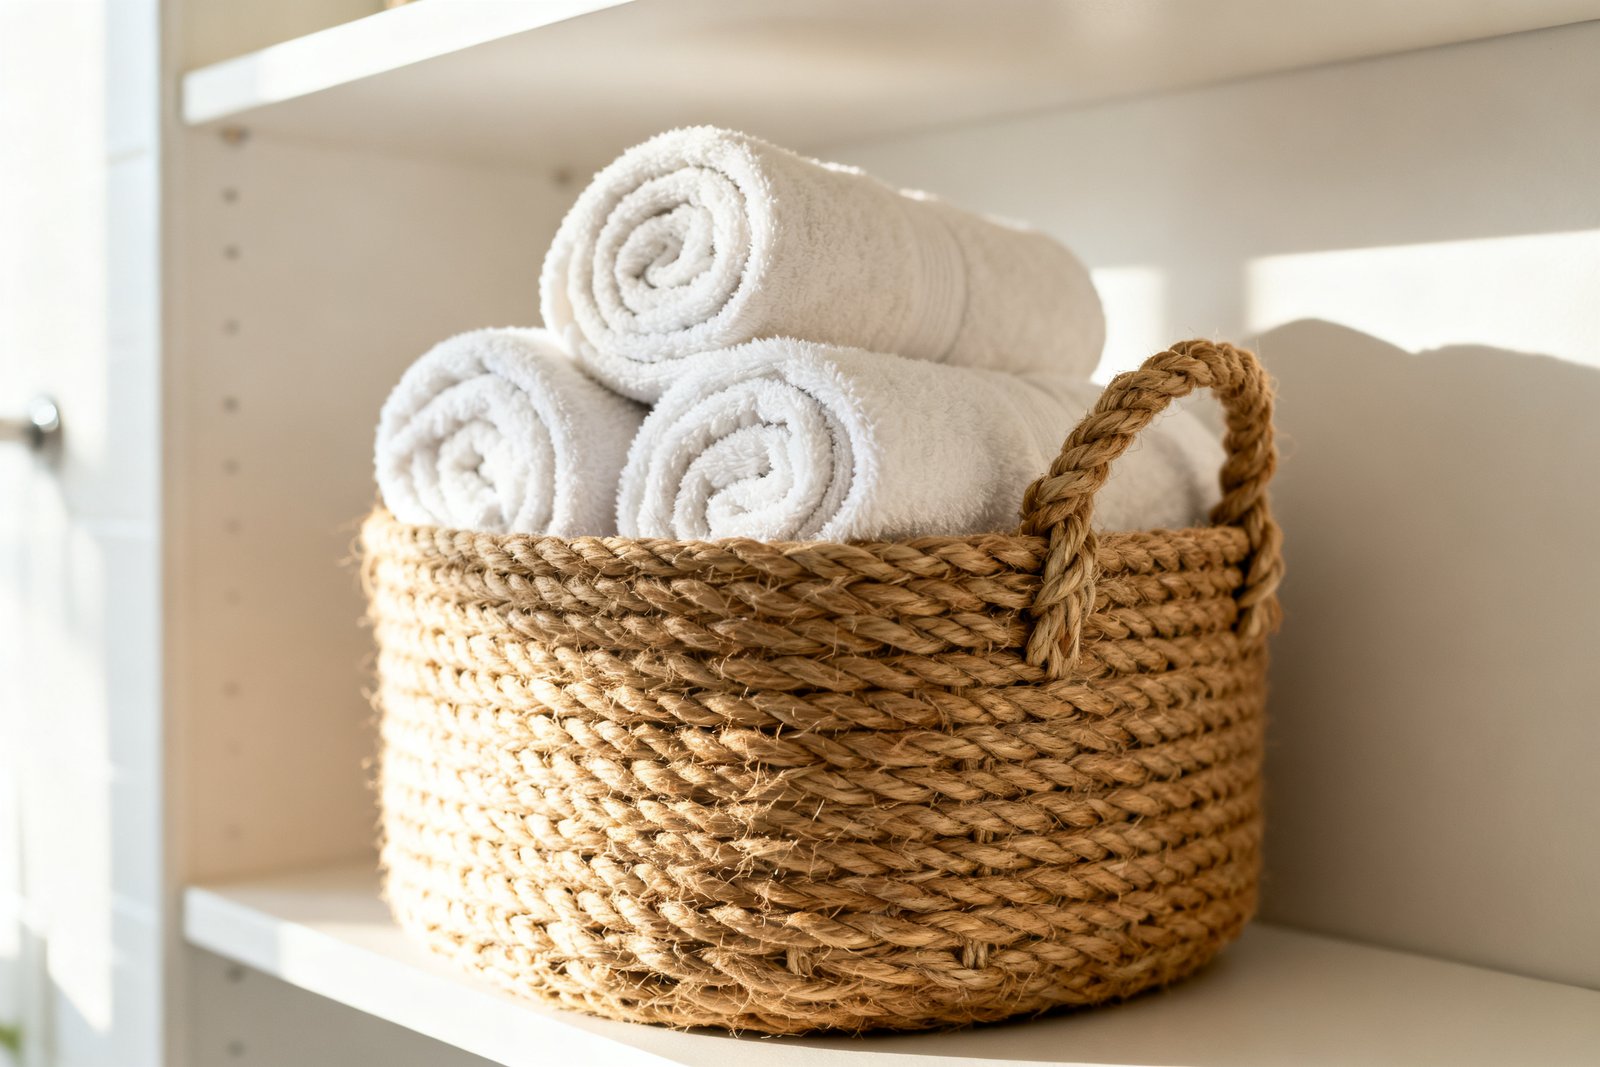
Method 2: Wrap-a-Form Basket (Fast and Uniform)
Once your baskets are done, why stop there? Our free 5-Day Budget Home Reset helps you refresh the whole space on a budget.
Use an existing container as a mold for crisp, even walls. This is ideal for matching sets on shelves.
Good Forms
- Sturdy cardboard boxes from deliveries (free)
- Plastic bins you already own (line with plastic wrap first)
- Large mixing bowls or planters (upside down)
How-To
- Prep the form: Cover with plastic wrap or parchment so glue won’t stick permanently.
- Start at the base: Glue the rope around the bottom perimeter of the form. Keep it snug but not overly tight.
- Climb the walls: Spiral upward, adding a thin, continuous bead of glue. Press each round into the previous one.
- Edge detail: At the top, fold the last 2 inches of rope inward and glue for a smooth rim.
- Release: Once cool, gently slide the basket off the form. Trim any glue strings.
Tip
For a fabric-soft look, use cotton rope and fabric glue; for a wipeable finish, use poly rope and hot glue. A set of two small shelf baskets costs about $12-$18 total.
Method 3: Sewn Rope Basket (Durable and Washable)
It also helps to check out easy DIY decor for beginners.
If you have a basic sewing machine, a zigzag stitch creates very strong, flexible baskets. This method avoids visible glue and can be tossed in a gentle wash if you use cotton rope.
Setup
- Machine with zigzag stitch, size 14-16 needle
- All-purpose thread (match rope color or contrast)
- Cotton rope 1/4 inch, 100-150 ft
Process
- Start flat: Coil the rope and stitch with a wide zigzag so the needle swings across both sides of the joint. Keep it flat to grow the base.
- Shape the sides: Once the base is the right size, tilt the disc slightly upward as you sew. This builds height.
- Add handles: Leave 3-4 inch gaps by skipping stitches and bridging across with a short rope tab or later stitch around the gap for reinforcement.
- Finish: Cut the rope end at a taper, tuck under the last round, and zigzag to secure.
Cost/Time
About $8-$15 in rope per basket; 45-75 minutes depending on size.
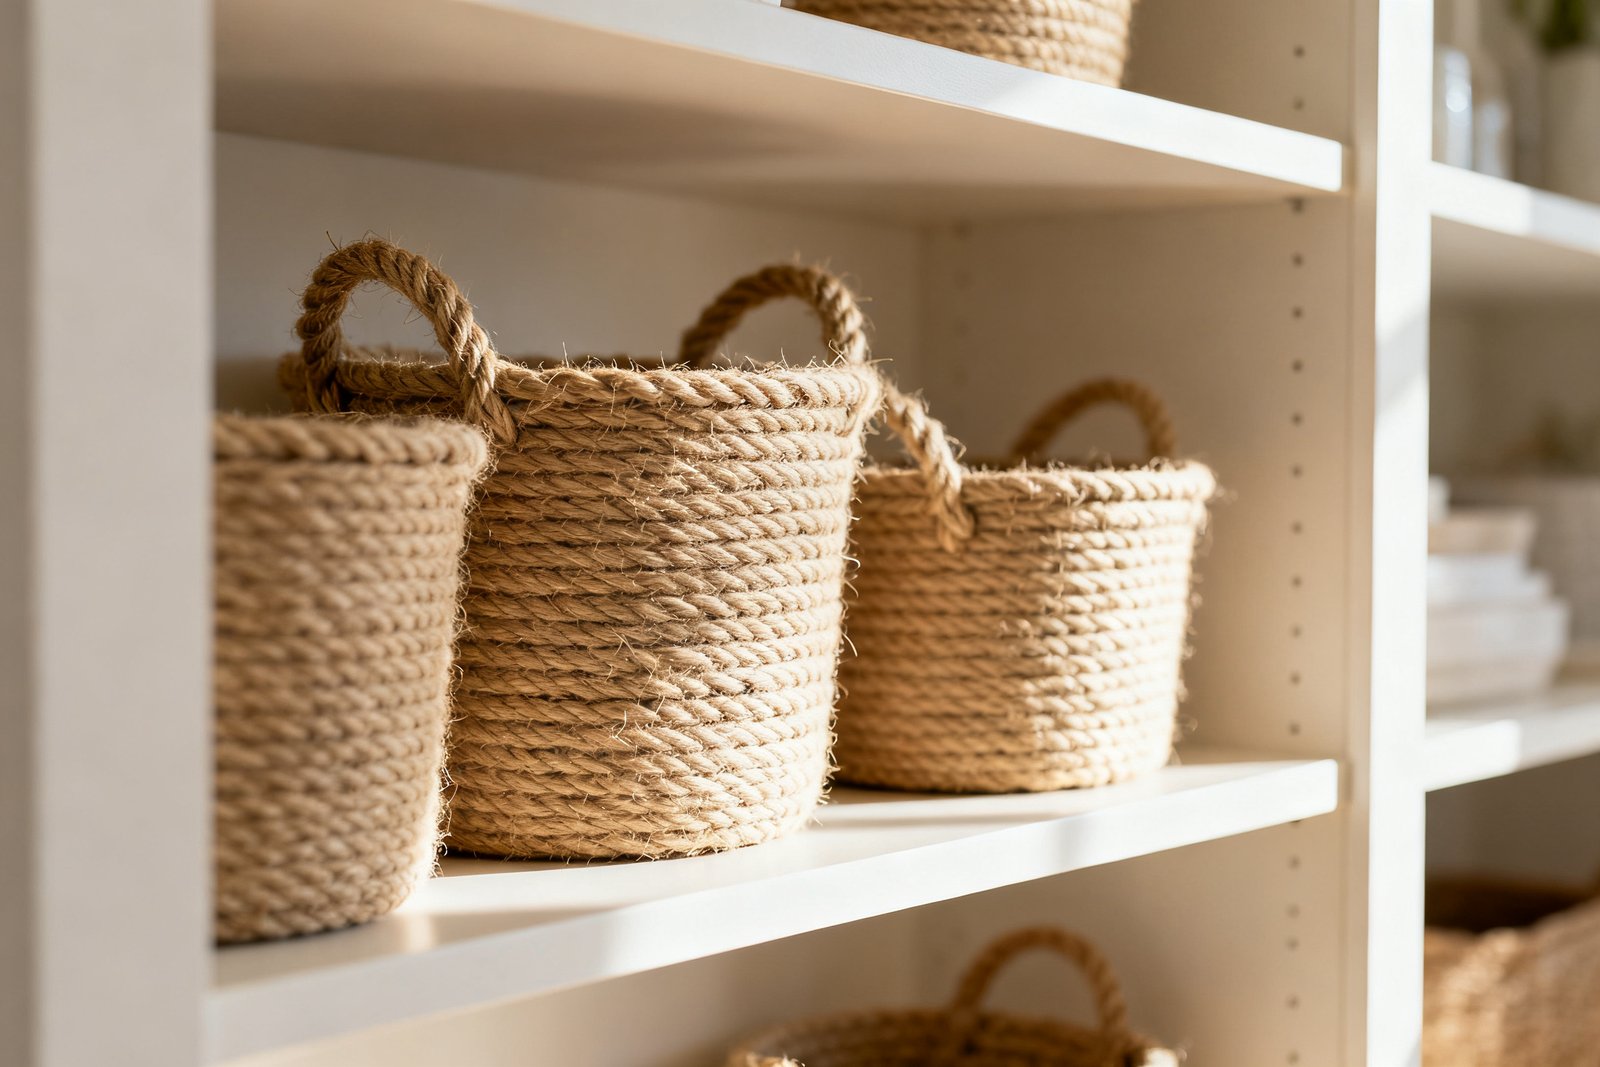
Finishing Touches: Color, Texture, and Labels
Small details make budget baskets look intentional and custom. Try one or two of these ideas to keep costs down.
Color Blocking
- Paint the bottom third in a matte neutral (sample pots are $4-$6). Tape a clean line and use a small foam brush.
- Ombre with diluted acrylics on cotton rope for a soft fade.
Wrapped Accents
- Wrap a few coils with leftover yarn or twine for stripes. Glue only the ends for a neat finish.
- Thread wooden beads onto short rope loops for decorative handles ($2-$4 for a small pack).
Labels
- Faux leather tags cut from an old belt, hole-punched and tied with twine.
- Chalkboard paint on a small wood rectangle ($1-$2) glued to the front.
Realistic Example: Entry Catch-All Basket
Goal: A 12-inch wide, 8-inch tall basket for hats and gloves on a console shelf. Total budget: around $15.
Materials: 120 ft of 3/8 inch jute rope ($9), hot glue sticks ($3), acrylic paint sample in charcoal ($4). Time: about 75 minutes.
- Coil and glue a 10-inch base, ensuring it stays flat.
- Angle up to form walls until 7 inches tall.
- Mark opposite sides, skip 3-inch sections to create handles, then bridge over on the next coil.
- Finish the rim with a tapered end; paint the bottom third in charcoal for contrast.
Result: A sturdy, neutral basket that hides scuffs and looks intentional next to wood tones and black hardware.
Where Rope Baskets Work Best
- Closets: Corral scarves, belts, and workout gear without snagging. Add simple labels for quick grabs.
- Bathroom: Store extra toilet paper or towels in cotton or poly rope for a softer look; avoid jute near damp floors.
- Pantry: Use smaller, shallow baskets for snacks and tea. Choose poly rope you can wipe down.
- Kids’ rooms: Go large and soft. Skip hard handles. Bright stripes help kids categorize.
- Living room: Hide remotes and chargers in a small lidded rope bowl (start with a flat disc lid and add a small knob loop).
Mistakes to Avoid
- Too-thin rope for large baskets: Walls will flop. Use at least 3/8 inch for anything taller than 8 inches.
- Overusing glue: Thick beads create lumps and stiff spots. Apply a thin, continuous line and press firmly.
- Skipping the base check: If the base warps early, the whole basket tilts. Keep the first 6-8 inches perfectly flat.
- No taper on the end: A blunt cutoff looks messy. Always cut at a diagonal, tape, and tuck.
- Wrong rope for the room: Jute sheds; avoid it near fabrics that show lint. Use poly rope in kitchens and mudrooms for easy cleaning.
Care and Maintenance
Shake out dust regularly. Spot-clean with a damp cloth and mild soap; test paint and dye first. Cotton sewn baskets can handle a gentle hand wash and air-dry, while hot-glued baskets should avoid soaking—blot spills and let dry completely.
FAQ
How much rope do I need for a specific basket size?
For a 10-12 inch diameter base and 8-10 inch height using 1/4 to 3/8 inch rope, plan on 80-150 ft. Thicker rope shortens the total length needed because each round adds more height.
What glue works best for rope baskets?
High-temp hot glue bonds quickly and holds well for jute and poly ropes. Fabric glue is cleaner for cotton but takes longer to set—use clips while it cures. Avoid low-temp hot glue; it can peel under stress.
Can I make a basket without visible seams?
Yes. Taper the starting and ending rope ends and hide them under adjacent coils. For the cleanest look, use the sewn zigzag method, which blends joins into the stitch line.
How do I keep the basket from collapsing?
Choose a thicker rope, maintain tight coils, and avoid large gaps in glue or stitches. For tall baskets, add a discreet support by gluing a hidden plastic canvas sheet to the interior base or by keeping walls slightly angled inward.
If you want to keep going, take a look at maximize vertical storage.
Final Thoughts
With a small budget and a bit of patience, rope baskets can solve storage in nearly every room while adding texture and warmth. Start with a simple coil-and-glue version to learn the feel, then refine with sewn methods and custom finishes to match your home.