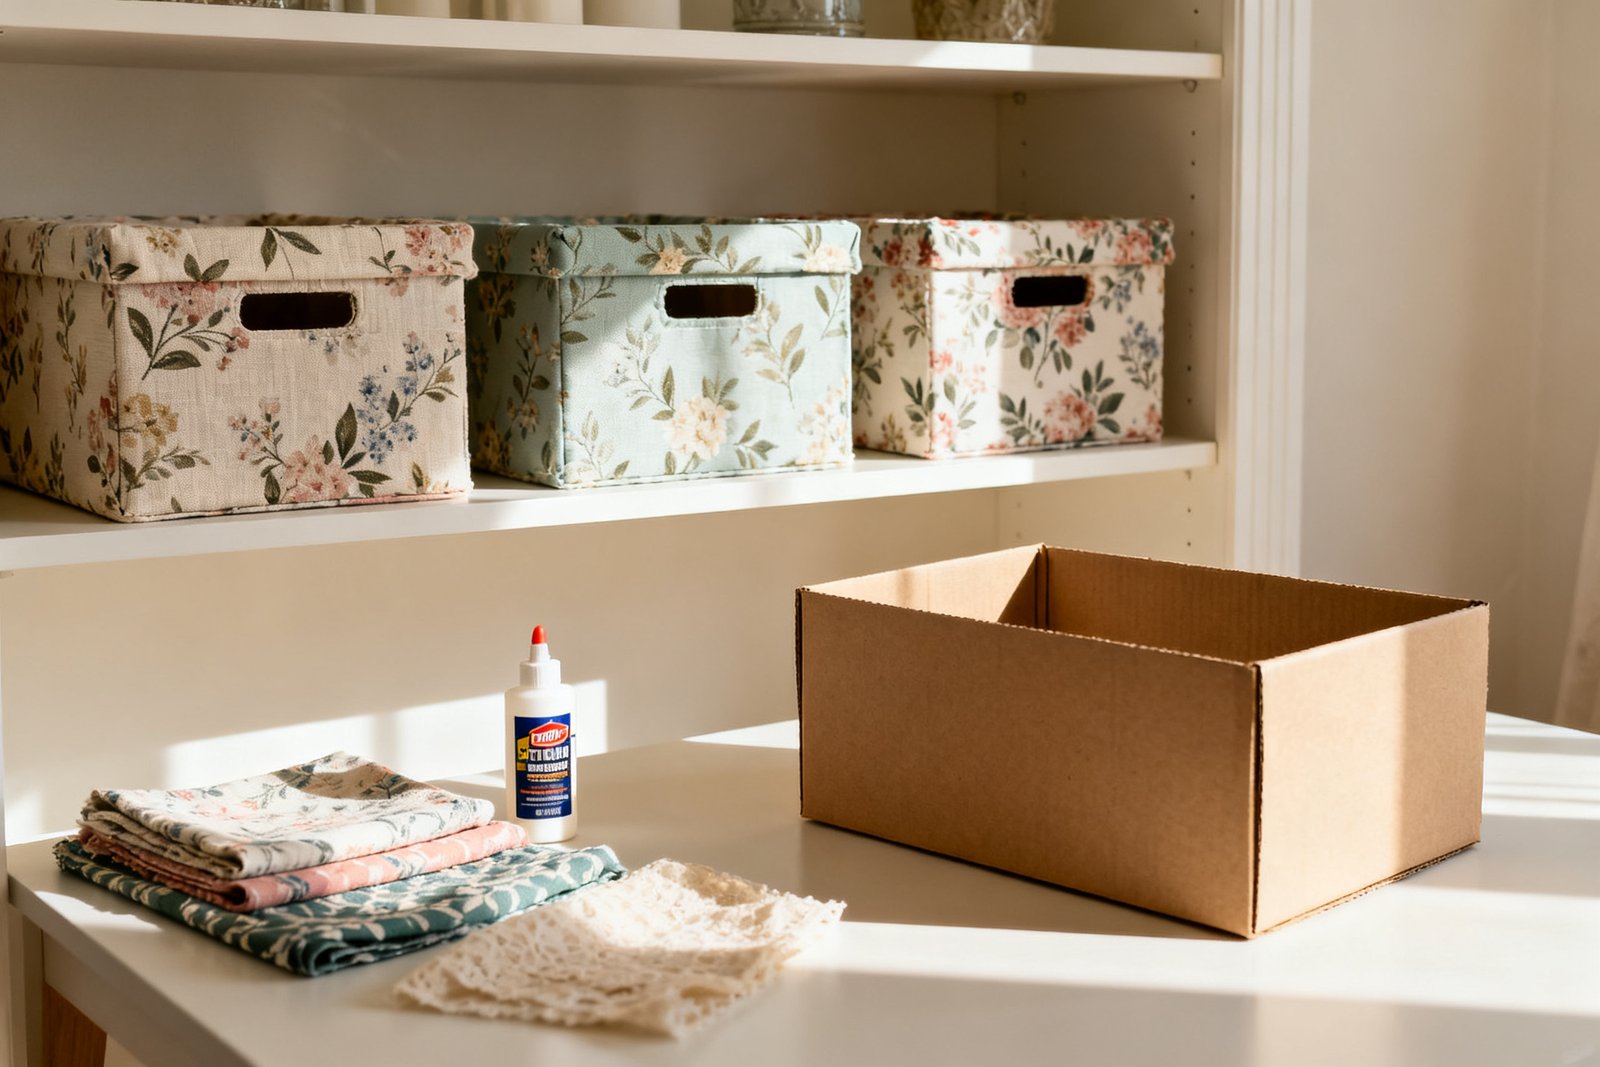

Clutter creeps up fast, but you don’t need pricey baskets to contain it. With a few low-cost materials and a free afternoon, you can turn plain boxes into décor that actually earns its place on a shelf. Here’s how to make sturdy, good-looking storage that fits your style and your budget.
Plan Your Boxes: What to Store and Where They’ll Live
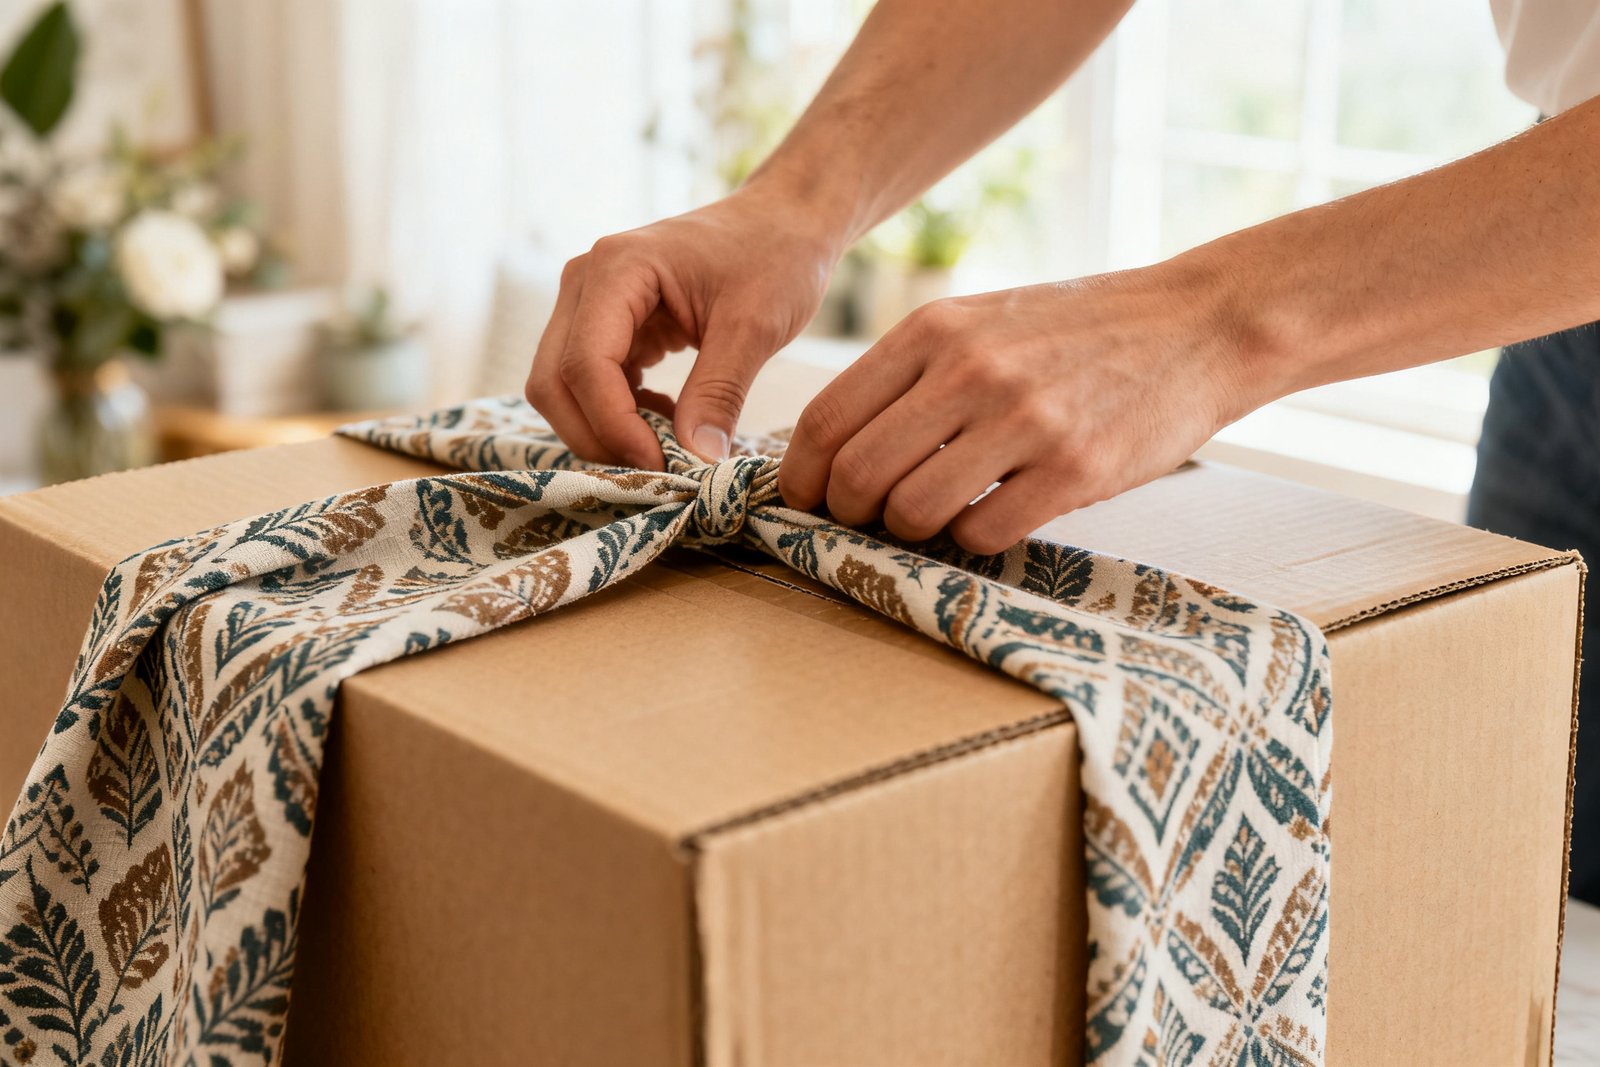
Start by deciding the job each box will do. Are you hiding TV remotes and game controllers, corralling kids’ art supplies, or filing mail? The contents dictate the size, weight capacity, and whether you need a lid or handles.
Measure the shelf or cabinet where the boxes will go. Note width, depth, and height, then subtract 0.5–1 inch on each side so the boxes slide easily. If you’re stacking, limit height to what you can lift comfortably and keep weight light on upper levels.
- Living room: slimmer boxes for remotes, cords, and magazines.
- Entryway: durable boxes for hats, gloves, and pet leashes.
- Kids’ rooms: labeled, wipeable boxes for toys and crafts.
- Home office: file-height boxes for papers and electronics.
Budget-Friendly Materials That Look High-End
For more ideas, see our guide on how to thrift store furniture makeovers.
You can dress up almost any box as long as it’s clean and sturdy. Mix and match based on what you have and the look you want.
Base Boxes (often free to $8 each)
- Shoe boxes and boot boxes: ideal for shelves; easy to cut for handles.
- Copy paper boxes: great for closets or under-bed storage; already have lids.
- Wine boxes or produce crates: strong with built-in dividers (remove if needed).
- Flat-pack cardboard boxes: $2–$5 at discount stores; choose double-wall for heavier items.
Coverings and Textures ($1–$12)
- Contact paper/adhesive vinyl: $5–$10 per roll; wipeable and fast.
- Peel-and-stick wallpaper scraps: often $1–$5 from clearance bins.
- Fabric remnants: thrift stores or clearance tables, $2–$6 per yard.
- Kraft paper or brown paper bags: nearly free; seal with Mod Podge for durability.
- Jute rope or cotton clothesline: $4–$12; gives a woven basket look.
Adhesives and Finishing Touches ($1–$8)
- Glue stick or white glue for paper; spray adhesive for fabric; hot glue for rope.
- Mod Podge or diluted white glue (1:1 with water) as a sealer.
- Metal bookplates, binder clips, or wooden tags for labels: $1–$5.
- Drawer pulls or rope for handles: $2–$6 per pair.
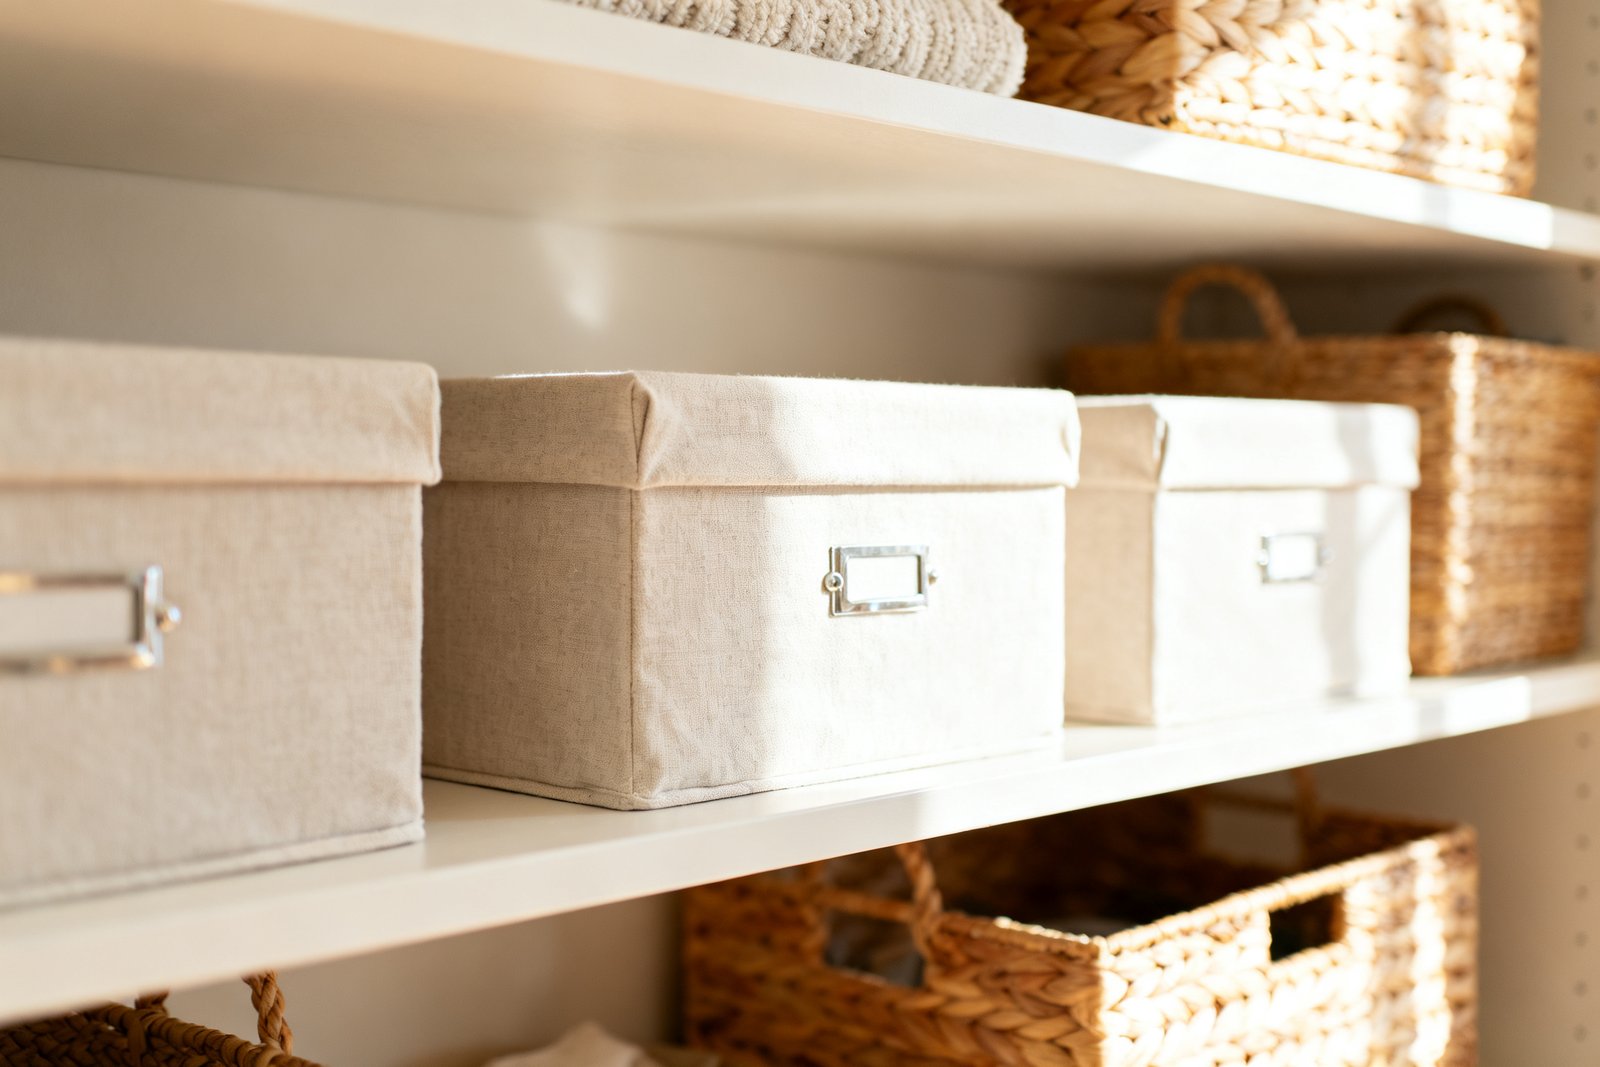
Four Attractive Finishes You Can DIY
Hiding clutter is just the start. Our free 5-Day Budget Home Reset helps you reset your whole home on a budget, one day at a time.
Choose one approach or mix them across a set for variety that still coordinates.
1) Fabric-Wrapped Boxes (soft, tailored look)
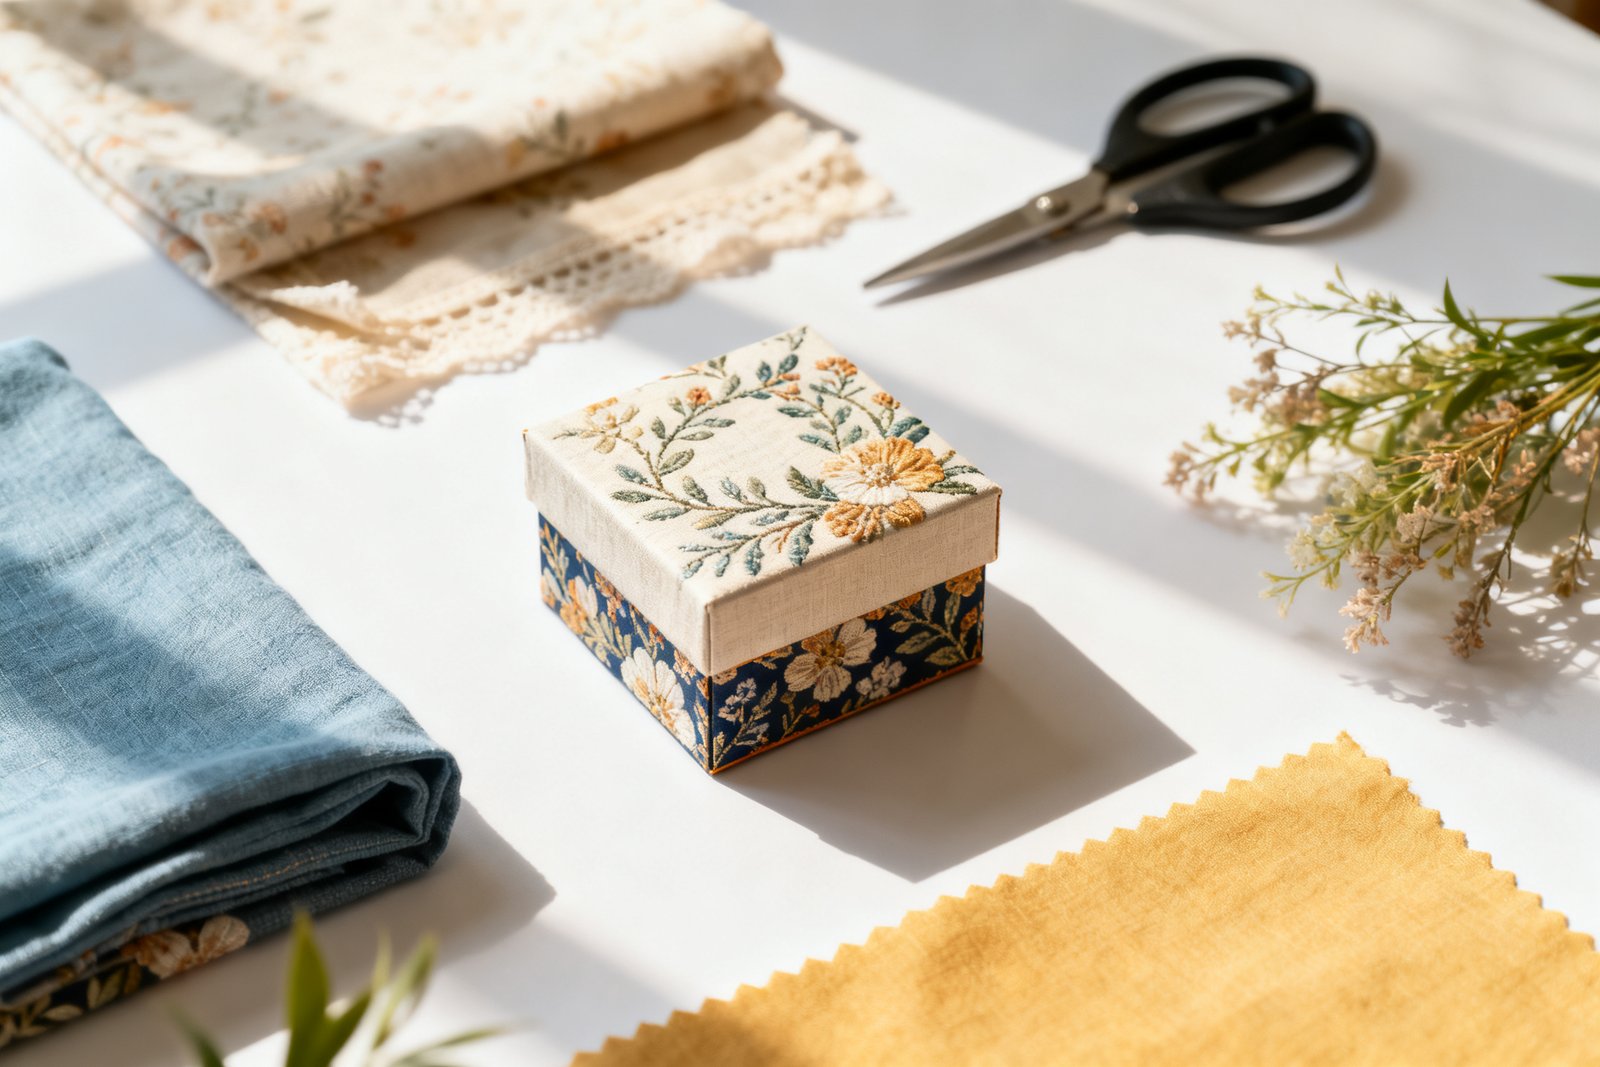
Ideal for living rooms and bedrooms. Pick medium-weight fabric (canvas, duck cloth, linen blends) for clean edges.
- Cut fabric: measure each box side and add 2 inches to wrap inside edges. For lids, add at least 1.5 inches per side.
- Adhere sides: spray adhesive or brush-on glue from center outward to avoid bubbles. Smooth with a gift card.
- Fold corners: treat it like wrapping a present—neat mitered folds. Clip in place until set.
- Wrap inside lip: fold fabric over 1 inch inside for a finished look. Seal lightly with Mod Podge on the cut edge.
- Add felt feet: stick-on felt pads prevent scuffs on shelves.
Cost: $3–$8 per box depending on fabric.
2) Rope-Wrapped “Basket” (textured and durable)
Works well for entryways or kids’ rooms. Choose 1/4–3/8 inch jute or cotton rope for faster coverage.
- Prime the box: paint edges a similar color to hide gaps (optional).
- Start at the bottom: hot glue the rope end and coil around the base, then climb up the sides in tight rows.
- Finish the top: fold the final rope end to the inside for a clean rim; secure with extra glue.
- Add handles: thread rope through two X-cut slits or glue short loops and reinforce inside with scrap cardboard.
Cost: $6–$12 per medium box depending on rope price and size.
3) Papered Boxes with Bookplate Labels (crisp and customizable)
Peel-and-stick wallpaper or contact paper makes quick work. Great for rental-friendly, wipeable storage.
- Cut slightly oversize panels for each face to reduce seams wrapping around corners.
- Apply from the center outward with a card scraper; pop bubbles with a pin and smooth.
- Wrap 1 inch inside the top for durability.
- Attach inexpensive metal bookplates or binder clips as label holders.
Cost: $2–$6 per box using a single roll across multiple boxes.
4) Painted Kraft with Stamped Patterns (modern and cheap)
Use kraft paper or grocery bags as a skin, then add pattern with a potato stamp or sponge.
- Glue kraft paper tightly to the box; let dry fully.
- Mix acrylic paint with a little fabric medium or Mod Podge for durability.
- Stamp simple shapes (dots, triangles, lines) in a consistent rhythm.
- Seal lightly with matte Mod Podge to prevent scuffs.
Cost: $1–$4 per box if you have basic paints.
Build Quality That Lasts: Structure and Handles
It also helps to check out store seasonal décor in a small home.
Even a pretty box fails if it sags. Add internal support for heavier contents.
Reinforce the Box
- Double the bottom: cut a second piece of corrugated cardboard to fit snugly; glue it in. For extra strength, add a foam board layer on top.
- Tape the seams: run packing tape along all interior joints to prevent splitting.
- Edge guards: glue 1/2-inch strips of chipboard along top edges before wrapping to prevent collapse.
Easy Handle Options
- Slit handles: mark two ovals 1.5 inches tall, cut with a craft knife, and back the inside with cardboard for strength.
- Rope pulls: drill or punch two holes; knot rope inside with a washer to distribute pressure.
- Drawer pulls: poke holes, add pulls with short bolts and washers; best for lighter loads to avoid tearing.
A Realistic Example: Media Shelf Makeover for Under $40
Scenario: You have an open living-room shelf that collects gaming gear, random cords, and manuals. The space holds three 12-inch-wide cubbies.
Materials used: three boot boxes (free), one roll of black faux-leather contact paper ($9), one roll of wood-grain contact paper ($7), a pack of four metal bookplates ($6), jute rope for two handles ($5), Mod Podge and hot glue already on hand.
Process: Reinforced each box bottom with scrap cardboard and tape. Wrapped two boxes in black faux-leather and one in wood grain for variation. Cut neat slit handles on the two black boxes and added rope loops; left the wood-grain box handle-free for a clean front. Attached bookplates and printed simple labels: “Controllers,” “Cables,” and “Manuals.”
Result: Three coordinating boxes fit the shelf with a small finger gap on each side. Total out-of-pocket: about $27. Time: 2 hours, including cleanup.
Step-by-Step: Fabric-Wrapped Box with Hidden Label Pocket
Use this if you want a polished look with swappable labels.
- Measure: record box width, depth, height. Add 2 inches per side for wrap allowance.
- Cut fabric: one long strip to wrap all four sides, plus a square for the bottom.
- Reinforce: glue a second cardboard piece into the bottom and tape interior seams.
- Attach bottom fabric: glue the fabric square to the base, wrapping edges up 1 inch.
- Wrap sides: apply spray adhesive to one side at a time. Smooth as you go; keep the seam at a back corner.
- Finish top edge: clip fabric at corners, fold inside, and glue a 1-inch hem. Seal raw edges with a thin Mod Podge line.
- Create label pocket: cut a 3×4-inch fabric rectangle, fold edges under, and glue on the front like a patch. Slip in a cardstock label.
- Optional lid: wrap lid separately; add a 1-inch contrasting ribbon band with fabric glue.
Style Guide: Make Them Look Cohesive
You don’t need matching twins—just consistent cues. Pick one anchor color and one texture to repeat across all boxes on a shelf.
- Neutral base, patterned accent: two linen-look boxes plus one with a subtle stripe.
- Warm wood + black: wood-grain wrap with matte-black bookplates and black rope pulls.
- Kids’ zone: solid primaries with white stenciled icons (car, blocks, crayons) for pre-readers.
- Minimalist: kraft paper with thin white painted grid lines and small clear labels.
Keep labels uniform: same font, size, and placement (bottom-right or centered high). This visual order makes mixed materials feel intentional.
Mistakes to Avoid
- Skipping measurements: boxes that fit too tightly will rub and peel at the corners.
- Using thin single-wall boxes for heavy items: they bow quickly; double the bottom or choose a sturdier base.
- Over-gluing fabric: excess soaks through and leaves dark spots. Light coats work best.
- Not sealing high-touch edges: top rims and handles need a swipe of Mod Podge or clear acrylic to resist wear.
- Dark rope on light shelves without feet: jute can shed and stain; add felt pads.
Care, Cleaning, and Small Repairs
Dust boxes with a microfiber cloth weekly. For contact paper or vinyl, wipe with a damp cloth and mild soap; avoid harsh solvents. Fabric boxes benefit from a lint roller and spot cleaning with diluted dish soap—test first on a scrap.
If a corner lifts, warm the area with a hair dryer (low) and press back with fresh adhesive. For rope fray, trim and dab with clear-drying glue. Replace labels seasonally as contents change to keep your system relevant.
FAQ
How do I keep patterned wraps aligned at the corners?
Wrap each face with its own panel rather than one continuous strip. Start with the most visible front panel, aligning the pattern carefully, then match the sides to the front edge. This reduces distortion around corners and makes mismatches less noticeable.
What’s the easiest beginner-friendly finish?
Peel-and-stick contact paper is the most forgiving. Cut panels slightly larger than each face, apply slowly while smoothing, and trim the excess with a sharp craft knife along the box edge. It’s also easy to wipe clean and redo if needed.
Can I make boxes moisture-resistant for bathrooms or laundry rooms?
Choose plastic-coated contact paper or vinyl and avoid fabric or untreated kraft. Seal exposed cardboard edges with clear acrylic spray or Mod Podge. Add silicone bumpers as feet to keep boxes off damp shelves.
How do I label boxes without metal hardware?
Use binder clips with small tags, washi tape with handwritten labels, or glue a simple cardstock window made from a rectangle with three glued sides. Place labels consistently so your eye can scan quickly.
If you want to keep going, take a look at hide cords and cables at home.
Final Thoughts
Decorative storage doesn’t have to drain your budget. With sturdy boxes, smart reinforcements, and a cohesive finish, you’ll get containers that look intentional and work hard. Start with one shelf, keep your materials consistent, and build out as your organizing needs grow.