

Fresh pillow covers can make a room look updated in minutes—and you don’t need a sewing machine to do it. With basic fabric, adhesive, and a little measuring, you can create custom covers that fit your decor and your budget. Here’s how to plan, shop, and assemble no-sew pillow covers that look store-bought for a fraction of the price.
Plan Your Look and Set a Budget
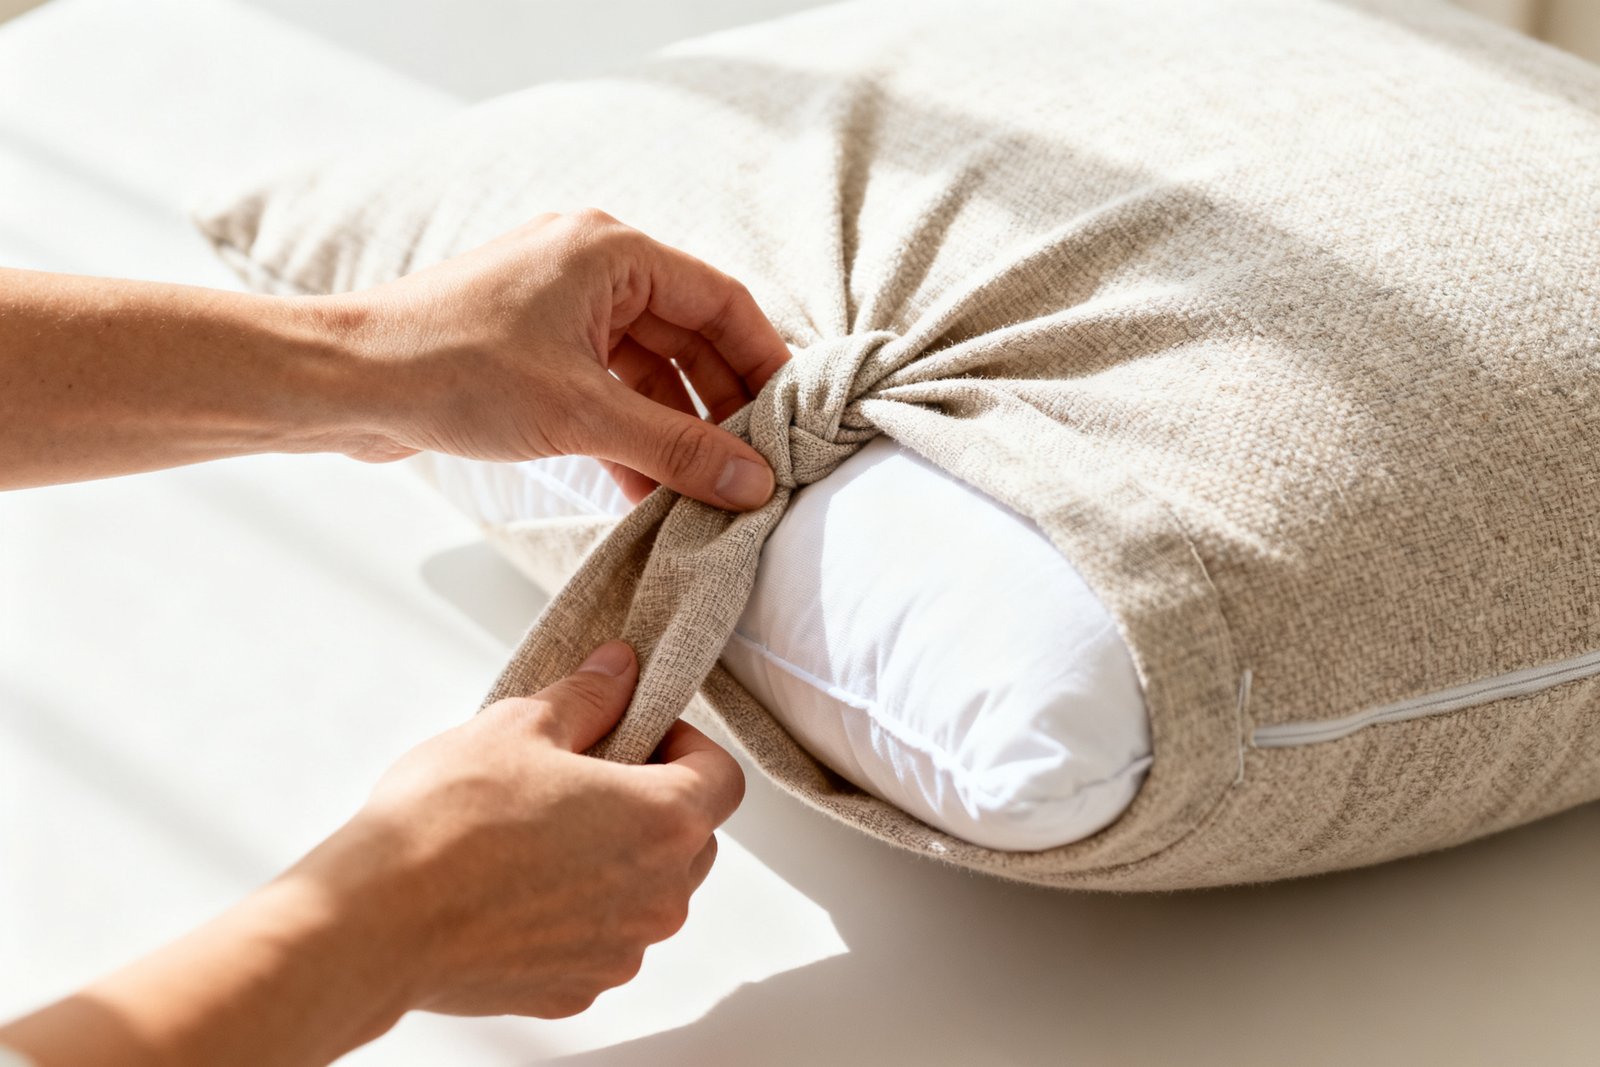
Decide how many pillows you want to refresh and where they’ll live: sofa, bed, bench, or outdoor chairs. This helps you pick the right fabrics and closures (and how durable they need to be).
For a tight budget, plan on $5–$12 per cover if you reuse inserts and shop sales or thrift stores for fabric sources. Expect $10–$20 per cover with new inserts and specialty fabric.
- Living room: medium-weight woven fabrics, textured neutrals, a pop of pattern.
- Bedroom: soft cottons or flannels, calming colors, envelope-style closures for easy washing.
- Kids/pets: durable outdoor fabric or performance polyester, darker tones or busy prints to hide stains.
Smart, Cheap Fabric Sources
For more ideas, see our guide on how to choose throw pillows that look expensive.
You don’t need yardage from a fabric store to get great material. Look for larger pieces with minimal seams and sturdy weave.
- Thrifted textiles: curtains, tablecloths, duvet covers, and men’s XL shirts ($2–$10 each).
- Clearance yardage: end-of-bolt sales often drop to $3–$6/yard for cotton and blends.
- Remnants and fat quarters: combine two coordinating pieces for front/back, or add a contrasting “faux piping” strip.
- Drop cloths: 8–10 oz painter’s drop cloth is affordable, tough, and neutral ($12–$20 for a large piece; yields multiple covers).
Tip: Hold fabric up to natural light. If you can clearly see your hand through it, it may need a lining or double layer for a polished look.

No-Sew Methods That Actually Work
Once your pillows are refreshed, keep the momentum going with our free 5-Day Budget Home Reset—one easy task a day, no big spending.
All methods below create strong seams without a sewing machine. Choose based on your comfort level and washing needs.
1) Fabric Glue (Permanent or Washable)
Use a fabric-specific glue that dries flexible. Permanent glues bond quickly; washable options hold up after gentle laundering.
- Cost: $4–$8 per tube; one tube usually makes 3–6 covers.
- Best for: cottons, canvas, blends; not ideal for very slippery satins.
2) Fusible Web or Hem Tape
Fusible adhesive strips melt between layers with an iron to “seal” seams.
- Cost: $3–$7 per roll.
- Best for: clean, straight seams and crisp hems; requires an iron.
3) Fabric Fusing Tape + Hook-and-Loop (Velcro)
Great for removable covers where an envelope opening feels too loose. Add a short strip for a tidy closure.
- Cost: $2–$5 for tape strips; $3–$6 for hook-and-loop.
Measure Once, Cut Right: Sizing Guide
It also helps to check out easy DIY décor projects for beginners.
Measure your insert seam-to-seam across the middle. For a snug, not saggy cover, cut the front panel the exact size of the insert. Cut the back in two panels to create an overlap (envelope style).
- Example: For an 18×18 inch insert, cut the front 18×18 inches.
- Back panels: each 18 inches high; widths 13 inches and 9 inches (creates a 4-inch overlap after seams).
- Add a 1-inch seam allowance on all edges if you want folded, finished hems (recommended for clean edges).
Stripes or checks? Align patterns before cutting so lines meet at seams. For plush fillers, size down the front by 0.5 inch to keep the pillow plump.
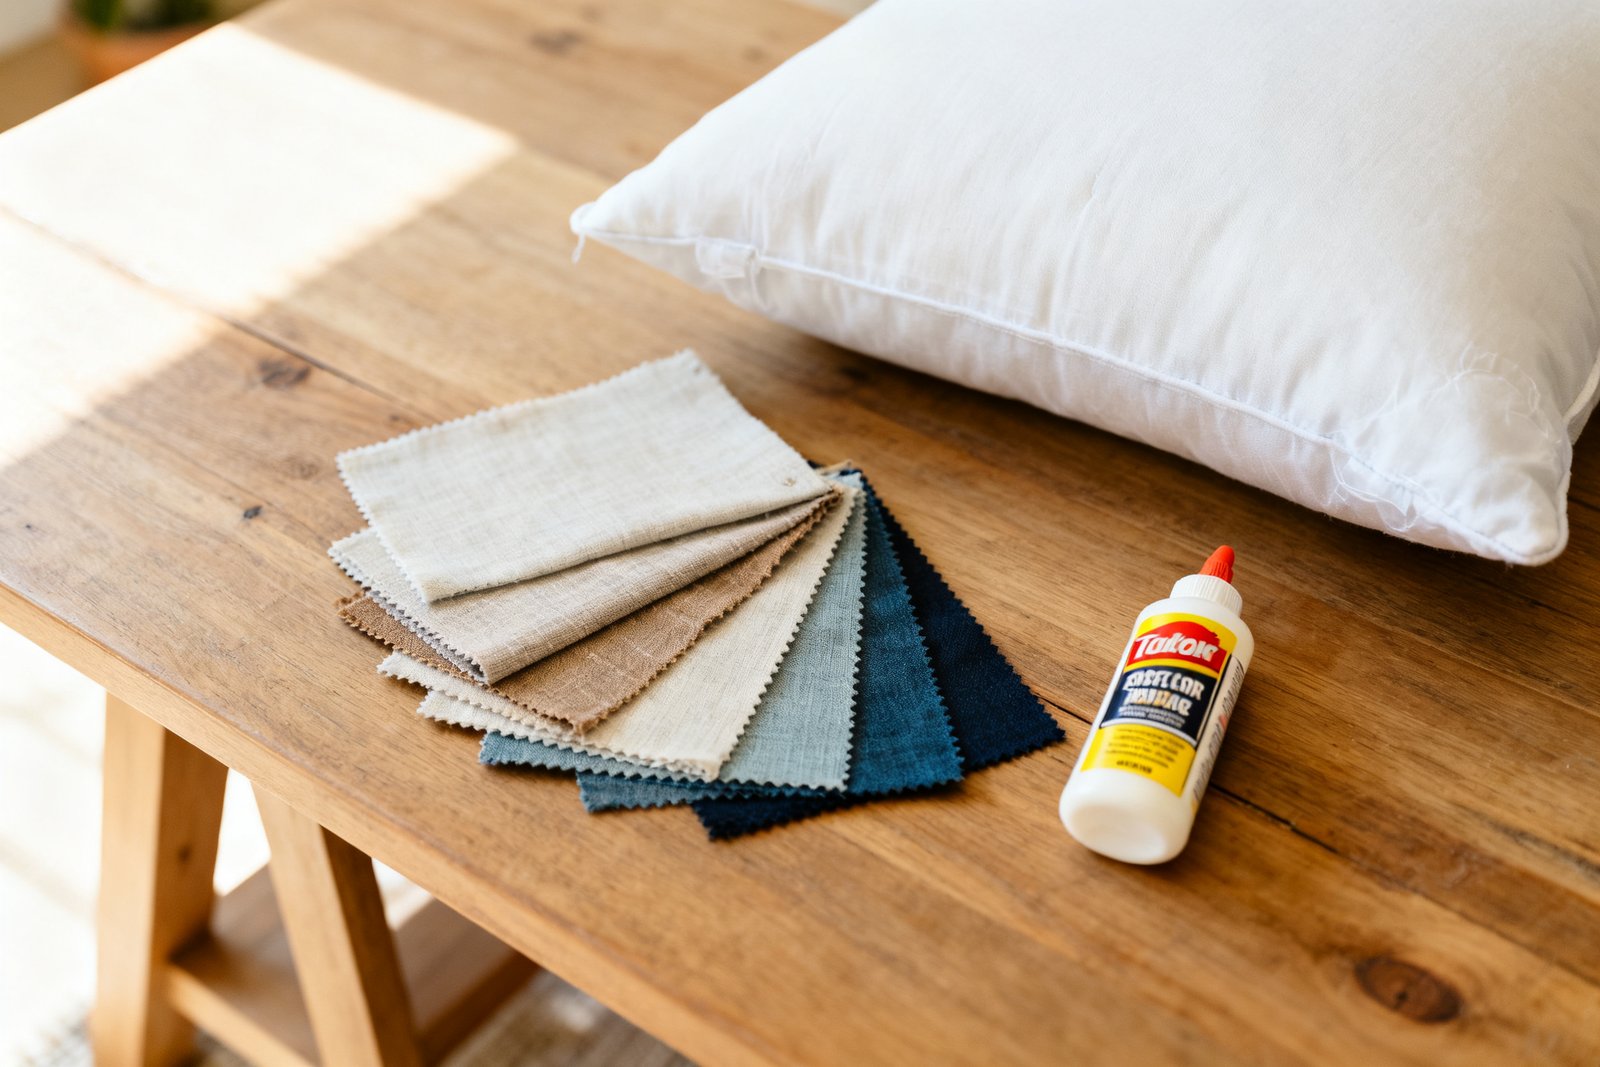
Step-by-Step: No-Sew Envelope Pillow Cover
This version uses fusible hem tape and works for most 16–22 inch square inserts. It’s durable, removable, and beginner-friendly.
- Gather supplies:
- Fabric (about 0.75–1 yard for an 18–20 inch cover)
- Fusible hem tape (or fabric glue)
- Measuring tape, fabric marker or chalk
- Scissors or rotary cutter and straight edge
- Iron and ironing board or a hard heat-safe surface
- Optional: clips or clothespins, hook-and-loop strips
- Cut pieces:
- Front: same size as your insert (e.g., 18×18 inches).
- Back A: same height as front (18 inches) x front width minus 5 inches (13 inches).
- Back B: same height (18 inches) x front width minus 9 inches (9 inches). This gives a 4-inch overlap.
- Finish inner back edges: On the inner short side of Back A and Back B (the edges that will overlap), turn under 1 inch to the wrong side. Insert hem tape in the fold and press to bond, creating clean hems.
- Assemble layers: Place the front piece right side up. Lay Back A right side down on top, aligned at the left side. Lay Back B right side down aligned at the right side. The hemmed edges should overlap in the middle by about 4 inches.
- Fuse outer seams: Working one side at a time, insert hem tape between layers along the outer edges. Press firmly with steam off (check your tape’s instructions). Hold pressure for the recommended time, then allow to cool before moving to the next side.
- Reinforce corners: Add a small triangular piece of fusible tape at each corner inside the seam to reduce stress when inserting the pillow.
- Let it set: Allow all seams to cool fully. Turn right side out, gently push corners with a chopstick or pencil eraser.
- Insert pillow: Compress the insert, slide it through the envelope, and fluff.
Alternative Closures and Decorative Upgrades
Glue-On or Stick-On Velcro
Add 2–3 small strips inside the envelope overlap for extra security. Useful for slippery fabrics or overstuffed inserts.
Faux Piping Without Sewing
Cut 1-inch-wide bias strips from a contrasting fabric. Fold edges under using hem tape, then glue the finished strip around the pillow’s perimeter, slightly in from the edge, for a piped look without a bulky seam.
No-Sew Flanged Edge
Cut front and back panels 2 inches larger on all sides. Fuse seams at the true pillow edge as usual. Then press a 1.5–2 inch border outward and lightly glue along the fold to keep the flange crisp.
Easy Pattern Play
Mix a solid back with a patterned front to stretch pricier fabric. Center large motifs (like a flower or medallion) for a high-end look; mark the center before cutting.
Realistic Example: Two 18×18 Covers for Under $15
You find a clean thrifted cotton tablecloth for $4 and already have an 18-inch pair of inserts. You pick up fusible hem tape for $4 and a small tube of fabric glue for corners at $3.
Cut one 18×18 front and two back pieces per cover, following the sizing above. Use hem tape for all seams, glue a tiny extra triangle at each corner, and add a 3-inch Velcro strip inside each envelope. Cost breakdown: $4 fabric + $4 tape + $3 glue = $11 total. Two custom covers for about $5.50 each.
Care, Durability, and Cleaning
Before assembly, prewash and dry fabric the way you plan to clean it later. This prevents shrinkage that can stress glued seams. For washable fabric glues and fusibles, use cold water on gentle and air-dry or low heat; high heat can weaken adhesives.
Spot clean stains with diluted dish soap or an upholstery cleaner. If you used a permanent glue not rated for washing, plan to spot clean only and avoid soaking.
Mistakes to Avoid
- Skipping prewash: unwashed fabric can shrink and pull seams apart after the first clean.
- Rushing the fuse: if you lift the iron too soon or move it around, the adhesive won’t fully bond.
- Cutting too big: oversized covers look saggy. Match the insert size or go 0.5 inch smaller for a plump look.
- Using the wrong adhesive: craft glue isn’t fabric glue. Look for “fabric” and “washable” on the label if you’ll launder.
- Ignoring grain/pattern: crooked stripes or off-grain cuts can twist after washing and look sloppy.
Quick Style Ideas on a Budget
- Texture mix: pair a nubby woven with a smooth cotton for depth without bold color.
- Seasonal swap: flannel or sweater knit covers for winter; linen-look or chambray for summer.
- Color story: choose two solids and one pattern that include at least one shared color.
- Upcycle sweaters: felted thrifted wool sweaters can be turned into cozy covers; use fabric glue rated for knits.
- Outdoor refresh: use outdoor fabric and outdoor-rated adhesive; add Velcro so you can remove inserts before rain.
FAQ
Can I make a no-sew cover for a rectangular or lumbar pillow?
Yes. Use the same envelope method and adjust measurements to your insert. Cut the front to the exact insert size (for example, 12×20 inches), then make two back pieces that match the height and split the width with a 4–6 inch total overlap. Fuse around the perimeter as usual.
Which adhesive holds up best to washing?
Look for fusible webs and fabric glues labeled “washable” or “launderable.” Follow the cure time—some glues need 24 hours before washing. Cold, gentle cycles and air-drying help adhesives last longer.
How do I keep corners from popping open?
Reinforce each corner with an extra triangular piece of fusible tape or a dab of fabric glue inside the seam allowance. Size your cover snugly, and consider adding a short Velcro strip to the envelope overlap.
What if my fabric frays a lot?
Apply a thin line of fray-preventing liquid along cut edges and let it dry before assembly. You can also fold a 0.5–1 inch hem on all raw edges with hem tape before fusing the main seams for a cleaner, more durable finish.
If you want to keep going, take a look at warm up a cold-feeling room.
Planning a bigger bedroom refresh? The Budget Bedroom Makeover Planner walks you through it step by step, on any budget.
Final Thoughts
No-sew pillow covers are a simple, affordable upgrade you can finish in an afternoon. With smart fabric sourcing, careful measuring, and the right adhesive, you’ll get crisp, durable covers that make your space feel refreshed without spending much. Start with one or two, learn what you like, and build a set that suits your room and your budget.