
I love when a simple idea blooms into something your walls actually want to stare at. DIY pressed flower frames are basically nature’s confetti for your home—budget-friendly, easy to swap, and a little bit magical. Let’s spill the petals and get you crafting.
Why pressed flowers make the perfect budget wall decor
Pressed flowers give you color, texture, and a touch of whimsy without breaking the bank. You’re not buying a premium art print; you’re curating a tiny garden that fits in a frame. FYI, you can reuse stems from bouquets, garden snips, or even a few blooms you’ll deadhead and press later. It’s eco-friendly, it’s chic, and it says “I have hobbies and they involve nectar and patience.” Sounds good, right?
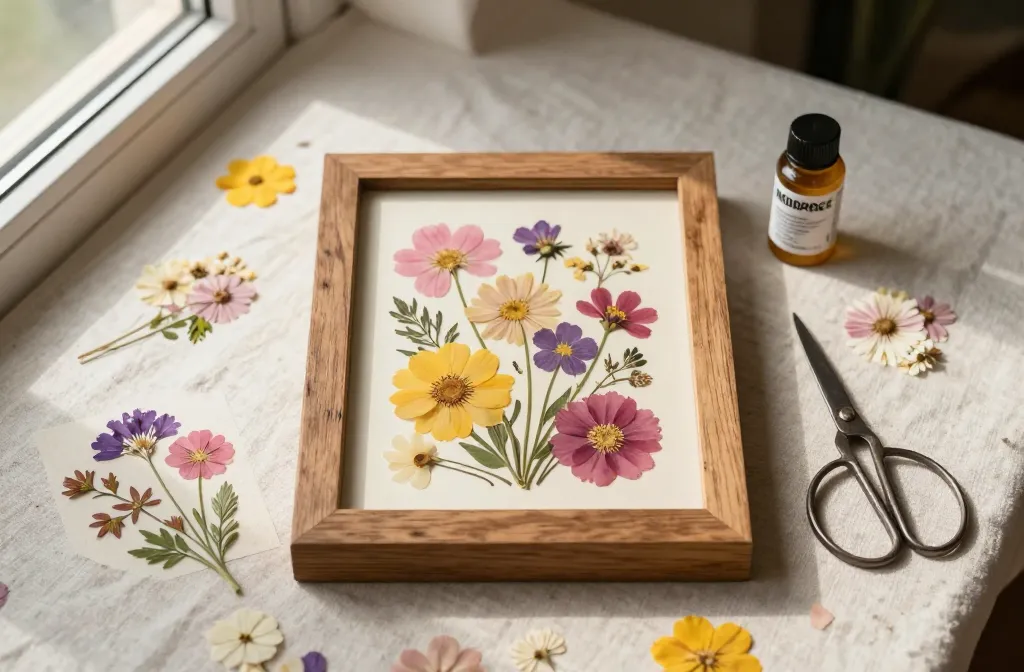
Essential supplies you already have (or can snag cheap)
You don’t need a fancy setup to make gorgeous pressed flower frames. Here’s your starter kit:
- Frames: a few inexpensive options in different sizes work wonders
- Cardstock or thin scrapbook paper for backing
- Wax paper or parchment to protect your blooms while pressing
- Books, heavy objects, or a dedicated flower press
- Mod Podge, glue sticks, or clear acrylic sealant
- Scissors, tweezers, and a soft brush
- Optional embellishments: dried leaves, tiny faux seeds, or washi tape
How to press flowers without turning your living room into a lab
Pressed flowers need time, not a chemistry set. Here’s the practical play-by-play:
- Choose blooms that are flat and sturdy—think pansies, ferns, baby’s breath, or nasturtium petals. Skip bulky roses unless you want a multi-year project.
- Between two sheets of wax paper, place petals flat. Add another sheet on top to prevent sticking.
- Weigh them down with heavy books or invest in a dedicated flower press. Leave for 2–4 weeks in a dry spot away from humidity.
- Check occasionally. If they curl or spot, adjust and press longer. Patience is your friend; speedsters need not apply.
Pro tip: speed-drying option
If you’re in a hurry, you can press with a microwave using a couple of paper towels and a vented plate. It’s not as perfect as air-drying, but it works for quick practice runs. IMO, it’s great for testing color combos before you commit to a frame.
Design ideas: 5 fresh ways to frame pressed flowers
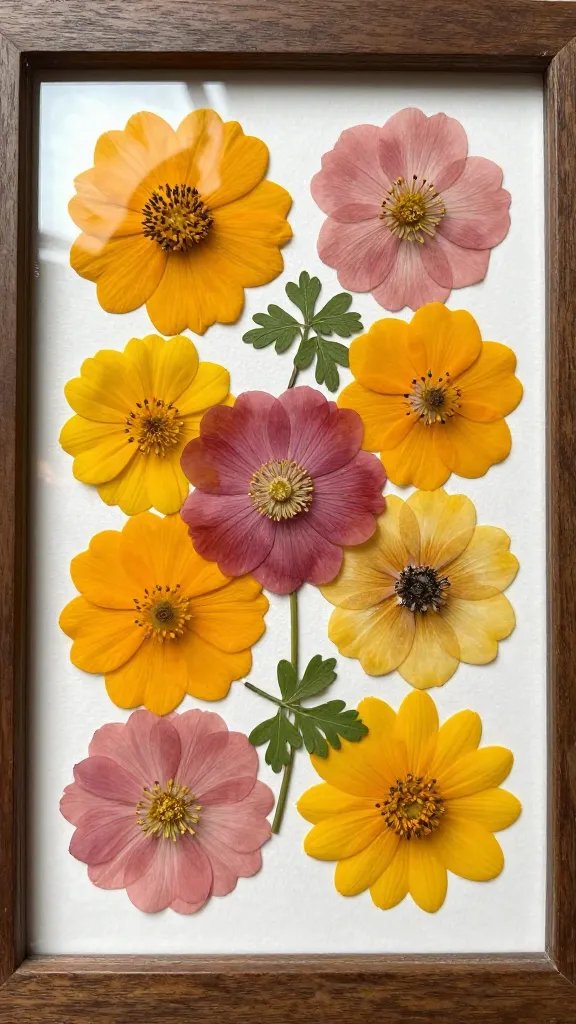
Let your creativity run wild, but keep it practical. Here are five ideas that pull in budget vibes with major style.
1) Minimalist single-bloom frames
– Choose one striking bloom per frame, cut a small window in the mat, and mount the flower in the center.
– Use a plain white or soft neutral backing to make colors pop.
– Perfect for a clean gallery wall with a modern edge.
2) Color-blocked collage frames
– Pick a color family and lay out several pressed pieces in a grid.
– Use matching card stock in each cell for cohesion.
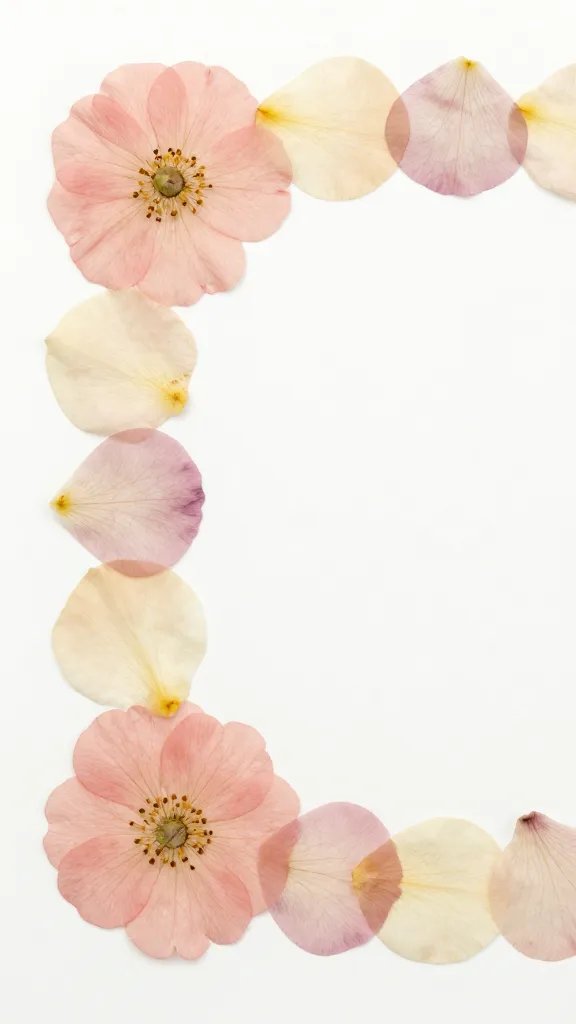
– Add a thin border around the outer edge to define the blocky look.
3) Nature-inspired botanical diptych
– Create two frames that form a scene when hung side-by-side.
– Use complementary plants: one frame with cool tones (blues and greens), the other with warm tones (pinks and yellows).
– It’s like a tiny woodland postcard on your wall.
4) Shadow box magic: depth without complications
A shadow box adds dimension without needing fancy materials. Here’s how to pull it off on a budget.
- Use layers of cardstock to create subtle depth behind the pressed blooms.
- Place a few sprigs of dried grasses or baby’s breath to give texture.
- Layer glass or acrylic protectors and seal with a simple frame.
5) Seasonal switch-outs
– Swap blooms with the seasons to keep the display fresh.
– Store pressed pieces flat in an envelope until you’re ready to frame them again.
– It keeps decor budget-friendly and your walls happily evolving.
Framing tricks to keep things tidy and lasting
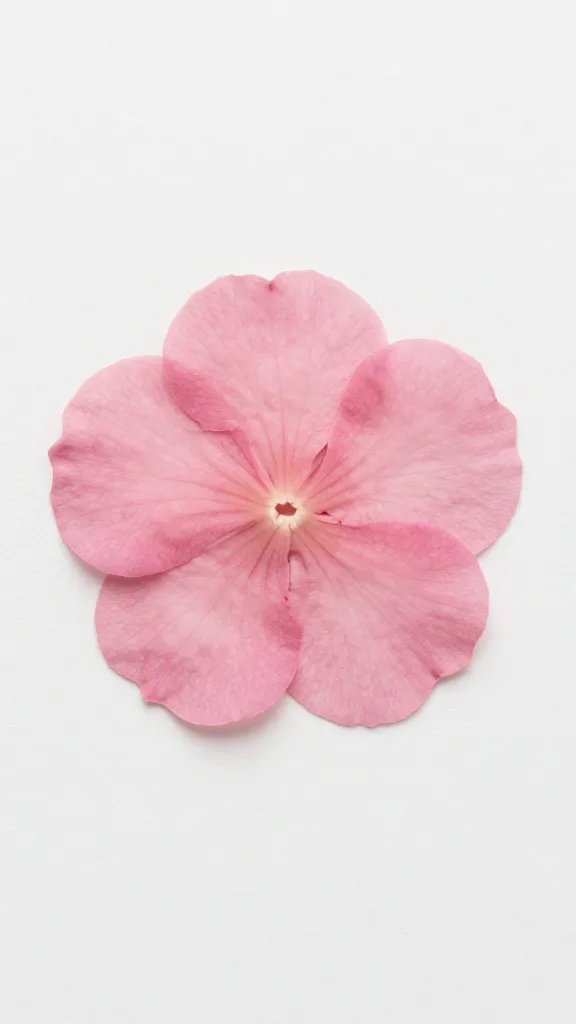
A frame should showcase your work without dominating it. Try these practical moves:
- Seal with a matte or glass that reduces glare and protects from humidity.
- Mount flowers on archival backing if you want them to last longer; this helps prevent yellowing.
- Use a thin foam board to give the piece some lift without needing extra space behind the frame.
Soft glue vs. adhesive spray
– Soft glue sticks work well for small blooms; they’re easy to adjust.
– Adhesive spray gives even coverage but test on a scrap first, so you don’t end up with sticky smudges on your petals.
– FYI, always work in a well-ventilated area. This isn’t a perfume party, folks.
Display ideas that actually fit real life
Your walls deserve personality, not a museum. Here are approachable display strategies:
- Group several frames in a loose cluster at eye level. It feels curated but not fussy.
- Mix frame sizes and orientations for a dynamic look. Don’t be afraid to tilt some frames slightly for a casual vibe.
- Coordinate with other natural decor—wood tones, jute, or woven textures—to tie the room together.
Care and upkeep: keep your florals fresh-looking longer
Pressed flowers are durable, but a little care goes a long way.
- Avoid direct sunlight to prevent fading. IMO, that’s common sense with any plant-based art.
- Dust frames gently with a soft brush every few months. No brute force—these little petals are delicate, not armor.
- Store extra pressed pieces flat in a dry environment, away from moisture and heat. Humidity is the sworn enemy of pressed petals.
Frequently asked questions
How long do pressed flowers last in a frame?
Pressed flowers can look vibrant for many years if they’re dried properly and kept out of direct sunlight. Some folks report decades of life with archival backing and careful framing. Don’t push your luck with moisture or heat.
Can I press all kinds of flowers?
Most thin, flat flowers press well. Thick blossoms or stems with heavy sap can be trickier. Try smaller blooms first to practice, then expand your repertoire as you go. If a flower won’t flatten nicely, consider using its pressed leaves or petals instead.
What if my petals curl after pressing?
That happens when moisture sneaks in or the bloom wasn’t fully flat to begin with. Re-press between fresh blotting paper and give it another couple of weeks. Patience is the secret sauce here.
Do I need a dedicated flower press?
Not necessarily. A heavy book setup works great. If you press a lot, a dedicated press speeds things up and keeps petals perfectly flat. Either method yields beautiful results—your call.
How do I prevent colors from fading?
Keep blooms out of direct sun and consider sealing with a clear matte topcoat or archival sealant once framed. Some folks like to glaze lightly with a protective spray to minimize fading. FYI, test on a scrap first to avoid surprises.
Conclusion: your wall, your tiny garden
DIY pressed flower frames aren’t just decor; they’re a reminder that nature can be miniaturized into art you can hang on a budget. With a handful of supplies, a dash of patience, and a pinch of creativity, you’ll craft frames that feel personal and chic. So raid that stash, set up your “studio”—even if it’s a coffee table and a printer paper-flattening stack—and start pressing. Your walls will thank you, and your space will feel calmer, more alive, and a little quirky in the best way. IMO, it’s the cutest affordable project you’ll tackle this season. Ready to press your first bloom? Let’s do it.