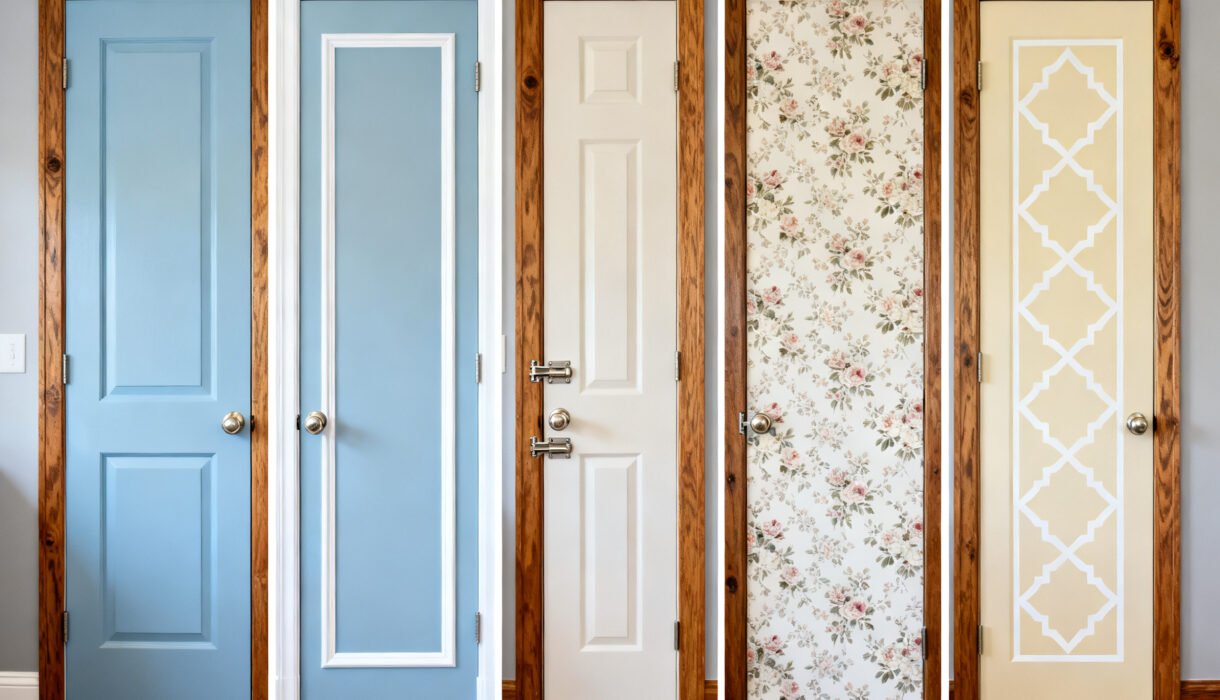

Your doors work fine, but they look like they’ve seen things. Replacing them costs a small fortune and a weekend of chaos. Good news: you can make them look fresh with budget tweaks and zero demolition.
Let’s turn those bland slabs into “oh hey” moments—fast, cheap, and surprisingly fun.
Start With Paint That Slaps
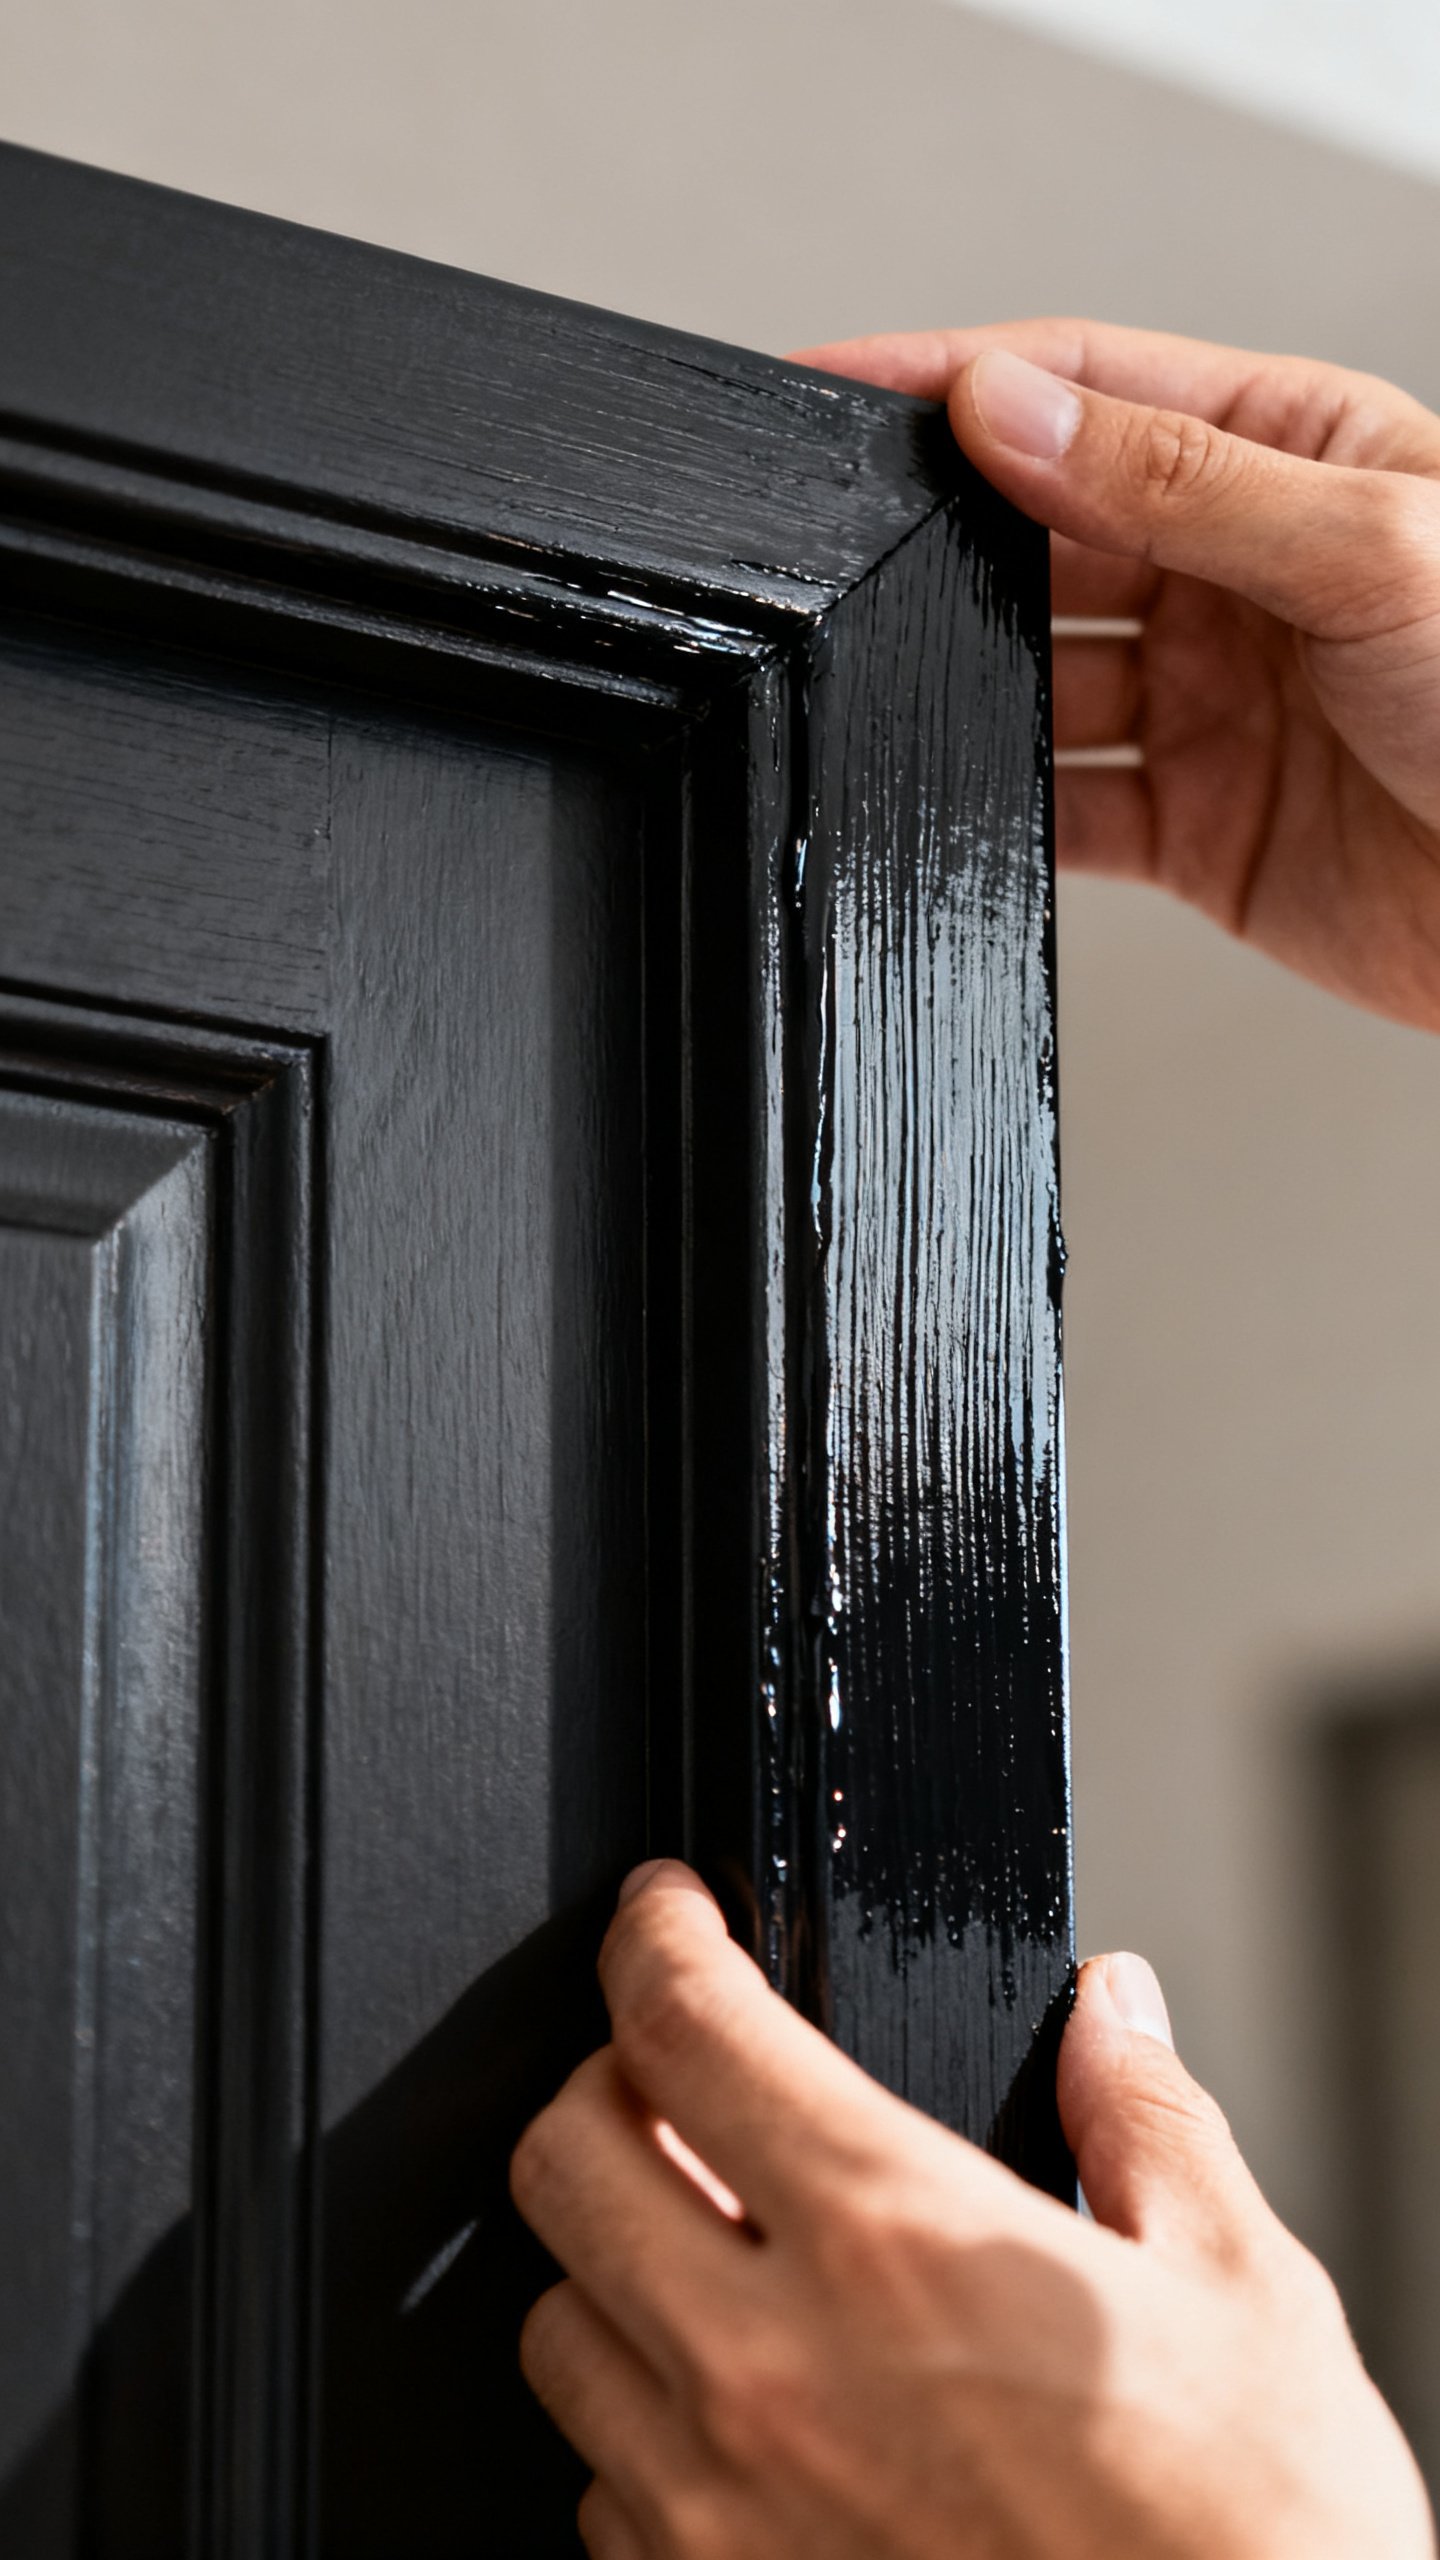
Paint changes everything. A dull hollow-core door suddenly looks custom with the right color and finish. Go bold, go classic, just don’t go beige unless you really mean it.
- Finish matters: Satin or semi-gloss cleans easily and looks polished.
Matte shows fingerprints and regrets.
- Prep like a pro: Clean with degreaser, scuff-sand (220 grit), fill dings with wood filler, and caulk gaps. Prime if the door’s dark, glossy, or stained.
- Color ideas: Ink black for drama, muted olive for cottage vibes, chalky clay for modern warmth, or soft gray for renter-friendly chic.
Two-Tone + Edge Paint
Want something extra without losing your mind? Paint the door one color and the edges a contrast.
When it swings open—surprise! It’s small, it’s clever, and it looks designer.
Faux Wood Grain (On the Cheap)
Use a wood-graining tool and gel stain over a primed door. Drag the tool vertically for that “this was always expensive” look.
Practice on cardboard first, FYI.
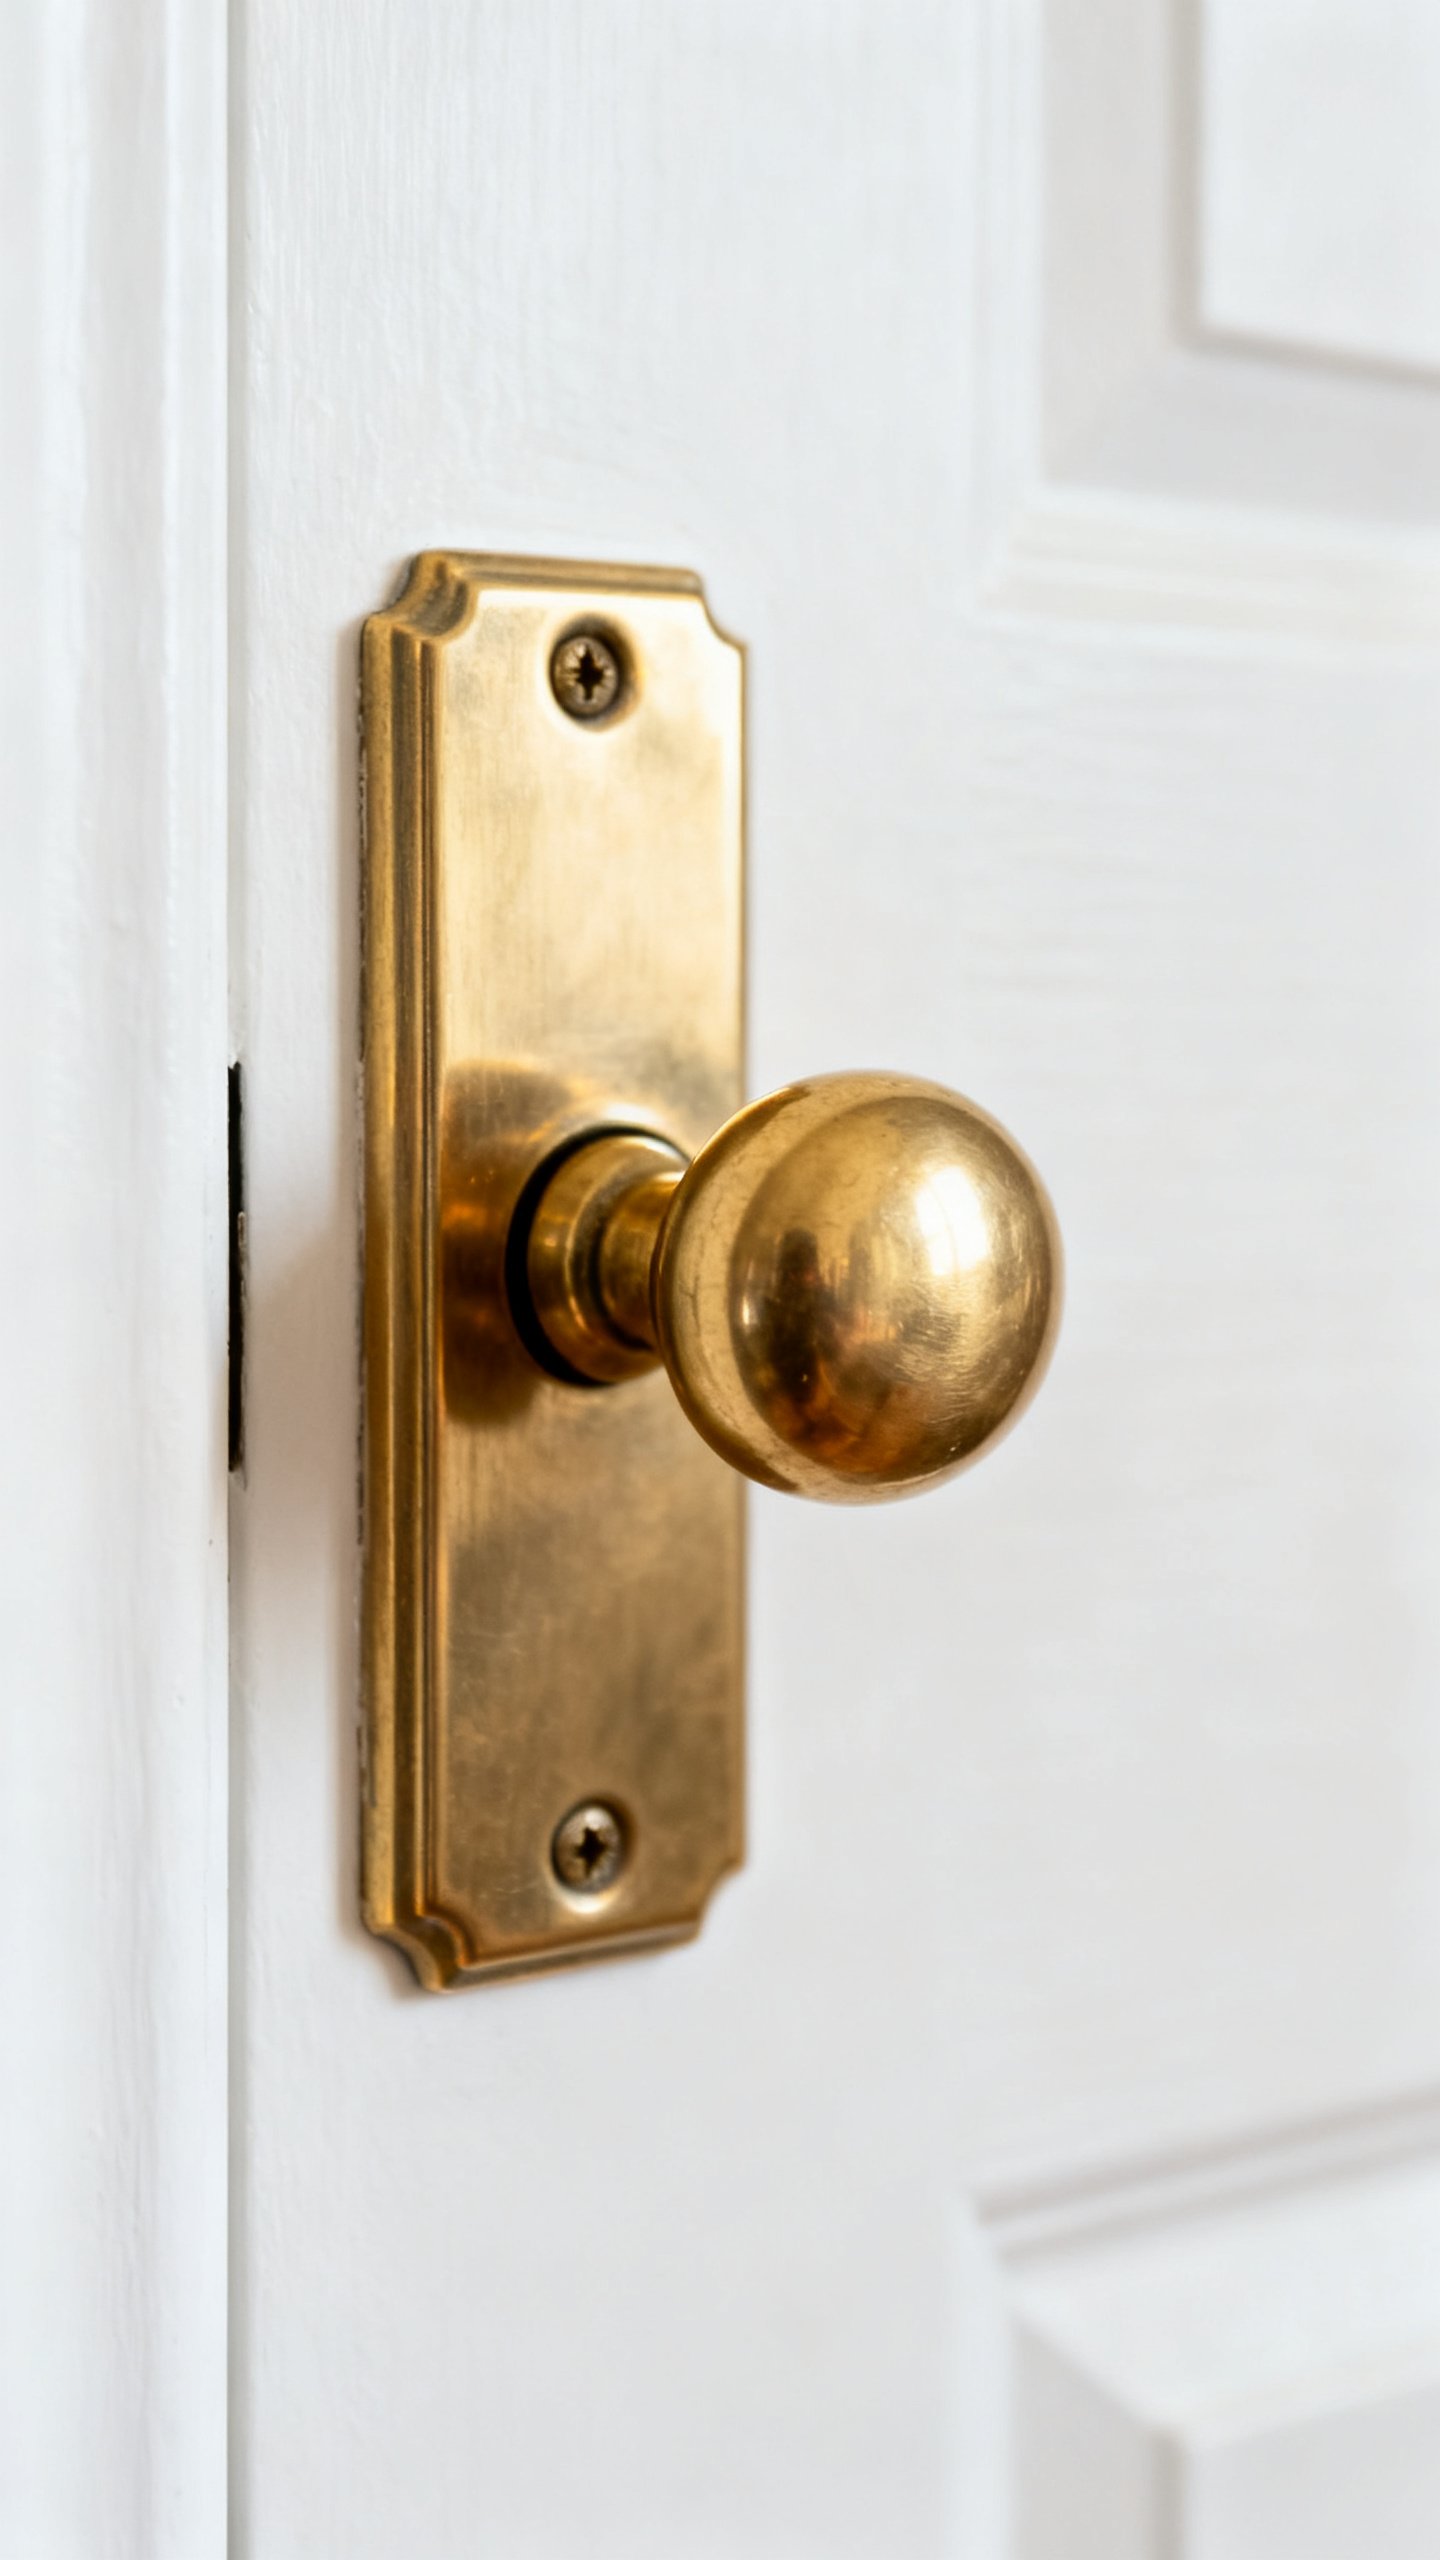
Upgrade Hardware: Jewelry For Doors
You can’t slap a gorgeous handle on a beat-up door and call it done… but you can get close. Swapping hardware makes a huge difference for not much cash.
- Pick a style lane: Black matte = modern; brass = classic; brushed nickel = safe and sleek.
- Backplates save the day: They cover old screw holes and scratches and add instant character.
- Hinges matter too: Match the hinge finish to the knob. Squeaks?
A drop of lubricant and you’re golden.
Smart Shopping Tip
Check the door’s backset (usually 2-3/8″ or 2-3/4″) and borehole size before buying. Returning hardware three times kills the vibe, IMO.
Fake the Panels: Molding, Trim, and Magic
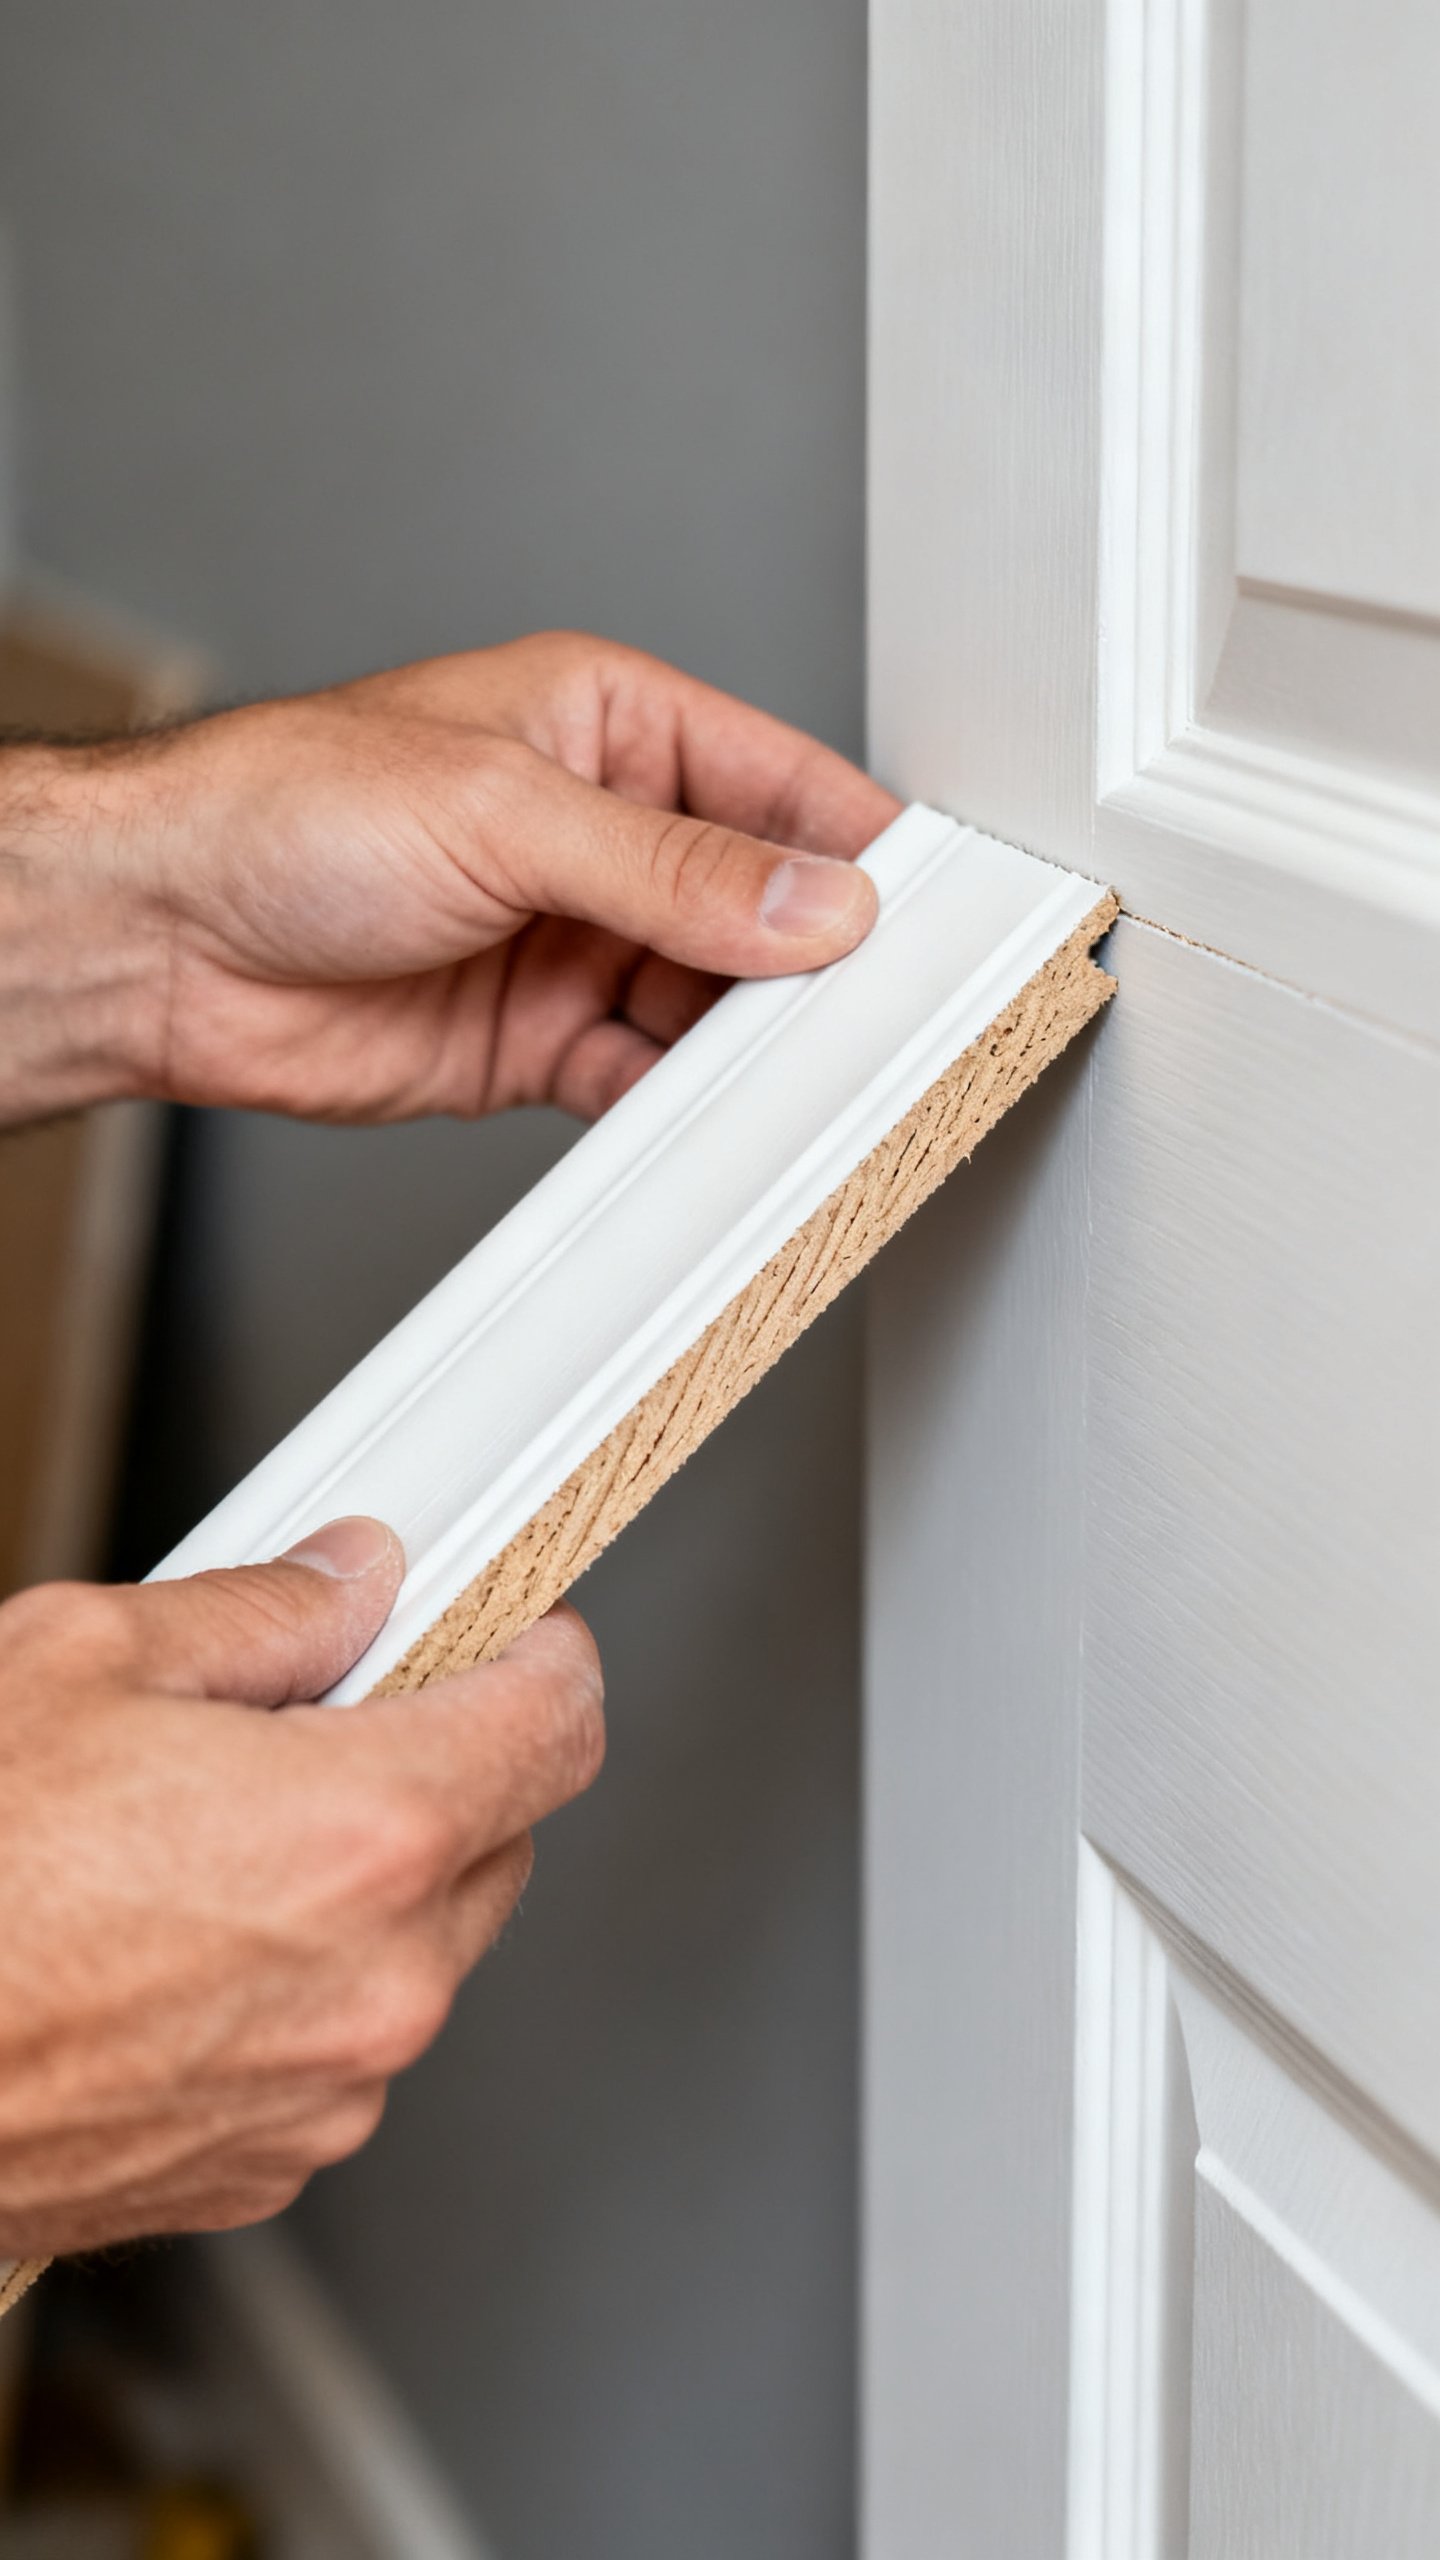
Got a flat, hollow-core door? Add trimmed “panels” and pretend it was custom millwork all along.
- Materials: Pre-primed MDF or lightweight PVC trim, miter box, brad nails or construction adhesive, wood filler, caulk, paint.
- Layout: Tape rectangles with painter’s tape first.
Keep margins consistent (2.5″–3″ from edges looks right).
- Paint everything one color: The trim blends in and looks like it grew there.
Even Easier: Picture Frame Molding Strips
Buy pre-made frame kits or use lattice strip. No fancy tools, no drama. Bonus: this trick also levels up bifold closet doors.
Add Texture Without Tears
Flat doors can still feel luxe.
Texture brings depth when your budget says “not today.”
- Beadboard panels: Cut thin beadboard to fit the center area. Glue, nail, caulk, paint. Cute, cottagey, cozy.
- Board-and-batten style: Add vertical slats only.
Minimal effort, big payoff.
- Wallpaper or peel-and-stick: Use on the door’s insets or entire face. Seal with a clear topcoat if it’s a high-touch area.
Renter-Friendly Tactic
Use removable double-sided mounting tape for slats or panels, then caulk lightly. You can reverse it later with patience and a hair dryer.
Your landlord never needs to know.
Glass, Mirrors, and Light Tricks
Dark hallway? Closet that eats light? Reflect it.
- Peel-and-stick mirror panels: Lightweight, easy, rental-safe.
Great for closet or bathroom doors.
- Frosted film: If you already have glass, add privacy with frosted or patterned film. Clean lines, zero commitment.
- Fake transom look: Paint the top panel a glossy, slightly lighter shade to fake height. Sounds weird, looks cool.
Safety Note
If you add actual glass, check door type first.
Hollow-core + heavy glass = disaster waiting to happen. Stick to films or acrylic panes.
Creative Paint Patterns (A.K.A. Personality Time)
When plain just won’t cut it, patterns do the heavy lifting.
- Color-blocking: Horizontal or diagonal blocks make boring doors stop being boring.
- Pinstripe edges: Tape 1/4″ border around the panel or door edges for a high-end tailor-made look.
- Stencils: Use geometric or Art Deco patterns.
Keep contrast subtle for sophistication or go full maximalist—your walls, your rules.
Pro Tip for Crisp Lines
Seal tape edges with the base color first, let dry, then apply your accent color. When you pull the tape, the line looks razor-sharp. Chef’s kiss.
Don’t Forget the Frame and Trim
You can upgrade the door and still lose the plot if the frame looks rough.
Give the casing some love and everything suddenly matches.
- Re-caulk gaps: Fresh caulk = instant clean lines.
- Paint the trim: Match the door for modern, contrast it for classic. Black door + white trim? Iconic.
- Add a header: Nail up a simple 1×4 with small crown or cove molding below.
Instant architectural glow-up.
Threshold + Stop Molding Refresh
If your door scrapes or rattles, adjust the strike plate and replace worn weatherstrip. You’ll get a quieter close and fewer drafts. Practical upgrades count too, FYI.
Finishing Touches: Details People Notice
These small things make the whole project feel pro.
- New latch plates and screws: Swap in matching finishes.
Use longer screws on the strike for a sturdier feel.
- Door bumpers: Clear bumpers stop slamming and protect your paint job.
- Label closets discreetly: Small brass tags or decals make shared spaces feel intentional (and help guests find towels without yelling).
FAQ
What’s the cheapest way to make a door look better fast?
Paint and a new knob. You’ll spend a few hours and a small bill, and the door will look brand new. Add a backplate if the old knob left scars.
Do I need to take the door off to paint it?
Not always.
If you swap hardware or paint edges, pop it off. If you paint in place, wedge it open, tape the hinges, and use a small foam roller for a smooth finish. IMO, removing it makes life easier but it’s not mandatory.
How do I add molding without power tools?
Use pre-cut lightweight trim, a hand miter box, construction adhesive, and painter’s tape as a clamp.
Fill seams with caulk and nail holes with wood filler. Sand lightly, then paint everything to match.
Can I fix dents or holes in hollow-core doors?
Yes. For small dents, use wood filler or spackle, sand smooth, and prime.
For larger holes, glue in a backer (thin wood or mesh patch), then build up filler in layers. Once painted, you’ll barely notice it.
What if my door sticks or won’t latch?
Tight spots often come from humidity or hinge sag. Tighten hinge screws, swap one screw for a longer one into the stud, and adjust the strike plate slightly.
If the door rubs, plane the edge lightly and seal it to prevent future swelling.
How do I choose the right color?
Match your vibe, not trends. Hold paint chips by the trim at different times of day. As a guideline: dark, moody tones in well-lit spaces; lighter hues for dim hallways.
When in doubt, soft charcoal or muted olive rarely disappoints, IMO.
Conclusion
You don’t need new doors—you need new tricks. A little paint, smarter hardware, and some budget-friendly texture can fool everyone into thinking you splurged. Pick one upgrade, knock it out this weekend, then act surprised when people ask who your designer is.
Your secret’s safe with me.