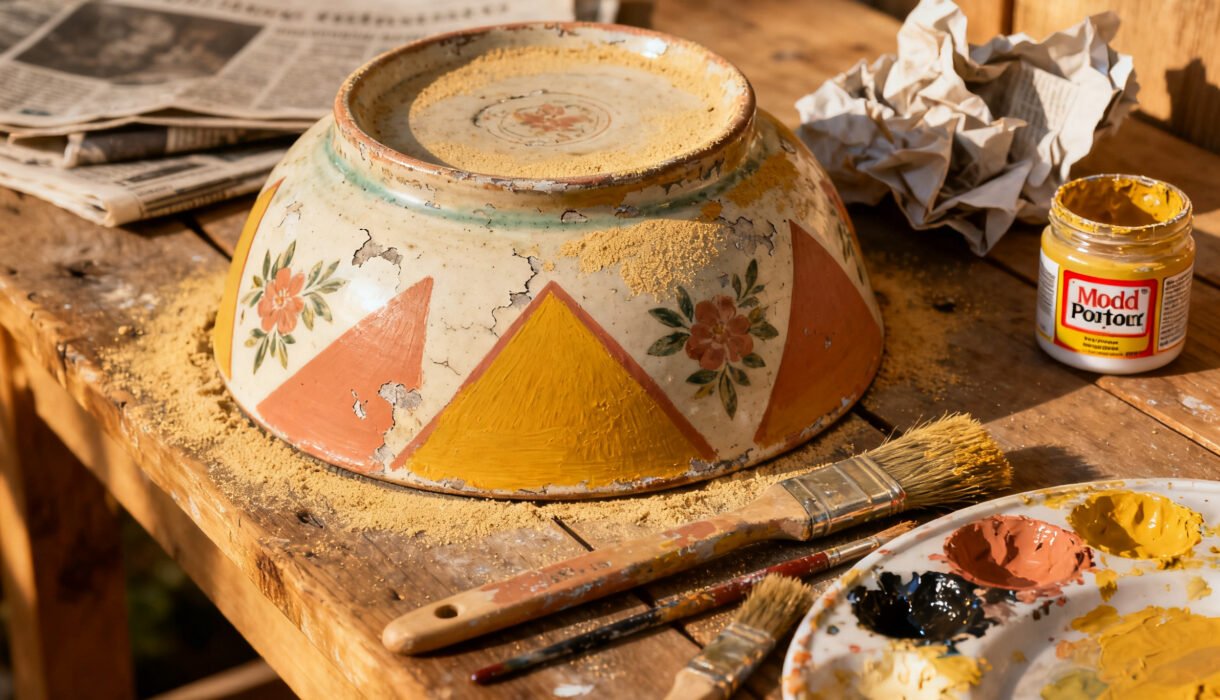

You walk past the home decor aisle, see a $60 “artisanal” bowl, and think… absolutely not. Good news: your thrift store has the raw materials for that same vibe at a fraction of the price. Grab a couple of unloved bowls, a cart full of possibilities, and let’s turn cheap finds into “wait, you made that?” centerpieces.
It’s fast, it’s fun, and it scratches the DIY itch without a week-long project hangover.
Treasure Hunting at the Thrift Store
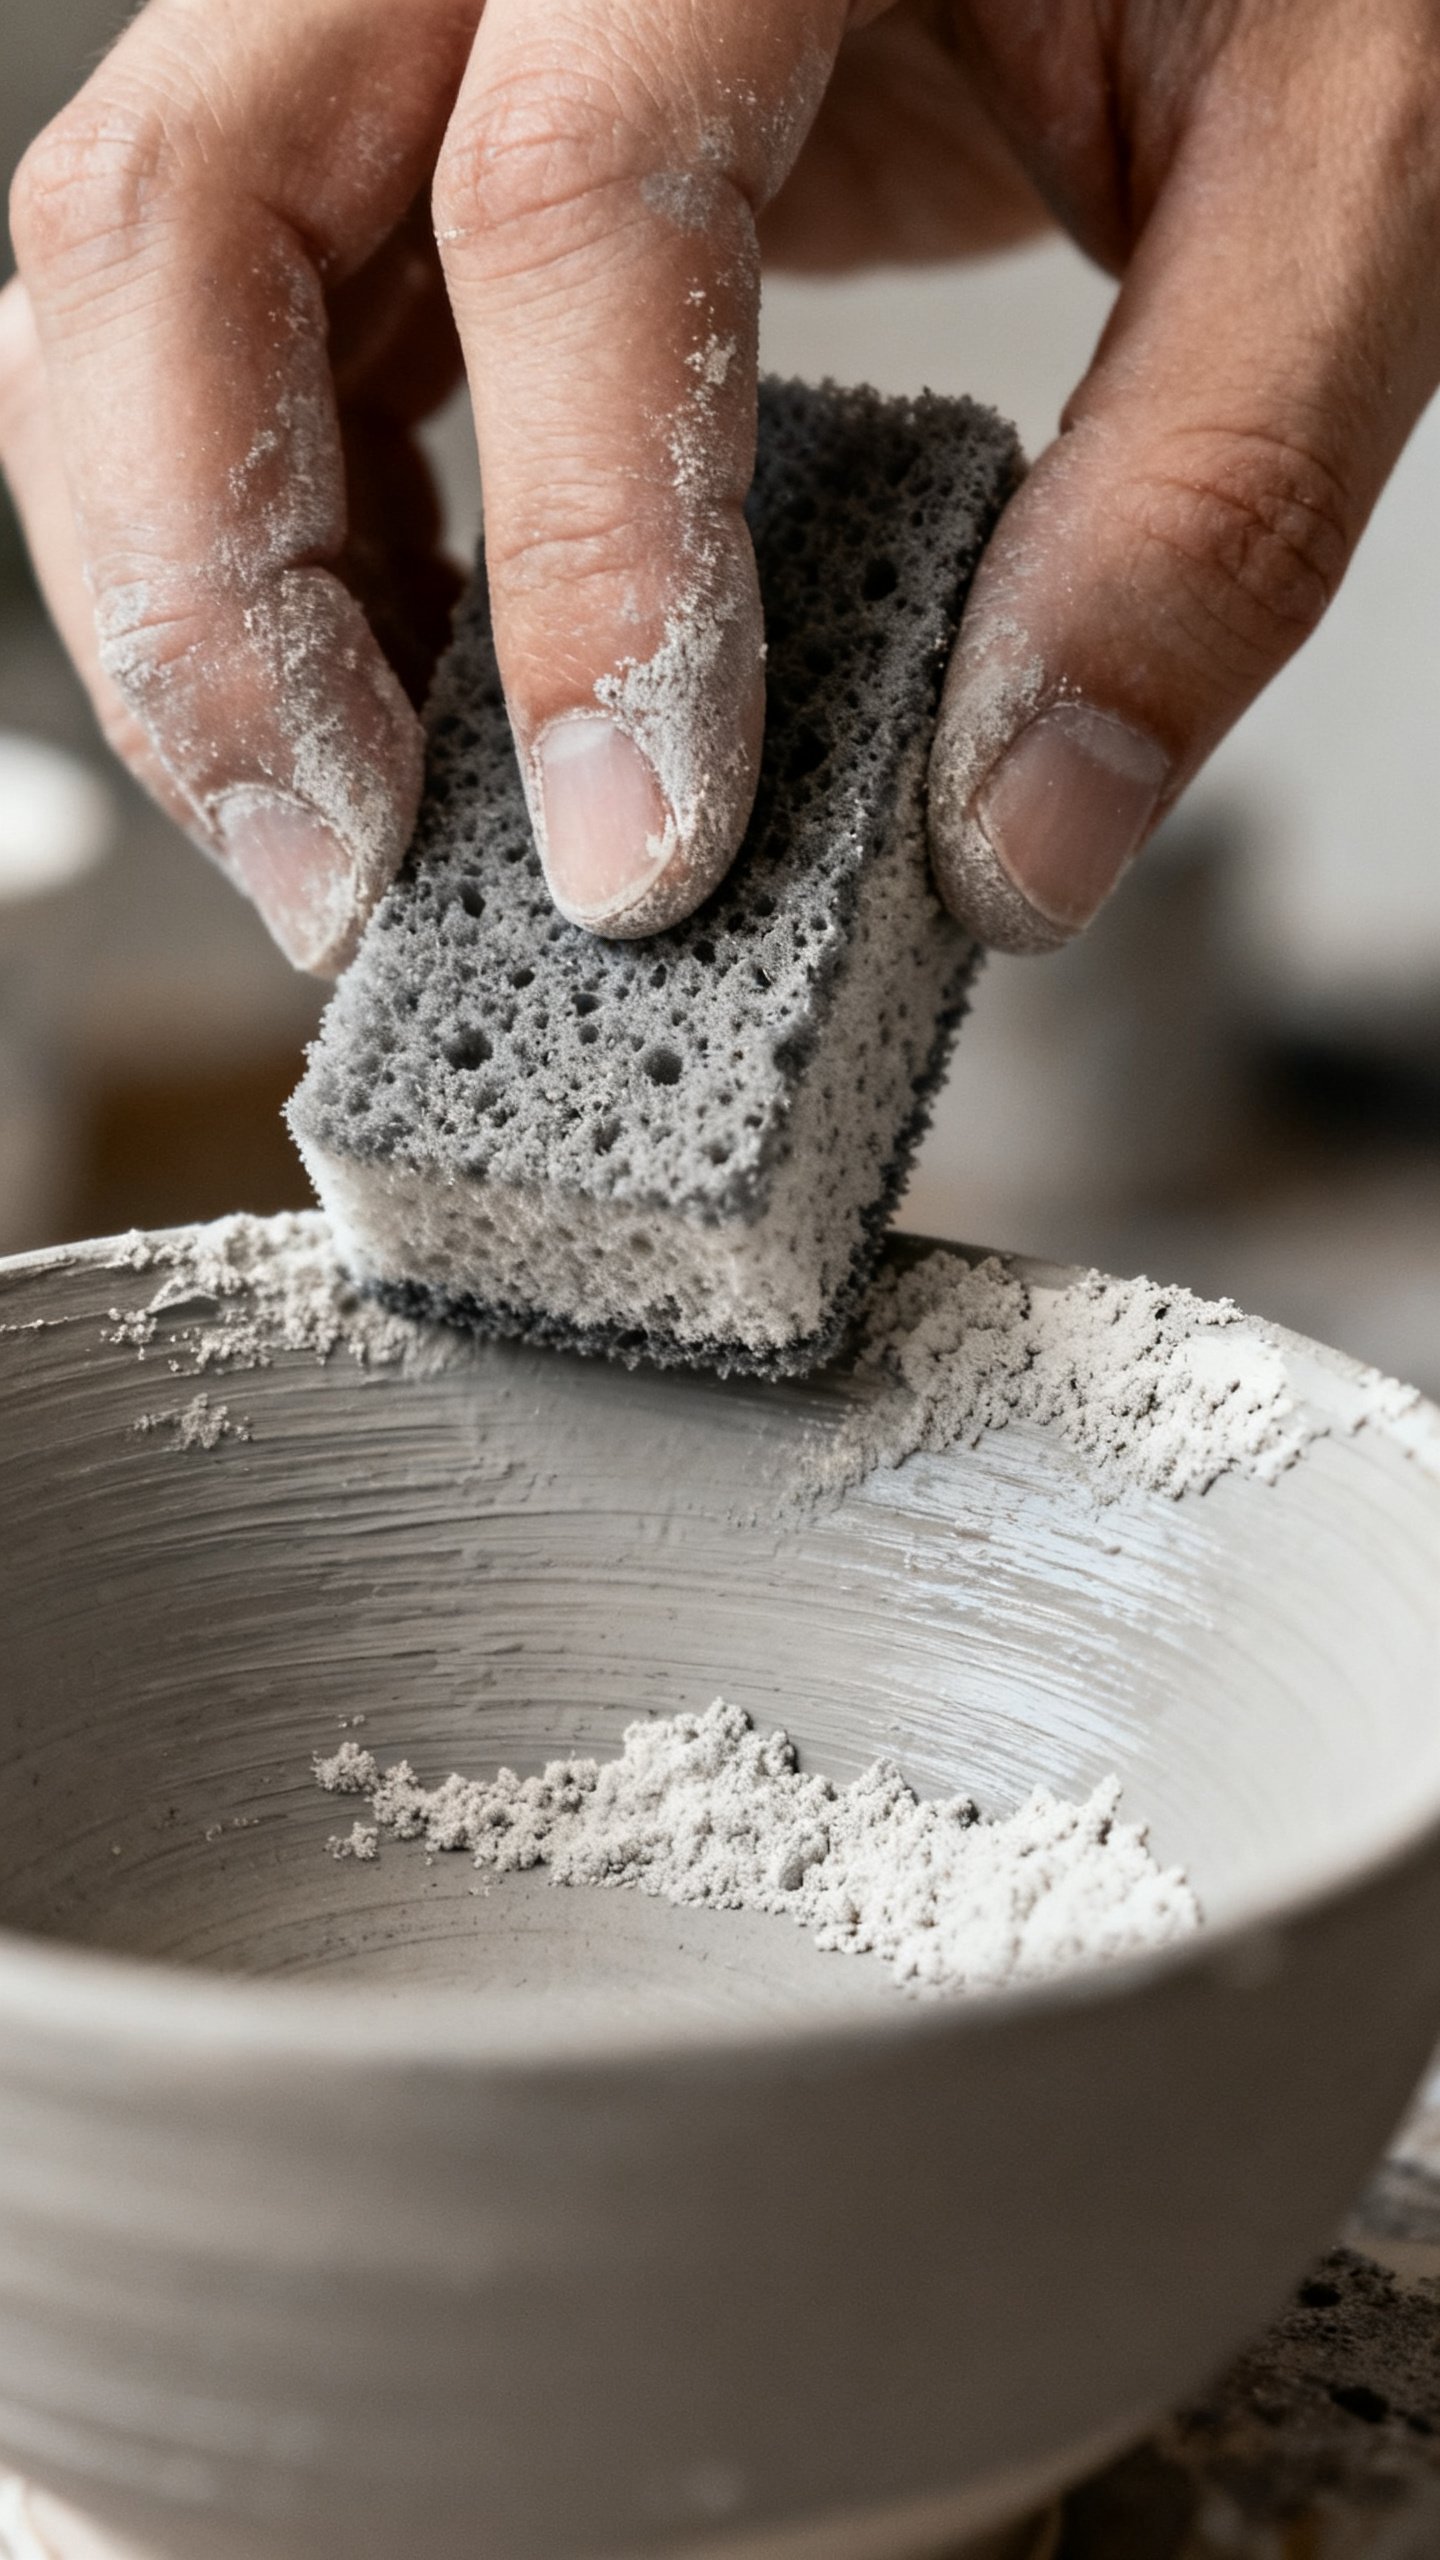
You don’t need perfection—you need good bones. Scan for bowls with solid shapes and sturdy weight. Stoneware, ceramic, glass, wood, and even weird metal pieces all work if you like the silhouette. What to look for:
- Shape first, finish later: A good curve or footed base makes anything look chic.
- No cracks, please: Hairline cracks and deep chips can get worse with sanding or paint.
- Heavier is better: Weight screams quality, even when the price tag doesn’t.
- Oddballs win: Candle stands, planters, and lamp bases can become “bowls” with imagination.
Quick Clean and Prep
Give your bowls a hot soapy bath and dry them well.
If the surface looks glossy, scuff it with fine-grit sandpaper. Wipe with rubbing alcohol so paint actually sticks. It’s five minutes you won’t regret—IMO.
Paint Makeovers That Don’t Look Like Paint
We’re going for “artisan pottery” not “I used poster paint.” The trick?
Texture and layered color. Keep your palette neutral or tonal for instant sophistication. Starter kit:
- Matte spray primer (for metal, glass, or glossy finishes)
- Chalk, mineral, or acrylic paint in matte/eggshell
- Baking soda or calcium carbonate (for texture)
- Sea sponge or chip brushes
The Ceramic-From-Nowhere Technique
- Prime if needed, then mix acrylic paint with a spoon of baking soda—think yogurt consistency.
- Dab on with a sponge for subtle grit. Let dry.
- Layer a second shade slightly lighter or darker.
Feather edges while wet.
- Optional: Dry brush a warm gray or taupe to add that “fired” look.
Pro tip: Keep colors dusty and desaturated—clay, sand, charcoal, mushroom. Bold is fun, but earthy sells the illusion.
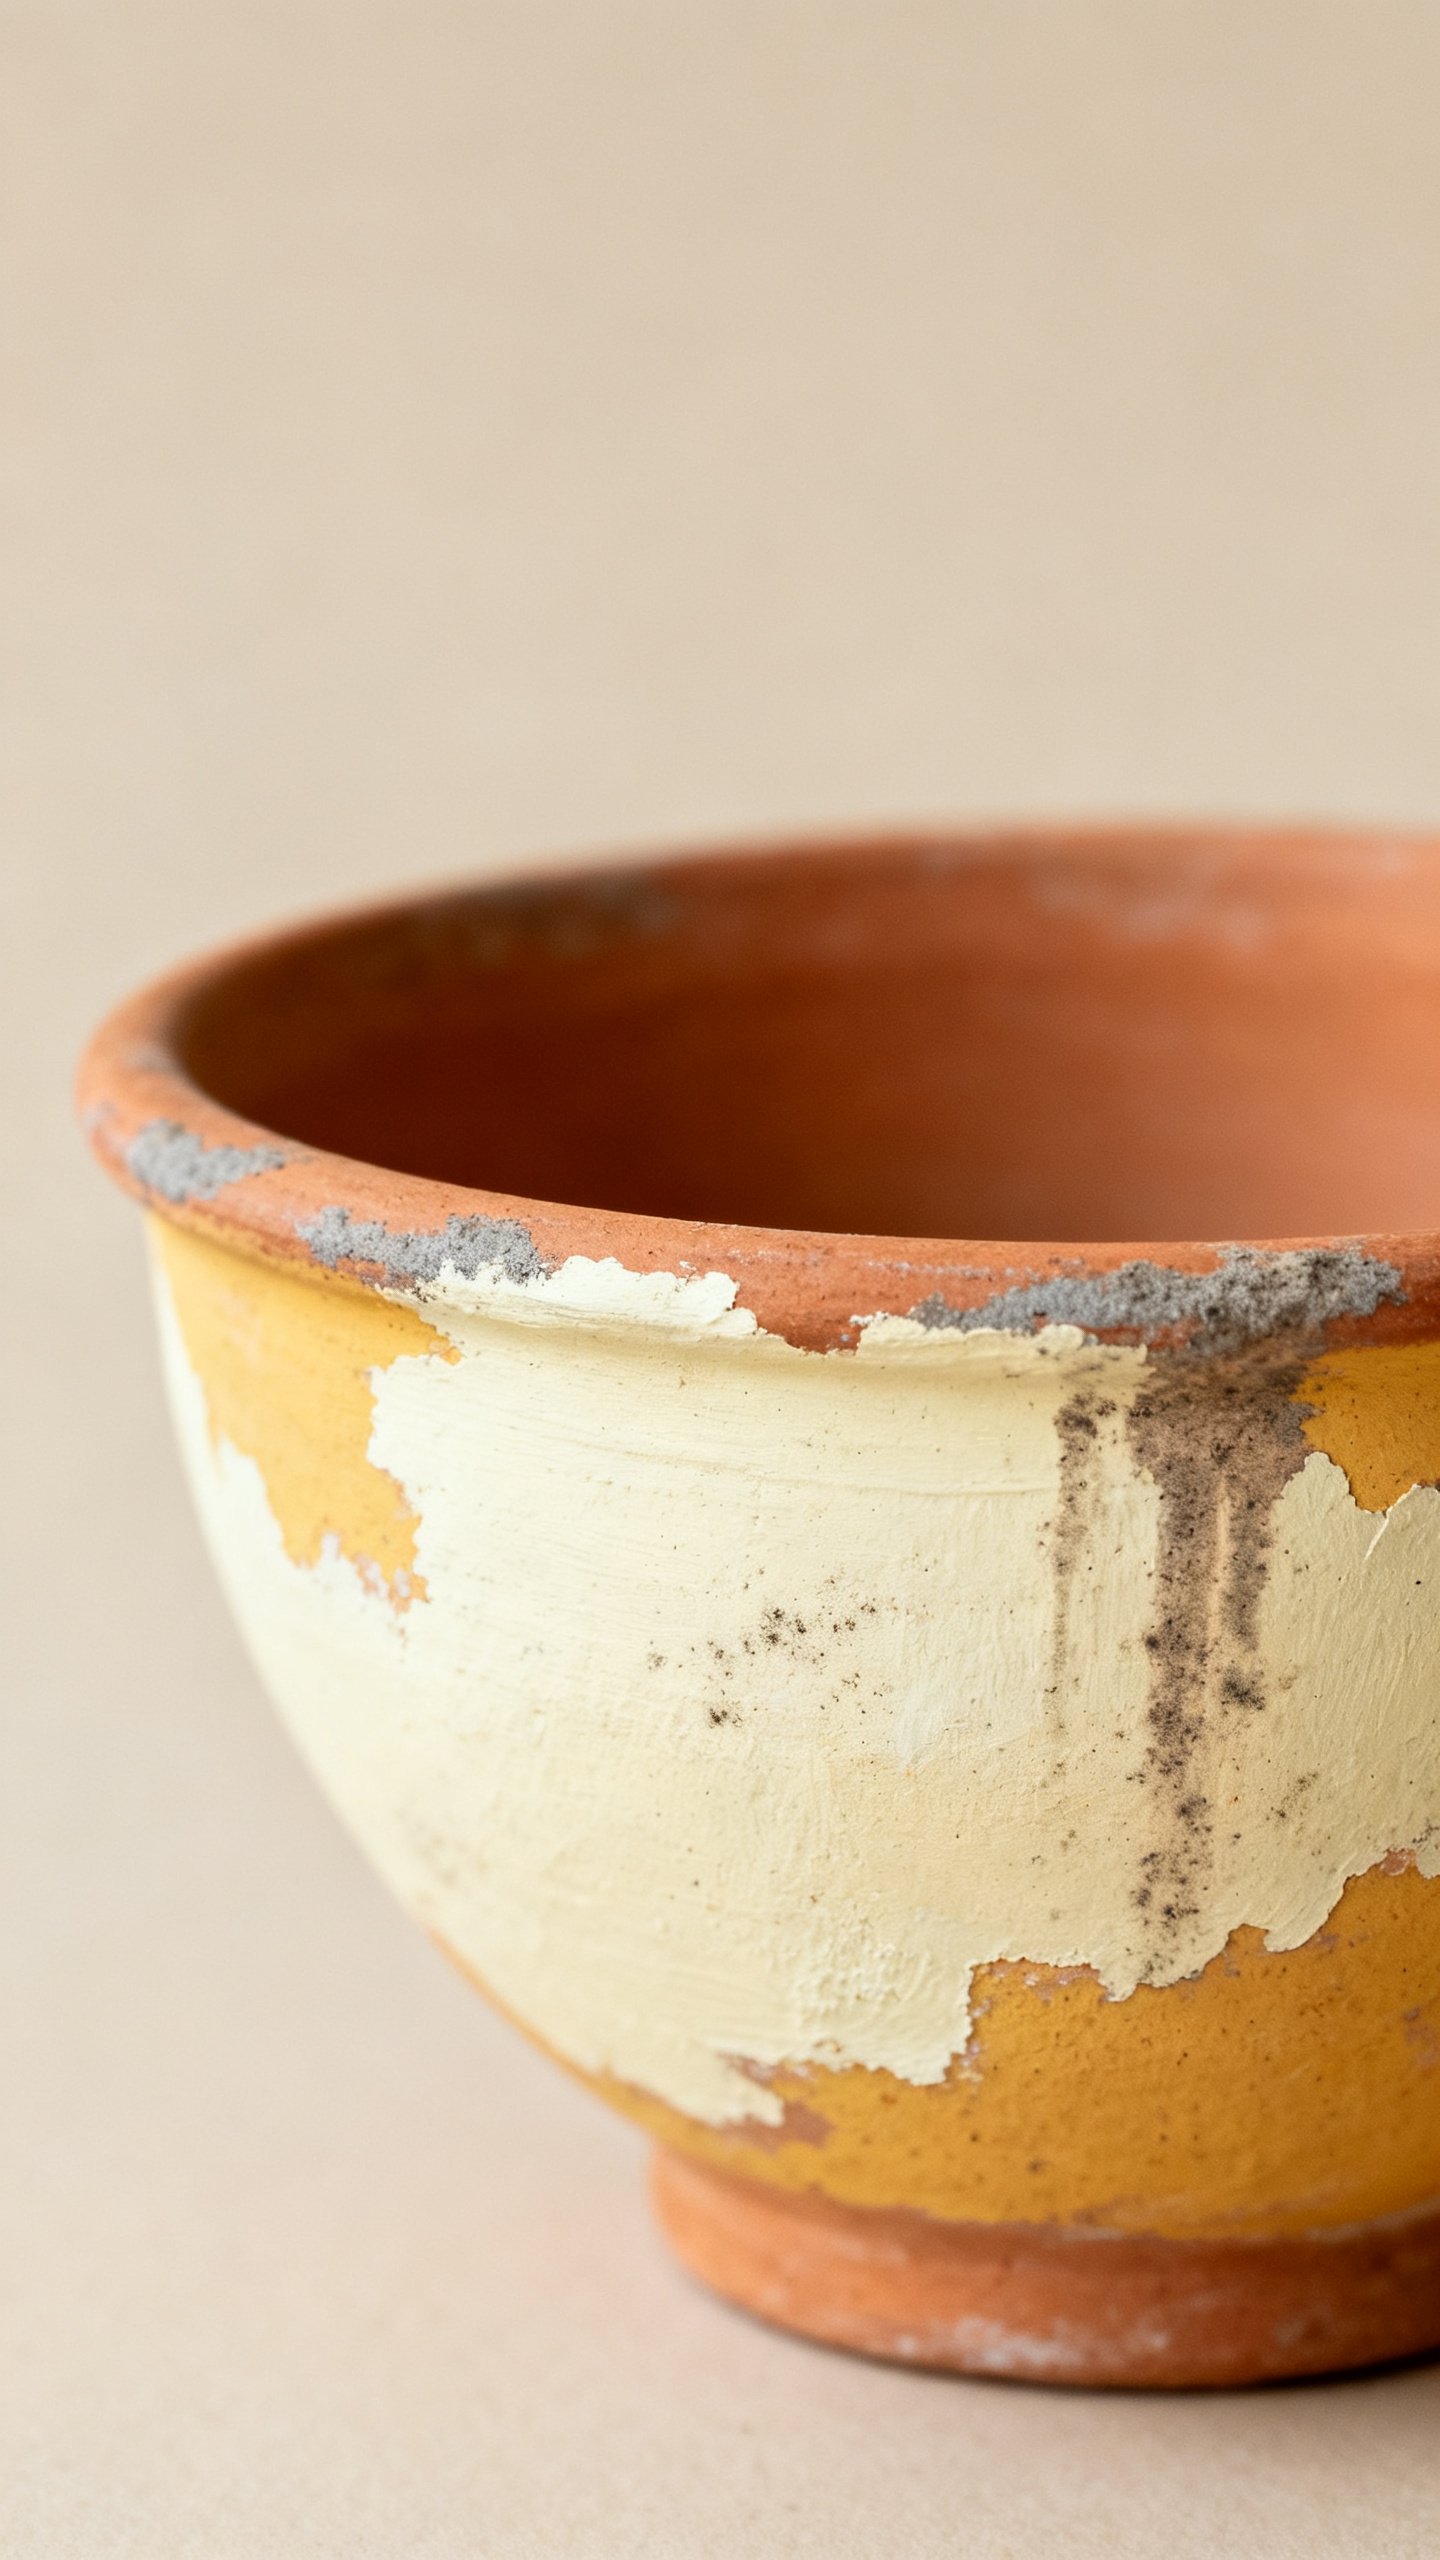
The Aged Terracotta Trick
- Base coat: Rusty terracotta or brick red.
- Stipple on pale gray and off-white in random patches.
- Rub in a smidge of garden dirt when tacky. Yes, actual dirt.
Seal after it dries.
It sounds chaotic, but your bowl will look like it summered in Tuscany. FYI, seal with a matte clear coat so it doesn’t shed dust.
Stone, Plaster, and Faux-Concrete Finishes
Want that Restoration Hardware “I own a vineyard” vibe? Go faux stone.
These textures hide sins and elevate even the jankiest shape. Two easy routes:
- Spackle skim coat: Smear lightweight spackle thinly with a putty knife. Let dry, sand lightly, then paint in layered grays and beiges. Finish with a chalky clear wax.
- Concrete effect paint: Use specialty “stone” spray or mix sand into paint.
Speckle with a stiff brush for stone flecks.
Marble For People Who Don’t Marble
- Base coat: warm white.
- Thin gray paint with water. Drag faint “veins” with a feather or fine brush.
- Smudge veins lightly with a damp sponge. Repeat sparingly.
- Seal with satin for a subtle stone sheen.
Go gentle.
Over-marbled bowls scream cosplay prop. Understated wins.
Wood Bowls: Oil, Burn, or Two-Tone
Wood bowls can look expensive with almost zero effort. Check the grain under the old finish—you might strike gold. Makeover options:
- Strip and oil: Use a citrus stripper, sand to 220 grit, then flood with food-safe mineral oil or tung oil.
Buff until silky.
- Charring (Shou Sugi Ban–ish): Lightly torch the exterior for a deep, dramatic texture. Brush off soot, seal with matte poly. Only for decorative bowls.
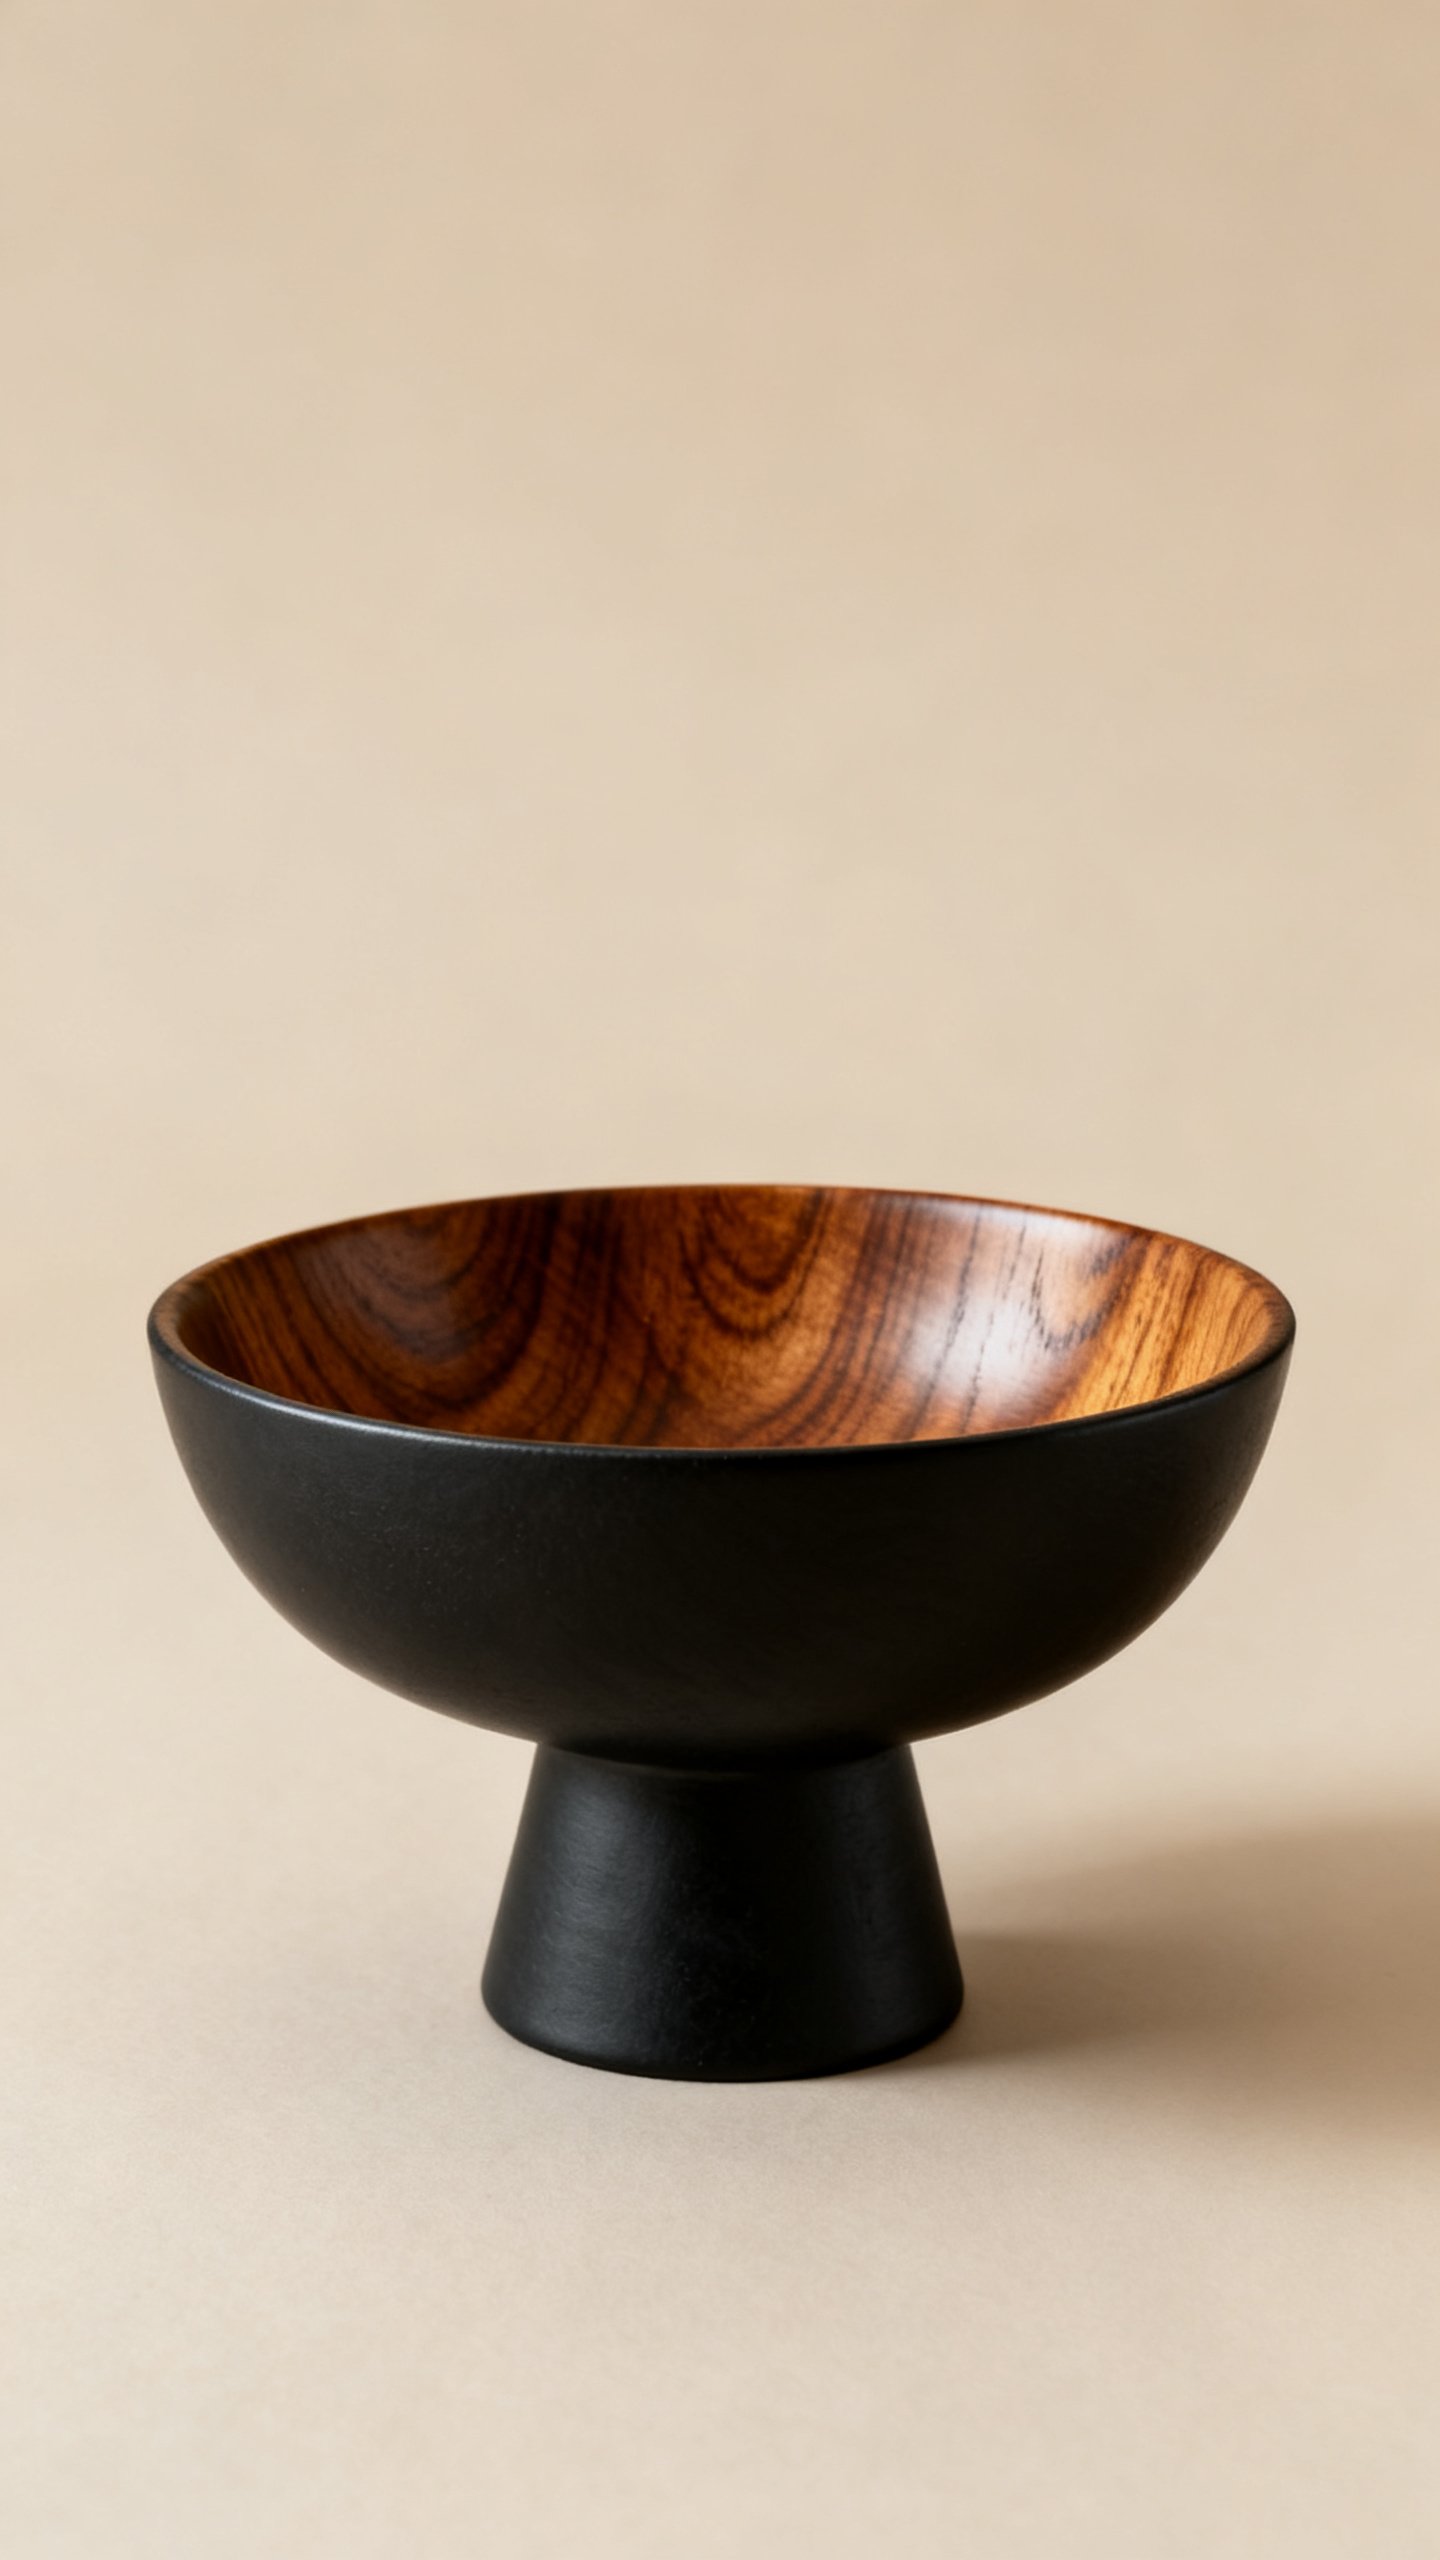
- Two-tone paint + wood: Tape a clean line around the bowl.
Paint the exterior matte black, leave interior oiled wood. Instant boutique energy.
Handle Old Stains and Odors
If the bowl smells musty, wipe with vinegar solution and air it out in the sun. Persistent funk?
Sand deeper or reserve for non-food use. Your nose will thank you.
Embellishments That Don’t Feel Crafty
Add details, but keep them refined. Think gallery, not glitter.
- Jute or leather wrap: Wind around the foot or rim with a tiny dot of clear epoxy at the start and end.
- Wax finishes: Clear or dark wax over chalk paint adds depth and a hand-rubbed look.
- Limewash glaze: Mix limewash or diluted chalk paint and drag it over texture to age it gracefully.
- Gold leaf moment: A thin band on the rim looks luxe.
Seal lightly so it softens with patina.
Elevate with a Pedestal
Glue a small wooden candlestick or chunky coaster to the base with two-part epoxy. Paint as one piece. Suddenly your humble bowl became a “footed centerpiece” and your guests will ask where you bought it.
You’ll smile mysteriously.
Seal, Style, and Actually Use It
You finished the art—now make it practical. Seal smart:
- Matte clear spray for painted or textured finishes.
- Polycrylic for durability on high-touch areas.
- Food-safe mineral oil or wax on bare wood interiors if you’ll use dry foods.
Styling ideas:
- Layer with books and a candle on a coffee table.
- Fill with moss, driftwood, or bead garlands for texture.
- Use as a catchall at the entry—keys look fancier in a fancy bowl.
- Seasonal swaps: pinecones for winter, lemons for summer, ornaments for holidays.
Common Pitfalls (And the Fixes)
Paint peeling? You skipped sanding or priming. Scuff, prime, repaint. It happens. Too glossy? Knock it back with matte clear coat or a light dusting of finishing powder while the sealer is tacky. Patchy color? Layer two coordinating shades with a dry brush.
Imperfect equals authentic—IMO. Visible glue seams? Sand cured epoxy lightly and camouflage with texture paint.
Project Recipes You Can Copy
Neutral Stone Centerpiece
- Thrifted glass bowl + primer
- Textured paint (baking soda mix in warm gray)
- Dry brush beige, then charcoal on edges
- Matte clear coat
Scandi Wood Catchall
- Wood bowl stripped and sanded
- Exterior: matte black paint
- Interior: mineral oil finish
- Optional: small pedestal base
“Unearthed” Terracotta Fruit Bowl
- Ceramic bowl base-coated in terracotta
- Patchy limewash in chalky white
- Dust with garden soil, seal matte
FAQ
Can I use these bowls for food?
If you painted or spackled the interior, use them decoratively only. For food, keep the interior bare wood sealed with food-safe oil, or use a removable liner. Painted exteriors with raw interiors give you the best of both worlds.
What if my bowl has a weird glossy glaze?
Scuff it with 220–320 grit sandpaper and use a bonding primer labeled for tile or glass.
After that, your paint will grab and behave.
Do I have to use baking soda in paint?
Nope. It’s just an easy texture hack. You can use texture mediums, fine sand, or skip texture entirely and rely on layered color.
Choose your own adventure.
How do I avoid brush strokes?
Use a high-density foam roller or a sea sponge for the final coat. Thin your paint slightly with water and work in light layers. Matte finishes also hide a multitude of sins.
Is sealing mandatory?
If the bowl will be touched, yes.
Seal to prevent scuffs and stains. For purely decorative shelf pieces, you can skip it, but a quick matte topcoat gives a more finished look.
What’s the easiest beginner project?
A glass bowl with a stone-texture spray, followed by a matte clear coat. Minimal steps, maximum payoff.
It’s the training wheels of fancy bowl makeovers.
Wrap-Up: Bowls, But Make Them Art
Thrifted bowls give you endless room to play without the price tag panic. Pick a good shape, add texture and layered color, and finish with a low-sheen seal. Style it like you meant it, and pretend it came from an expensive boutique.
The secret’s safe with me—unless someone asks nicely, then you can humblebrag.