
Paper clutter steals time and space. You don’t need a full filing cabinet to get control—just a simple flow that tells every paper where to go the day it arrives. Here’s a budget-friendly system you can set up in under an hour and keep tidy in minutes a day.
Set Up a Simple Landing Zone
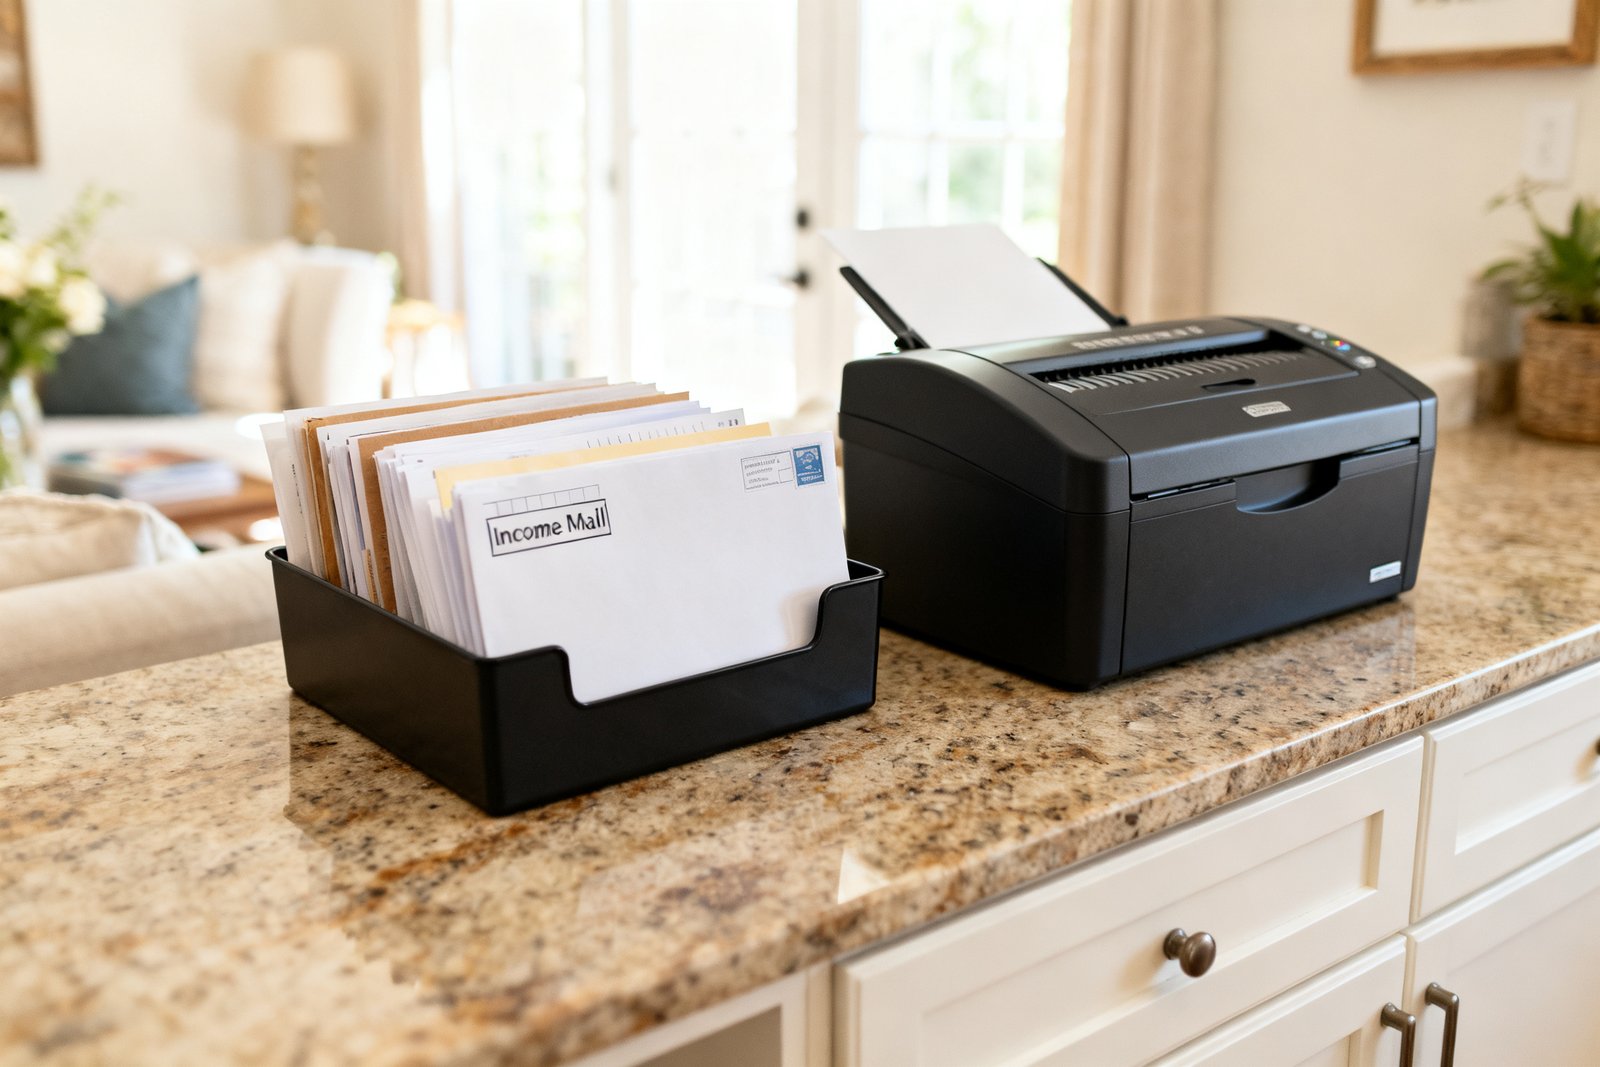
Pick one spot where all paper enters your home: the kitchen counter corner, an entry table, or a shelf by the door. Keep it small on purpose so it can’t hold a month’s worth of mail. Your goal is to touch every piece once and move it forward.
What you need (under $25 total)
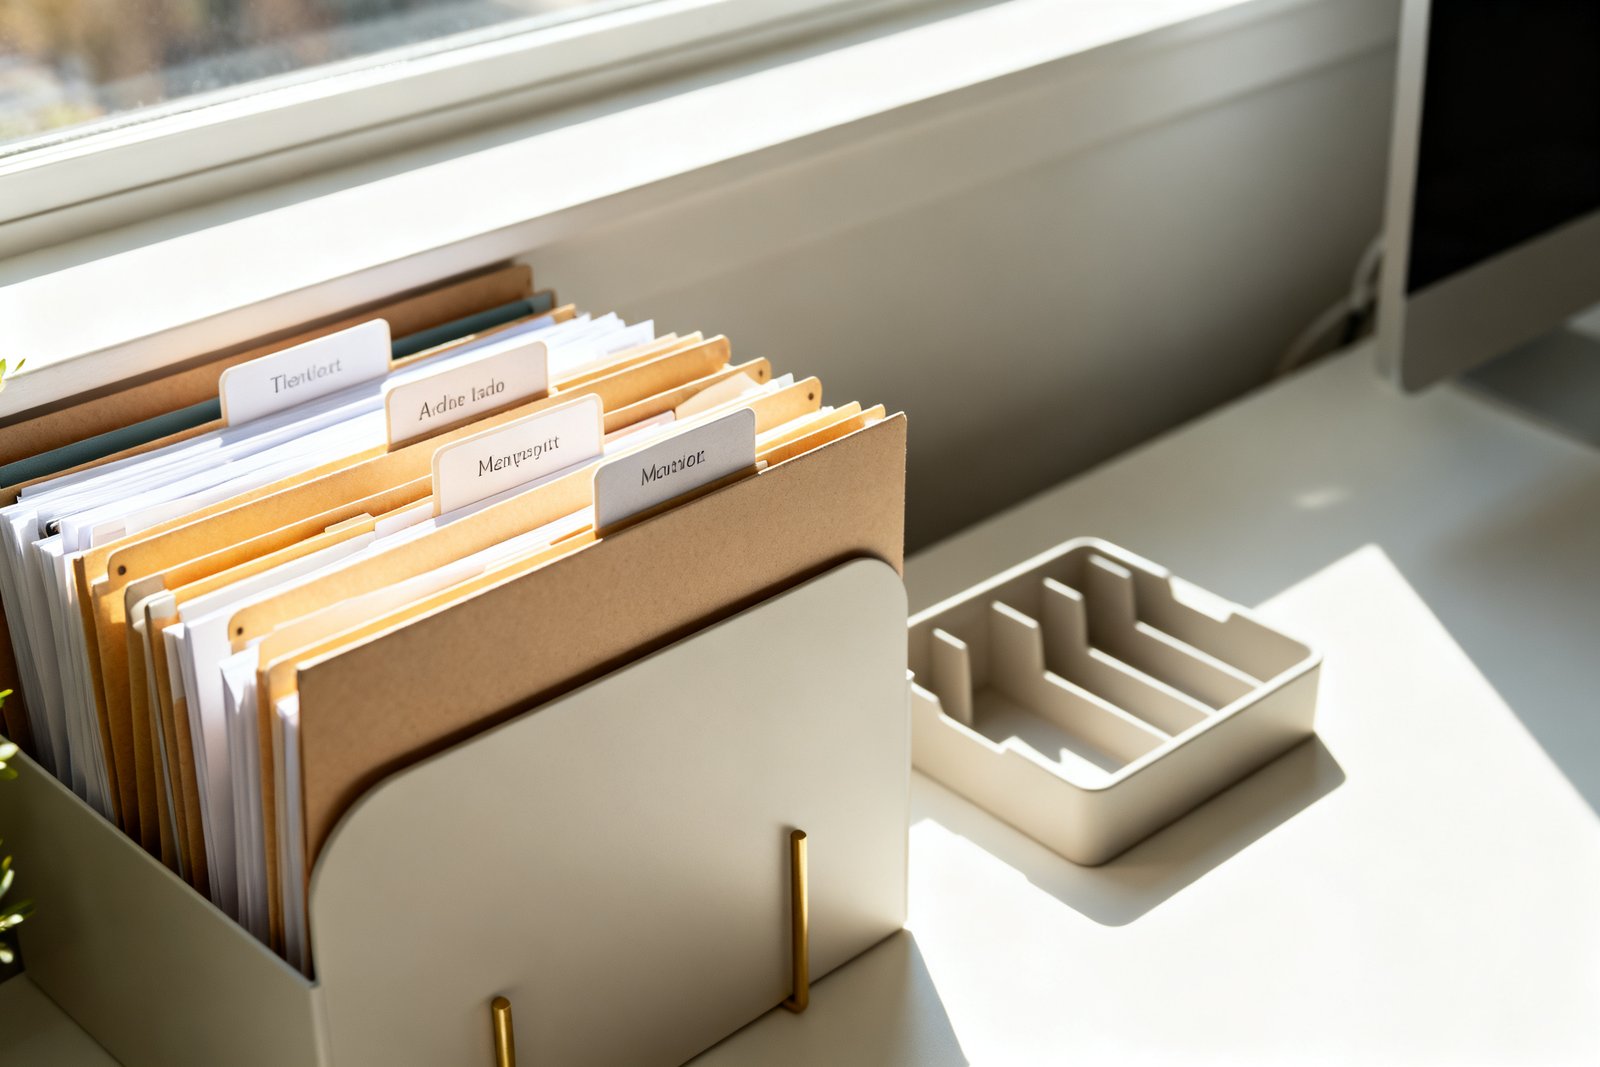
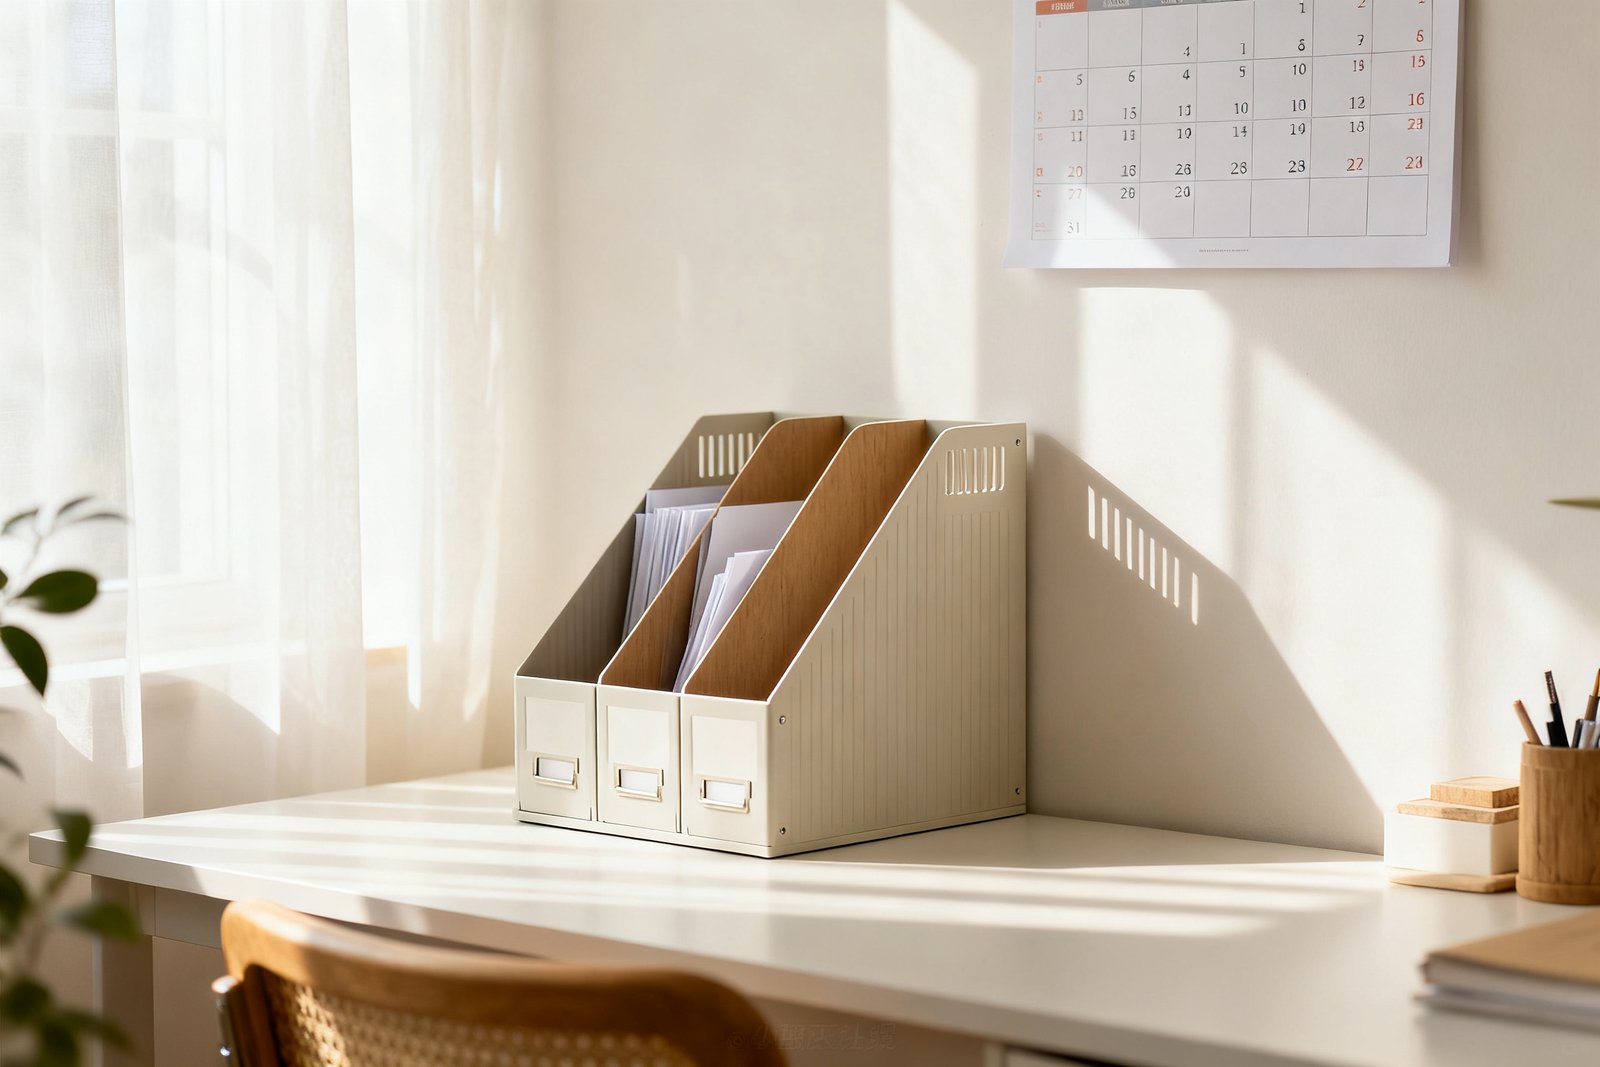
- 1 vertical file or magazine holder ($6–$12) for short-term papers.
- 3–4 labeled folders ($1–$4) or sturdy envelopes for categories.
- 1 small tray or shallow bin ($3–$10) for daily mail.
- Pen, sticky notes, and a letter opener (use what you have).
Create Three Clear Categories
For more ideas, see our guide on how to organize a junk drawer.
Most paper belongs in just three buckets: Act, Hold, or File. Label folders or sections with words you’ll actually use. Keep them within arm’s reach of where you drop the mail.
ACT (Do this week)
Items that require action soon: bills to pay, forms to sign, returns to ship, calls to make. Add sticky notes with a deadline. Aim to clear this weekly.
HOLD (Short-term reference)
Tickets, upcoming event info, active warranties, current school calendars, ongoing project notes. These expire or move on within a few months. Review monthly.
FILE (Long-term records)
Tax documents, home purchase/lease papers, insurance policies, medical records, and anything you might need for years. This category shouldn’t live in the landing zone. It moves to your permanent storage once a week or month.
The 10-Minute Daily Routine
Tamed the paper pile? Keep that clutter-free feeling everywhere with our free 5-Day Budget Home Reset.
Consistency beats storage furniture. This routine keeps piles from forming and takes less time than scrolling your phone.
- Empty: Bring the day’s mail and school papers to the tray.
- Open and sort: Immediately recycle outer envelopes and junk. Remove inserts.
- Decide a home: Place each item in ACT, HOLD, or FILE. If it’s none of the three, it’s recycling.
- Schedule: Jot due dates on your calendar or phone while the paper is in your hand.
- Clear surface: The tray should be empty when you walk away.
Tip: Keep a paper bag or bin for recycling under the console or in the pantry so tossing is friction-free.
Build a Lightweight Filing System
It also helps to check out create a family command center.
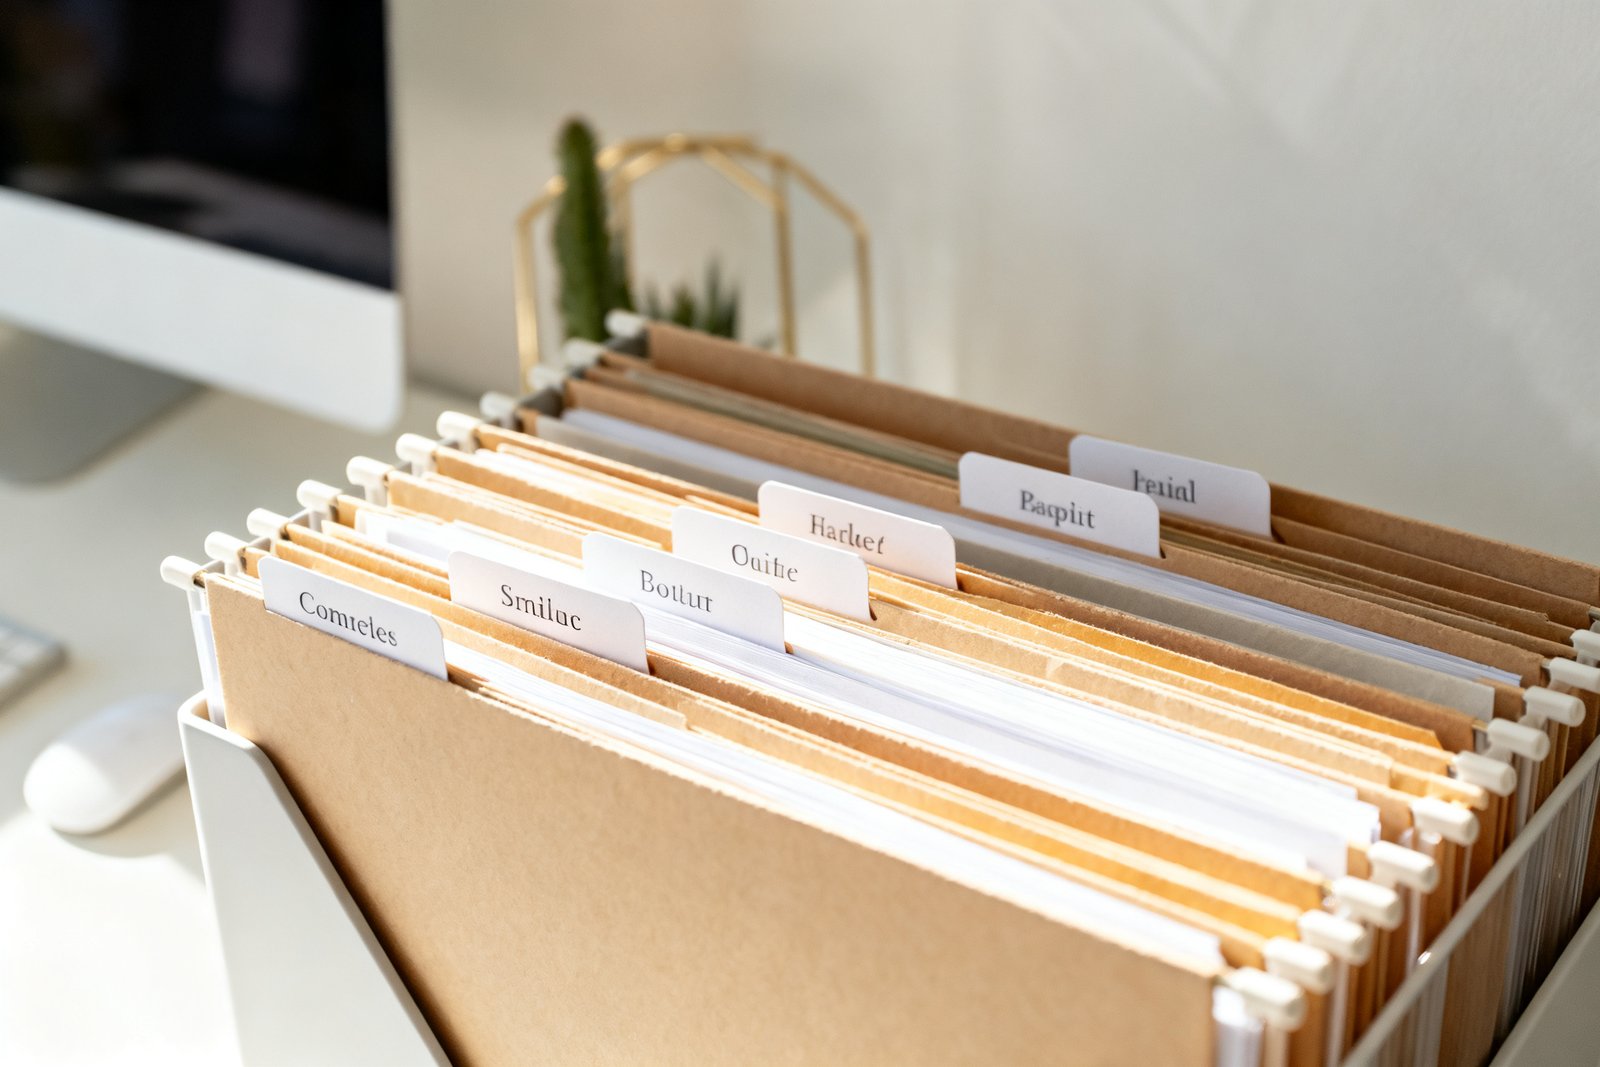
You don’t need a bulky cabinet. A portable file box or accordion folder works for most homes and fits in a closet. Keep the categories big and obvious so filing is quick.
Budget-friendly options
- Accordion folder ($8–$15): Great for apartments and small spaces.
- Portable file box with hanging folders ($15–$25): Easy to carry to the table for monthly filing.
- Binder with sheet protectors ($10–$18): Works well for warranties and manuals you reference occasionally.
Suggested long-term categories
- Taxes (by year)
- Home & Utilities (lease/mortgage, major repairs, appliance manuals)
- Insurance (home/auto/health)
- Health & Medical (by person)
- Vehicles (title, maintenance)
- Education/Work (certificates, contracts)
Once a month, move papers from your FILE folder to this system. If filing takes more than 10 minutes, your categories are too detailed—combine them.
Reduce What Arrives
The best way to beat piles is to stop them at the source. Spend 20 minutes once to reduce future paper by half.
Switch key bills and statements to digital
Choose your top five frequent mailers: bank, credit card, utilities, insurance, and mobile provider. Log in and select “paperless statements.” Set an email rule so statements land in one folder named “Bills.”
Opt out of junk and catalogs
When an unwanted catalog arrives, write “Remove from mailing list” on the order form and return it, or use the sender’s website. It takes one minute per catalog and saves months of clutter.
Say no at the counter
Receipts you don’t need? Ask for email or no receipt when possible. For big purchases, snap a photo and keep the original only if needed for returns or warranties (file in HOLD or Warranty binder).
Design a Kid-Friendly School Paper Flow
If you have kids, school papers multiply fast. Create a routine they can follow without you.
After-school drop zone
- 1 inbox per child (magazine file or wall pocket, $4–$10).
- 1 clip or magnet spot on the fridge for this week’s most important paper (one per child).
- Color code by child for quick sorting.
Each day, kids empty backpacks directly into their box. During dinner cleanup, you scan the inbox, sign forms, and either return them to the backpack or file in HOLD. Artwork gets a quick photo and either displayed for a week or recycled. Save a handful of favorites in a flat art portfolio ($10–$15) or a large envelope by grade.
Example: A One-Bedroom Apartment Setup
Entry shelf holds a small tray and a vertical file. Folders labeled ACT, HOLD, and FILE sit in the vertical file. A paper bag for recycling is tucked beside the shoe rack. An accordion folder with long-term categories lives on the closet shelf.
Mail comes in at 6 pm. You open it, recycle junk, place one bill in ACT with “15th” on a sticky note, a dentist reminder in HOLD, and a lease addendum in FILE. On the first Sunday of the month, you move the lease addendum into the accordion folder under Home. Total daily time: 3 minutes.
What to Keep vs. Toss
Keep (long-term)
- Tax returns and supporting documents (generally keep at least several years; check your situation).
- Home purchase/lease, insurance policies, titles, and major repair records.
- Legal documents: birth/marriage certificates, passports, social security cards.
Keep (short-term)
- Current bills until paid and confirmed.
- Active warranties and receipts for items you might return.
- Upcoming event info and tickets.
Toss or digitize
- Junk mail, duplicates, expired coupons, old flyers.
- Paid utility bills and statements if you can access them online.
- Manuals for simple items—you can usually find them online.
Shred anything with personal info: account numbers, medical details, or SSNs. A basic home shredder runs $30–$60; or save a bag for an occasional community shred day.
Make It Visible and Attractive
If your system looks good, you’ll use it. Choose containers that fit your decor: woven basket for the tray, a neutral magazine file, or wall-mounted file pockets in a hallway. Label clearly—handwritten is fine, but bold, high-contrast labels are easier to read and faster to act on.
In small spaces, vertical is your friend: wall pockets above a console, a magnetic strip with clips inside a cabinet door, or a pegboard with labeled folders. Aim for one reach and one decision per paper.
Mistakes to Avoid
- Over-categorizing: If you need to think about where it goes, the category is too specific.
- Letting the tray become storage: The landing zone is a hallway, not a hotel.
- Saving “just in case” papers: If you can get it online reliably, don’t keep the paper.
- Hiding shredding: If shredding isn’t convenient, it won’t happen. Keep the shredder nearby or a labeled “To Shred” envelope.
- No dates: Without writing deadlines immediately, papers linger.
Quick Start Checklist
- Pick a landing zone and place a small tray.
- Set up three folders: ACT, HOLD, FILE.
- Add a recycling bin and a shred bag within reach.
- Do a 15-minute sweep of existing piles using the three categories.
- Schedule a weekly 10-minute review and a monthly 10-minute file session.
- Switch top five bills to paperless this week.
FAQ
What if I’m overwhelmed by old piles?
Start fresh today with the landing zone and three folders. Then set a timer for 15 minutes a day to process the backlog using the same categories. Bag anything clearly outdated (old flyers, expired coupons) for immediate recycling to see fast progress.
How do I handle receipts?
Keep only receipts needed for returns, warranties, or taxes. Store “Possible Return” receipts in a small envelope in the HOLD section and write the return deadline on the envelope. For taxes or reimbursements, snap a photo and store digitally by month, then file the originals in a thin “Tax Receipts” folder.
What about important originals like passports or titles?
Use a fire-resistant document pouch or locking file box ($25–$50). Label it clearly and store in a consistent, discreet spot. Keep a simple index card inside listing what’s stored so you can do a quick check annually.
How can I keep family members on board?
Make it easier to use than to ignore: one tray, big labels, and a visible recycling bin. Do a 2-minute show-and-tell of the ACT, HOLD, FILE flow and post a mini guide on the wall pocket. Praise the process when it works; adjust labels if something keeps getting misplaced.
If you want to keep going, take a look at create an entryway drop zone.
Final Thoughts
You don’t need perfection to beat paper clutter—just a clear path for every sheet that enters your home. With a small landing zone, three simple categories, and a quick daily routine, you’ll stop piles before they start and keep your counters clear without spending much or adding more stuff.