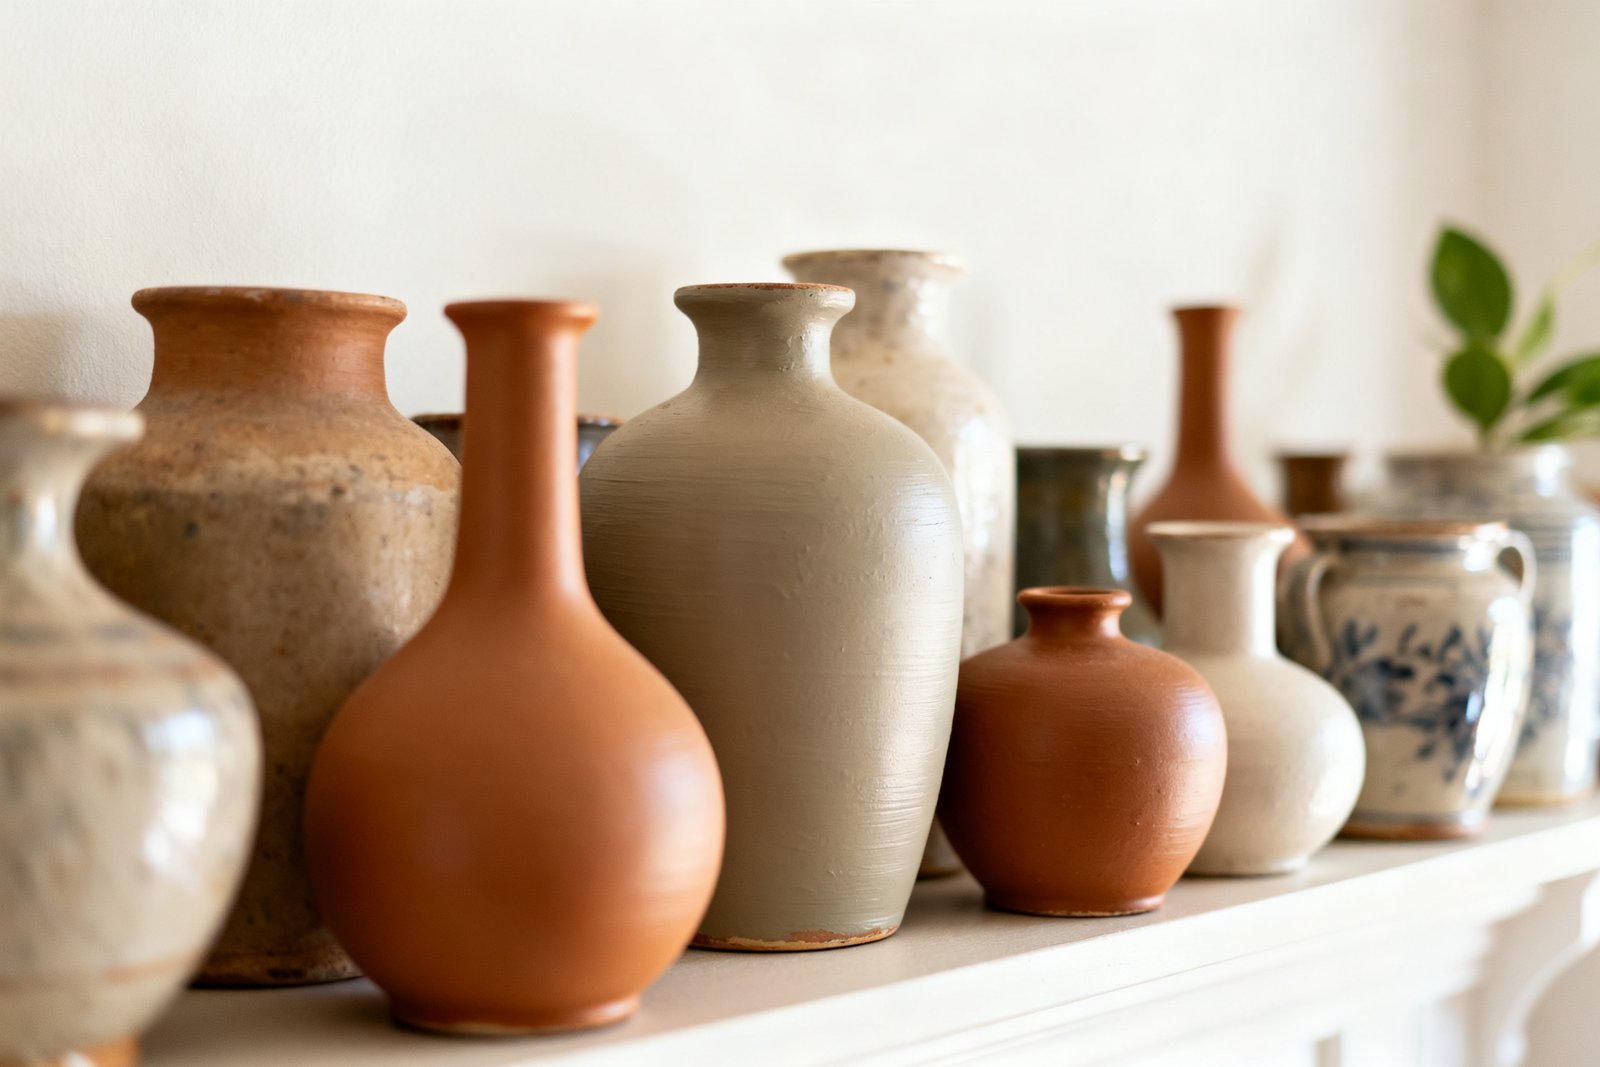

Thrifted vases are the perfect blank canvases: inexpensive, plentiful, and often great shapes with dated finishes. With a few budget-friendly paints and simple techniques, you can turn those shelves of “almosts” into pieces that look custom and high-end.
This guide covers supplies that actually work, step-by-step methods, and finish ideas—from matte ceramic looks to reactive patinas—plus common pitfalls to avoid.
What to Look for at the Thrift Store
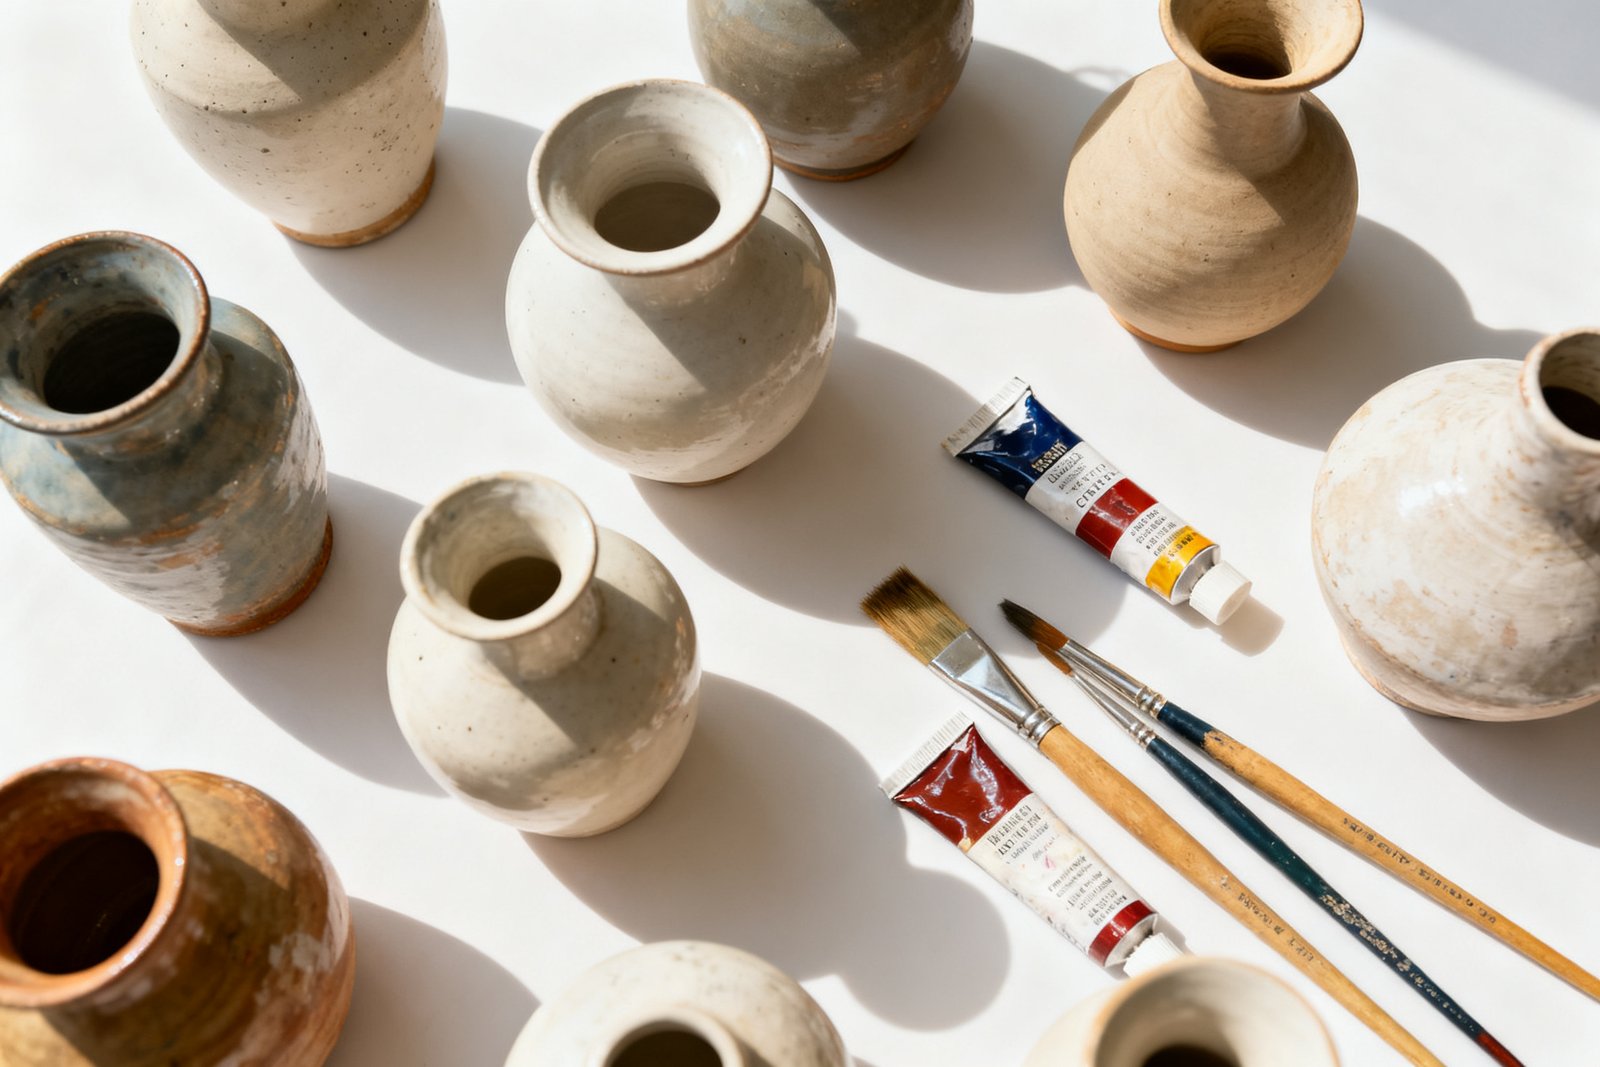
Start by focusing on shape over color. Paint can solve a lot, but you can’t change proportions. Look for classic silhouettes (bottle, urn, cylinder, gourd) and interesting textures like ridges or fluting.
Check material and condition. Glass, ceramic, porcelain, and metal all take paint with the right prep. Avoid hairline cracks that could spread, flaking glaze, or greasy residue that’s hard to remove. Expect to spend $2–$8 per vase in most thrift shops; bigger statement pieces may run $10–$15.
- Heft test: heavier usually equals sturdy ceramic or thick glass—great for floor vases.
- Neck opening: narrow necks are ideal for single stems; wide mouths suit bouquets or branches.
- Surface detail: raised patterns catch dry-brushing and wax beautifully.
Budget-Friendly Paints and Tools That Work
For more ideas, see our guide on how to DIY terracotta pot makeover.
You don’t need a studio setup. A few well-chosen basics perform across multiple techniques:
- Primer: All-surface spray primer or brush-on bonding primer ($6–$12). Essential for glass and glazed ceramic.
- Paint: Sample jars of interior chalk/mineral paint or acrylic craft paint ($1–$6 each). Flat/matte finishes look most like ceramic.
- Topcoat: Clear matte sealer (spray or brush-on) ($6–$10) for durability.
- Texture helpers: Baking soda, joint compound, or texture paste ($1–$5). Sand for stone effects.
- Brushes and rollers: 1–2 inch synthetic brush, small foam roller ($2–$6). Foam rollers minimize brush marks on smooth pieces.
- Optional effects: Metallic craft paints, aging wax, black/brown acrylics for washes ($1–$4).
Set up a ventilated workspace with a drop cloth. A cardboard box works as a DIY spray booth to control overspray outdoors.
Prep Right: The Foundation of a Lasting Finish
Turned a thrift find into art? Keep the creativity flowing with our free 5-Day Budget Home Reset—one easy update a day.
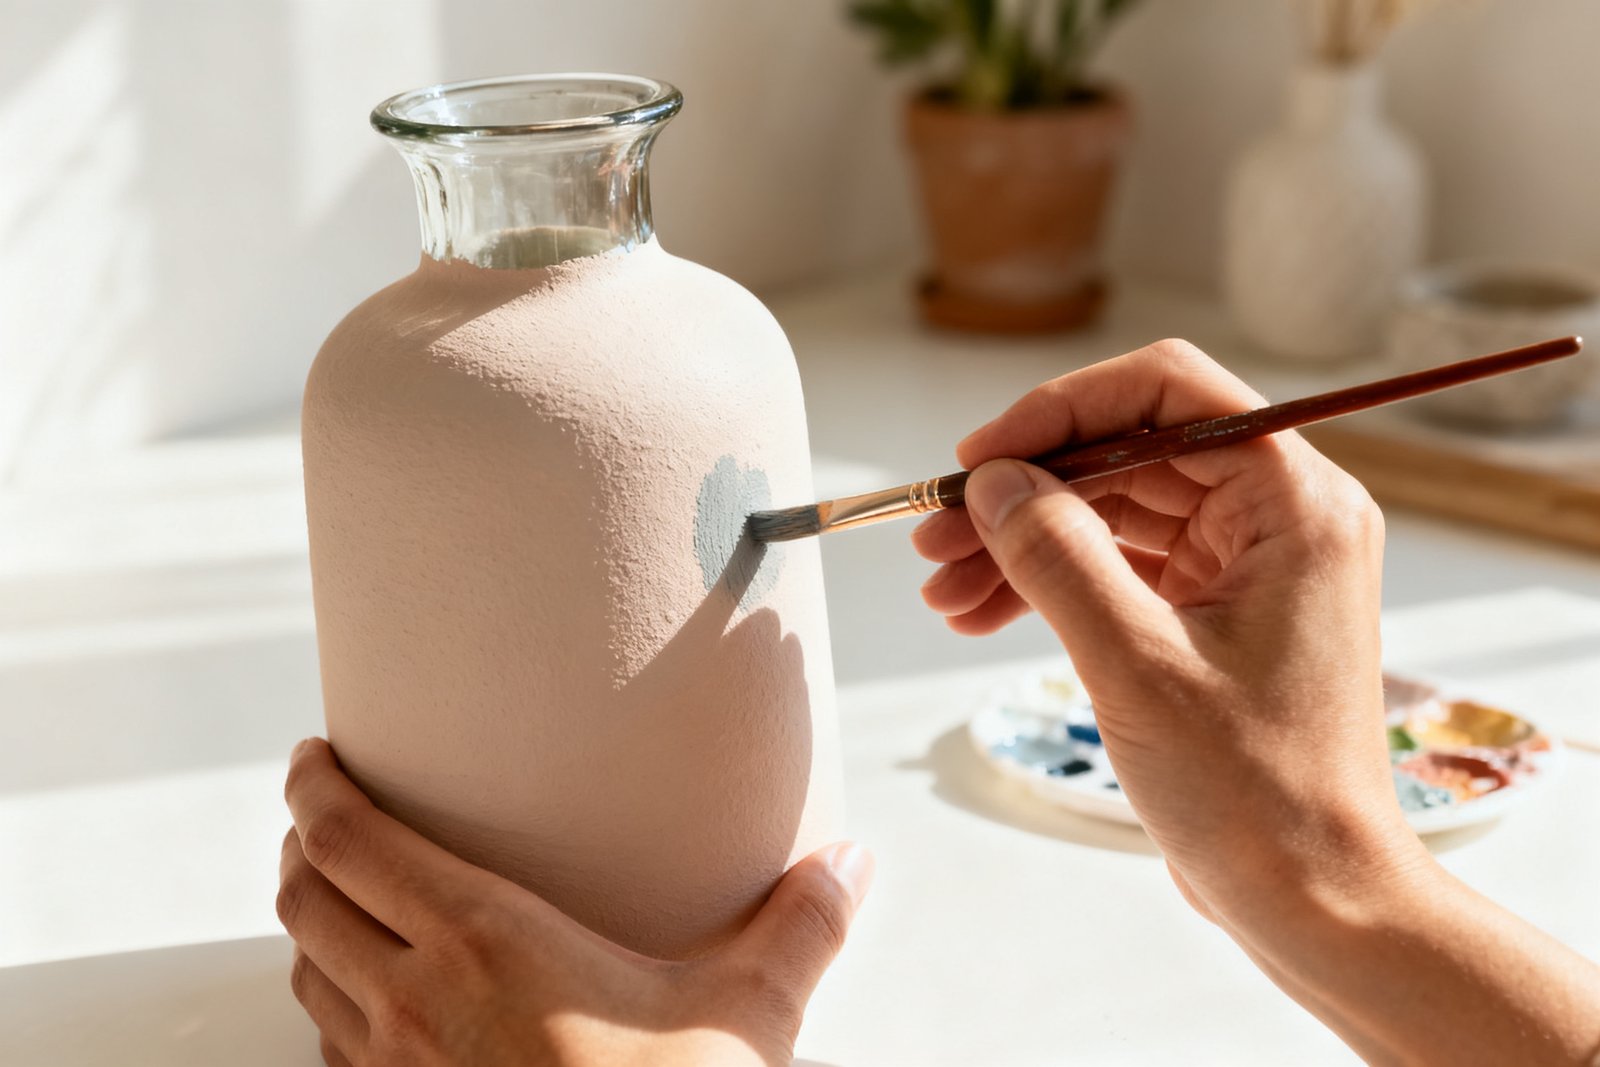
Paint sticks or it doesn’t—prep decides which. Give yourself 15–30 minutes and let each product dry as directed.
- Clean thoroughly. Wash with hot water and a few drops of dish soap. Degrease with rubbing alcohol or a deglosser if the vase feels slick.
- Scuff if glossy. Lightly sand glazed ceramic or glass with 220–320 grit to break the shine. Wipe dust away.
- Prime. One even coat of bonding primer on glass and high-gloss surfaces; optional on matte ceramic. Let cure per can (often 1 hour to touch, 24 hours to hard-cure).
Five Paint Finishes to Transform Thrifted Vases
It also helps to check out thrift store makeovers.
1) Matte “Ceramic” with Baking Soda
This is the fastest glow-up and hides minor imperfections. The texture diffuses light so even bright colors look elevated.
- Mix 1 cup acrylic or chalk paint with 1–2 tablespoons baking soda. Start with 1 tbsp; add more for grit.
- Brush on in crisscross strokes for a pottery-like texture. Let dry 45–60 minutes.
- Apply a second coat. When fully dry, seal with a matte clear coat if the vase will be handled often.
Color tip: Warm neutrals (putty, taupe, clay) and desaturated sages read “ceramic.” Sample jars usually cover 1–2 medium vases.
2) Aged Stone with Joint Compound
Great for oversized urns that feel too shiny. Joint compound adds believable stone texture.
- After priming, smear a thin layer of pre-mixed joint compound with a putty knife or old credit card. Randomize direction; leave subtle ridges and pitting.
- Dry fully (1–3 hours). Lightly sand high spots with 220 grit.
- Paint with two coats of flat latex or chalk paint in a stone tone (greige, limestone, soot).
- Optional: Dab a darker wash (1 part black/brown paint to 8–10 parts water) into crevices and wipe back for depth. Seal with a clear matte spray.
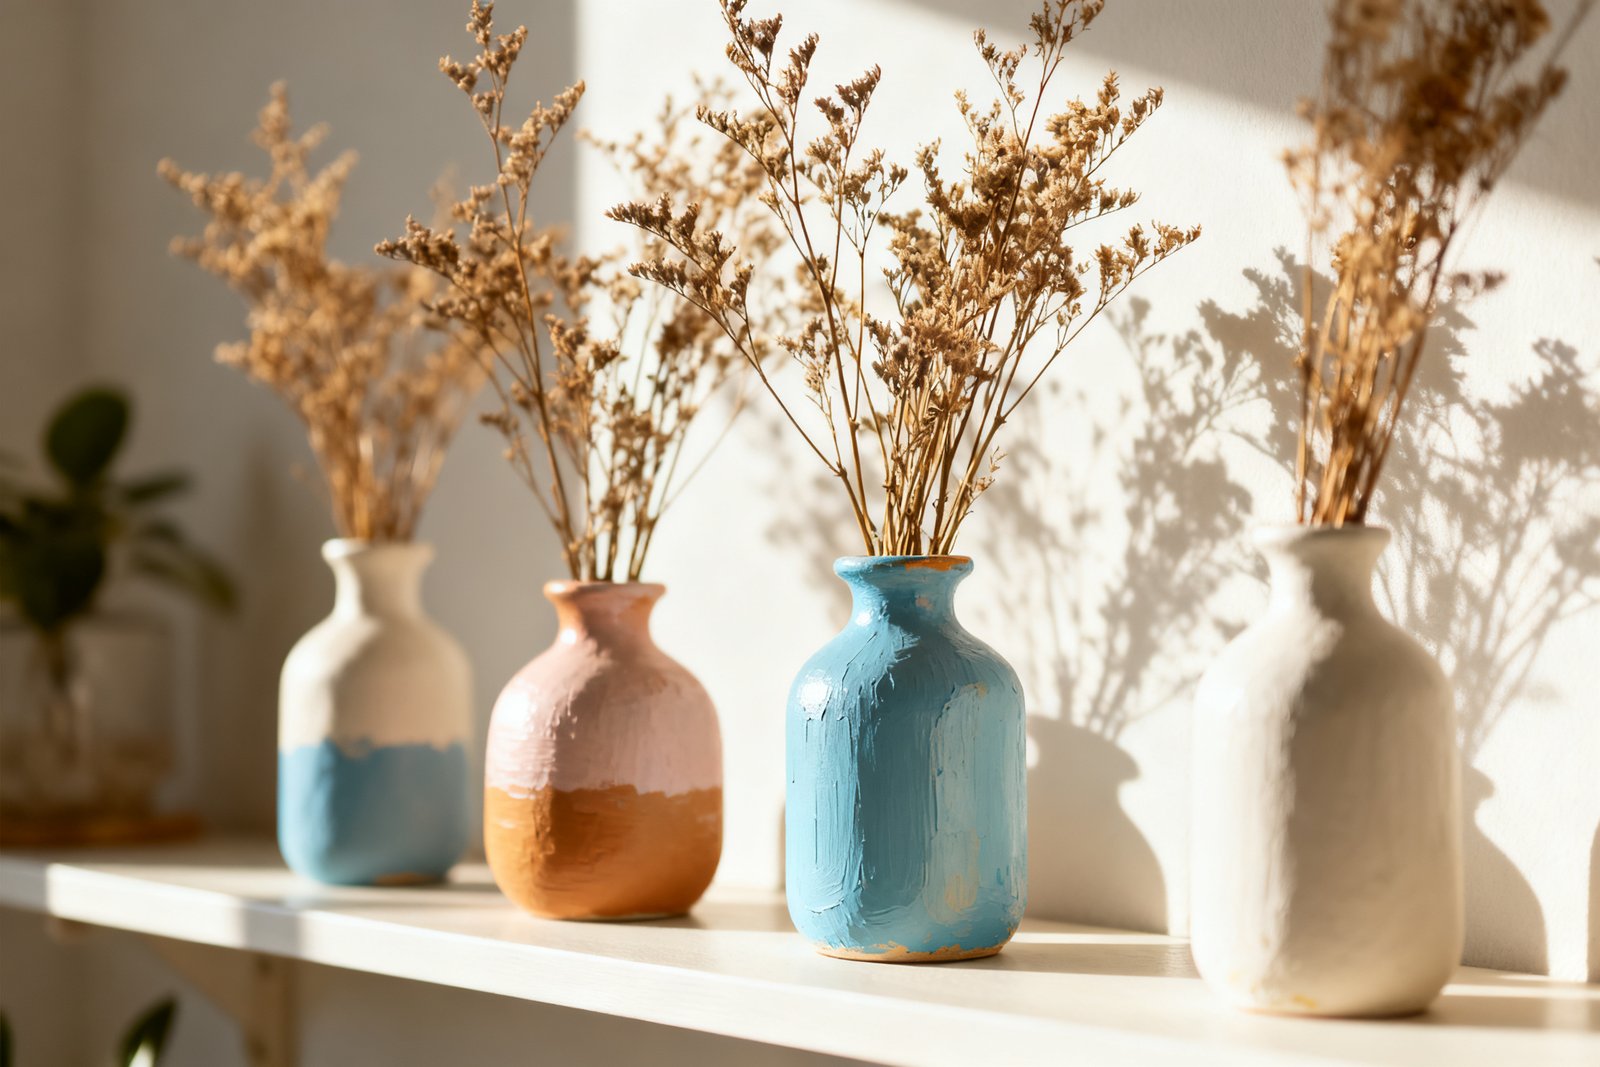
3) Two-Tone Dip or Band
Use crisp lines to add polish, especially on cylindrical vases. This works with gloss on matte for subtle contrast.
- Paint the whole vase your base color and let cure.
- Mask a “dip” line 1/3 from the bottom or a narrow band near the rim with painter’s tape. Burnish edges with a fingernail.
- Roll or brush on the second color. Remove tape while paint is slightly wet for the cleanest edge.
Color combos that rarely miss: warm white + camel, charcoal + pale gray, terracotta + cream, navy + brass accent line.
4) Faux Terracotta
Turn shiny glass into convincing clay. Layering is the trick.
- Prime, then paint a mid-tone terracotta base (rusty orange-brown).
- Stipple a lighter clay color (peachy tan) and a deeper rust with a natural sponge, keeping the mottling subtle.
- Dust on a little baking soda with a dry brush while the paint is tacky in a few areas for porous specks.
- Seal with a dead-flat clear coat. Avoid glossy topcoats; they kill the clay illusion.
5) Metal Looks: Aged Bronze or Brushed Brass
Metallic craft paints can look cheap if they’re flat. Layer and age them for realism.
- Base coat in a dark brown or black. Let dry.
- Lightly dry-brush metallic paint (bronze, brass, or antique gold) across raised areas, leaving recesses dark.
- For patina, tap a thin teal/verdigris mix in random spots, then soften with a damp sponge.
- Finish with a satin clear coat to mimic real metal sheen.
Simple Patterns and Details That Read Custom
You don’t need to freehand complex designs. Small, deliberate details go a long way and cost pennies.
- Chalk line: Rub a wax crayon onto painter’s tape edges, paint, then peel for a micro-contrasting line.
- Speckling: Dip a stiff brush in thinned paint and flick with your finger for stone specks. Practice on cardboard first.
- Dry-brush highlight: After a matte finish, use a nearly dry brush in a lighter tone just on edges and textures.
- Wax aging: Rub dark wax lightly around the neck and base to simulate handled patina.
- Rope wrap: Glue jute or cotton rope around the neck after painting for a mixed-material look (under $3).
Waterproofing and Practical Use
Most craft paints aren’t fully waterproof. If you plan to hold real water and fresh stems, protect the interior.
Options for holding water
- Use a watertight insert: a thrifted glass cylinder, a cut-down water bottle, or a florist’s vase ($0–$3). Easiest and safest for longevity.
- Two-part epoxy seal inside: food-safe epoxy resin is pricier ($15–$25) but durable for frequently used vases.
- For dried or faux stems only: exterior sealing isn’t critical; just use a matte topcoat to protect the paint from scuffs.
If you sealed with a water-based clear coat, allow a full 24–48 hours to cure before handling heavily or adding inserts.
Realistic Example: $12 High-End Pair from Mismatched Glass
You find two thick glass vases for $3 each—one short and round, one tall and narrow. They’re mismatched in color but both have clean, simple lines.
- Clean and scuff-sand both. Prime with an all-surface primer.
- Mix warm gray acrylic with 1 tbsp baking soda per cup. Roll the tall vase for smooth texture; brush the round one for subtle strokes.
- Second coat with the same mix. Dry.
- Tape a 1-inch band near the rim of each and paint in a slightly darker gray for a tone-on-tone detail.
- Light dry-brush a whisper of off-white on the highest areas for dimension. Seal with a matte clear coat.
- Use a $1 thrifted narrow glass cylinder inside each to hold water. Cost breakdown: $6 vases + $3 paints/primer used from stash + $3 inserts ≈ $12 total for a cohesive “ceramic” pair.
Mistakes to Avoid
- Skipping primer on glass or high-gloss glaze. This is the fastest route to peeling.
- Thick first coats. Heavy paint traps moisture and shows brush marks; do two light coats instead.
- Shiny topcoats on “stone” or “ceramic” finishes. Use matte; shine makes them look plastic.
- Handling too soon. Paint may be dry to the touch in an hour but needs up to 24 hours to cure hard.
- Painting inside the vase when you can use an insert. Interiors chip fastest; keep paint outside when possible.
Care and Styling Tips
Wipe painted vases with a barely damp cloth; avoid soaking or scrubbing. If scuffs appear, touch up with leftover paint and reseal the spot.
Style in odd numbers and vary heights. Combine one textured piece with one smooth and one patterned. Repeat a color from elsewhere in the room—pillows, art, or a throw—to make the arrangement feel intentional.
FAQ
Can I spray paint instead of brushing?
Yes. A quality universal spray paint with primer works well on glass and metal and gives a very smooth finish. For a ceramic look, finish with a matte clear spray, or layer a light baking soda brush coat over the spray base for texture.
How do I prevent brush strokes?
Use a small foam roller on smooth areas and keep coats thin. Lightly misting the paint with water (for acrylics and chalk paints) helps it level. Sand lightly between coats with 320 grit if needed.
Will paint hold up on frequently handled vases?
Durability depends on prep and sealing. Prime properly, allow full cure time, and use a clear matte sealer. For heavy-use pieces, a water-based polyurethane in matte adds extra protection without shine.
What colors look most high-end?
Muted, earthy tones typically feel more expensive: putty, mushroom, clay, sage, charcoal, and inky navy. If you love bright color, ground it with a neutral band or use it on a smaller accent vase in your grouping.
If you want to keep going, take a look at decorate with plants on a budget.
Final Thoughts
A few dollars and an afternoon can turn dated thrifted vases into custom decor that fits your style and space. Prioritize good prep, choose a finish that suits the vase’s shape, and keep your topcoats matte for a believable look. Build a small color kit you love, and you’ll find yourself upgrading every “almost” vase you bring home.