
Plants can look expensive even when your budget isn’t. With a few smart materials and simple builds, you can create sturdy, stylish stands and planters that elevate your greenery and your space. Use these ideas as a menu—mix and match based on what you already have and what you can find secondhand.
Repurpose What You Have: Easy Stand and Planter Upgrades
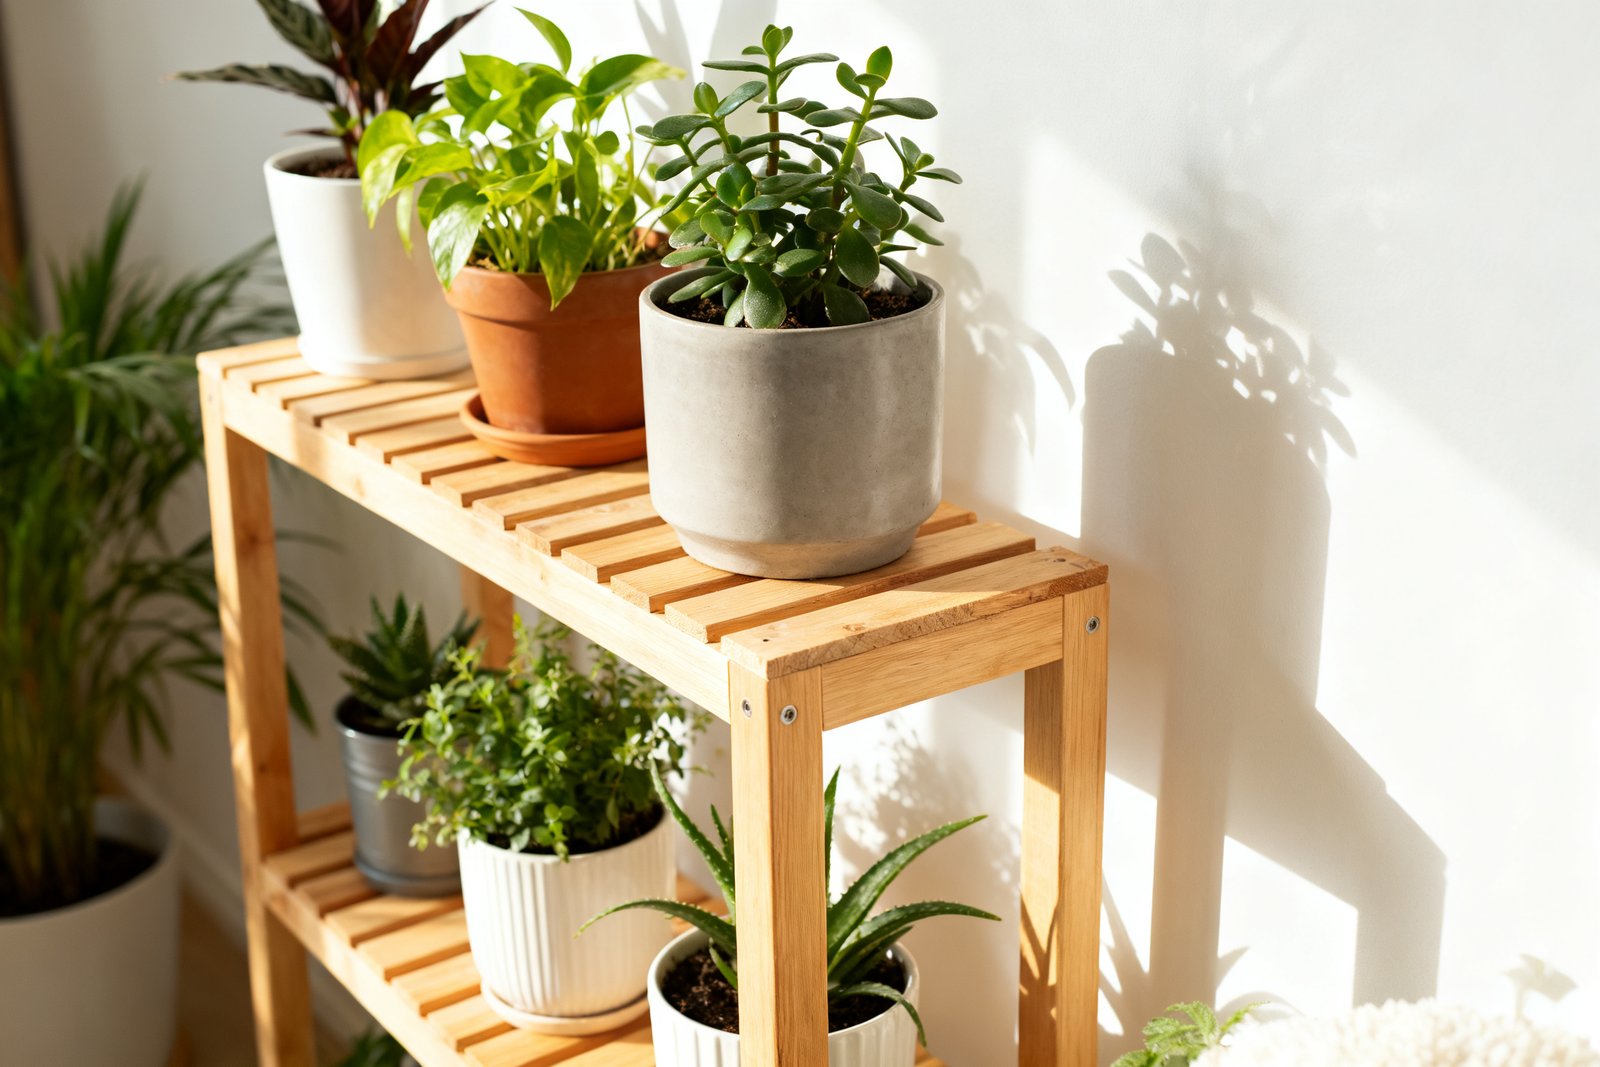
Start by shopping your home. Many everyday items can become plant stands or planters with minimal tweaks. This keeps costs low and gives you a custom look.
Household items that work well
- Stools and side tables: Flip short stools into pedestals; paint or stain for a refresh. ($0–$15 if thrifted)
- Crates and boxes: Stack wooden crates vertically for multi-tier storage and display. ($5–$12 each used)
- Books: Stack hardcover books under a pot for a sculptural stand—seal the top book with clear poly to protect from moisture. ($0)
- Cookware: Enamel pots, colanders, or kettles make charming planters—add drainage holes first. ($2–$10 thrifted)
- Baskets: Line with a plastic nursery pot or heavy-duty plastic bag with holes. ($5–$15)
Quick spruce-ups
- Spray paint mismatched pots and stands one cohesive color (matte black, putty, or warm white) for a gallery look. ($6–$8 per can)
- Wrap plastic nursery pots with jute rope using hot glue for a textured, “bought-it-that-way” finish. ($4–$7 in rope)
- Add felt pads or rubber bumpers to protect floors and add stability. ($3)
Simple Wood Plant Stand (No Fancy Tools Needed)
For more ideas, see our guide on how to decorate with plants on a budget.
This mid-century–inspired cross stand lifts a 6–10 inch pot. You can build it with a handsaw and drill.
Materials (approx. $12–$20)
- Two 1×2 boards, 36 inches each (pine is fine)
- Wood screws (1 1/4 inch) or 1 1/2 inch brad nails
- Wood glue
- Sandpaper (120 and 220 grit)
- Stain or paint (optional)
Cut list
- Legs: 4 pieces at 16 inches
- Cross braces: 2 pieces at pot diameter plus 1 inch (for overlap)
Steps
- Mark the center of each cross brace and cut a half-lap notch halfway through the thickness so they interlock flush. You can do this with multiple shallow saw kerfs and a chisel, or carefully with a handsaw and sanding.
- Test fit the cross. It should sit flat. Glue and clamp while you prep the legs.
- Sand everything smooth. Slightly round the edges to prevent splinters.
- Attach legs to the underside of the cross, one leg at each end, using wood glue plus two screws per leg from beneath the cross into the leg. Keep legs vertical; a small torpedo level helps.
- Finish with stain or paint. Let cure fully before placing a pot.
Tip: For larger pots, increase leg length to 18–20 inches and use 1×3 lumber for more strength.
Tiered Displays for Small Spaces
Plants make everything feel alive—want to refresh the whole space? Grab our free 5-Day Budget Home Reset.
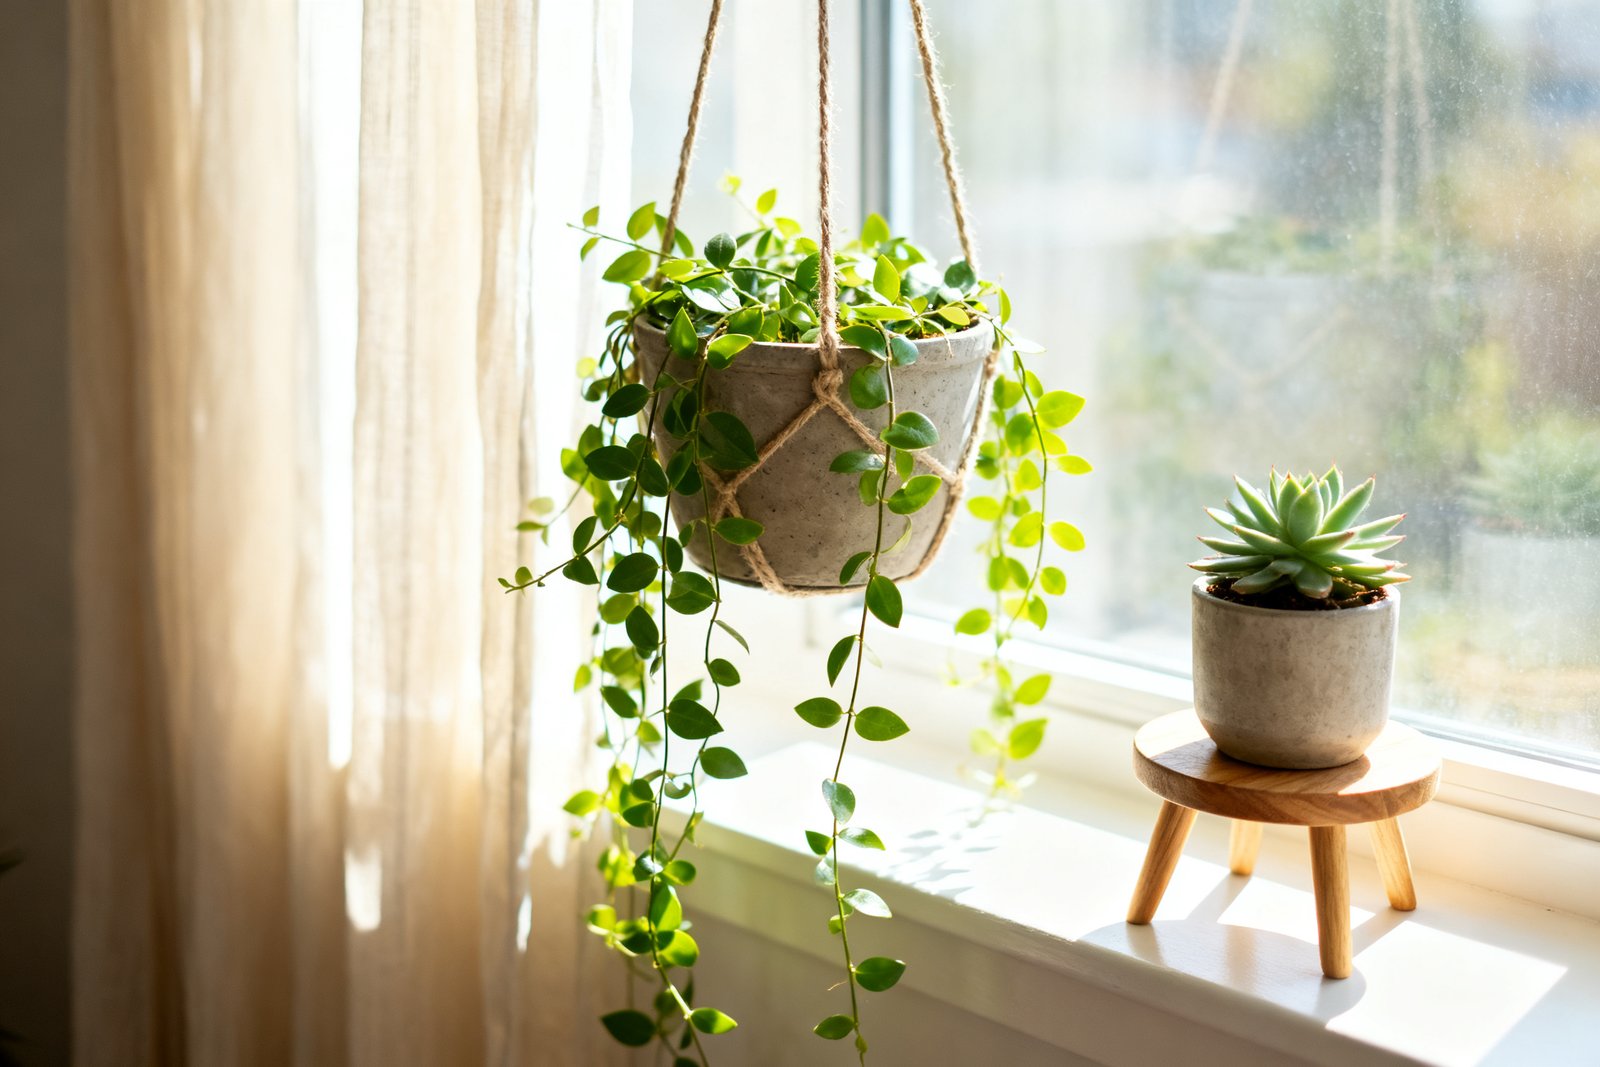
Tiered stands create height and let each plant get light. These are great for balconies, kitchens, and tight corners.
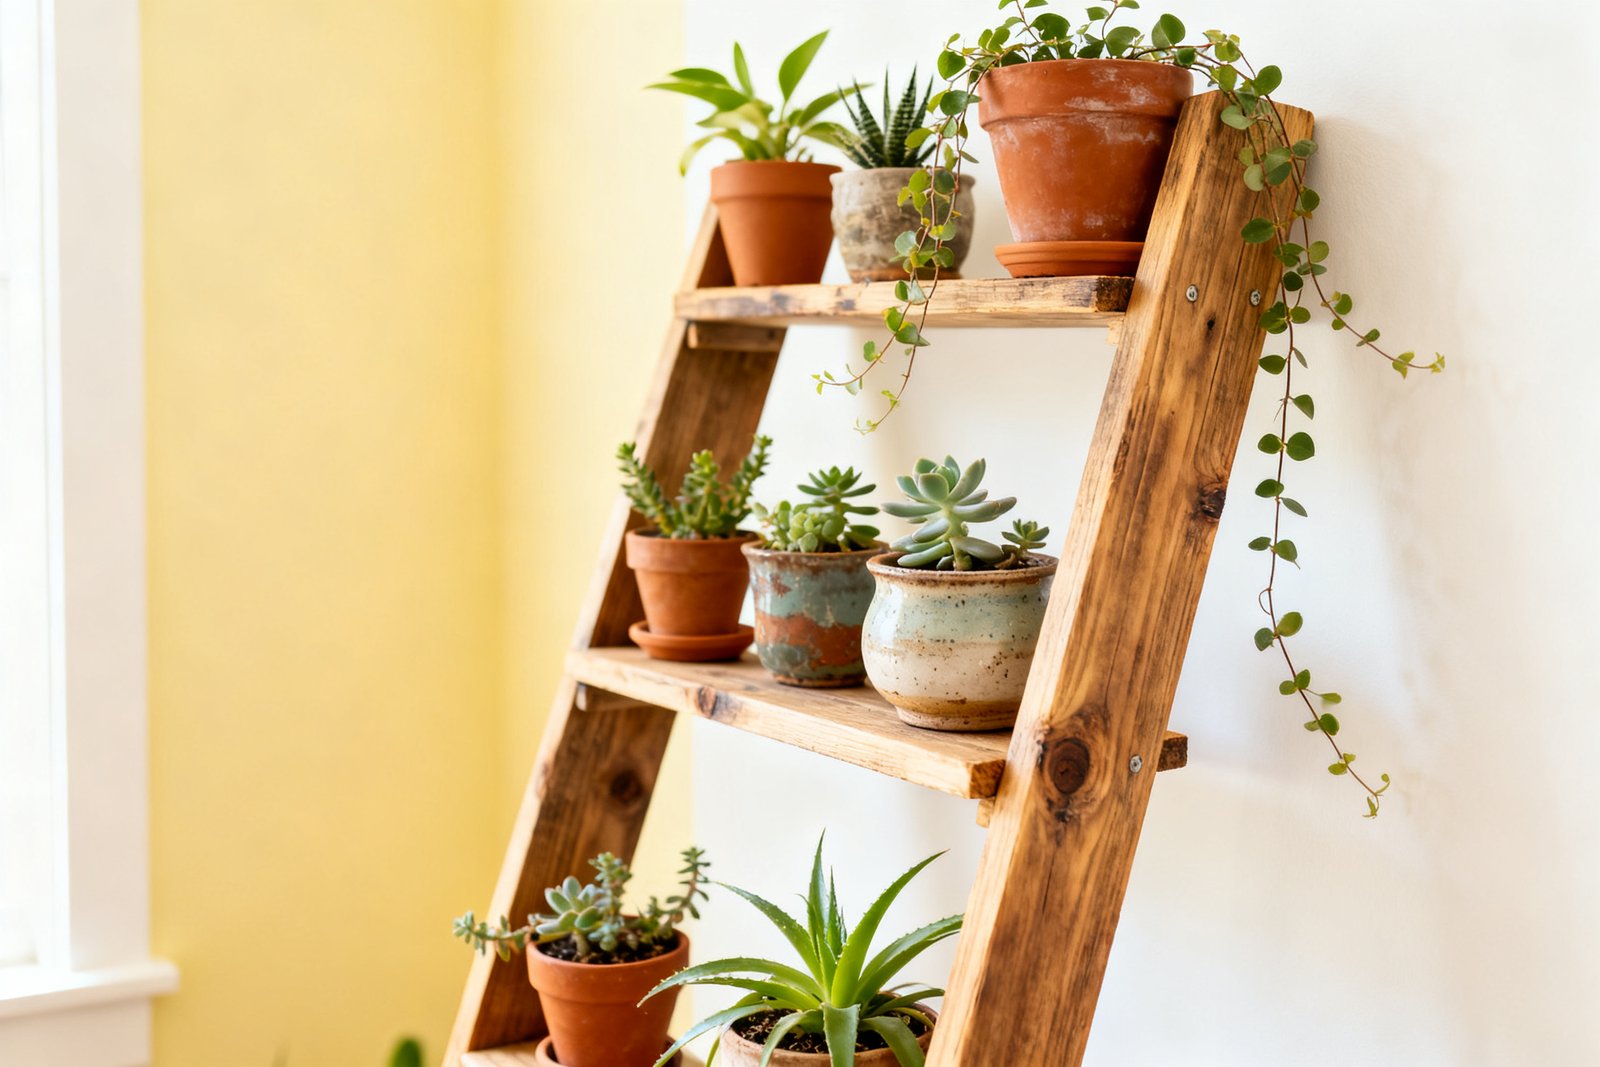
Ladder shelf stand ($15–$35)
Use a small step ladder or vintage painter’s ladder. Cut pine boards to span each step as shelves, secure with small L-brackets, and seal. Lean it against a wall with rubber feet so it won’t slip.
Crate tower ($15–$30)
Stack two or three wooden crates vertically, open sides facing out. Screw through the sides to connect, then add a tile or tray on each shelf to catch drips. Anchor to the wall with a simple bracket if it’s tall.
Corner stacking stools (often free to $20)
Nest two lightweight stools of different heights in a corner for a staggered display. Add trays or cutting boards on top to create flat, water-resistant surfaces.
Planters from Thrifted Finds
It also helps to check out DIY terracotta pot makeover.
Look for vessels with character at yard sales and thrift stores. Prioritize shape and size; finish can be changed with paint or limewash.
Good candidates
- Ceramic bowls, large mugs, soup tureens
- Metal buckets, tool caddies, ammo boxes (line to prevent rust bleed)
- Baskets with plastic liners
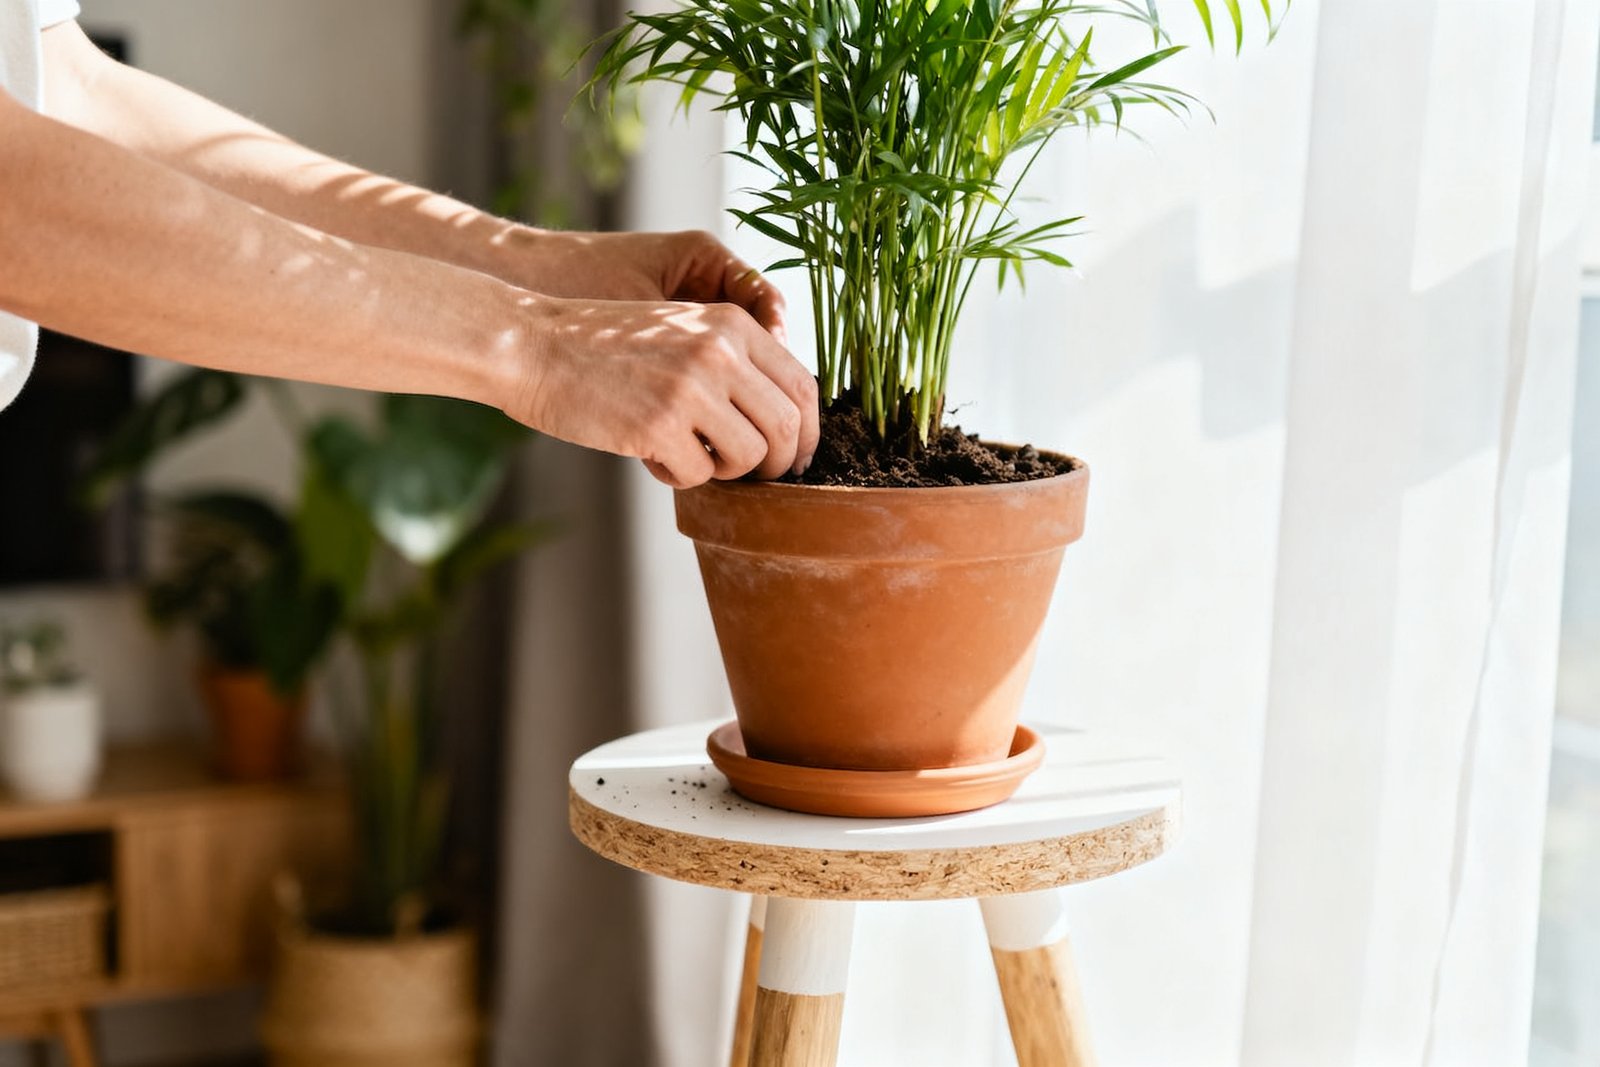
- Terracotta (often $1–$4): sand rough rims and seal exterior to reduce staining
Drainage options
- Preferred: Drill a hole with a ceramic or step bit; start slow and keep the surface wet.
- No-hole planters: Create a cachepot. Keep your plant in a plastic nursery pot with drainage and drop it inside. Add spacers (pebbles or jar lids) to lift it above any water.
- Layered solution: Pebbles plus a mesh screen at the bottom to prevent soil from clogging.
Finish ideas: Limewash over glossy ceramic for a matte, aged look (mix water with a dollop of joint compound or powdered limewash paint). Metallic spray on old tins, then clear coat to slow rust.
Outdoor-Safe, Budget-Friendly Builds
Outdoors demands sturdier materials and moisture protection. Focus on pressure-treated wood, cedar, or sealed pine, plus concrete and pavers.
Paver and dowel stand (about $18–$28)
Use a 12×12 paver as the top and four 1-inch hardwood dowels as legs. Drill 1-inch holes near the paver’s corners with a masonry bit (go slow), epoxy the dowels in place, and add rubber caps to the legs. Heavy, stable, and rain-safe.
Cinder block and board bench (about $20–$40)
Lay two stacks of cinder blocks two or three high, about 3–5 feet apart, and rest a 2×10 board across for an instant plant bench. Paint or stain the board; leave the blocks raw or whitewash. Works as a long display against a fence.
Concrete bucket planters (about $8–$15 each)
- Oil a 5-gallon bucket mold and a smaller inner bucket for the cavity.
- Mix concrete to thick batter, pour around the smaller bucket, and add a short section of PVC pipe for a drain hole.
- Vibrate by tapping sides, cure 24–48 hours, remove buckets, and sand the rim.
Seal concrete if you want a darker, richer tone and less efflorescence.
Style on a Shoestring: Finishes, Risers, and Grouping
Even simple pieces look designed with consistent finish and thoughtful placement. Aim for repetition and variation: repeat a color or texture, vary heights and leaf shapes.
Low-cost finishing touches
- Color story: Choose one neutral (matte black, clay, or stone) and one accent (sage, rust, or mustard). Paint 2–3 pots/stands to match.
- Risers: Use thrifted cutting boards, pottery saucers, or short candleholders to create mini levels within a vignette.
- Trays: Corral multiple plants on one tray or shallow basket to look intentional and protect surfaces.
- Labels: Wooden plant markers or paint pens on pots keep care notes handy.
Realistic example
Budget: $40. You find a small step ladder ($10), two terracotta pots ($6), a basket ($5), spray paint ($7), jute rope ($5), and felt pads ($3). You paint the ladder and one pot matte black, rope-wrap the basket’s nursery pot, stack a few books for a second riser, and group them by a window on a thrifted tray you already own. The result: a tiered display with texture and height variations for under $40.
Care and Practicality: Water, Weight, and Safety
Plan for moisture and stability from the start. A little prep prevents stains, rot, and broken pots.
Water management
- Always use saucers or trays indoors. Baking sheets, pie tins, or tile samples work.
- Elevate pots slightly on pot feet, bottle caps, or tile spacers to prevent trapped moisture.
- Line wooden stands with polyurethane or exterior spar urethane; refresh annually if near windows or humidity.
Weight and stability
- Heavy planters belong low; lighter ones can go higher. Test wobble before filling with soil.
- Add discreet L-brackets or anti-tip straps for tall tiered pieces, especially with kids or pets.
- For baskets or lightweight pots, drop a few stones in the bottom (below the nursery pot) to lower the center of gravity.
Mistakes to Avoid
- No drainage planning: Overwatering in sealed containers leads to root rot. Use cachepots or drill holes.
- Unsealed wood: Indoor spills and outdoor humidity warp and stain raw wood. Seal or paint all surfaces, including undersides.
- Ignoring light: A gorgeous stand in a dim corner won’t keep a sun-loving plant happy. Match plant needs to placement.
- Too many finishes: Five different colors/woods can look busy. Limit to two or three repeated finishes.
- Undersized stands: A pot should sit fully supported with at least 1/4 inch to spare. Wobble is a warning sign.
FAQ
How do I drill drainage holes without cracking ceramic?
Use a ceramic or diamond-tipped bit, tape over the spot with painter’s tape, and drill at low speed with light pressure. Keep the area wet to reduce heat. Start with a small pilot hole, then step up to your final size.
What’s the cheapest way to make a cohesive look?
Pick one paint color and apply it to a mix of mismatched pots and a couple of stands. Add identical saucers or trays to unify shapes. Repetition makes disparate items feel intentional without buying new.
Can I put a wooden stand in the bathroom?
Yes, but seal it well with a moisture-resistant finish like spar urethane and add rubber feet. Choose rot-resistant wood (cedar) if possible, and allow airflow under pots to avoid trapped moisture.
How do I protect floors from terracotta stains?
Use glazed saucers or cork-backed trays under pots, or brush the exterior of terracotta with a breathable sealer. Avoid felt pads directly under damp terracotta; they can trap moisture. Silicone bumpers are better.
If you want to keep going, take a look at easy DIY décor projects.
Final Thoughts
With a few thrifted finds, basic lumber, and thoughtful finishes, you can build plant stands and planters that look curated without the price tag. Start small—elevate one corner, test what works, then repeat the winning formulas throughout your home. Your plants get the light and breathing room they deserve, and you get a space that feels pulled together on a budget.