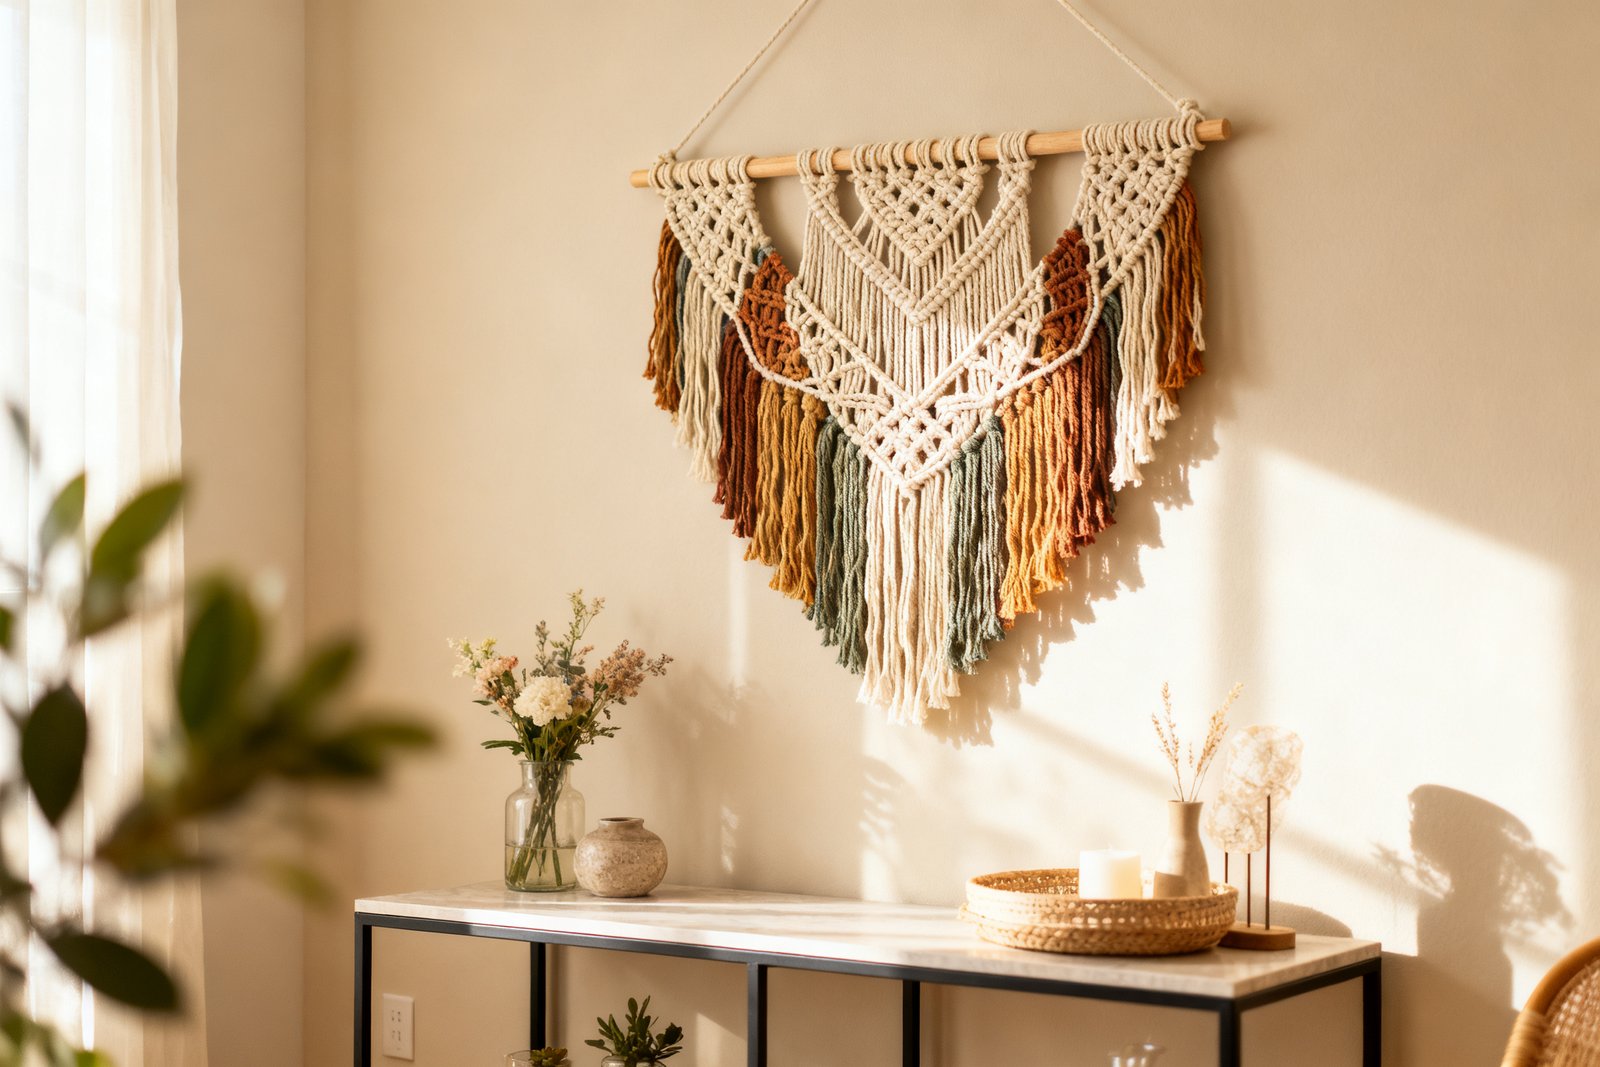

A simple macramé wall hanging can add texture and warmth to your space without a big spend. If you can tie your shoes, you can tie basic macramé knots. This beginner-friendly guide walks you through materials, knots, and a clean, modern pattern you can finish in an afternoon.
What You’ll Need (and What It Should Cost)
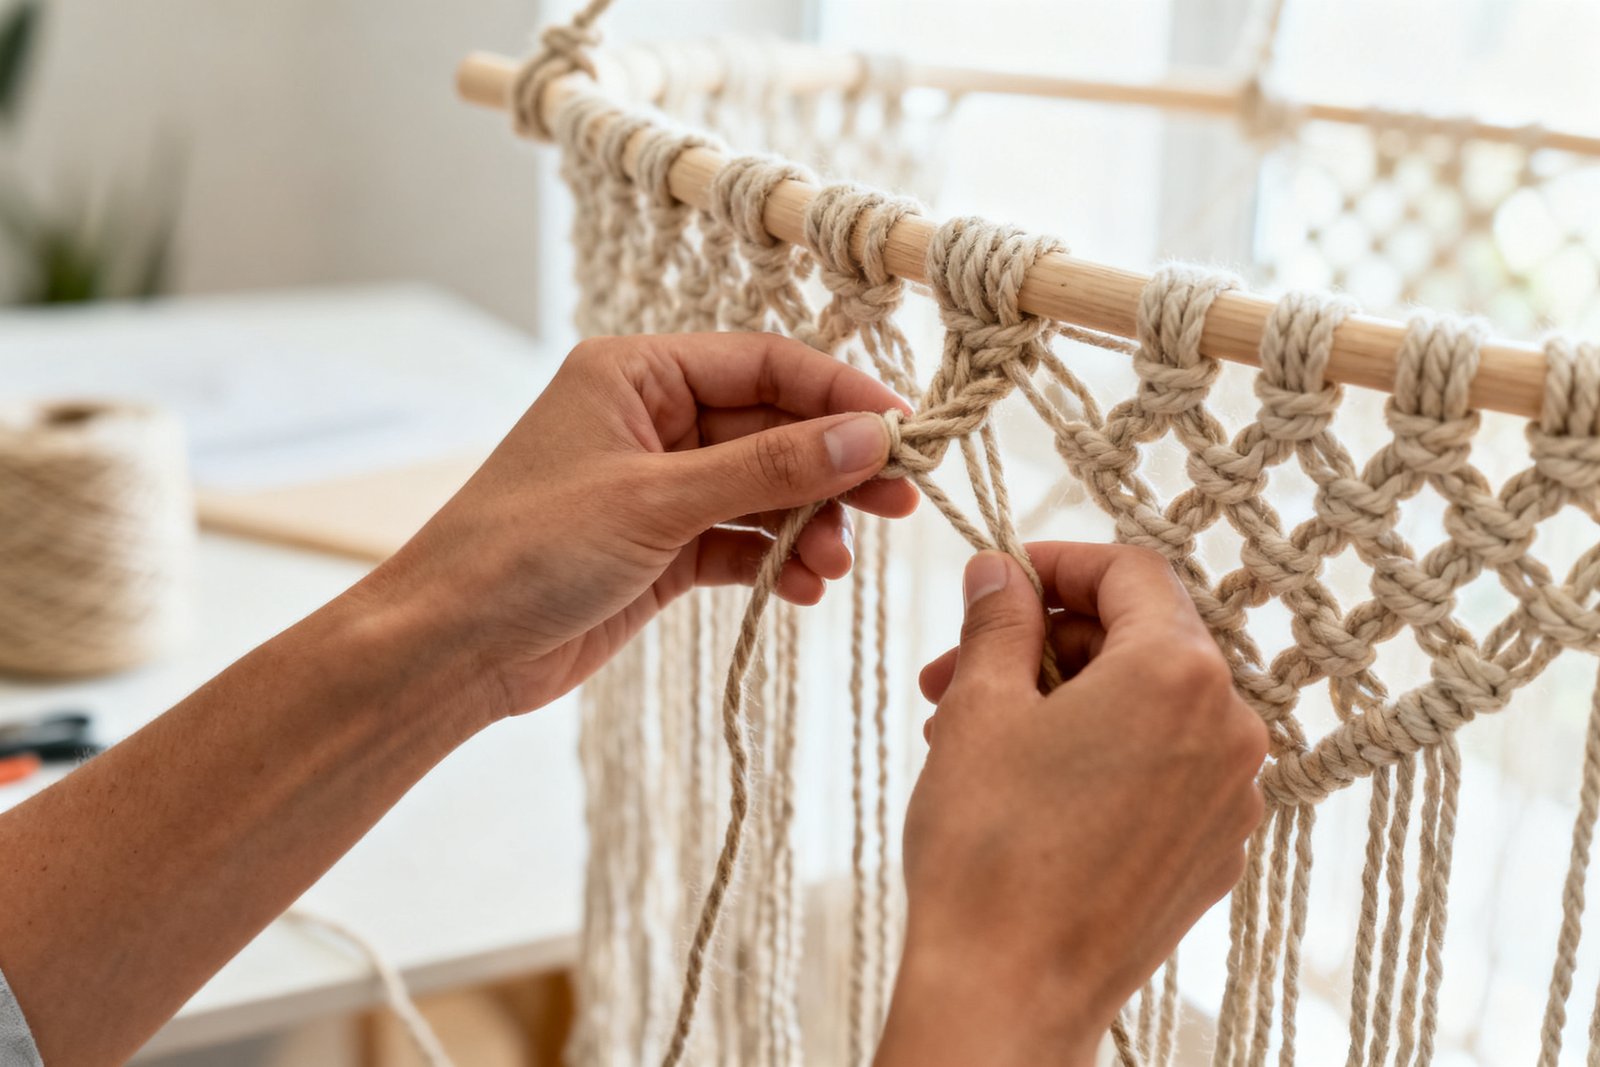
You can make a starter wall hanging for $10–$25 depending on what you already have. Keep it simple at first—neutral cotton cord and a straight dowel or branch will look fresh and modern.
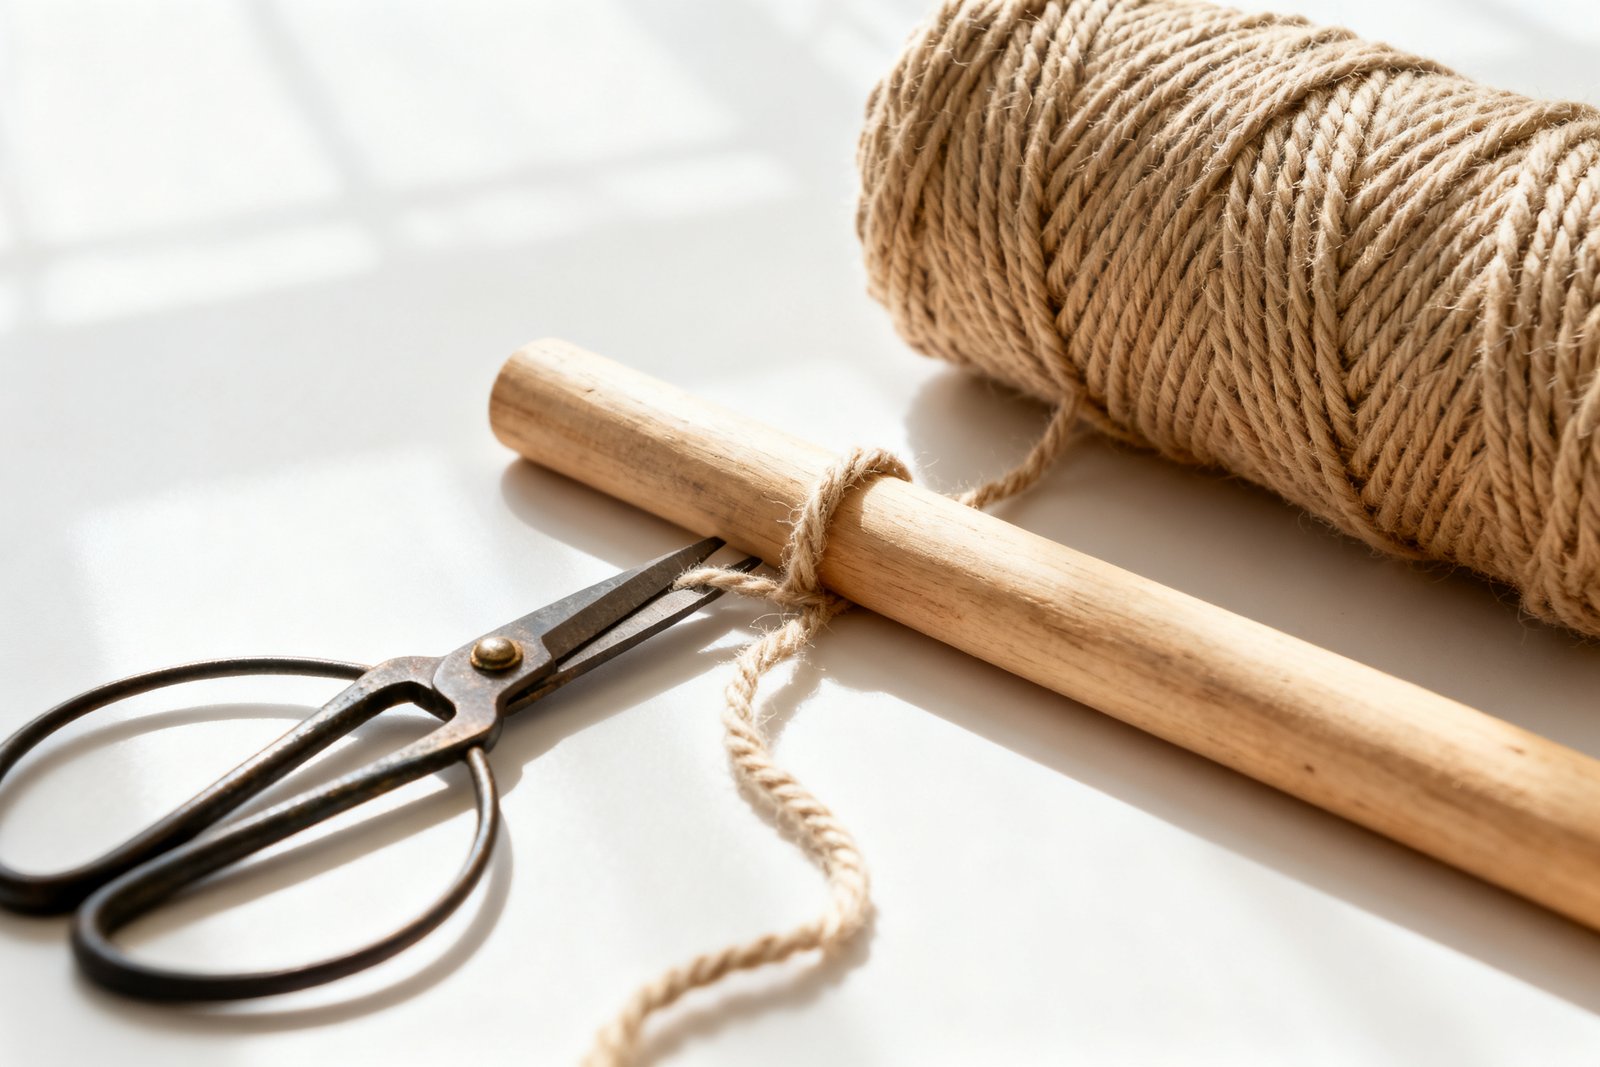
- Macramé cord, 3–5 mm cotton: 100–200 ft for a small-to-medium piece (approx. $8–$15). Single strand frays easier for tassels; 3-ply gives a rope-like texture.
- Hanging rod: 12–18 in wooden dowel ($1–$3), a smooth stick from outside (free), or a copper pipe offcut ($5–$8).
- Measuring tape, scissors, masking tape or binder clips (on hand).
- Optional: lint comb or hairbrush for fringe, small spray bottle for neatening.
Tip: If you’re unsure about thickness, 4 mm single-strand cotton is forgiving and easy to learn with.
Plan Your Size and Pattern
For more ideas, see our guide on how to boho wall décor ideas.
Decide where it will hang first. For a balanced look over a desk or nightstand, aim for a dowel 12–16 in wide and a finished length of 16–22 in. Beginners do best with a symmetrical pattern that repeats.
Simple Beginner Layout
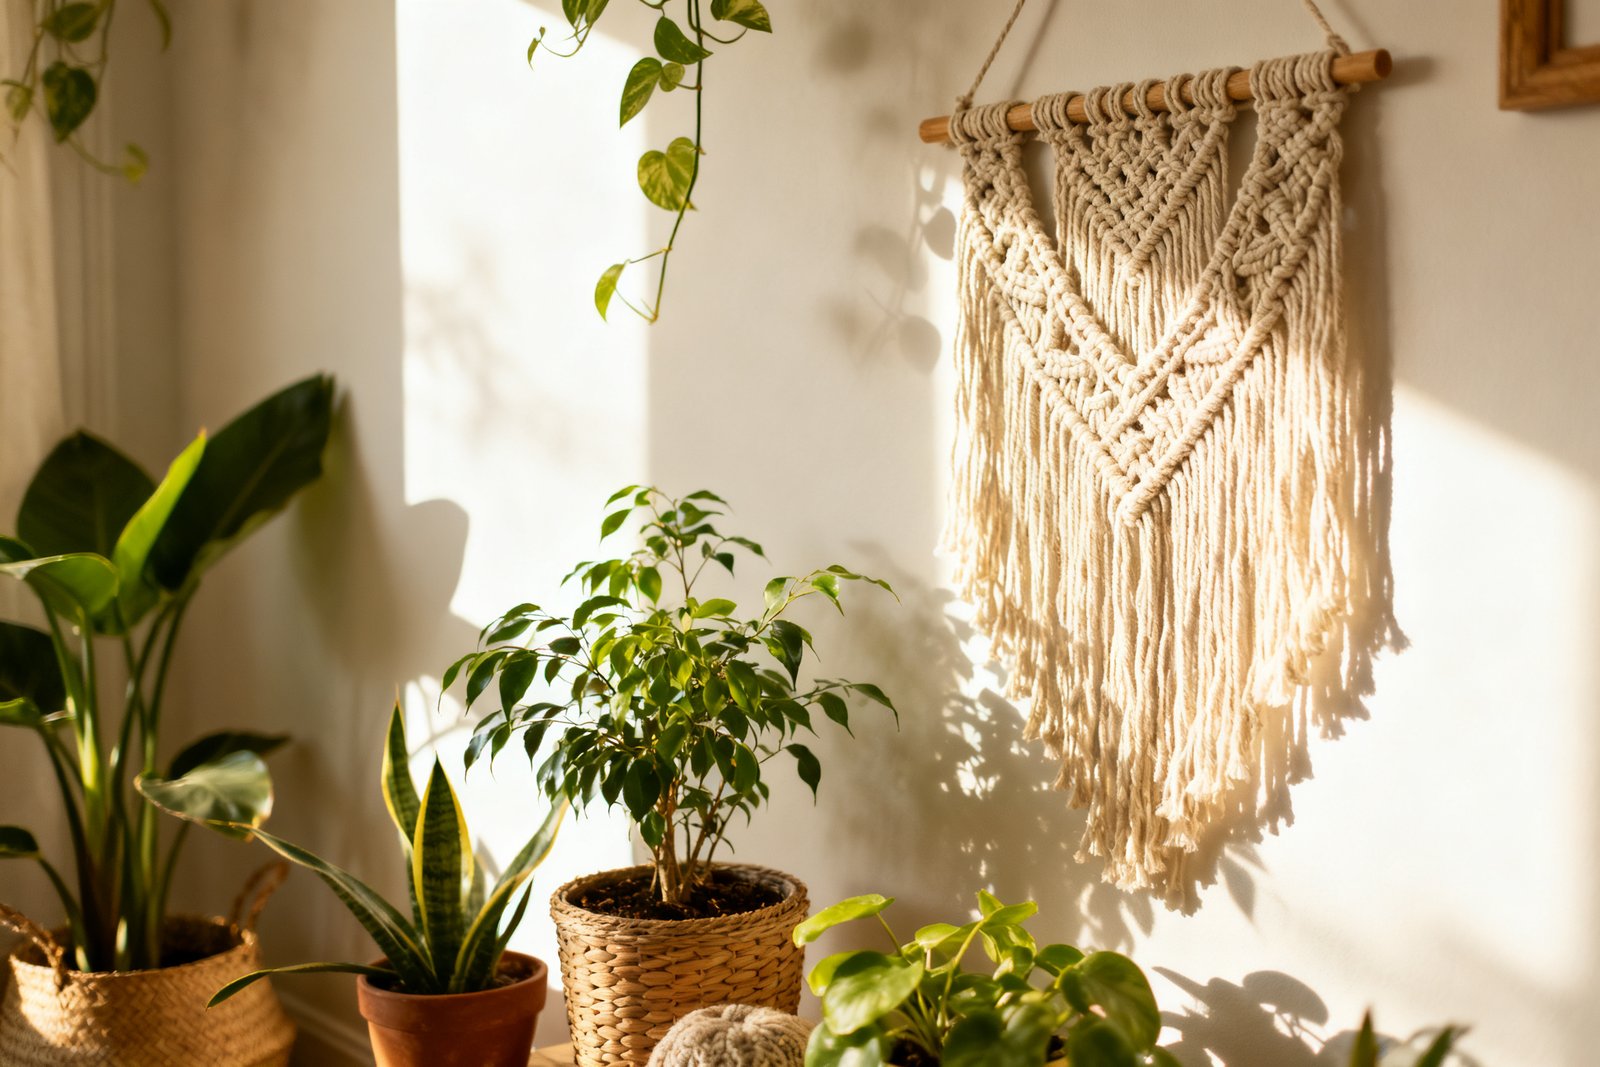
This tutorial covers a clean pattern using three basic knots: lark’s head (to attach), square knot (for the body), and double half hitch (for diagonal lines). You’ll finish with a tapered V-shape and fringe.
Finished size target: about 14 in wide x 20 in long (including fringe). Adjust quantities up or down using the same steps.
Cutting Guide and Setup
Once your macramé is up, why stop there? Our free 5-Day Budget Home Reset helps you refresh the whole room on a budget.
Macramé uses more cord than you think. Plan on 6–8 times the finished length for cords that will be knotted frequently.
For a 14-inch-wide hanging
- Rod/dowel: 14–16 in wide.
- Working cords: 16 cords at 10 ft each (you’ll fold each in half, giving you 32 working ends). This quantity makes a dense but not bulky piece.
- One extra cord: 3 ft, to create a hanging loop or wrap the dowel ends (optional).
Secure the dowel to a chair back, tension rod, or wall hooks at shoulder height so you can work standing. Tape the cord ends to keep them from fraying while you knot.
Learn the Three Basic Knots
It also helps to check out easy DIY décor for beginners.
Lark’s Head (to attach cords)
Fold a cord in half. Place the folded loop over the dowel from front to back, bring the loop down behind the dowel, then pull both tail ends through the loop and snug tight. Repeat for all cords lined up evenly across the dowel.
Square Knot (your main building block)
Grouped in sets of four cords: two center cords are static; two outer cords do the work. Left half: bring left cord over the two center cords and under the right cord; bring right cord under the centers and up through the loop on the left. Tighten. Right half: reverse the move. Together, both halves make one square knot.
Double Half Hitch (for clean diagonal lines)
Choose a holding cord (the line you follow). Pull it diagonally across your work. With the next cord, loop over and then under the holding cord, pulling through to form a hitch; repeat once on the same cord to make it a “double.” Continue along the line with the rest of the cords.
Step-by-Step Pattern
- Attach all cords. Using lark’s head knots, attach 16 cords along the dowel for 32 ends. Align the centers so the tails hang evenly.
- Row 1: Alternating square knots. Working left to right, make square knots using cords in groups of four. You’ll make 8 square knots across. Keep about 1–1.5 in of space from the dowel for a light, open look.
- Row 2: Offset row. Skip the first two cords. Start your first square knot with cords 3–6, and continue across, ending with cords 27–30. You’ll have 7 square knots in this row. This creates a net-like pattern.
- Row 3: Repeat Row 1. Go back to using cords 1–4, 5–8, etc., to make 8 square knots. Keep tension even; measure the gap between rows (about 3/4 in) for consistency.
- Create a V with double half hitches. Choose the two center-most cords as holding cords. Pull the left center cord diagonally down-left and make double half hitches with each cord to the left until you reach the edge. Repeat on the right side, forming a clean V.
- Fill the V with square knots. Inside the V, use groups of four to make 1–2 rows of square knots, offsetting as needed to keep the V shape visible. Keep your knots snug so the V line remains crisp.
- Second V (optional for depth). Repeat the double half hitch V one more time, starting 1.5–2 in below the first. This adds a layered look without much extra work.
- Finish and fringe. Comb the bottom cords for a soft fringe, then trim into a V that mirrors the lines above (use painter’s tape as a cutting guide). Leave 4–6 in of fringe to balance the top spacing.
- Add hanging cord. Tie a 3-ft cord to each end of the dowel with tight double knots, or wrap the ends of the dowel with the same cord for a neat finish. Adjust the hang so the piece sits flat against the wall.
Practical Tips to Keep It Budget-Friendly
- Buy cord by the spool if you plan more than one project—500 ft spools can drop your per-project cost under $7.
- Thrift a wooden curtain rod, bamboo stake, or yardstick for the top bar. Light sanding makes most finds look new.
- Practice knots on scrap yarn first. Yarn is cheaper and helps you learn tension before cutting your cord.
- Use masking tape markers on your dowel every 2 inches to help keep knot spacing even.
- Steam or lightly mist finished knots, then press with your fingers to flatten and tidy rows.
Realistic Example: Small Entryway Hanging
Space: 24-inch-wide wall above a shoe rack. Target: 12-inch dowel, 18–20-inch total length.
Materials used: 4 mm single-strand cotton (120 ft from a 200-ft roll), thrifted 12-in dowel, scissors on hand. Total cost about $9. Time: roughly 2.5 hours, including cutting and trimming.
Approach: Follow the pattern above with only one V of double half hitches and one interior row of square knots. Trim fringe to a sharp V, leaving 5 in. The piece adds texture without overwhelming a tight spot and sits well above daily traffic.
Mistakes to Avoid
- Cutting cords too short: Err long. You can reuse excess later, but adding cord mid-project is tricky.
- Uneven tension: Keep a gentle, consistent pull on each knot. Stand back after each row and adjust before moving on.
- Overcrowding cords: Too many cords for the width makes a bulky, stiff piece. For a 14-in bar, 14–18 cords is a good range.
- Skipping finishing touches: Comb and trim the fringe slowly. A neat bottom edge elevates the whole piece.
- Hanging too high: Aim for the center to sit around eye level (roughly 57–60 in from the floor) for best impact.
Customize the Look
Change the Fiber
Natural cotton is easiest. For a rustic look, try jute or sisal (itchier, but cheap). For a sleeker, modern vibe, polyester macramé cord holds crisp knots and comes in solid colors under $10 for small rolls.
Add Color on a Budget
Dye your fringe ends with leftover fabric dye or a strong tea bath for a subtle ombré. Dip just the lowest 2–3 inches, rinse, and dry flat.
Swap the Top Bar
Use a driftwood branch for an organic feel, copper for contemporary, or paint a dowel black or white for contrast. Wrap the ends with leftover cord for a tidy, intentional finish.
Play with Negative Space
Increase the gap between rows to make the pattern airier and to stretch your cord further. This still looks intentional when spacing is consistent.
FAQ
How do I estimate cord length without wasting?
For square-knot-heavy patterns, plan for each working cord to be about 6–8 times the finished length you want below the dowel. If you’re doing many double half hitches or dense designs, go closer to 8–9 times. When in doubt, cut longer; you can save offcuts for keychains or mini hangings.
Why do my rows curve or tilt?
Uneven tension is usually the culprit. Check that you’re pulling both halves of each square knot with the same force. Also confirm your working surface is level and your dowel is secured. Adding small binder clips to hold groups of cords in place while you knot can help keep lines straight.
Can I join new cord if I run short?
Yes, but it’s visible if done mid-row. The cleanest method is to run out at a row end: tie on a new cord with a secure square knot at the back, then hide tails by weaving them into nearby knots. For beginners, it’s easier to avoid this by cutting generously at the start.
How do I keep the fringe neat over time?
Comb the fringe after hanging, then lightly mist and press it flat. Trim with sharp scissors against a taped guide. If it fluffs later, use a lint brush or a low-heat hair straightener pass to re-tame (test on a scrap first).
If you want to keep going, take a look at decorate a large blank wall.
Final Thoughts
With a few basic knots and a simple V-shaped pattern, you can finish a polished wall hanging in a single afternoon for under $25. Start small, keep your tension consistent, and take your time on the fringe—those details make a DIY piece look clean and intentional. Once you’ve got this pattern down, you can scale up, change fibers, or layer shapes without buying new tools.