
A well-organized freezer makes weeknight meals faster and cuts down on forgotten food turning into freezer fossils. With a few low-cost tools and a simple system, you can see what you have, use it on time, and stop buying duplicates.
This guide walks you through a setup that works for any freezer—top-freezer, bottom-drawer, or side-by-side—and keeps it tidy with minimal effort.
Start with a Quick Reset
Before you buy bins or labels, take 30 minutes to clear and sort. You’ll toss what’s unusable, note what you actually eat, and plan storage around that—not around a Pinterest photo.
Fast 5-Step Reset
- Empty by zone: Move everything to a cooler or laundry basket grouped loosely by type (meat, veggies, bread, leftovers, sweets).
- Check quality: Toss anything with thick ice crystals, gray freezer burn, or mystery status (unlabeled and unknown). When in doubt, ditch it.
- Wipe it down: Warm water plus a drop of dish soap. Dry thoroughly to prevent frost build-up.
- Measure your space: Width, depth, and height of shelves and drawers so you buy bins that fit. Jot it on a sticky note.
- Make a rough list: What do you freeze most? If it’s frozen fruit and bread, you’ll want shallow bins. If it’s meal prep containers, plan for stackable flats.
Choose Budget-Friendly Organizers That Actually Fit
For more ideas, see our guide on how to pantry organization ideas.
You don’t need fancy systems. A few sturdy, correctly sized containers will transform visibility and access. Aim for containers with handles and open grids so cold air circulates.
Low-Cost Organizing Options
- Plastic freezer bins with handles ($3–$8 each at discount stores). Choose clear or frosted so you can see contents.
- Wire baskets meant for cabinets ($5–$10). Great for chest freezers—labels tie to the handle.
- Sturdy zip-top bags (quart and gallon, $0.10–$0.25 each when bought in bulk). Press air out flat to save space.
- Binder clips or chip clips ($0.50–$1 each) to clamp bags to shelf grates for visibility or to keep bags closed upright.
- Shallow shoe-box style bins ($1–$3) for loose items like waffles and veggie bags.
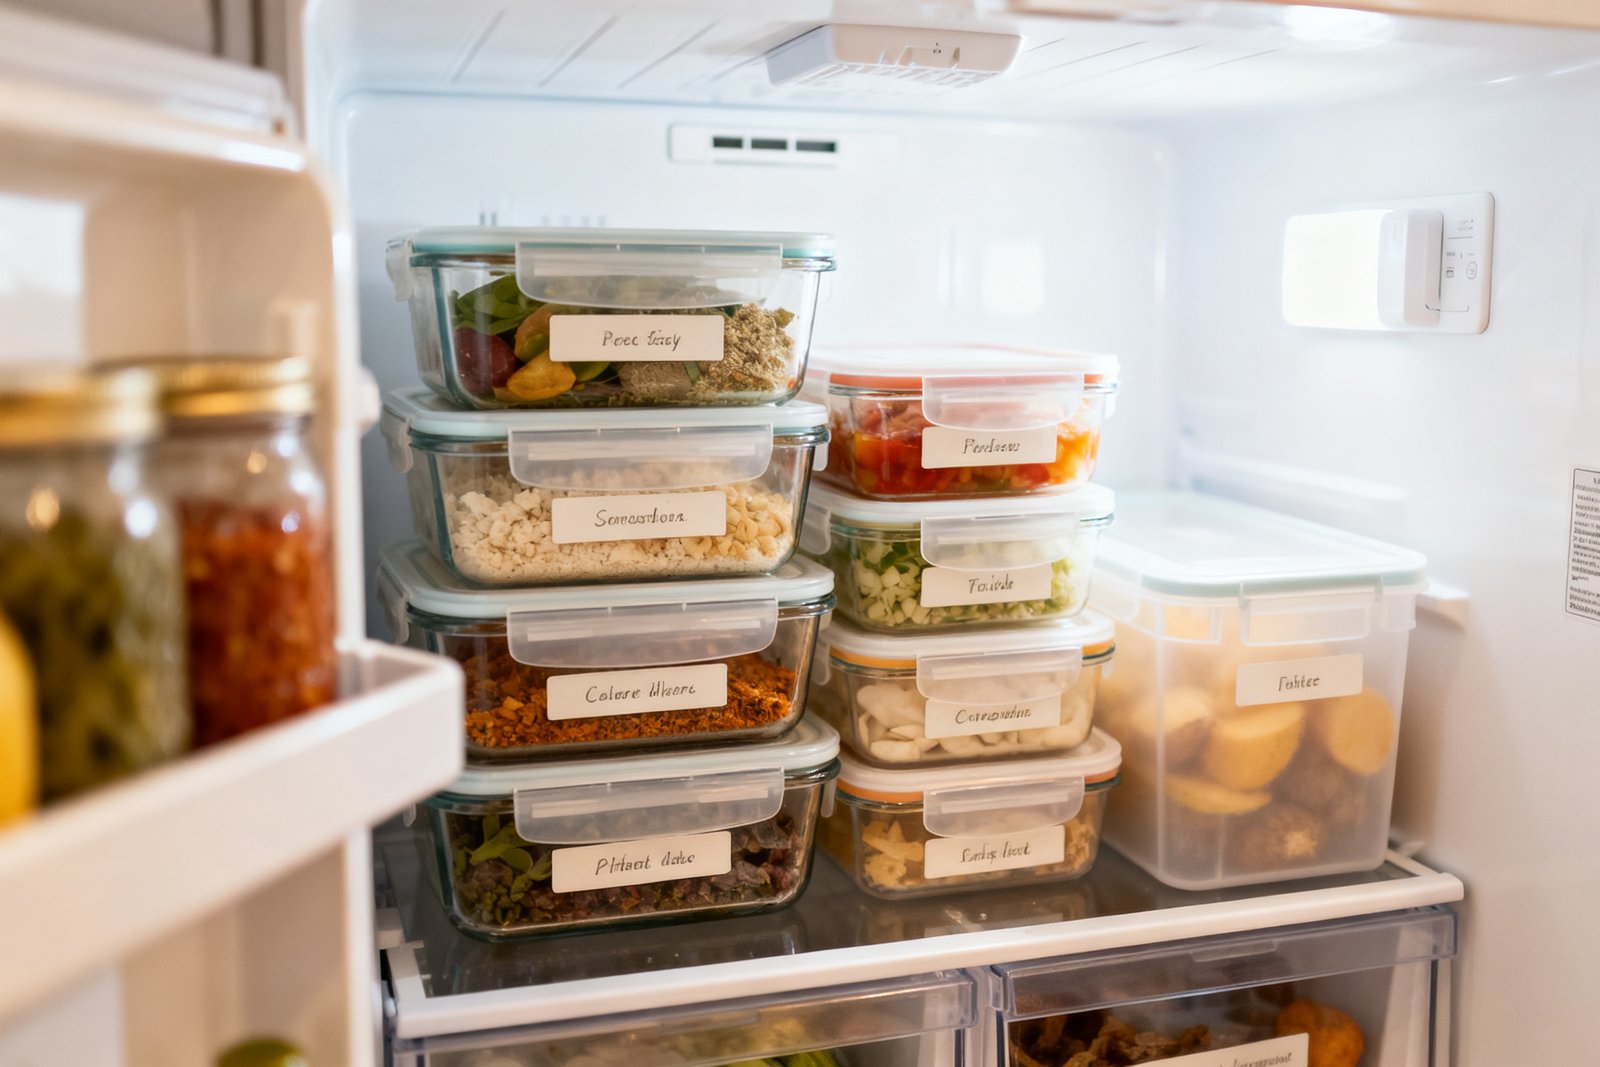
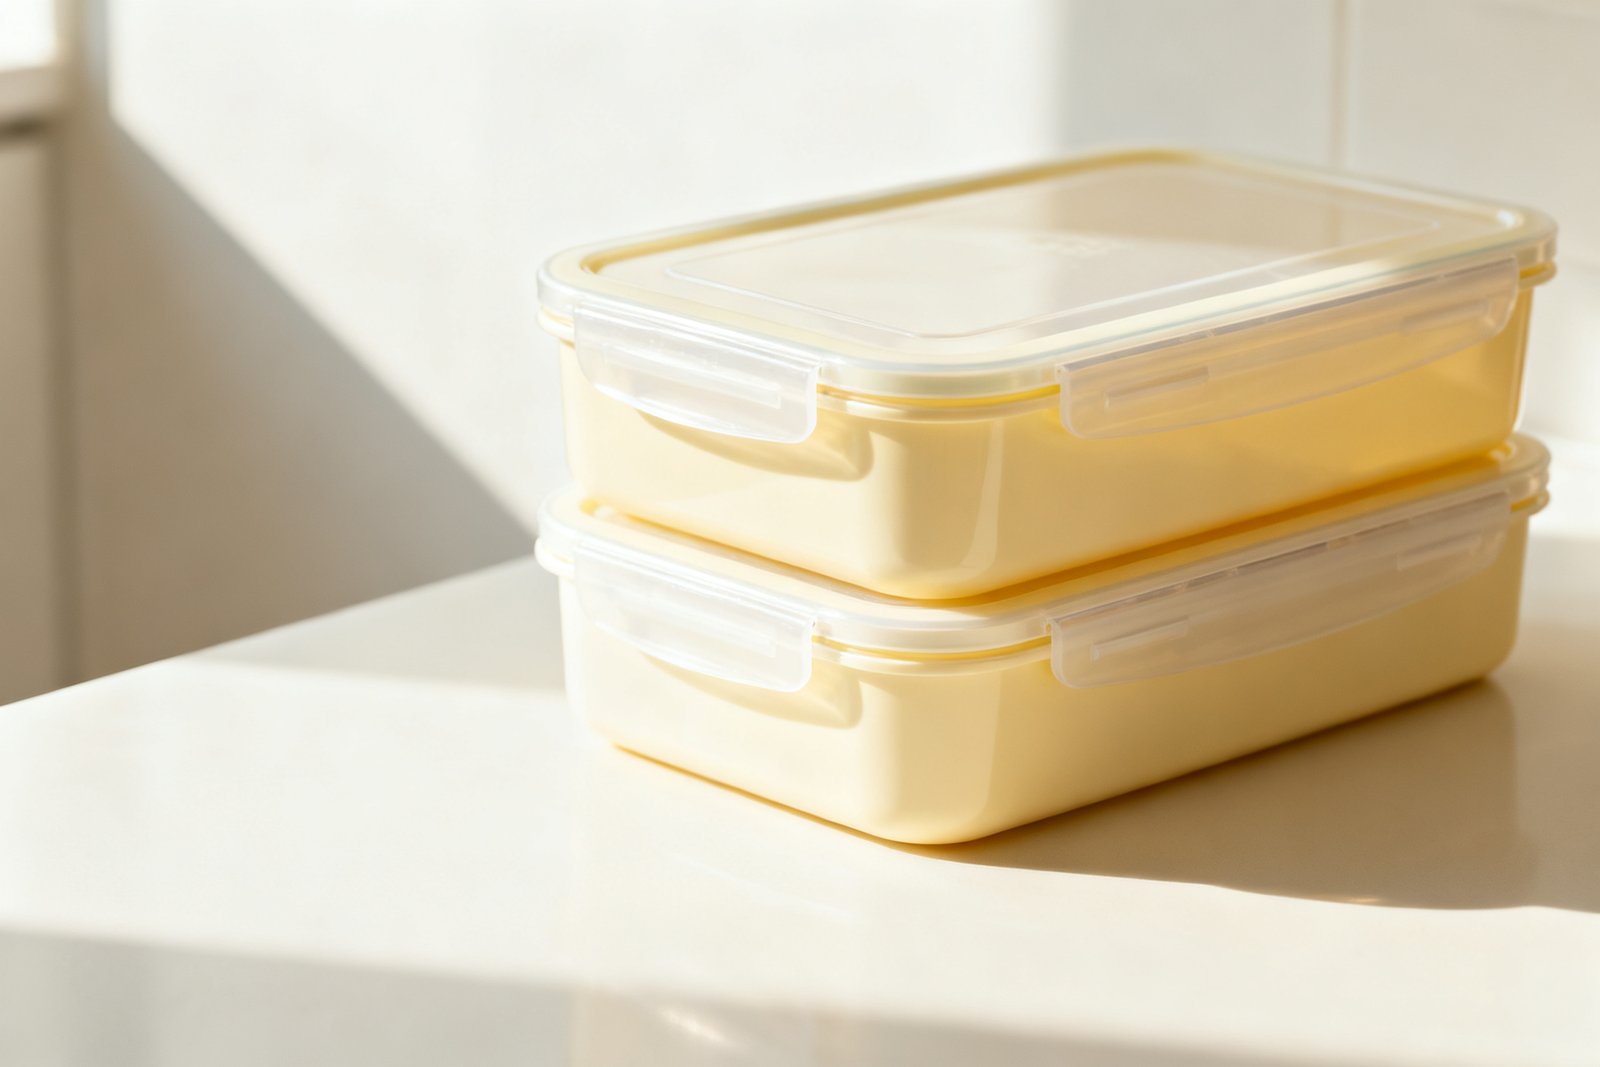
- Reused takeout containers (free). Choose ones with tight lids and uniform sizes for tidy stacking.
Tip: Measure the height of your tallest container plus 0.5 inch of clearance, so stacks slide in and out without scraping.
Set Simple Zones You’ll Actually Use
Love an organized freezer? Bring that calm to the whole home with our free 5-Day Budget Home Reset.
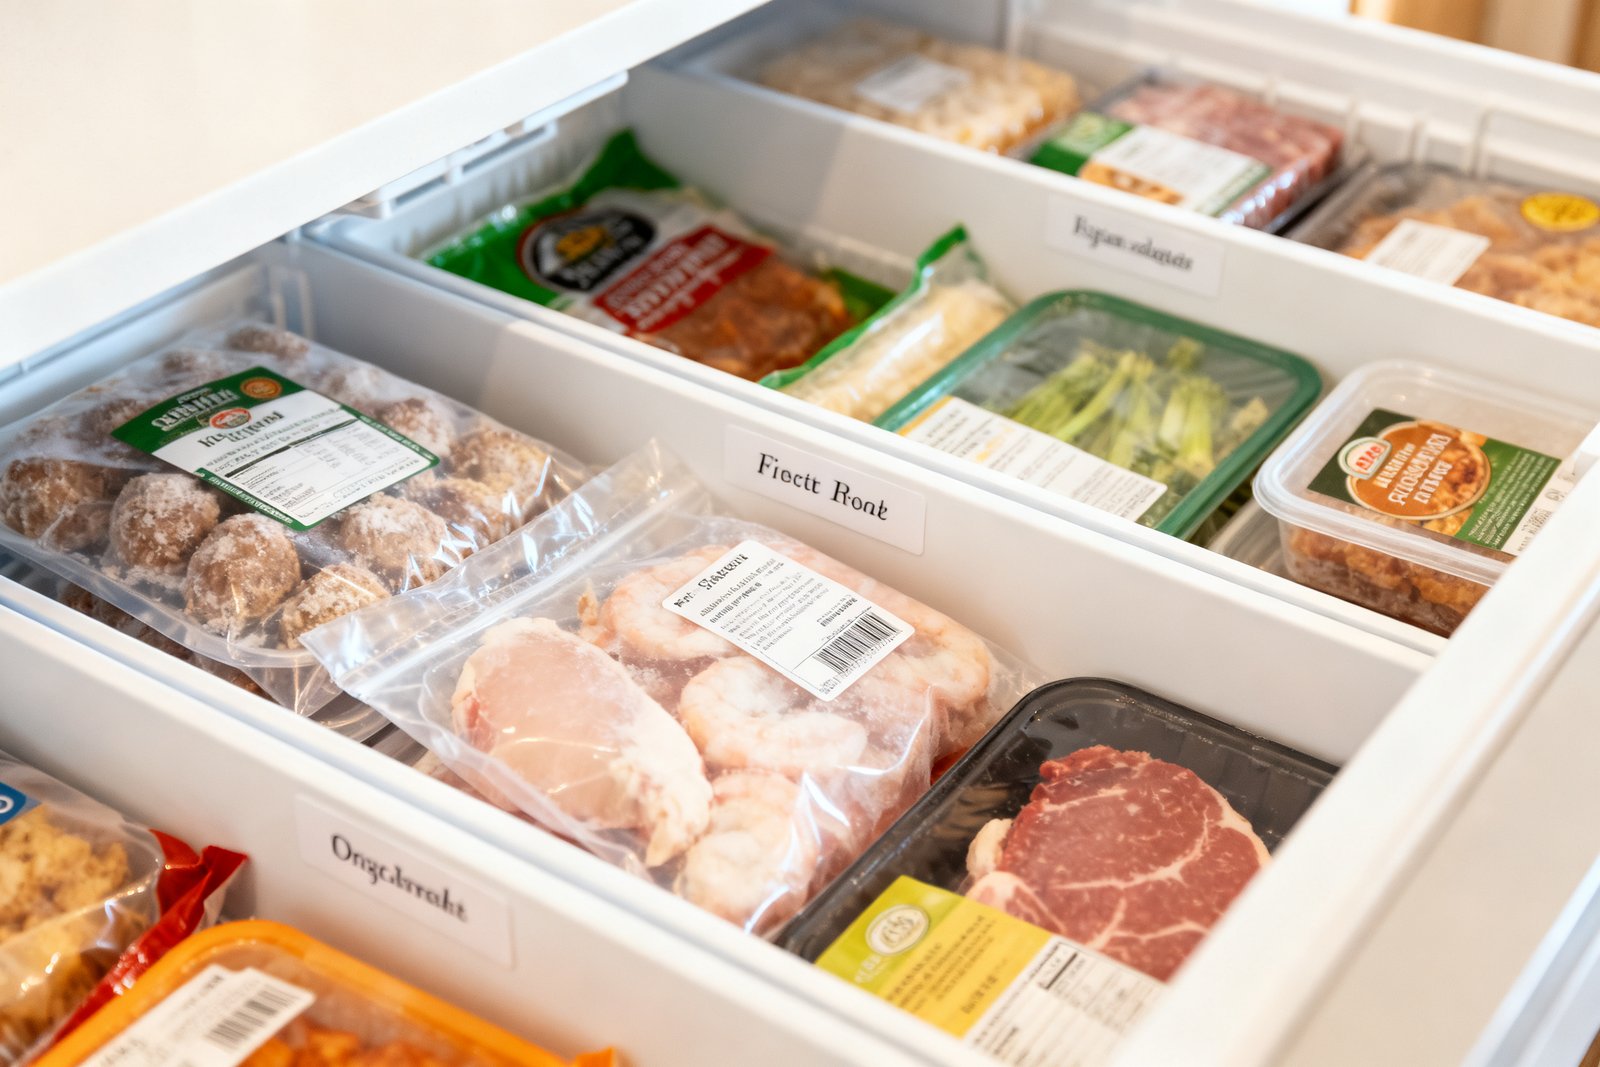
Zones help you find and rotate food without thinking. Use your freezer’s natural layout—door shelves for lighter items, deeper shelves for bulk, drawers for meal kits.
Suggested Zones
- Top shelf or most-visible area: Ready-to-eat or “grab-first” items (leftovers, cooked proteins, frozen fruit for smoothies).
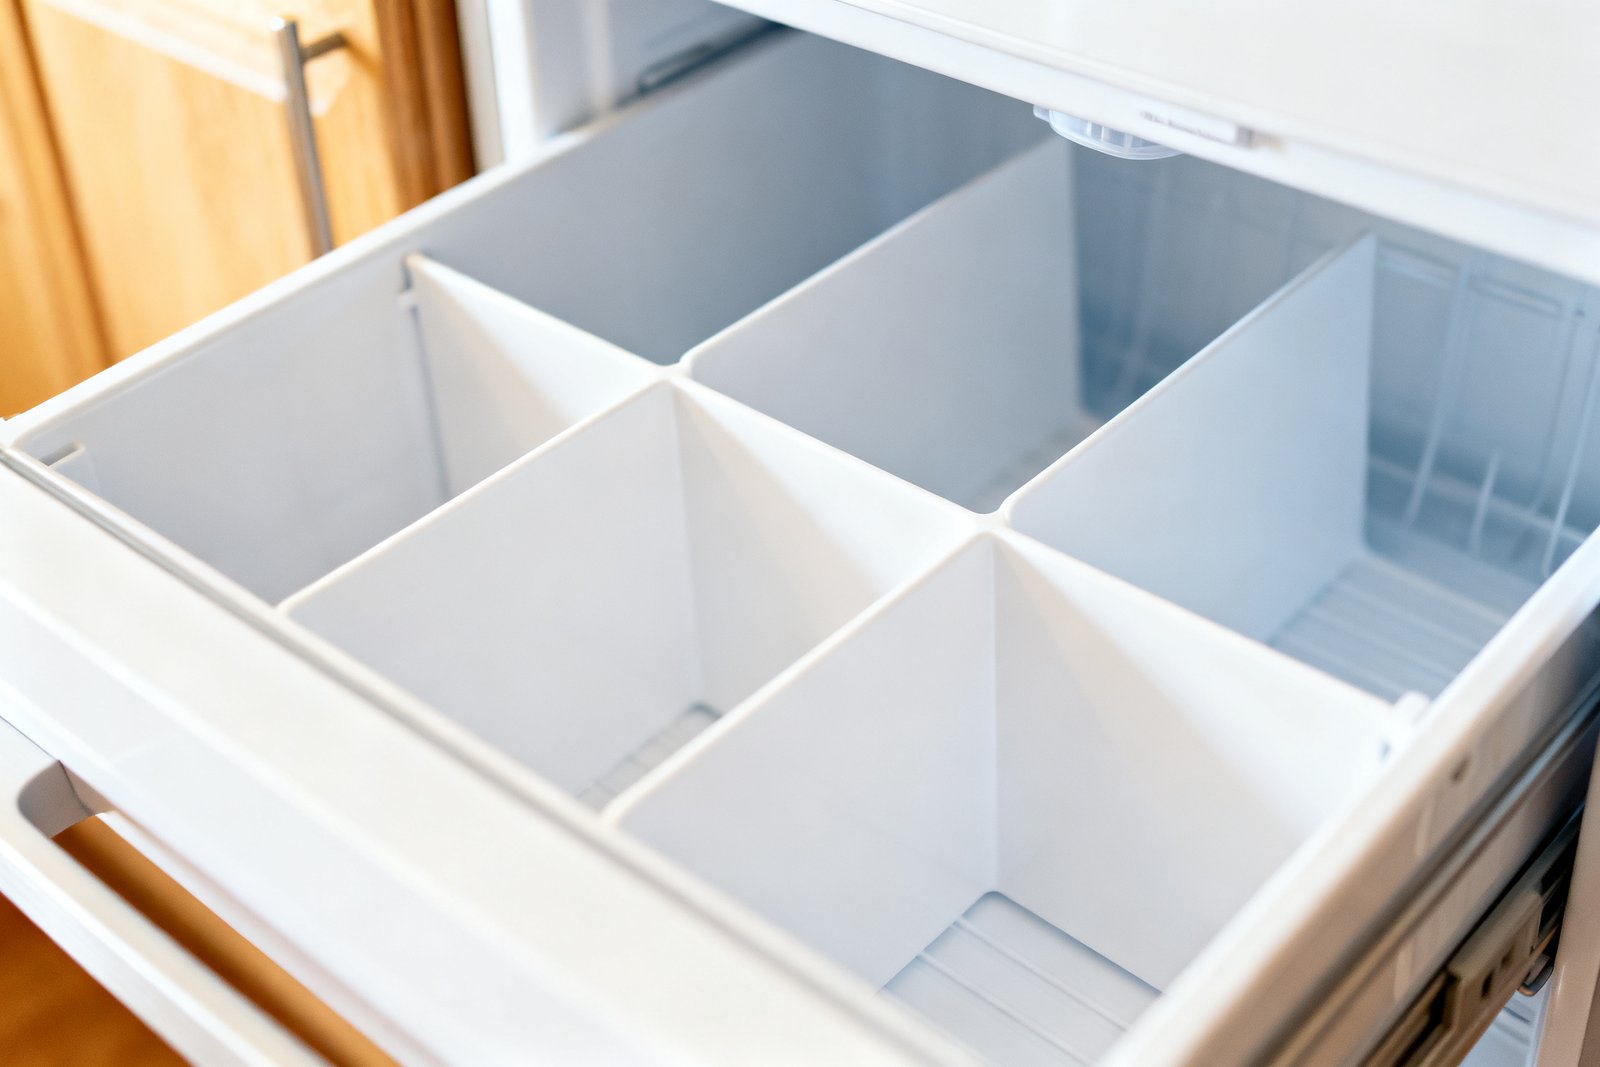
- Middle shelf: Raw proteins (chicken, ground beef, fish), each in a bin to contain drips and wrappers.
- Bottom shelf or drawer: Bulk ingredients (veggies, rice, breads, tortillas) and meal components.
- Door shelves: Light, flat items like nuts, herbs, tortillas, butter, and frozen stock cubes. Avoid raw meat here; temps fluctuate more.
Label Everything the Fast Way
You don’t need a label maker. Use masking or painter’s tape ($2–$4 a roll) and a permanent marker. Label type and date: “Chili 2026-08-10.” For bags, write before filling so ink doesn’t smear.
Package Food to Save Space and Prevent Waste
It also helps to check out fridge organization hacks.
Good packaging makes the difference between a crisp pizza and a sad ice block. Focus on air removal, portioning, and flat freezing.
Air Removal and Freezer Burn Prevention
- Press air out of bags before sealing. Insert a straw in the corner, press the bag flat, pinch around the straw, then suck out remaining air and pull the straw.
- Wrap solids tightly: For bread, muffins, or burritos, wrap in plastic or parchment, then place in a bag. Double-wrap fatty meats if storing over 2 months.
- Use ice-cube trays for small portions: Freeze pesto, tomato paste, broth, or herbs in oil, then pop into a labeled bag. Silicone trays ($6–$12) release easily.
Portion for Real Life
- Split family packs of meat into meal-size bags (1–1.5 lb) to avoid thawing too much at once.
- Freeze leftovers in single or double servings. Shallow, wide containers reheat faster and stack better than tall ones.
- Use “baker’s dozen” logic for fruit and veg: freeze 1–2 cups per bag, which matches most recipe needs and reduces partial-bag clutter.
Flat-Freezing Method
Lay filled bags flat on a sheet pan to freeze. Once solid, stand them vertically in a bin like files. This saves space and makes it easy to grab exactly what you need. Works well for soups, sauces, shredded cheese, and cooked grains.
Use and Maintain a First-In, First-Out (FIFO) System
FIFO sounds technical, but it just means you use older items first. You’ll save money by eating what you’ve already bought and prepped.
Set Up a “Use First” Bin
Dedicate one small bin on the most-visible shelf to items that should be eaten within the next 1–2 weeks—half-bags of veggies, cooked meat, opened waffles. Check this bin before adding anything to your shopping list.
Rotation Routine (10 Minutes a Week)
- Glance through your zones and pull forward anything older than a month.
- Move nearing-the-date items to the “Use First” bin.
- Update or re-stick any peeling labels. Add a quick note to your meal plan: “Use frozen chili Wednesday.”
Simple Freezer Inventory (Optional)
Keep a small dry-erase board or a notepad on the fridge. Only track items over $5 or high-use staples (meat, shredded cheese, bread, fruit). Cross off as you use them. This light-touch list prevents duplicates without becoming homework.
Realistic Example: From Overflowing to Organized in One Hour
Scenario: You have a top-freezer stuffed with half-used veggie bags, mystery containers, and two giant packs of chicken you forgot you bought on sale.
- 15 minutes: Empty and sort. Toss anything unlabeled or visibly burned. Wipe shelves.
- $12 in supplies: Four clear handled bins ($3 each on sale), one roll of tape, marker you already own.
- Create zones:
– Bin 1 (top): Leftovers and cooked items.
– Bin 2 (middle): Raw chicken and beef, split into 1-lb bags and laid flat.
– Bin 3 (bottom): Veggies and rice.
– Door: Nuts, butter, tortillas. - Label and date everything going back in. Make a “Use First” bin with opened veggies and last week’s soup.
- Plan two meals this week using those items. Result: No repurchasing and no forgotten meat expiring.
Smart Habits That Keep It Tidy
Set Capacity Limits
Each zone gets a physical limit. If the meat bin is full, you don’t buy more meat. This alone prevents waste and saves money by stopping overstocking during sales.
Freeze in “Meal Kits”
Bundle ingredients for a specific meal together: marinated chicken, a bag of frozen peppers and onions, and tortillas in one bin section. Add a label “Fajita Kit 2026-08-10.” You’ll use it quickly because it’s convenient.
Use the Door Wisely
Keep only items that tolerate temperature swings: nuts, butter, tortillas, yeast, chocolate chips, herb cubes. Avoid ice cream and raw meat here.
Mind the Temperature
Set the freezer to 0°F (-18°C). A small fridge/freezer thermometer costs $5–$10 and helps you catch warm spots or a failing seal early.
Mistakes to Avoid
- Skipping labels: If it isn’t labeled with name and date, it becomes a mystery and gets tossed.
- Overstuffing: Crowded freezers don’t circulate cold air well. Leave a little space around bins.
- Huge containers: Tall, bulky containers waste vertical space and take forever to thaw. Use shallow, uniform sizes.
- Door-stored meat: Temperature fluctuations increase risk and quality loss. Keep raw meat in the main cavity or drawer.
- Ignoring opened bags: Half-used items drift to the back. Put them in the “Use First” bin immediately.
Budget Tips to Stretch Your Freezer Dollars
- Buy meat and bread only when you have room. Use your capacity limit as your budget guardrail.
- Flash-freeze berries, sliced bananas, or chopped peppers on a sheet pan before bagging to prevent clumps and reduce waste.
- Turn leftover odds and ends into soup kits: 1 cup cooked beans, 2 cups broth, 1 cup mixed veg in a flat bag. Label with suggested add-ins.
- Save herb stems, onion skins, and rotisserie bones in a “stock bag.” When full, simmer and refreeze stock in cubes.
- Use reusable silicone bags and containers gradually. Start with one or two ($8–$15 each) to replace the most-used disposables.
FAQ
How long can food stay in the freezer?
Quality declines before safety does when kept frozen at 0°F. As a general rule for best taste: cooked meals 2–3 months, bread 2–3 months, raw poultry and ground meat 3–4 months, steaks/chops 4–6 months. Label dates so you rotate before quality drops.
Do I need a vacuum sealer?
No. It helps for long-term storage, but pressing air out of bags, double-wrapping fatty cuts, and flat-freezing will handle most needs. If you routinely buy bulk meat or fish, a basic sealer ($40–$80) can pay off, but it’s optional.
What’s the best way to thaw safely?
Thaw in the fridge overnight on a tray to catch drips. For faster thawing, submerge a sealed bag in cold water, changing the water every 30 minutes. Avoid thawing at room temperature.
How do I prevent smells from transferring?
Use tight-sealing containers, double-bag pungent foods (like fish), and keep an open box of baking soda in the freezer. Wipe spills promptly and keep air flowing by not overpacking.
If you want to keep going, take a look at organize kitchen cabinets on a budget.
Final Thoughts
A clear system—simple zones, labeled packages, a “Use First” bin, and weekly 10-minute checks—turns your freezer into a money-saving tool instead of a graveyard for leftovers. Start with the reset, add a few low-cost bins, and let your capacity limits guide what you buy. You’ll waste less, cook faster, and know exactly what’s on hand.