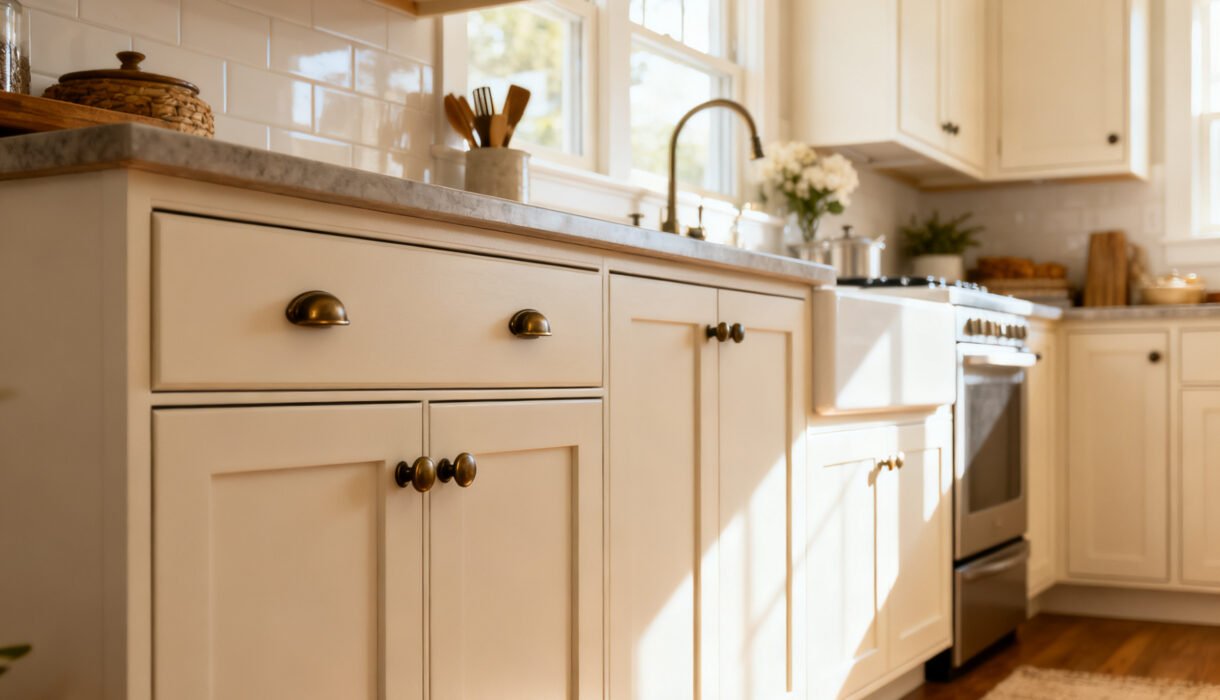

Your cabinets set the tone for your whole kitchen. The good news? You don’t need a demo crew or a second mortgage to give them a glow-up.
With smart tweaks and a weekend or two, you can make those boxes-on-walls look custom and expensive. Ready to trick your kitchen into thinking it’s rich?
Paint That Actually Looks Professional
You can’t beat paint for impact-per-dollar. A fresh color can turn dated oak into modern magic.
Go bold with navy, sage, or charcoal, or keep it breezy with warm whites and creams.
Prep Like You Mean It
Strong finishes start with boring stuff. Sorry. Do this and your paint won’t chip:
- Degrease: Use TSP substitute or a strong degreaser. Kitchens hide sticky secrets.
- Scuff sand: 120–150 grit. You’re creating tooth, not stripping to bare wood.
- Prime right: Use a bonding primer for slick finishes or laminate.
Pick the Right Paint and Tools
Use a cabinet-rated enamel or urethane-alkyd enamel for a hard, wipeable finish. Foam rollers and a high-quality angled brush minimize texture.
Got a sprayer? Even better, but ventilate unless you like headaches.
Color Tips That Don’t Backfire
- Two-tone magic: Dark lowers + light uppers = instant designer vibes.
- Warm whites only: Stark white can go hospital. Pick soft whites with a hint of cream.
- Test first: Put sample boards near your countertops.
Lighting lies, FYI.
New Hardware = Tiny Change, Big Drama
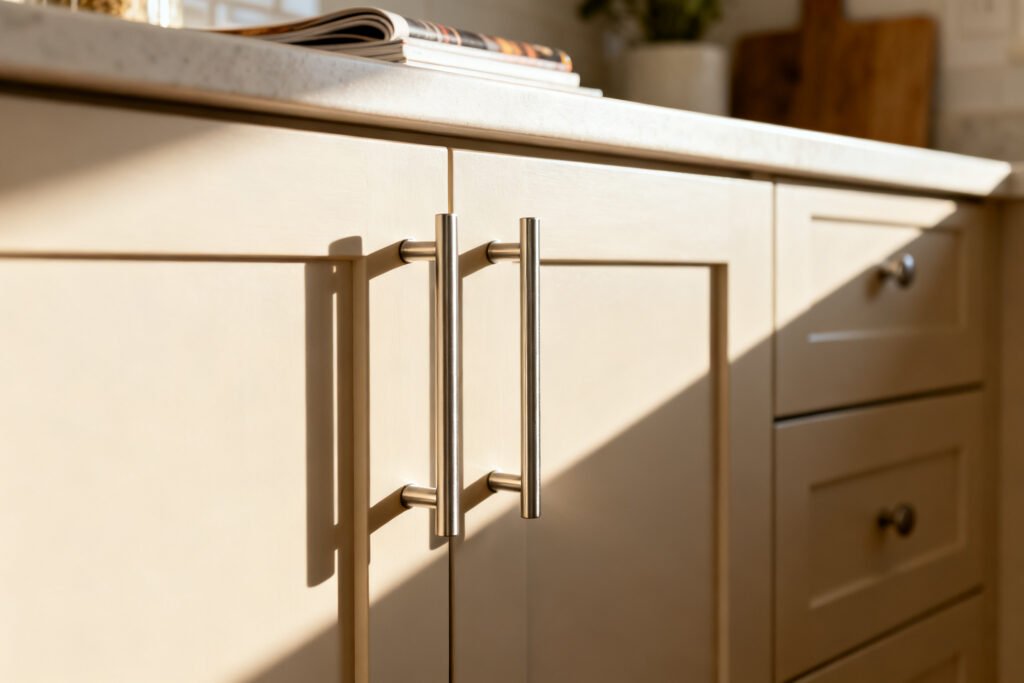
Swapping knobs and pulls makes your cabinets look custom without power tools drama. Think of it as jewelry for your kitchen.
Hardware That Feels High-End
- Matte black or brushed brass: Both look modern and luxe.
- Longer pulls: 6–8 inches reads more “custom” than stubby handles.
- Mix, but don’t mash: One finish for cabinets, another for faucets? Fine.
Three finishes? Chaos.
Avoid the Dreaded “Misaligned Pull”
Use a jig or make one with cardboard. Fill old holes with wood filler, sand, touch up paint, then drill new ones.
Measure twice; drill once; avoid tears.
Refacing and Faux Upgrades
Full refacing gets pricey, but you can fake it with clever trims and veneers. This is the “if you can handle a miter saw, you can do this” section.
Add Shaker Rails to Flat-Front Doors
Have flat laminate or plain slab doors? Glue and pin-nail 2.5-inch MDF strips to create Shaker frames.
Caulk, sand, and paint. You’ll get that classic look for a fraction of a full door swap.
Veneer the Boxes, Keep the Doors
If your cabinet boxes look rough but the doors still pass, apply wood veneer or paintable PVC panels to the face frames and end panels. Edge with iron-on banding.
Paint or stain to match.
Glass or Mesh Inserts
Cut out the center panels of a few upper doors and add glass, reed glass, or wire mesh. Backlight with LED strips for a boutique effect. Display your nice dishes and hide the chaos elsewhere.
Balance, right?
Improve Function With Cheap, Smart Add-Ons
Looks matter, but function keeps you happy long-term. These upgrades punch above their weight.
- Soft-close hinges and dampers: Clip-on dampers cost little and feel fancy every time you close a door.
- Pull-out trays: Retrofit rollout shelves save your back and your sanity.
- Door-mounted racks: Use the inside of doors for wraps, spices, and cutting boards.
- Under-cabinet lighting: LED strips or pucks change the vibe instantly and improve prep visibility.
FYI: Hinge Compatibility
European-style concealed hinges vary by overlay and cup size. Bring a hinge to the store or double-check specs online so you don’t buy the wrong kind and learn new curse words.
Creative Finishes That Aren’t Just Paint
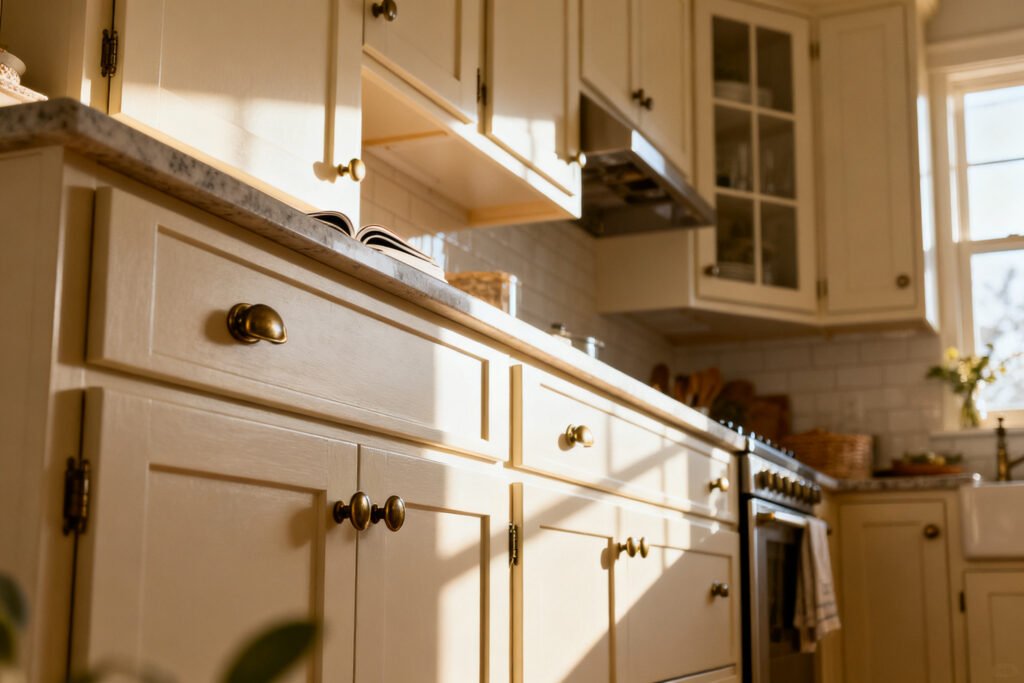
Want texture or warmth?
Layer in materials that trick the eye.
Beadboard or Shiplap Ends
Dress those sad cabinet sides with beadboard panels or horizontal shiplap. Paint to match the doors. It feels cottage-chic and intentional.
A cabinet refresh looks best in a tidy kitchen. The free 5-Day Budget Home Reset helps you clear the clutter first.
Stain or Tone the Wood
If your doors have real wood, consider gel stain or a toner.
It sits on top and evens blotchy grain. Top with a waterborne clear coat for durability. Pro tip: test on the back of a door first because surprises belong in birthday parties, not finishes.
Open-Shelf Moments (Selective, Please)
Remove two upper doors and paint the interior a contrast color.
Add a wood shelf or two for warmth. Limit it to a small section so you don’t commit to dusting 47 mugs daily.
Accents That Cheat the “Custom” Look
You know those fancy kitchens with built-ins and shadow lines? You can copy that—cheaply.
- Light rail molding: Add trim under uppers to hide under-cabinet lights and create a shadow line.
- Crown molding: Cap the tops of cabinets to visually extend them. Paint to match for cohesion.
- Toe-kick refresh: Replace banged-up toe-kick with new matching veneer or a contrasting wood strip.
- Panel the island back: Add board-and-batten or flat panels. Instant focal point.
Hardware Color + Faucet Coordination
Match cabinet hardware to the faucet or lighting for a pulled-together look. Not identical?
Close cousins still work. IMO, keeping metals in the same “temperature” (warm vs cool) matters more than exact match.
Budget Planning That Keeps You Sane
Let’s talk numbers before the cart explodes.
- Paint + supplies: $120–$250 for an average kitchen.
- Hardware swap: $60–$200 depending on quantity and finish.
- Trim and panels: $80–$250 if DIY with MDF/veneer.
- Function add-ons: $15–$50 per hinge set; $40–$120 per pull-out tray.
- Lighting: $30–$100 for LED strips with a dimmer.
Bundle projects. For example, paint + new hardware + crown molding often lands under $500 and looks surprisingly high-end.
Time-Saver Tips
- Number every door and bag the screws with the same number.
Future you will send thanks.
- Set up a spray/paint station. Do doors in batches so they cure flat.
- Keep kids and pets out. Paw prints in enamel are cute exactly zero times.
FAQ
Do I need to sand all the way to bare wood before painting?
Nope.
You only need to scuff-sand to remove sheen and give the primer bite. Use a solid bonding primer, then two coats of cabinet enamel. Sand lightly between coats if you want a smoother finish.
For more budget kitchen ideas, see make a rental kitchen look expensive, budget peel-and-stick backsplash, and style open kitchen shelves.
Can I paint laminate cabinets?
Yes, with the right prep.
Degrease, scuff with 150–180 grit, then use a bonding primer labeled for laminate. Top with a durable enamel. Let it cure fully before rough use—cure time matters more than dry time.
Is it worth replacing doors only?
If your boxes are sturdy and square, new doors can transform everything for less than a full replacement.
Order paint-grade Shaker doors, finish them yourself, and keep the existing frames. Add soft-close hinges and it’ll feel brand new.
What cabinet colors hide grime best?
Medium tones win. Think greige, sage, or navy.
Pure white shows every fingerprint; super dark colors show dust. A satin or semi-gloss sheen makes wiping easier without looking plasticky.
How do I fix chipped paint later?
Keep a small jar of your cabinet paint. Clean the chip, feather sand, dab primer if you see bare substrate, then touch up with a tiny brush.
Blend the edges and call it a day. No one will know unless they press their nose to the door (weird).
What if my kitchen is tiny and dark?
Go lighter on uppers, add under-cabinet LEDs, and consider glass inserts on a couple doors. Use long, slim pulls to create visual lines.
Keep counters decluttered so your upgrades can actually shine, IMO.
Conclusion
You don’t need custom cabinetry to get a custom vibe. A weekend of paint, smarter hardware, a bit of trim, and some inside-the-cabinet upgrades will fool people into asking for your contractor’s number. Start with the highest-impact move your budget allows, stack a couple of the quick wins, and enjoy the “Did you remodel?” compliments.
Your secret’s safe with me.