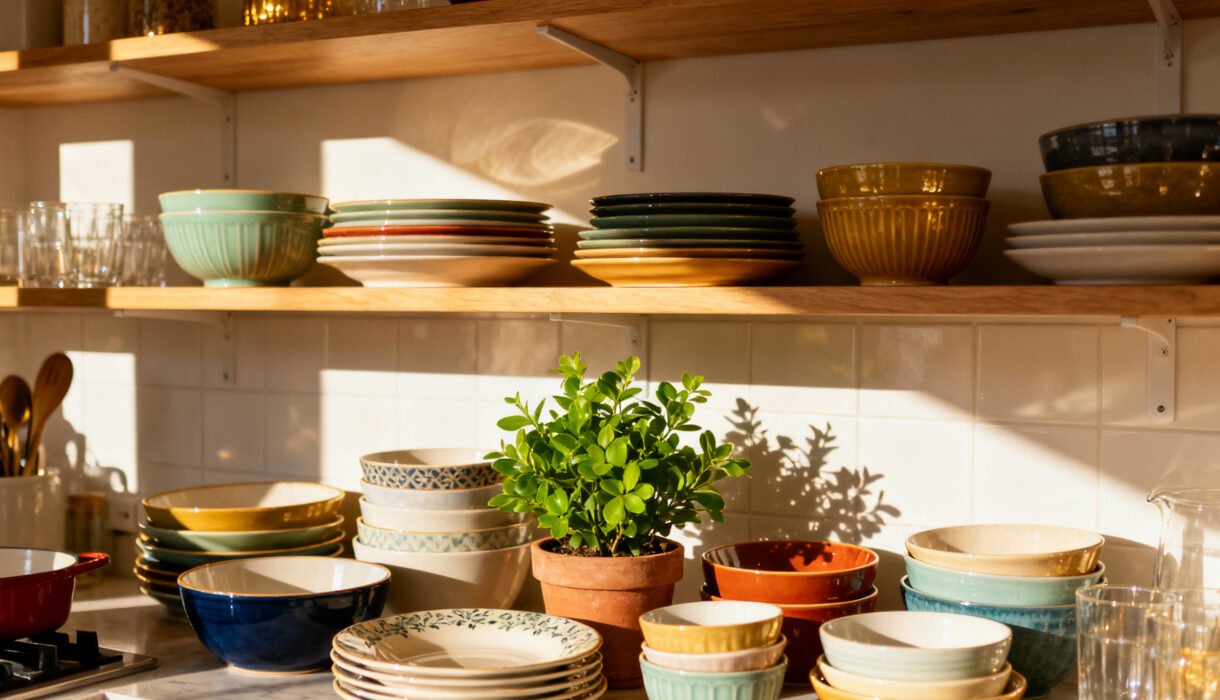

Open shelves can make a kitchen feel lighter, bigger, and way more “Pinterest-y” in the best way. But toss a bunch of mugs and cereal boxes on them, and suddenly you’ve built a tiny clutter museum. The trick?
Treat them like a balance of function and display. I’ll show you how to style them so they look intentional—and still hold all the stuff you actually use.
Start With a Clear Vision (and an Empty Shelf)
You can’t style around chaos, so clear every shelf. Wipe them down.
Then decide on your vibe before you start piling things back on. Cozy cottage? Minimal and airy?
Moody and modern? Pick 2-3 adjectives and stick to them. This forces choices. You’ll thank yourself when your shelf doesn’t look like a yard sale from five different decades.
Choose a Simple Color Palette
Limit your palette to 2-3 main colors plus neutrals.
Your dishes and accessories should mostly land in that family.
- Warm woods + white + black accents
- Soft greens + cream + brass
- Charcoal + oak + matte white
FYI: Color discipline = instant polish.
Lead With the Workhorses
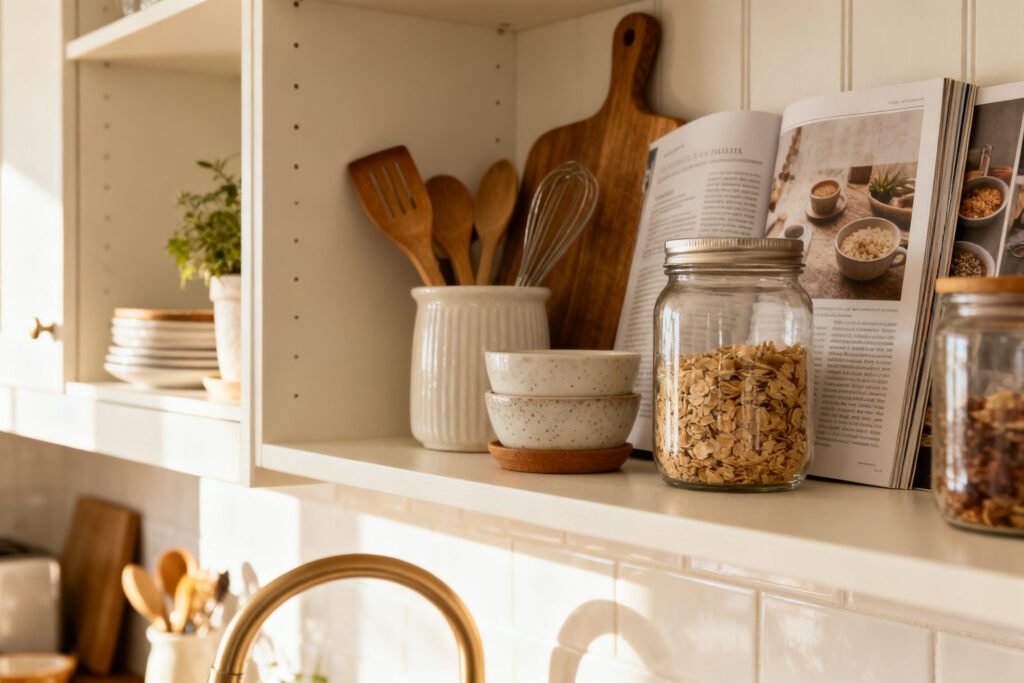
Open shelves can’t just look pretty—they need to earn their keep. Start with what you grab daily.
- Plates and bowls: Stack them neatly. Keep sets together.
- Everyday glasses: Group by type; turn a few upside down for variety.
- Mugs: Keep a small curated set. The rest can live behind a cabinet door where their novelty slogans can’t scream at you.
Place these on the lower, easiest-to-reach shelves. That keeps function front and center and saves your triceps.
Use Trays and Risers
Corral smaller items with trays or shallow baskets. Add a riser or cake stand to create height for jars or spices.
It looks styled—and it makes cleaning easier when life gets saucy. IMO, a small lazy Susan for oils is elite.
Play the Scale Game: Heights, Stacks, and Negative Space
Flat lines = boring. You want soft waves of height.
- Anchor with tall items: Vases, pitchers, or cutting boards propped at the back.
- Build mid-height: Stacks of bowls, lidded canisters, short plants.
- Leave breathing room: Empty space matters. It signals intention, not “ran out of stuff.”
Think of each shelf like a skyline—varied, but balanced.
Rule of Thirds (Loose, Not Math Class)
Visually divide each shelf into thirds. Fill two sections and leave the third lighter—either literally empty or with clear glass. It keeps the eye moving without overwhelm.
Mix Materials Like a Pro
If everything is ceramic and shiny, it reads flat.
If everything is rustic wood, it reads heavy. Mix textures for depth.
- Combine matte and gloss: Glazed ceramics with matte stoneware.
- Add warmth: Wood boards, woven baskets, or a cork trivet stack.
- Metal pops: Brass scoops, black hardware, or stainless jars.
- Glass for lightness: Clear jars and carafes keep things airy.
Just keep the overall palette tight so the mix still feels cohesive.
Decant With Restraint
Yes, decanting looks gorgeous. No, you don’t need 47 matching jars.
Choose a few frequently used items—flour, sugar, coffee, pasta—and label them neatly. Bonus points for identical lids. Your future self will not miss the neon cereal box.
Style With “Soft” Layers
This is where the shelves stop looking utilitarian and start looking curated.
- Textiles: Fold a couple of linen napkins or a tea towel on a stack of plates.
- Greenery: A small trailing plant or a simple herb pot adds life instantly.
- Books: A few cookbooks, spines coordinated, add color and personality.
- Art: Lean a small framed print or vintage photo behind a stack for depth. Yes, art in the kitchen—try it.
Keep it light-handed. One or two “soft” moments per shelf feels chic. Five feels like you live in a home goods aisle.
Hide the Ugly (Strategically)
We all own the ugly-but-useful gadgets.
Stash them in lidded baskets or behind taller items. Face labels away from the front. You don’t need your nutritional yeast yelling at guests.
Think in Mini Vignettes, Not Individual Objects
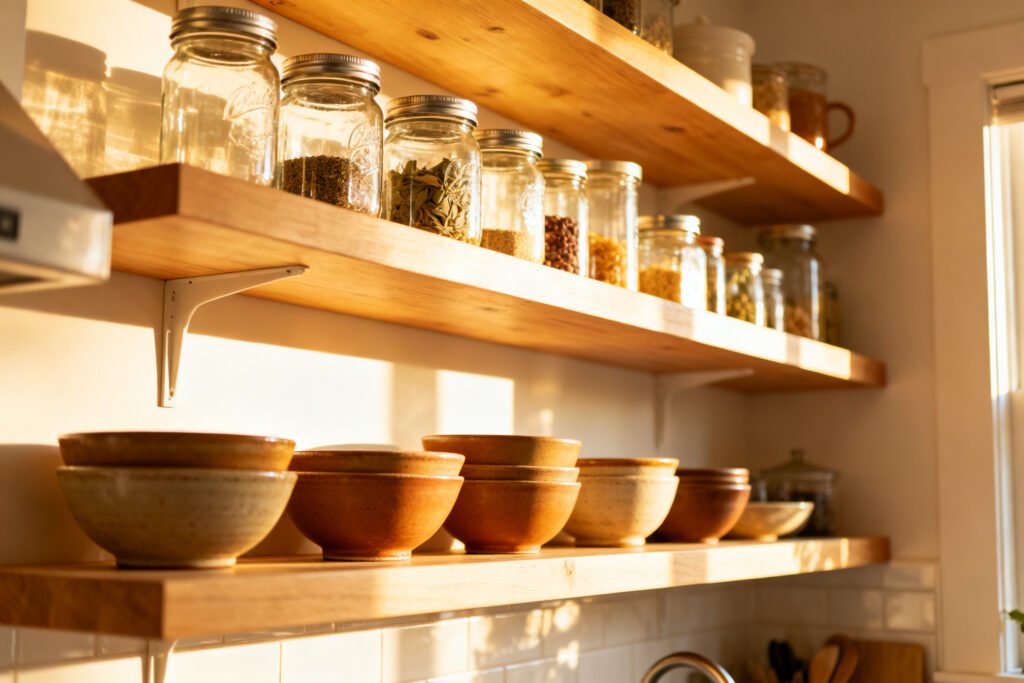
Instead of placing objects one by one, group them into small scenes: a stack of bowls + a tiny salt cellar + a sprig of eucalyptus.
That’s a vignette. Build 2-3 per shelf.
- Trios work best: Odd numbers feel organic.
- Vary heights within each trio: Tall, medium, small.
- Repeat elements: A matching bowl color on the next shelf ties it together.
IMO, this is the secret sauce. It reads styled without feeling staged.
Edit Ruthlessly
When you think you’re done, remove two things.
Seriously. Then step back 6-8 feet and snap a quick phone photo. The camera catches clutter your eyes ignore.
Open shelves shine when the kitchen is clutter-free. The free 5-Day Budget Home Reset helps you clear the way first.
Make It Maintenance-Friendly
Open shelves gather dust.
That’s not a scandal; it’s physics. You can work with it.
- Store daily-use items out front: They get washed often, so dust doesn’t build.
- Avoid micro knickknacks: They turn cleaning into a lifestyle.
- Wipe monthly: Quick microfiber swoop, done.
- Keep a step stool nearby: Saves you from “I’ll fix it later” chaos.
If the setup feels precious, you won’t maintain it. Practical beats precious every time.
Lighting: The Sleeper Hit
Great lighting turns shelves from storage to showcase.
If you can, add under-shelf LED strips or a tiny puck light. Even swapping to warmer bulbs nearby helps.
- Warm temperature (2700–3000K): Cozy, flattering, restaurant-y.
- Minimal glare: Matte finishes or diffusers keep reflections calm.
You’ll be amazed how much nicer those humble cereal bowls look under soft light.
Common Layouts That Always Work
Sometimes you just want a template. Here are a few no-fail arrangements:
- Symmetry Lite: Tall cutting board and pitcher on each end, stacks of plates centered, a small plant offset. Balanced but not stiff.
- Utility First: Everyday plates and bowls on the lowest shelf, mugs and glasses above, canisters and art on top. Gravity meets style.
- Color Block: All white ceramics on one shelf, wood and glass on the next, darker accents up top. Looks curated fast.
- Chef’s Corner: Oils on a tray, salts and pepper mills, stack of small bowls, herb pot. Ready-to-cook and nice to look at.
FAQ
How do I stop open shelves from looking cluttered?
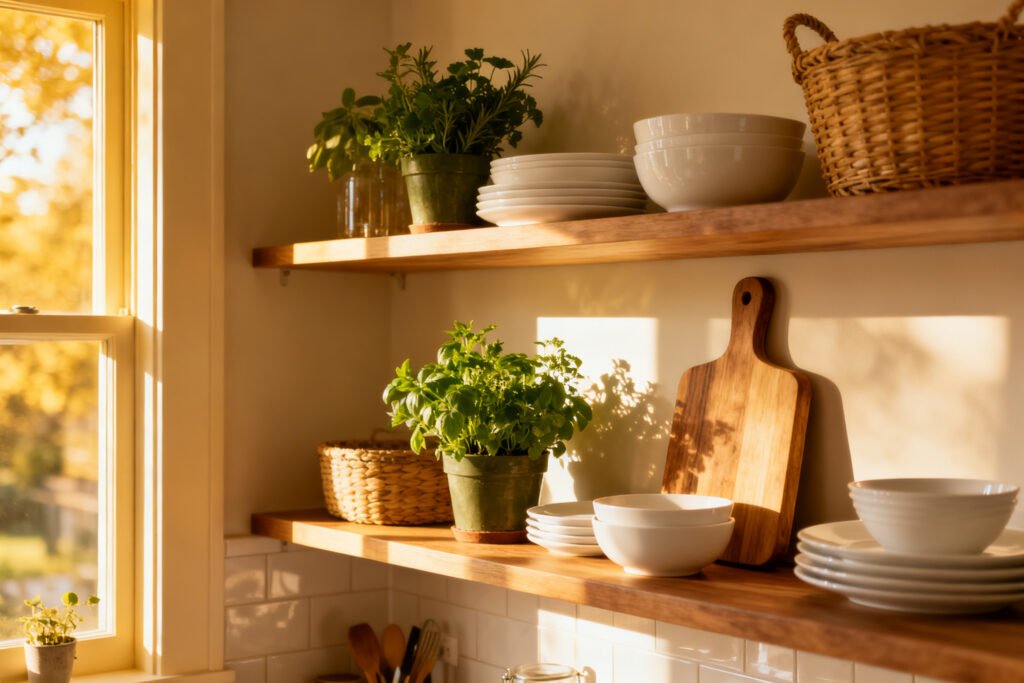
Limit your palette, group items in threes, and leave intentional empty space. Use trays to corral small things. Then edit—pull a couple items off each shelf and see if it breathes better.
Nine times out of ten, it will.
What should I actually store on open shelves?
Keep daily-use dishes, glasses, and a few attractive pantry staples. Add a small number of decorative pieces—plants, a print, or cookbooks. Skip rarely used gadgets or anything with loud packaging unless you hide it in a container.
For more budget kitchen styling, see style shelves on a budget, make a rental kitchen look expensive, and declutter your kitchen countertops.
How often do I need to clean them?
Quick dust monthly, deeper clean seasonally.
If you use the items often, they’ll basically self-clean through washing. A microfiber cloth and a step stool will keep you honest.
Can I mix metals and woods?
Yes, and you should. Aim for one dominant metal (say, brass) and one supporting (black or stainless).
Pair with one wood tone that repeats at least twice. Consistency beats matchy-matchy perfection.
Do I need matching jars and dishes?
Nope. Matching helps, but repetition matters more.
If your jars differ, make them cohesive with similar lids or labels. Repeat colors or shapes across shelves to tie everything together.
What if my kitchen is tiny?
Keep shelves shallow, store only essentials, and lean on glass and light colors to keep things airy. Vertical stacking and a single slim vignette per shelf will avoid the “wall of stuff” look.
Bonus: under-shelf lighting makes small spaces feel intentional.
Wrap-Up: Keep It Pretty, Keep It Practical
Open shelves shine when they balance style and use. Lead with everyday pieces, mix textures, build simple vignettes, and leave space for your eye to rest. Edit often, wipe occasionally, and don’t overthink it.
Your shelves should work hard and look effortless—kind of like you on a good hair day, IMO.