How to Organize Craft Supplies in a Small Space (Budget-Friendly)
Posted in :

Craft supplies multiply fast, especially in small homes. With a few smart systems and budget containers, you can make a compact, calm setup that’s easy to use and just as easy to put away. Here’s how to create a tidy, portable craft zone that won’t take over your space or your wallet.
Start with a 30-Minute Sort and Purge
You don’t need a weekend—just a focused half hour. Lay out bags or boxes labeled Keep, Donate, Trash/Recycle, and Unsure. Work by category so you don’t get overwhelmed.
- Gather everything to one spot (table, bed, or floor).
- Sort by category: paper, pens/markers, adhesives, cutting tools, paint, fabric/thread, embellishments, and in-progress projects.
- Purge duplicates you won’t use (dried glue, empty pens, scraps you’ll never reach for). Donate extras to a school or community group.
- Measure the keep pile volume. This will set your container size and storage footprint.
Tip: Keep a small “scrap” envelope limited to what fits inside a greeting-card envelope. If it overflows, you’re saving too much.
Choose a Storage Format That Fits Your Space
For more ideas, see our guide on how to maximize vertical storage.
Match your solution to where you craft and how often you move your supplies. You can combine formats, but pick a dominant one to prevent scattering.
Portable: Craft-in-a-Box
Best for dining tables or shared spaces. Use a latching plastic bin (12–16 qt, $6–$12) or a photo storage case (with 4×6 sub-cases, $12–$25). Add small containers inside to subdivide. Everything moves in one trip and stows under a bed or on a closet shelf.
Vertical: Over-the-Door and Wall
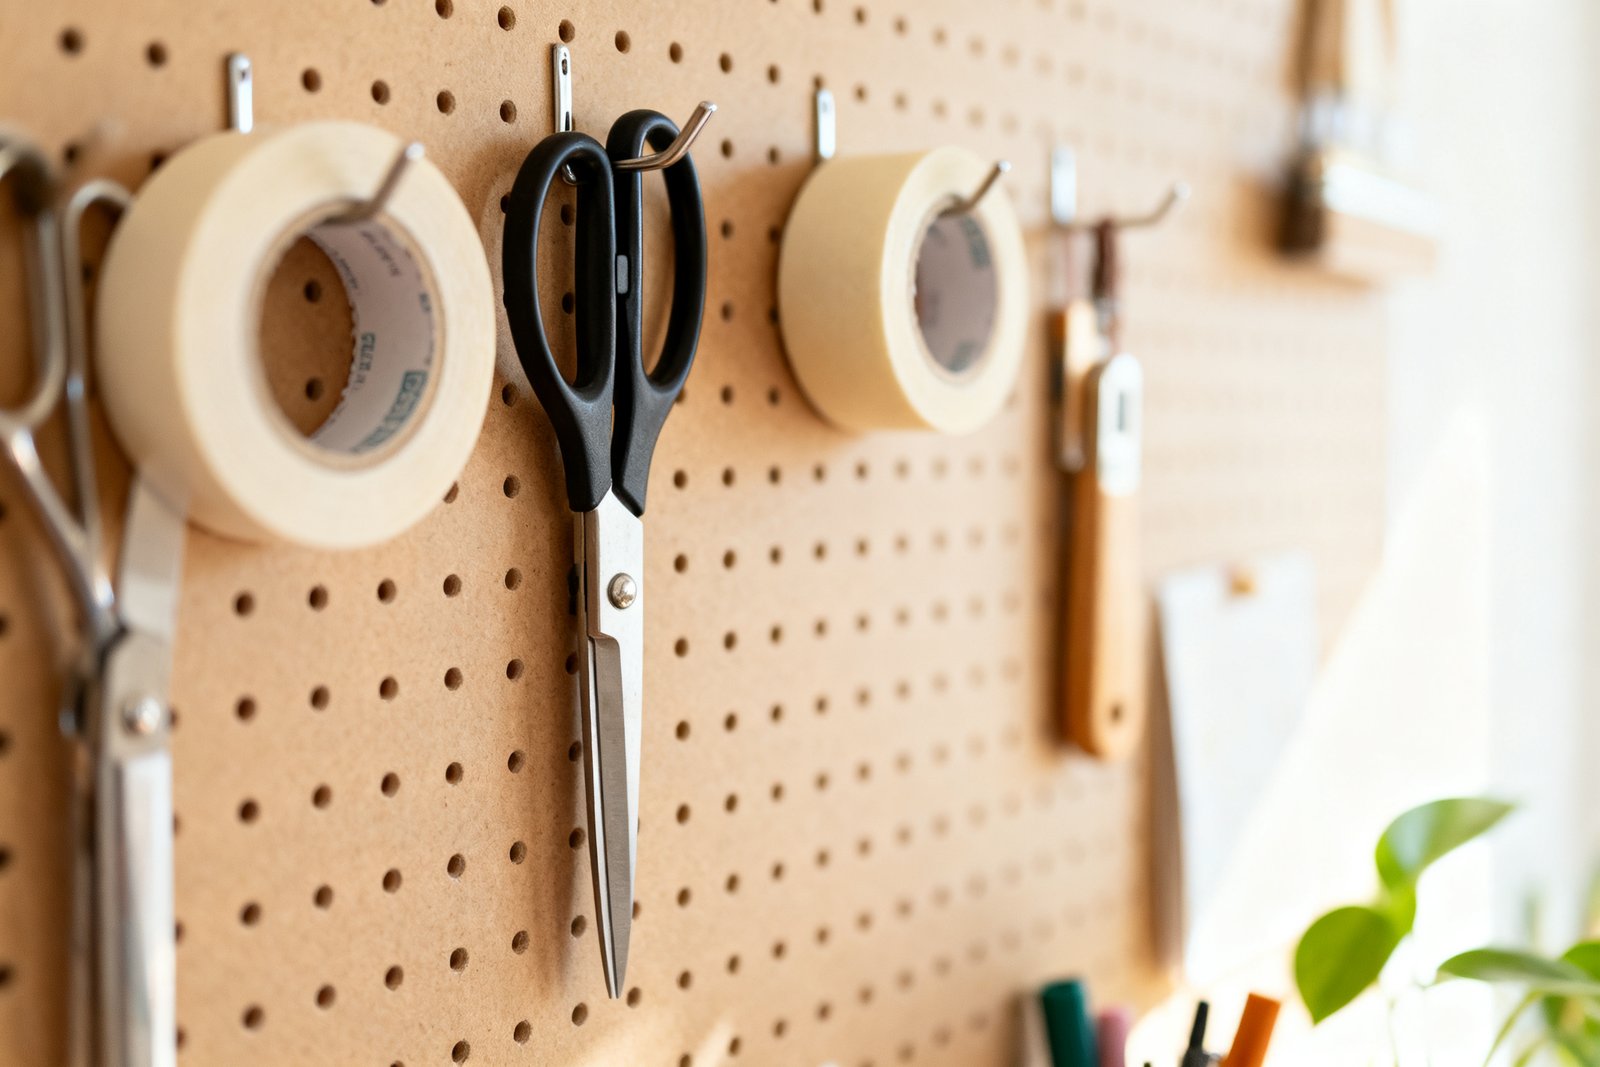
An over-the-door shoe organizer ($10–$20) turns a closet door into 24 pockets for paints, tape, and punches. Mount a pegboard ($10–$20 for 2×2 ft) or adhesive hooks to hang scissors, rulers, and washi tape. Vertical storage keeps surfaces clear in tight rooms.
Drawers: Shallow Wins
A 3–5 drawer unit with shallow trays ($15–$30) prevents stacking and lost items. If floor space is tight, use a rolling cart ($30–$60) that parks in a closet. Label each drawer by category so you can reset it in seconds after a project.
Container Ideas That Don’t Break the Bank
Ready to organize beyond the craft corner? Our free 5-Day Budget Home Reset walks you through one budget task a day.
You don’t need matching sets. Focus on clear, square/rectangular, stackable, and lidded where needed.
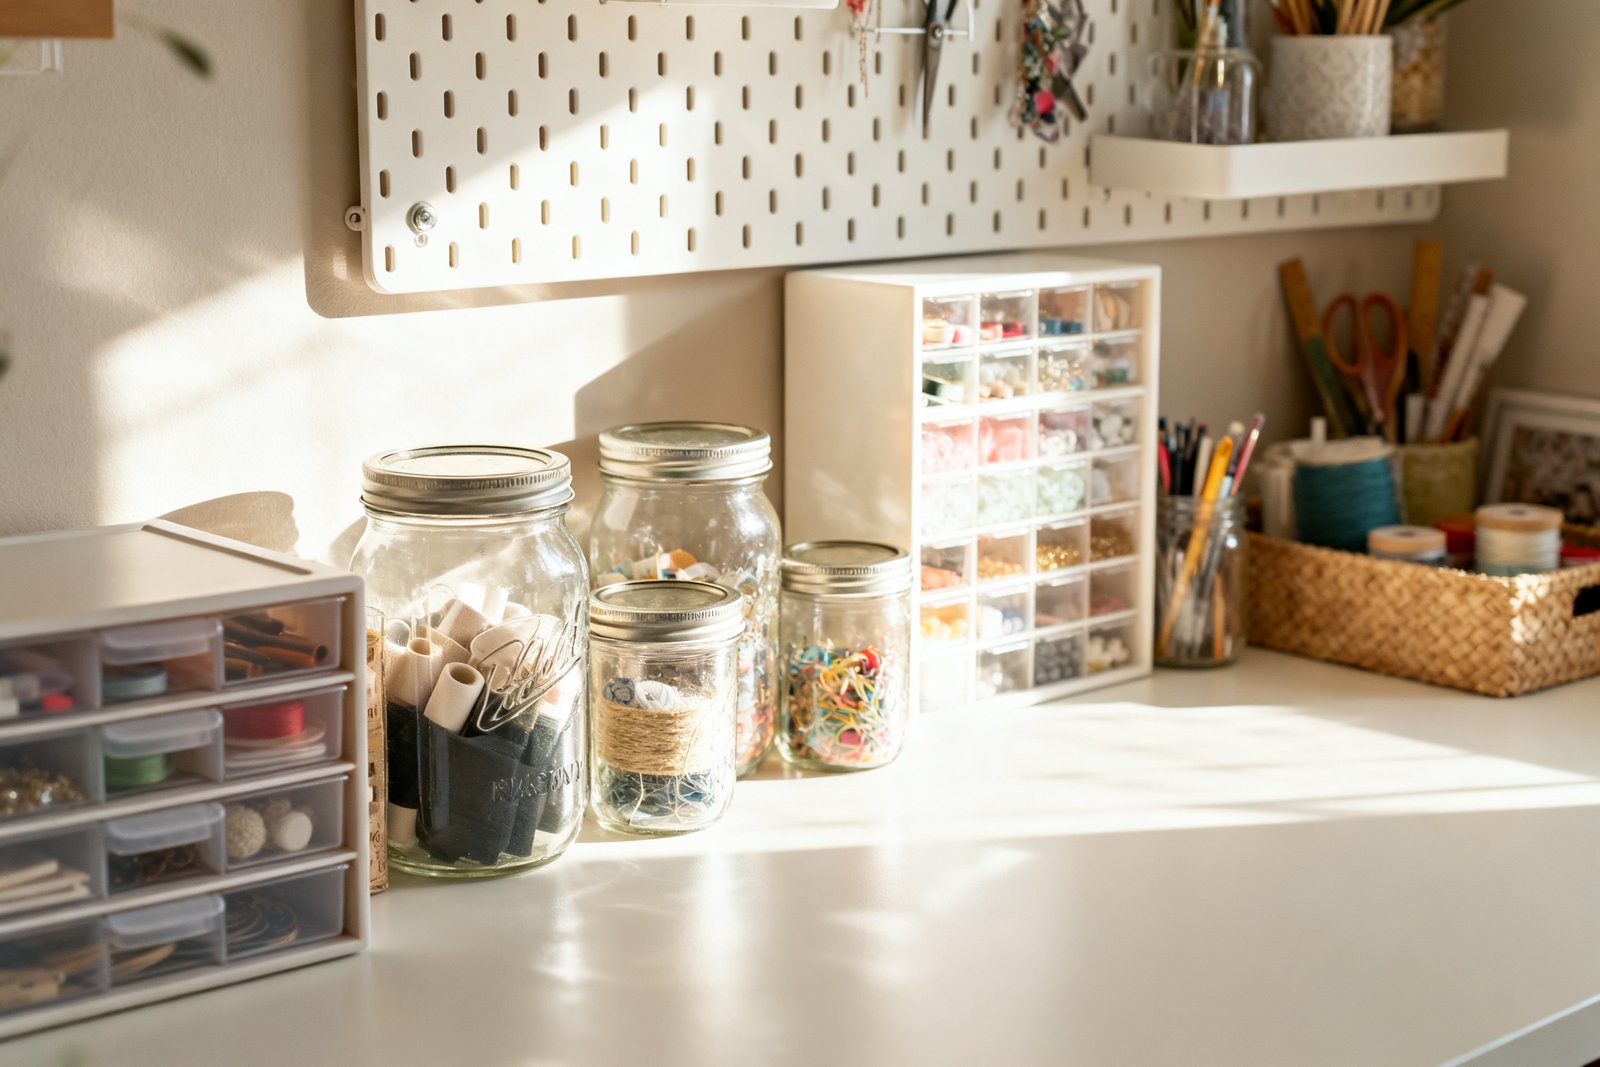
- Photo cases for small bits: beads, buttons, die-cuts ($10–$20 for a case with 6–16 photo boxes).
- Clear pantry bins or shoeboxes: paper pads, vinyl rolls, glue guns ($1–$8 each).
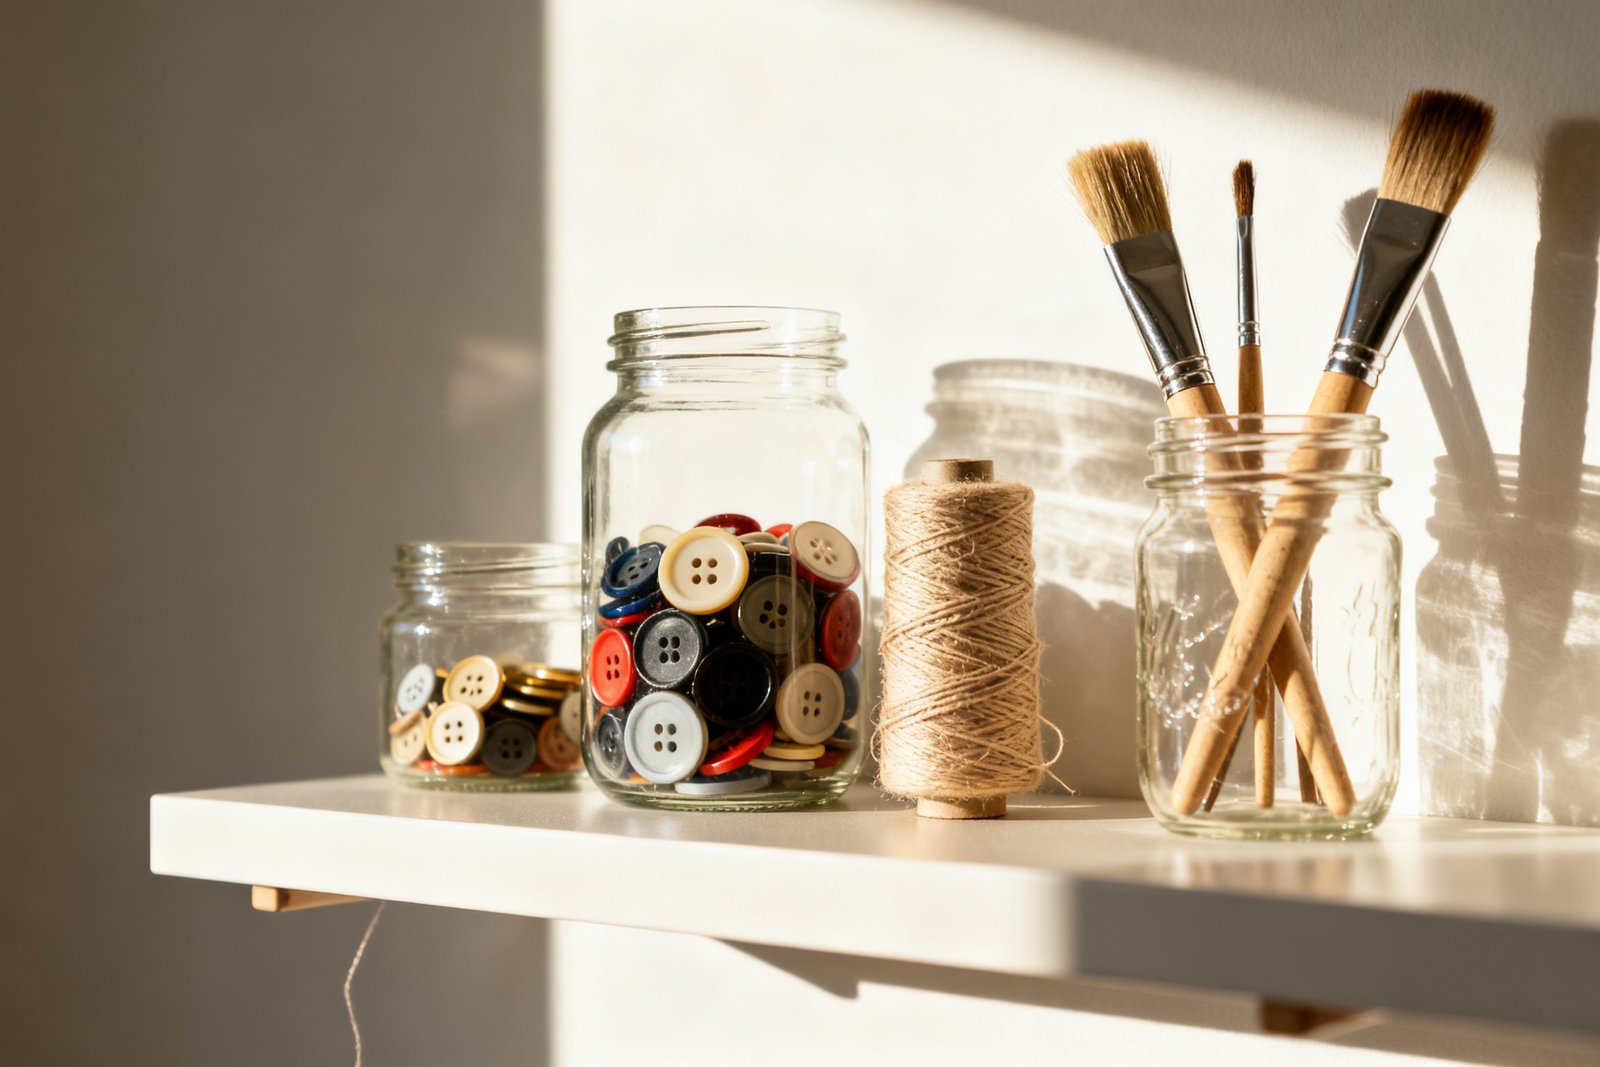
- Jars and tins: buttons, binder clips, clothespins (often free from pantry recycling).
- Zip pouches: fabric pieces, thread spools, sticker sheets ($1–$3). Soft pouches squish into small gaps.
- Magnetic spice tins on a sheet of metal: sequins, push pins, needles ($1–$3 each).
- DVD cases or slim binders: stamp sets, sticker sheets (use page protectors) ($2–$6).
- Foam board dividers: cut to size to create compartments inside a bin (under $3 per board).
Rough rule: pay less for containers than the contents they protect. Save splurges for your most-used tools.
Set Up Simple, Repeatable Categories
It also helps to check out best small-space storage finds.
Categories prevent rummaging. Keep them broad enough to grow but specific enough to find fast.
Core Categories to Try
- Cutting: scissors, craft knives, spare blades, cutting mat
- Adhesives: glue sticks, liquid glue, tape runner, double-sided tape, hot glue
- Color: markers, colored pencils, watercolors, ink pads
- Surface: papers (cardstock, patterned), canvases, blank cards, sketch pads
- Textiles: fabric, felt, ribbon, thread, needles, pins
- Embellish: stickers, gems, washi, charms
- Tools: rulers, bone folder, hole punch, stapler, heat gun
- In-Progress: active project pieces and notes
Label each container with 1–3 words, large and plain. If space is tight, put category icons on the short edge so labels face out when stacked on a narrow shelf.
Create a One-Pull Work Kit
A small caddy or tray that holds your “every time” tools saves setup time and keeps the main stash closed.
What to Include
- Scissors, craft knife (with cap), ruler, pencil/eraser
- Glue stick, tape runner, low-temp glue gun and a few sticks
- Black fine liner, permanent marker, washi tape roll
- Mini trash cup and a microfiber cloth
- Cutting mat that doubles as a tray liner
Store the kit on top of your main bin or on a bookshelf within reach. A utensil caddy or cleaning caddy ($4–$12) works well and is easy to carry.
Maximize Tiny Nooks
When every inch counts, look for unused space you can convert without drills or big builds.
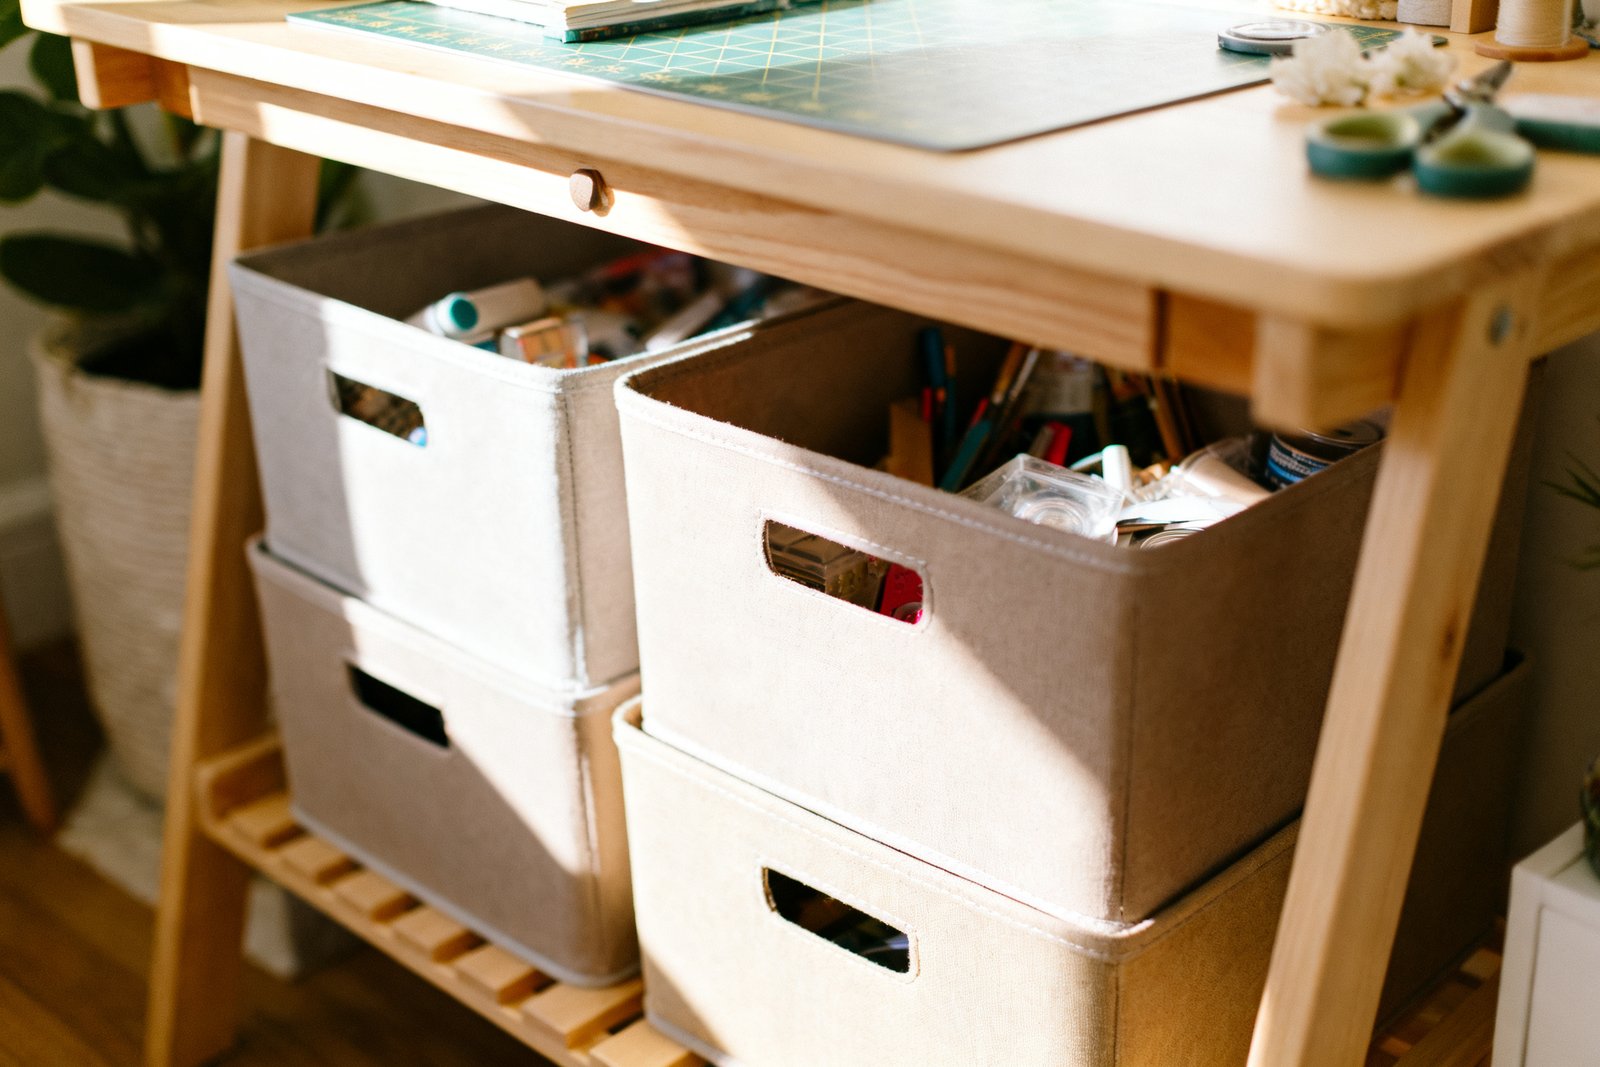
- Under-bed: low rolling bins ($10–$20) for paper or fabric. Add a silica pack to combat humidity.
- Closet floor: a stack of two latching bins; put “seasonal or bulk” lower and “current projects” higher.
- Backs of cabinet doors: adhesive bins for glue, pens, and tape ($6–$12 for a set).
- Bookshelf top: a single decorative box that hides messy bits ($8–$15).
- Table leaf gap or sofa side: a slim rolling file cart for paper and mats ($20–$40).
Labeling That Works (and Stays Cheap)
Consistent labels make your space feel bigger and calmer. Use what you have: painter’s tape and a marker are fine. If you want cleaner lines, print simple text on paper, trim, and tape on the inside of clear bins to prevent peeling.
For small containers, use icon stickers or color-coding: blue for adhesives, green for cutting, yellow for color media. Keep a legend taped inside the lid of your main bin.
Maintenance in Minutes
Build a two-part routine that’s short enough to stick with.
After Each Session (3–5 minutes)
- Return tools to the work kit.
- Put category items back in their labeled bin/pouch.
- Move active parts to the In-Progress folder and clip a note on top with next steps.
- Toss micro-scraps; keep only what fits your scrap envelope.
Monthly (10 minutes)
- Scan markers and toss any fully dry ones.
- Consolidate duplicates (combine partial glues/tapes only if same type and still good).
- Re-measure overflow categories and adjust container size or purge.
Realistic Example: Turning a Closet Corner into a Craft Zone
Space: a 24-inch-wide closet corner and the dining table as a work surface.
Setup: one 16-qt latching bin ($10) for paper and surfaces; one over-the-door shoe organizer ($15) for paints, adhesives, and small tools; a utensil caddy ($8) as the work kit; and two photo boxes ($12 each) for embellishments and stamps. Total: about $57.
Workflow: pull the caddy and one bin to the table; grab needed pockets from the door organizer. Clean-up takes under five minutes because everything has a labeled pocket or spot. When guests come over, the caddy and bins slide back into the closet, door closes, and the room looks clear.
Mistakes to Avoid
- Buying containers before sorting. Measure what you’re keeping first.
- Using deep bins for tiny items. Small things get lost; choose shallow or use dividers.
- Skipping labels. Future-you won’t remember what’s in the “misc” bin.
- Over-saving scraps. Cap it with a small envelope and stick to it.
- Ignoring safety. Store sharp tools and hot glue guns with blade guards and cool-down space.
Budget Tips to Stretch What You Have
- Shop your home: repurpose mugs for tools, lunch boxes for kits, baking sheets as magnetic boards.
- Buy clear when possible so you can see contents and avoid duplicates.
- Standardize sizes: two or three container sizes that stack together prevent wasted space.
- Use foam board or cardboard to make custom drawer dividers instead of buying trays.
- Seasonal swap: store holiday-specific supplies in a labeled shoebox with decor to free everyday space.
Quick Setup Checklist
- Sort by category; purge duplicates and dried items.
- Choose one main format: box, door organizer, drawers, or cart.
- Assign broad categories and gather like with like.
- Create a one-pull work kit for essentials.
- Label simply and consistently.
- Set a 5-minute clean-up habit after each session.
FAQ
How do I store paper so it doesn’t curl or get damaged in a small space?
Keep paper flat in a latching bin or magazine file turned on its back so the spine faces up. Add a piece of chipboard or an unused cutting mat as a stiff base. Avoid humid spots and keep heavy tools off the stack to prevent warping.
What’s the best way to handle kid and adult supplies together?
Separate by access level. Put kid-safe items (washable markers, blunt scissors, tape) in a low bin with a picture label. Keep sharp tools, hot glue, and alcohol inks in a higher bin or a latching case. Share neutral items (paper, stickers) in the middle where both can reach.
How can I store paint and glue if I don’t have a dedicated room?
Use an over-the-door organizer or a handled shoebox-sized bin lined with a silicone baking mat to catch drips. Group by type (acrylics, watercolor, sealers, glues). Store upright with caps visible and keep a small rag inside to wipe nozzles before closing.
What if I craft at night and can’t leave a mess out?
Use a folding cutting mat as your base and a caddy for essentials. When you’re done, lift the mat to funnel scraps into the trash, tuck the in-progress folder into your main bin, and park the caddy on top. The whole reset takes under five minutes and hides neatly in a closet or under the bed.
If you want to keep going, take a look at organize a junk drawer.
Final Thoughts
Small spaces can support big creativity when your supplies have clear homes and your setup moves in one trip. Start with a quick sort, pick a storage format that fits your space, and keep a simple work kit ready. With a few low-cost containers and consistent labels, you’ll spend less time digging and more time making.