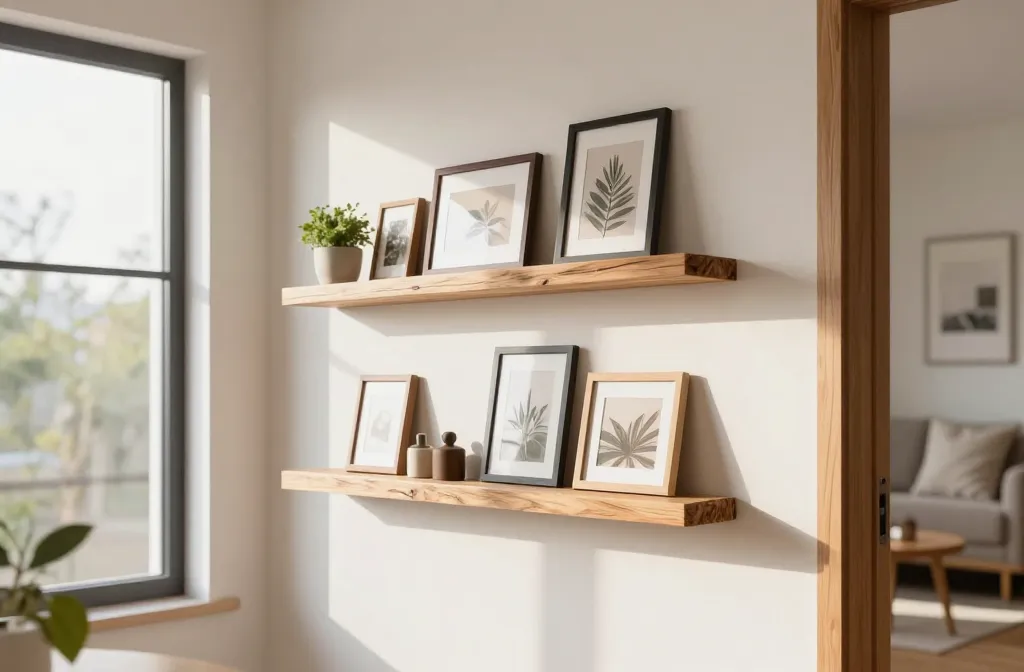

Make your walls do more than stare back at you. DIY picture ledges are cheap, chic, and super versatile. Pop a few frames on them, swap in a plant, slide in a memento, and suddenly your space feels curated without the drama. Ready to turn boring walls into gallery-worthy vibes? Let’s dive in.
Why picture ledges are your new best friend
They’re not just decorative ornament shelves. Picture ledges are chances to tell a story with zero commitment. You can rotate snaps, prints, postcards, and found treasures in minutes. And yes, they’re ridiculously forgiving: a slight tilt? Move it. A misaligned frame? Slide it back. FYI, these little shelves transform a plain wall into a mini gallery without nails in every potential spot.
Choosing the right ledge for your space
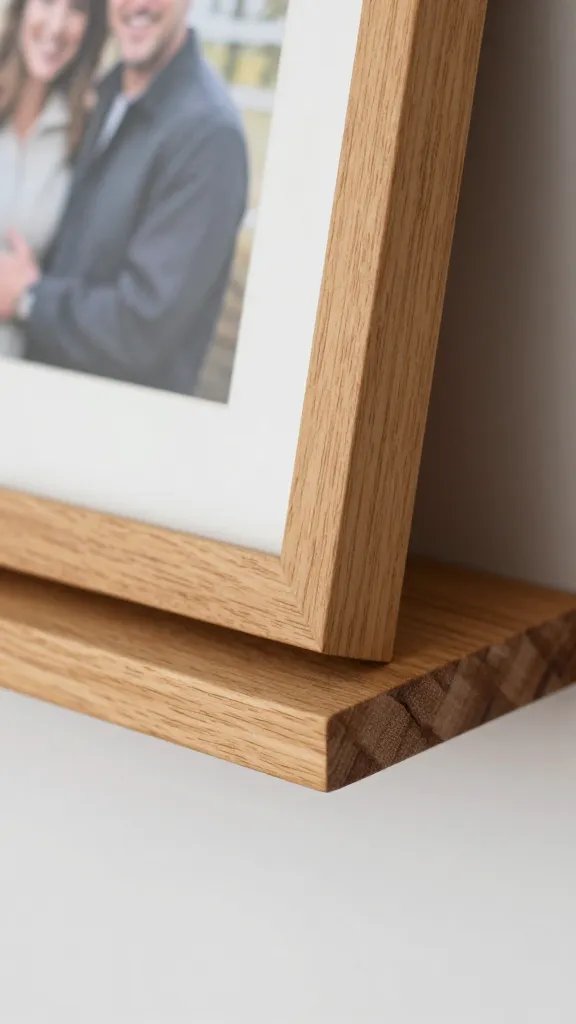
– Material matters: Solid wood feels durable and timeless, while MDF or plastic options keep costs down. If you want a coastal vibe, driftwood tones can look incredible.
– Width and depth: A shallow ledge works for flat prints, while deeper ones let you stack layers and props.
– Color coordination: Match or mix. A white ledge on a dark wall pops, while a chunky dark wood can warm up a neutral space.
How to measure for perfect spacing
– Start with a focal point: a big frame or a favorite print hangs at eye level. Build the rest around it.
– Leave space to breathe: don’t smush six frames into a small row. Give each piece a little air.
– Rule of thirds, but make it chic: place three sets of items in a rough third-of-the-wall grid for a balanced look.
Creative ledge ideas that go beyond “put a frame here”
– Mix heights and visions: Combine tall and short frames, a small shelf with a plant, and a quirky heirloom. The variety keeps the eye moving.
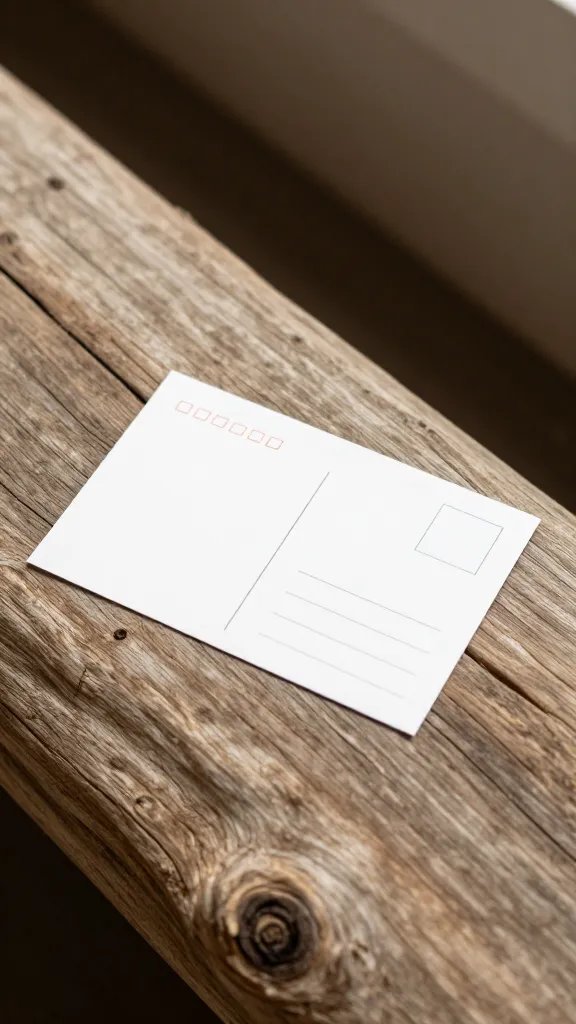
– Layered landscapes: Use one long ledge to display a collage of travel photos, postcards, and pressed leaves. It feels spontaneous but intentional.
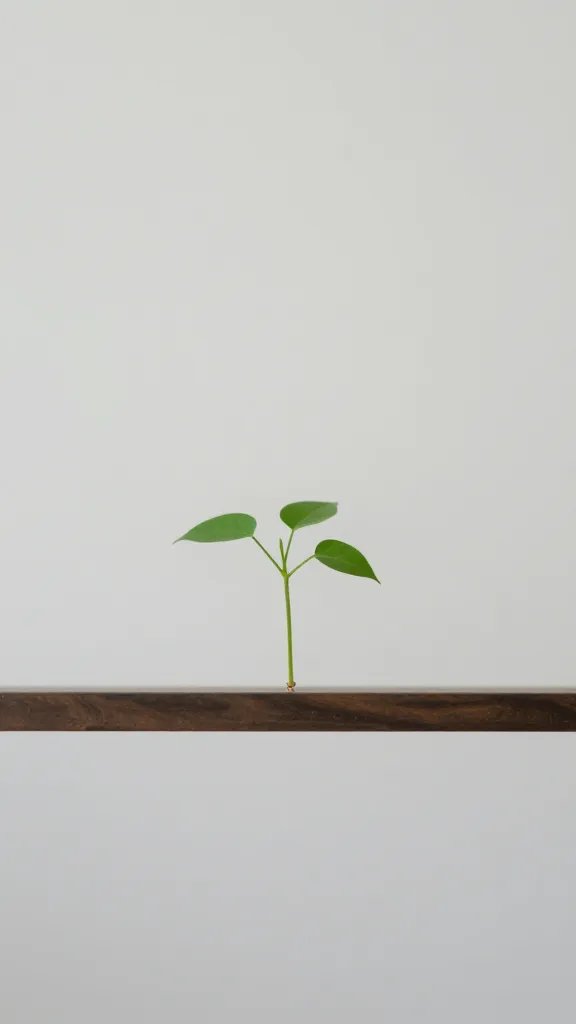
– The plant-and-frame duo: A trailing vine or small succulent perched on one end softens the display and adds life.
– Seasonal swaps: Swap in seasonal art or prints to keep the wall feeling fresh without a full rehang.
– Gallery-without-commitment: Lean a big statement print on a ledge and lean a few smaller pieces next to it. It looks curated but isn’t glued to the wall.
DIY options that won’t wreck your weekend
– Floating ledges from dowels: Tint, stain, or paint, then mount with hidden brackets for a clean, minimalist vibe.
– Modular rail system: Install a shallow rail and use adjustable brackets to rearrange frames in minutes.
– Reclaimed plank charm: Find a salvaged plank, mount tiny brackets, and you’ve got rustic, one-of-a-kind ledges that scream personality.
Practical setup tips for a flawless display
– Use a template: Tape paper cutouts of your frames on the wall to experiment with layout before drilling.
– Weight awareness: Check the weight rating of your ledges and use sturdy anchors for heavy frames.
– Spacers and levelers: Tiny rubber feet under frames help with alignment and keep things neat.
– Color pop vs. cohesive: Do you want a bold color pop behind your frames or a cohesive palette? Decide before you raid the thrift store.
Anchor points and layout tricks
– Create a central anchor: A large statement piece anchors the layout. Build around it with smaller frames.
– Odd numbers feel intentional: Group 3, 5, or 7 items rather than an even dump.
– Asymmetry can be magical: Slightly off-center alignments feel modern and lived-in.
What to display on a picture ledge
– Personal photos with meaning: A trip, a fan photo, or a candid moment.
– Artwork and prints: A mix of new prints and old favorites adds texture.
– Objects with story: A vintage camera, a tiny sculpture, a shell—anything with a memory attached.
– Text and typography: A witty quote, a handwritten note, or a city map can add human touch.
– Plants and natural elements: A small succulent, a dried flower bouquet, or a fern in a pinch pot bring life.
Balancing color, texture, and scale
– Color: Repeat a color from your room in the frames or mats for harmony.
– Texture: Mix smooth frames with textured mats or natural wood edges to avoid flatness.
– Scale: Pair a large frame with several smaller ones to create visual rhythm.
Maintenance and swap-outs without misery
– Quick rotates: Spend 15 minutes every month swapping in a piece you love. No drama, just delight.
– Dusting routine: A light wipe-down every couple of weeks keeps things crisp.
– Seasonal refresh: Move a plant to the floor for summer, swap prints for winter warmth—easy, done.
Taxes on tangibles: how to protect your display
– Use proper cords and nails: If you’re hanging, choose anchors rated for the weight and use picture wire that’s sturdy.
– Protect against sun: Avoid direct sun on sensitive prints to prevent fading.
– Secure heavy frames: If you’ve got glass, consider shatterproof options or add a small anti-tip bracket to keep kids and pets safe.
FAQ
Do picture ledges require nails or can I avoid drilling?
Paragraph: You can absolutely avoid drilling with removable adhesive strips on lighter ledges or freestanding mantels. For heavier setups, you’ll want proper brackets and screws. If you’re renting, stack-and-display options or a freestanding shelf that sits on a dresser can be perfect.
What size should ledges be for a typical living room wall?
Paragraph: A good starting point is 1-2 feet of ledge length per wall group, with each frame spaced 2-4 inches apart. If your wall is large, you can go longer and build a grid. If your space is small, keep it tighter, three to four frames max.
How do I keep things looking cohesive if I change frames often?
Paragraph: Use a unifying element—same mat color, same frame style, or a repeating accent color. Rotating prints while keeping a common thread makes updates feel intentional rather than chaotic.
Can I use picture ledges outdoors or in a humid bathroom?
Paragraph: Outdoor use is tricky—most ledges aren’t designed for weather. If you must, pick weatherproof materials and use glassless waterproof frames with sea-salt resistance paints. For bathrooms, use moisture-resistant frames and keep the ledge away from direct splashes.
What’s the easiest way to start if I’m a DIY newbie?
Paragraph: Start with three frames on a single ledge. Tape the layout on the wall with painter’s tape to plan spacing, then install the ledge and hang frames. If you mess up, you can reposition without patching a ton of holes.
Conclusion
Picture ledges aren’t just shelves; they’re adaptable storytelling tools for your space. They let you mix memories, art, and greenery into a living, breathing wall display. Start small with one ledge, try a couple of combinations, and tweak until it feels like you—curated, but not stuffy. If you’re chasing a quick win with personality, ledges are your shortcut. So go snag a plank, grab a few frames, and let your wall tell a story you actually enjoy living with.