
I’ve seen enough boring bathrooms to know a mirror upgrade doesn’t have to break the bank. A plain mirror can feel like a blank canvas, and you deserve something that sparkles without a designer-price tag. FYI, you can elevate the vibe with a few clever, budget-friendly moves. Let’s get practical, not precious.
Give the Mirror a Designer Frame—Without the Designer Price
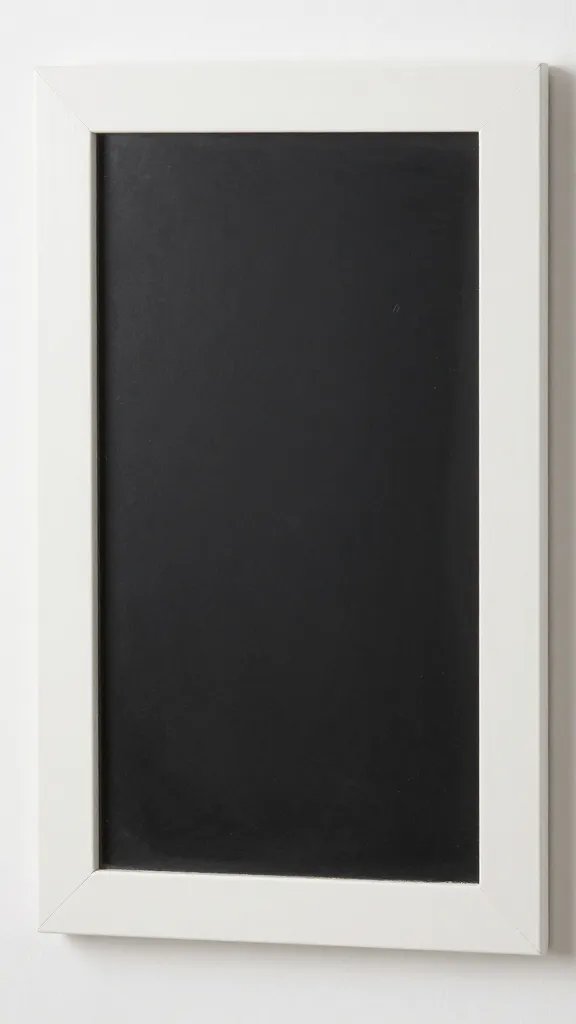
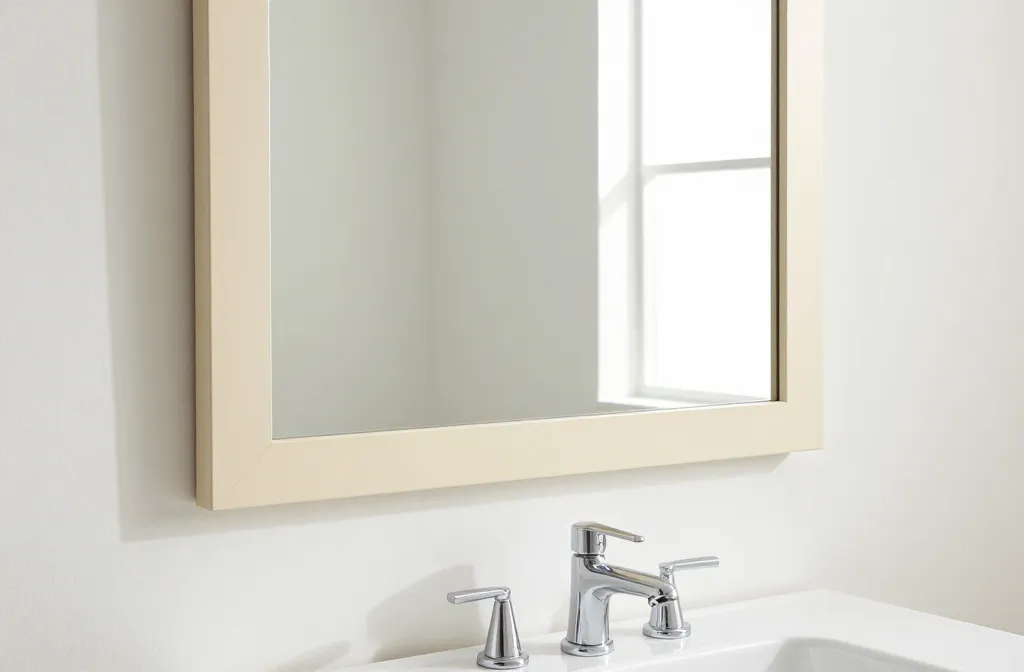
– Swap in a frame kit: You can find ready-made frame kits or molding that snaps around most standard mirrors. Choose a color that complements your vanity and hardware.
– Do it with paint: A simple coat of chalk paint or metallic spray can transform the vibe. Pro tip: seal with a clear poly to resist splashes.
– DIY trim accents: Add a thin trim border around the edge for a polished look. No carpenter skills required—just a steady hand and a straight edge.
How to frame a mirror in 5 steps
- Measure the mirror accurately and pick a frame that fits with a little wiggle room for expansion due to humidity.
- Clean the mirror thoroughly so paint or glue sticks like a champ.
- Attach the frame or trim with painter’s tape or a light construction adhesive. Don’t glue the mirror to the wall—let the frame hold it, if possible.
- Seal the edges with a thin bead of caulk to keep moisture out.
- Give it a test run with a few towels and a foggy mirror to see if you need a quick touch-up.
Stick-on Upgrades: Peel-and-Stick Brilliance
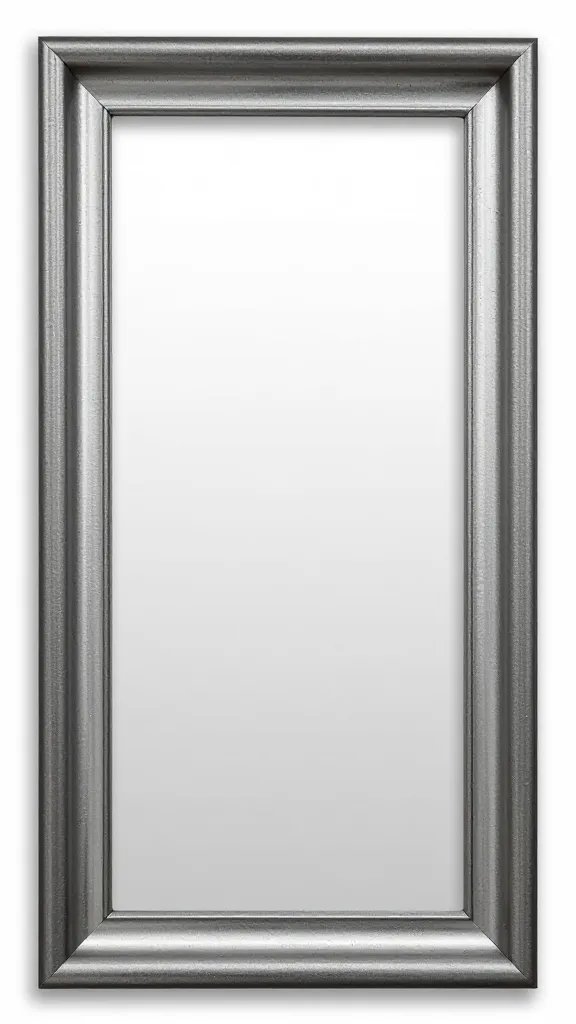
– Frosted film for privacy and style: A frosted film can add texture and reduce glare. It’s practically invisible from far away and totally reversible.
– Mirrors with decorative decals: Look for peel-and-stick decals that mimic etched glass or retro patterns. Instant personality without committing to a permanent change.
– Metallic or wood-look contact paper: Wrap the edges or the frame for a subtle, high-end effect. It’s like DIY wallpaper for your reflective friend.
Pros and cons of peel-and-stick options
- Pros: Cheap, reversible, and easy to apply—great for renters or trend chasers.
- Cons: Some decors may peel in humid bathrooms; choose water-resistant options and seal edges if possible.
Light It Right: The Mirror’s Best Friend
– Install brighter bulbs: LEDs around the mirror provide even lighting. Look for daylight temperature (around 4000-5000K) to mimic natural light.
– Add a backlight strip: A slim LED strip behind the mirror creates a halo glow that makes you look less like a zombie in the morning.
– Consider a sconce combo: One stylish sconce on each side reduces shadows and adds symmetry.
Backlighting safety and setup tips
- Use damp-rated LED strips if you’re tucking wires behind a mirror in a humid space.
- Keep power cords off the floor and away from water sources.
- Choose dimmable options so you can switch from glam to “just woke up” without drama.
Texture and Interest: The “Faux Framing” Drop-Ins
– Floating shelves with a mirror: Install a slim shelf above or below the mirror to display cute glass jars, soap, or a tiny plant. It adds depth without glare.
– Mesh or basket accents: A small metal frame or woven edge around the mirror echoes other hardware in the room and creates cohesion.
– Resin or wood applique: Attach decorative appliques to give the mirror a vintage vibe. It’s surprising how much character a little texture adds.
Deep dive: choosing materials that hold up
- Moisture matters: Opt for moisture-resistant wood or coated metals to withstand humidity.
- Simplify maintenance: Choose finishes that wipe clean with a damp cloth.
- Weight considerations: Heavier accents require proper mounting—use wall studs or heavy-duty anchors.
<h2 Handy and Hacky: Temporary Fixes That Look Purposeful
– Peel-and-stick frame optic: Use removable trim around the mirror for a cost-effective, changeable look.
– Temporary metallic tape: Copper or chrome tape can create a faux edge that gleams without real hardware.
– Magnetic accents: If you have a metal edge, tiny magnetic strips can hold small shelves or hooks for towels, reducing clutter.
Magnetic hacks you’ll actually use
- Relocate daily-use items like toothbrush mugs or small storage containers to the edge of the mirror for a cleaner counter.
- Use magnets to mount a slim tray or cosmetics organizer that can be removed easily when you want a quick refresh.
<h2 Budget-Friendly Materials That Don’t Skimp on Style
– Reclaimed wood trim: A weathered edge adds warmth and texture without costing a fortune. Sand, stain, seal, and you’re done.
– Acrylic or glass shelves: They are light, modern, and won’t overwhelm a small bathroom.
– Painted or stained backing: If you have a large wall behind the mirror, a painted panel or wallpapered backing can transform the look instantly.
When to DIY and when to call in a pro
- DIY if you’re comfortable with simple mounting and caulking tasks.
- Call a pro for electrical work or heavy frames that require precise alignment and wall anchors.
<h2 FAQs
Can I upgrade a bathroom mirror without removing it?
Yes. Many upgrades can be done in place. Frame kits, peel-and-stick accents, and light strips can attach without removing the mirror. If you’re unsure about adhesives around water, test a small area first and use products labeled for bathroom use.
What’s the cheapest way to upgrade a mirror?
Peel-and-stick accents and LED backlighting are usually the most budget-friendly. A simple paint job or a DIY frame can also dramatically transform the look without breaking the bank.
Will lighting changes affect how the mirror looks?
Absolutely. Good lighting reduces glare, makes your space feel bigger, and can change the perceived color of the mirror and vanity. Aim for a mix of task and ambient lighting, with bulbs in the 4000-5000K range for true color rendering.
Are there safety concerns with DIY mirror upgrades?
Yes, especially around moisture and electricity. Use damp-rated fixtures and paints labeled for bathroom use. Don’t mount heavy frames on weak drywall—find studs or use proper anchors. When in doubt, consult a pro.
How do I maintain a new look long-term?
Wipe the mirror regularly with a non-ammonia cleaner to avoid streaks. Inspect seals and edging every few months to catch moisture damage early. FYI, a little maintenance goes a long way toward keeping that fresh-from-the-showroom vibe.
Conclusion
If you’re staring at a plain mirror and thinking “next level,” you’re not crazy. You just need practical, budget-friendly ideas that actually work in real life. From framing and lighting to texture tricks and temporary hacks, you can transform a plain bathroom mirror without a total remodel. So grab a ruler, a can of paint, and a sheet of courage—and let your mirror finally reflect the vibe you want. You’ll be surprised how small changes compound into a big, bright upgrade. IMO, your future self will thank you every morning.