
Candle making at home can be simple, affordable, and surprisingly customizable. With a few low-cost tools and smart shortcuts, you can create clean-burning candles that look store-bought for a fraction of the price. This guide walks you through materials, methods, costs, and troubleshooting—beginner-friendly from start to finish.
Choose Your Wax, Wicks, and Containers (Budget Breakdown)
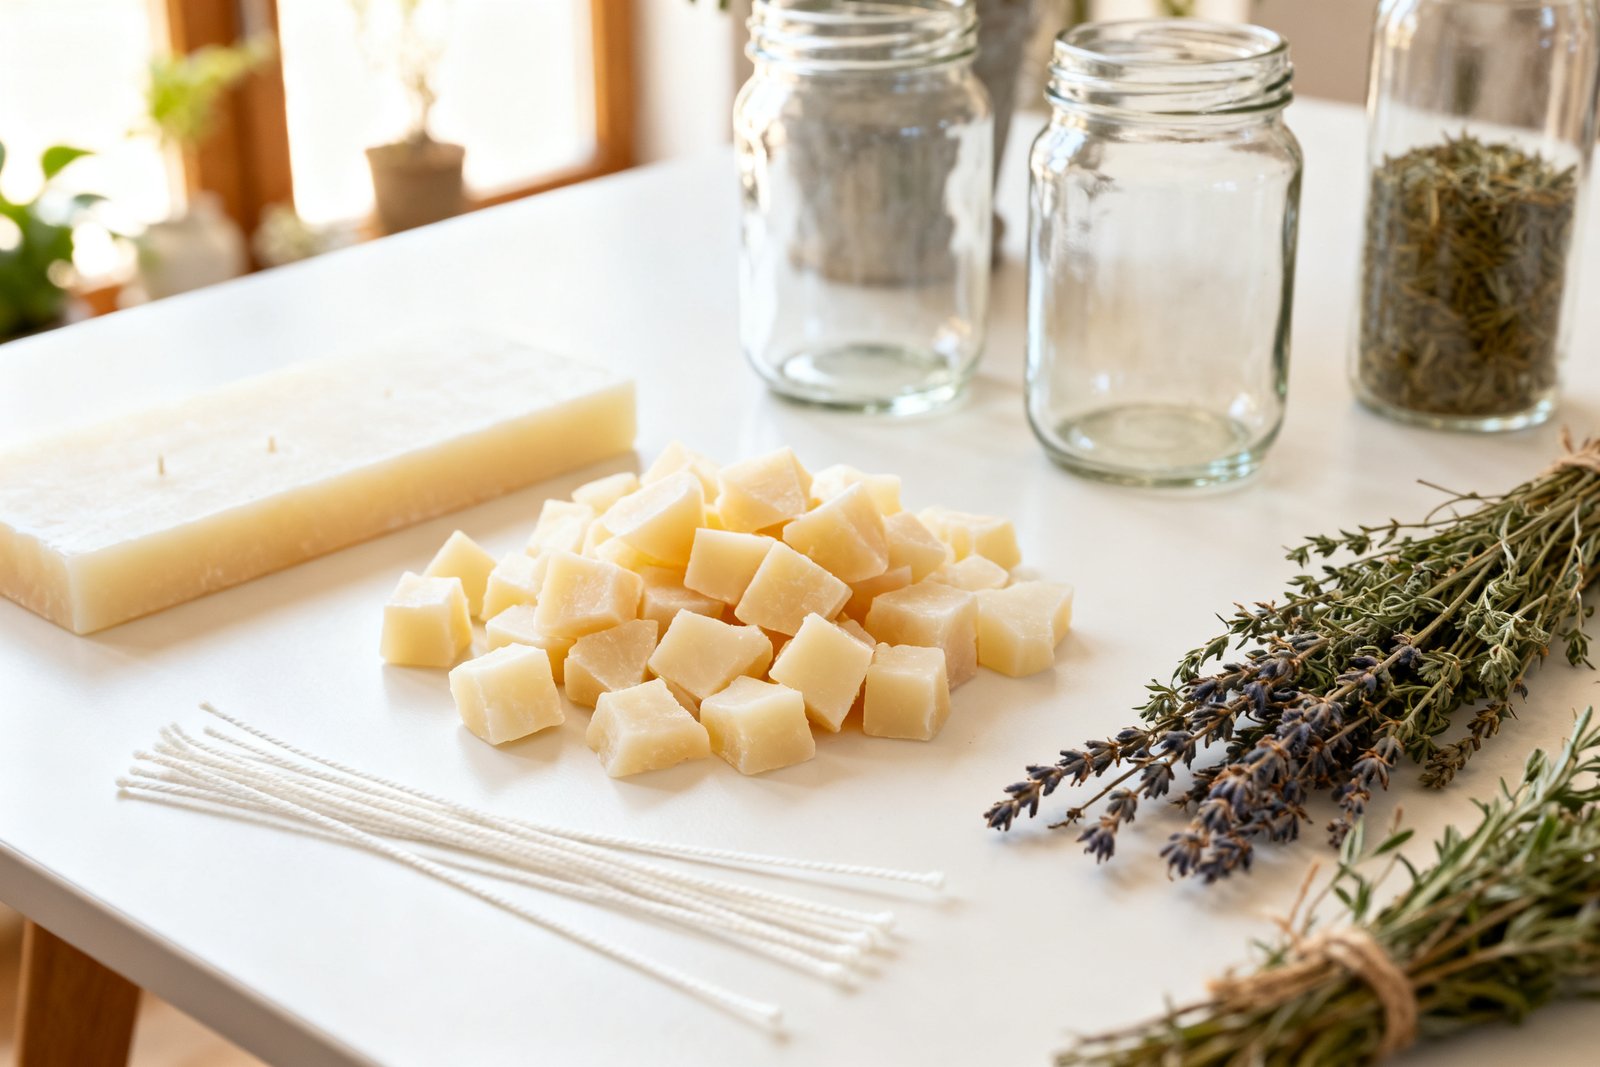
Start with affordable, easy-to-find basics. You don’t need fancy equipment—repurpose what you have and buy only the essentials.
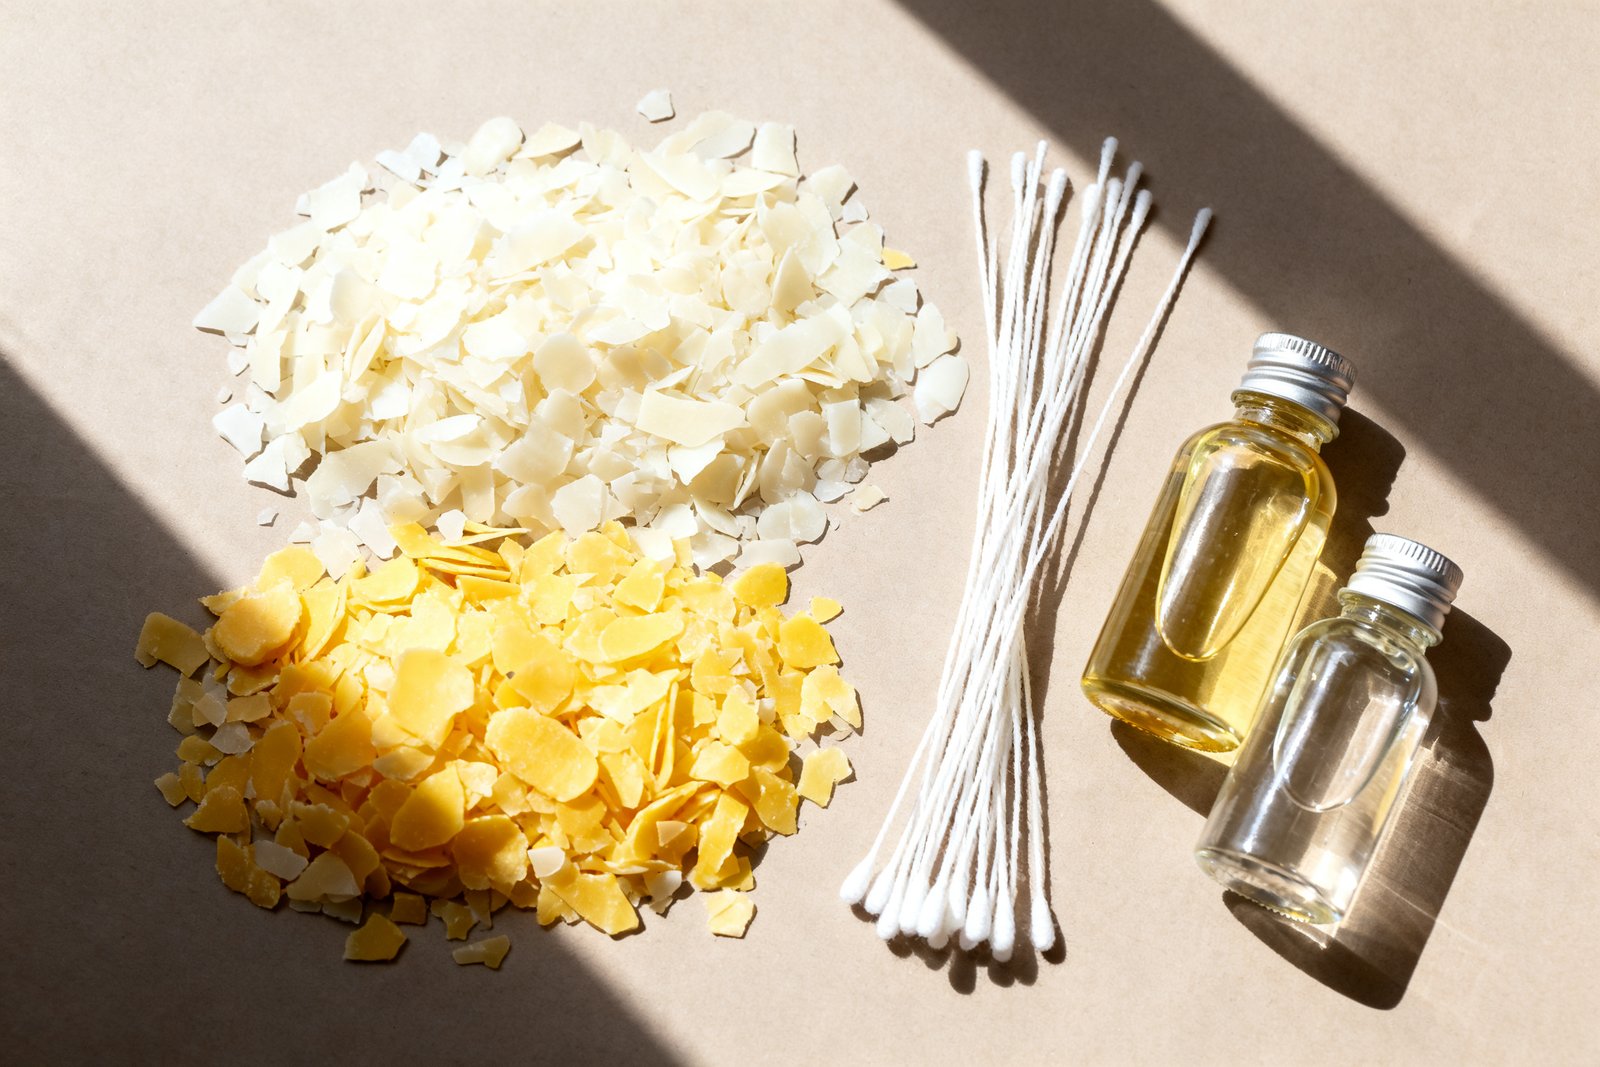
Wax Options
- Soy wax flakes: Clean burn, great for containers, widely available. Expect $3–$6 per lb. One pound makes roughly 2–3 standard 8 oz candles.
- Paraffin: Often cheaper ($2–$4 per lb), strong scent throw, but can soot more than soy if wicked poorly.
- Beeswax: Beautiful natural option but pricier ($8–$12 per lb). Good for unscented or lightly scented candles.
Wicks
Buy pre-tabbed cotton or wooden wicks sized for your container diameter. A mixed sample pack (varied sizes) is ideal for beginners—about $5–$10 for 50. Correct wick size reduces tunneling and soot.
Containers
- Repurpose: Cleaned jam jars, thrifted mugs, heat-safe glass tumblers. Free–$2 each (check for hairline cracks).
- Budget buys: 8 oz straight-sided jars with lids, $1–$2 each in multi-packs.
Fragrance and Color
- Fragrance oils: Candle-safe oils, $10–$20 for 4 oz. A little goes a long way. Essential oils are pricier and often weaker in hot wax.
- Dye: Candle dye chips or liquid dye, $4–$8. Avoid crayons (they clog wicks and burn poorly).
Tools (Use What You Have)
- Double boiler setup: Old saucepan + metal pouring pitcher (or a cleaned tin can). $0–$15.
- Thermometer: Candy or infrared thermometer, $8–$15. Monitoring temperature matters.
- Stir stick, clothespins or wick centering tool, paper towels, rubbing alcohol for cleanup.
Simple Step-by-Step: Your First Soy Container Candle
For more ideas, see our guide on how to DIY candle centerpieces.
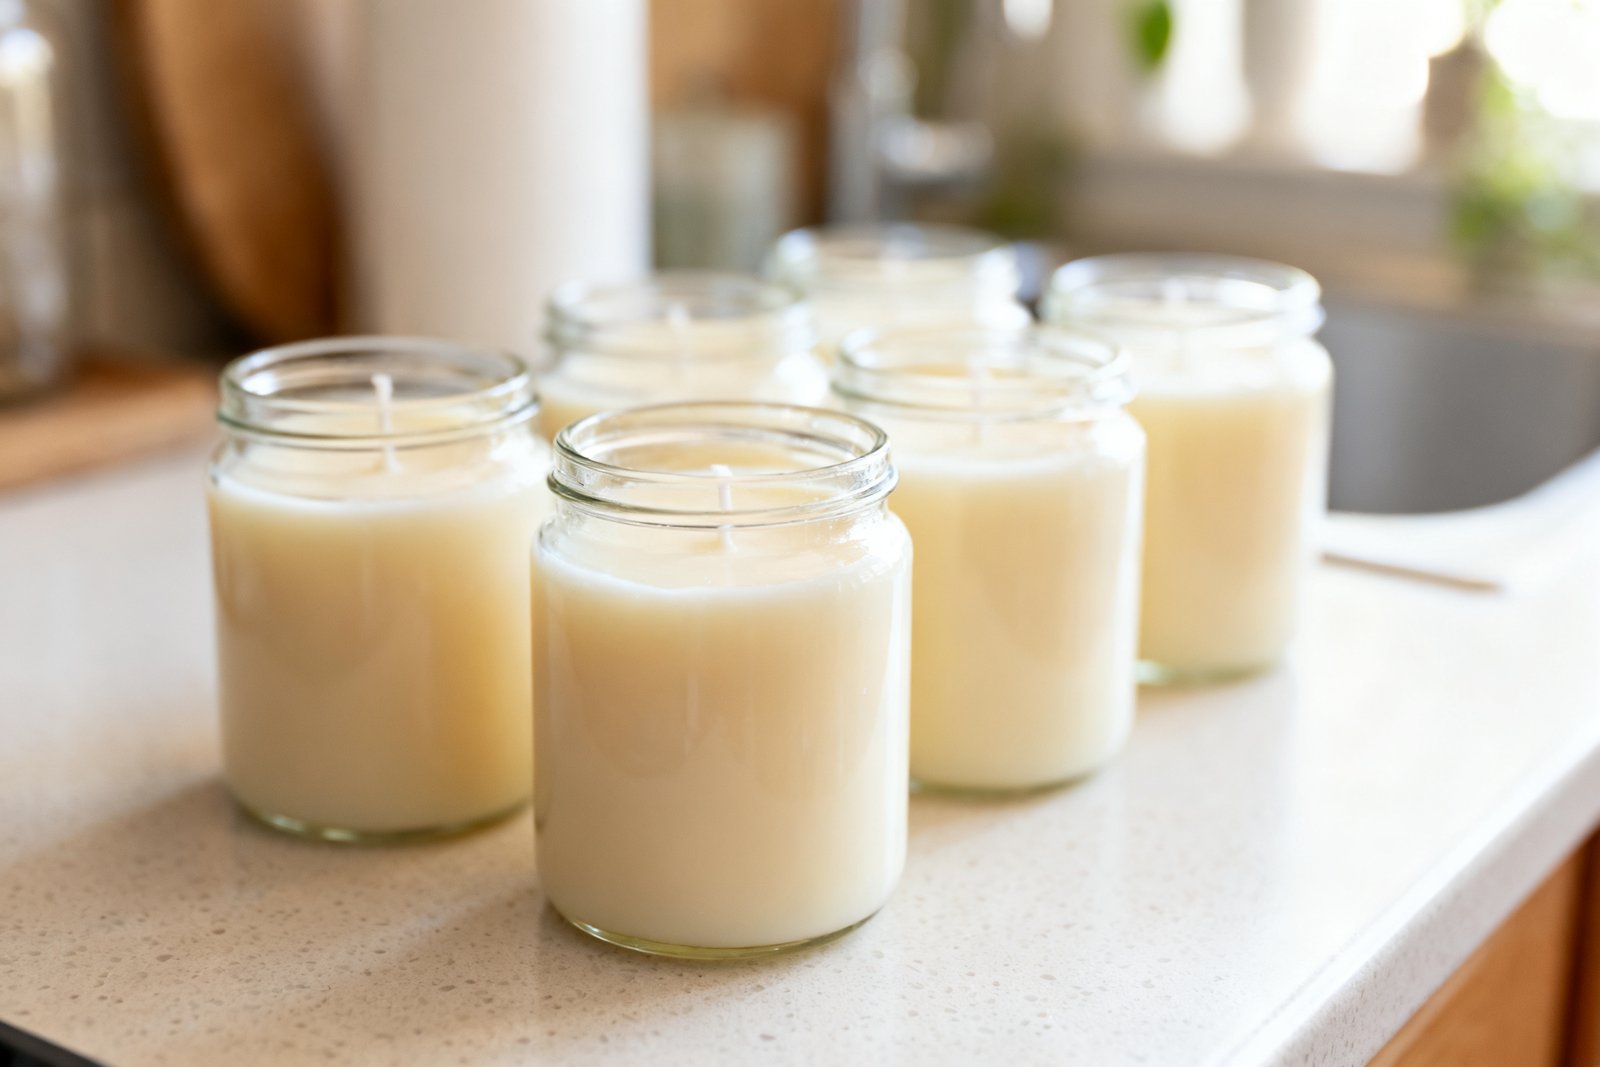
This example makes one 8 oz candle with soy wax and fragrance oil.
- Prep the container: Wipe inside with rubbing alcohol and let dry. Stick a wick tab to the center using a wick sticker or a pea of hot glue.
- Measure wax: For an 8 oz container, weigh about 6.5–7 oz of wax flakes (by weight). Container “oz” is fluid volume; always weigh wax on a scale.
- Melt gently: Place wax in a pouring pitcher or tin can. Set in a simmering water bath (double boiler). Do not boil. Stir occasionally until fully melted (about 170–185°F).
- Cool for fragrance: Remove from heat. Let wax cool to 160–165°F before adding fragrance oil. Typical load for soy is 6–8% by weight. For 7 oz wax, 0.4–0.6 oz fragrance oil is a good start.
- Add fragrance (and dye if using): Stir slowly for a full 1–2 minutes to evenly bind fragrance into the wax.
- Pour: When wax cools to around 135–145°F, pour slowly into the container. Leave about 0.25″ headspace. Use a clothespin or wick holder to keep wick centered.
- Cure: Let sit undisturbed at room temperature. Cover lightly with a box to keep dust off. For soy, cure 24–48 hours before the first burn; 1 week is even better for scent strength.
- Trim and test: Trim wick to 1/4″. Burn for 2–3 hours (or until melt pool reaches near the edges). Observe the flame and adjust wick size next time if needed.
Budget-Friendly Scent and Color Tips
Once you've made a cozy candle, why stop there? Our free 5-Day Budget Home Reset helps you refresh your whole space on a budget.
Fragrance can be the most expensive part. Spend wisely and test small batches first.
Keeping Costs Down
- Buy smaller bottles to test: 1–2 oz sizes let you try multiple scents without committing.
- Blend on the cheap: Mix two inexpensive oils for custom scents (e.g., vanilla + coffee, eucalyptus + mint). Keep notes on ratios.
- Go unscented for decor: If you want ambiance without cost, skip fragrance and use color or interesting containers.
Smart Coloring
- Use candle-specific dyes sparingly; deeper colors often require more dye and can affect burn quality.
- Try layered or two-tone looks: Pour half, let set to a skin, then add a differently colored layer. Adds style without heavy dye use.
Wick Sizing Made Easy (And Why It Matters)
It also helps to check out easy DIY décor for beginners.
Too small a wick causes tunneling; too large causes soot, mushrooming, and overheating. The correct wick creates a full melt pool in 2–4 hours without smoking.
Quick Wick Guide
- Container diameter 2–2.5″: Small wick (e.g., CD 4–6 or equivalent cotton).
- 2.5–3″: Medium wick (e.g., CD 8–10).
- 3–3.5″: Larger wick (e.g., CD 12–14) or consider double-wicking if very wide.
Each wax, container shape, and fragrance behaves differently. Buy a sample pack and test burn the same candle with 2–3 wick sizes to find the best performer.
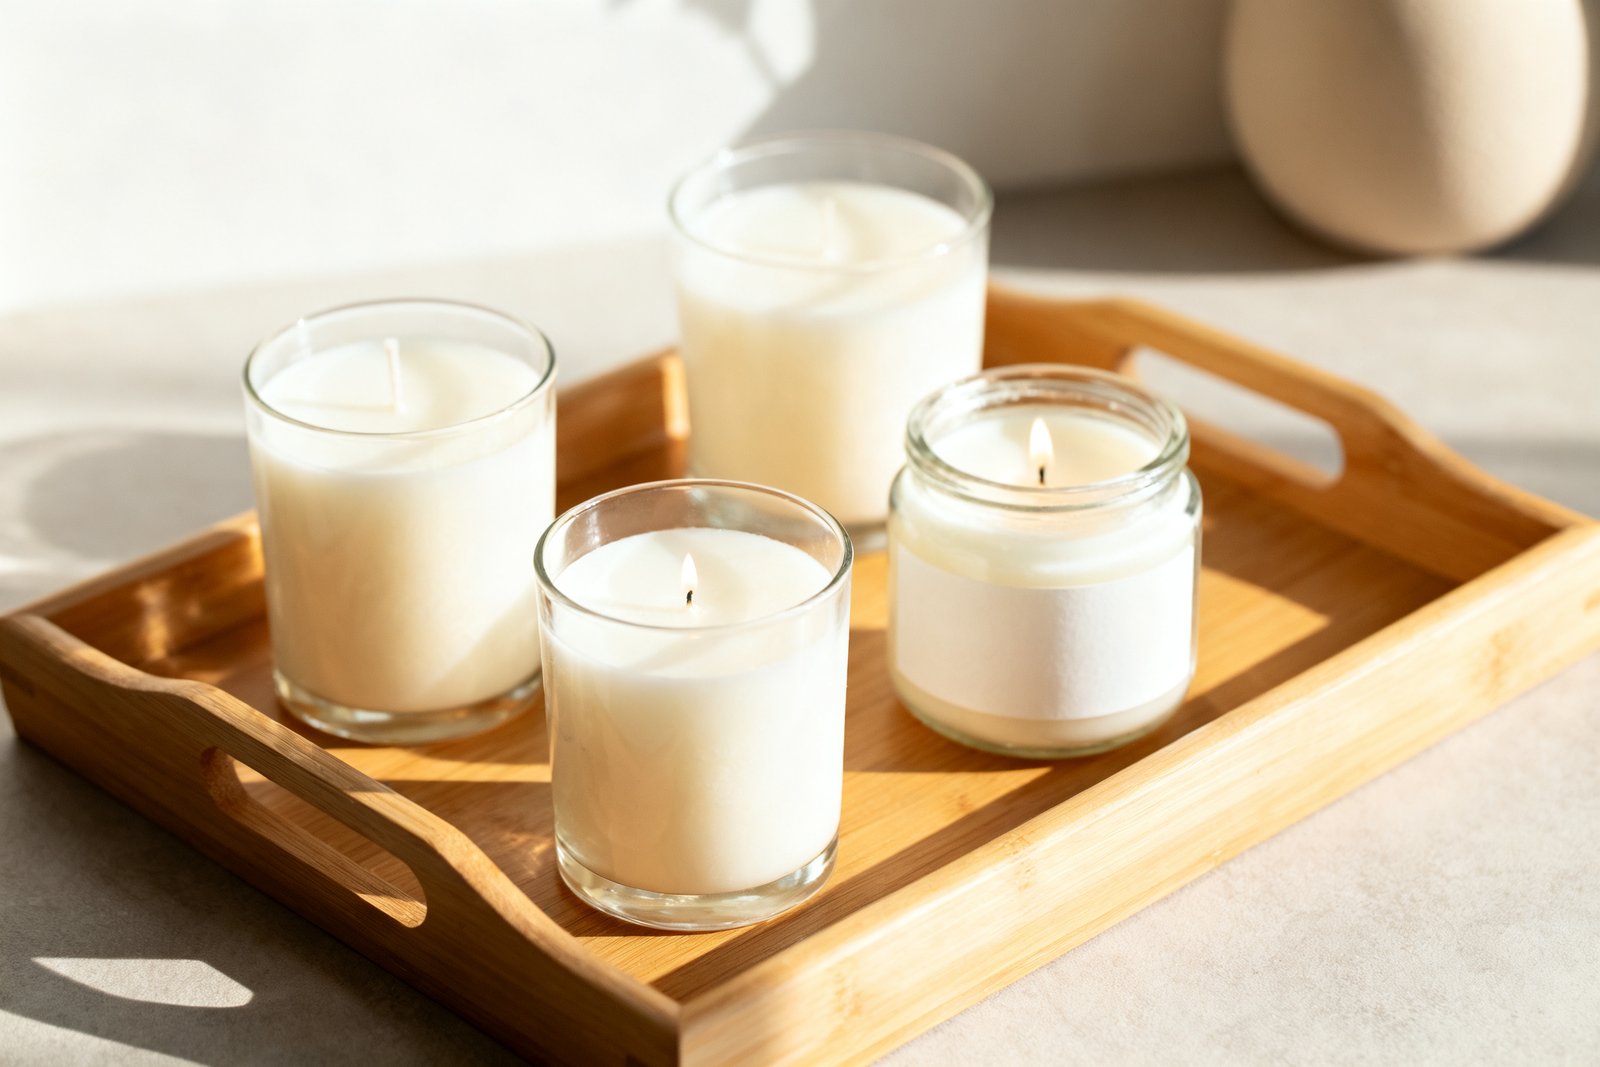
Realistic Example: $4–$6 Soy Candle Build
Here’s a typical cost breakdown for one 8 oz soy candle using budget sources and multi-pack pricing.
- Wax: 7 oz at ~$0.25–$0.35/oz = $1.75–$2.45
- Jar with lid: $1–$2 (thrifted or bulk)
- Wick + sticker: $0.10–$0.20
- Fragrance: 0.5 oz at $1.25–$2.50 (depends on oil)
- Dye (optional): ~$0.05–$0.10
Total: About $4.15–$7.25. Go unscented or use smaller jars to drop costs further.
Troubleshooting: Clean Burns and Smooth Tops
Beginner candles often need small tweaks. Use these quick fixes based on what you see.
Common Issues and Fixes
- Tunneling: Wick likely too small or first burn was too short. Next time, upsize the wick or ensure the first burn reaches the edges.
- Mushrooming (carbon cap on wick): Wick too large or fragrance load too high. Downsize wick or reduce fragrance slightly.
- Sooting/smoke: Trim wick to 1/4″ before every burn. Check for drafts and wick size.
- Sinkholes or craters: Occur as wax cools and contracts. Heat gun the surface lightly or do a small top-up pour at 150–160°F.
- Rough or frosted tops (soy): Cosmetic only. Pour a little warmer, or use a quick surface re-melt with a heat gun for a smooth finish.
- Weak scent: Increase cure time, try a higher fragrance load within the supplier’s safe range, or test a different wick for hotter melt pool.
Safety and Setup on a Shoestring
Wax is flammable when overheated, and fragrance oils are potent. Keep your work area simple and safe.
Safe Workspace Checklist
- Never melt wax directly on a burner—use a double boiler.
- Have a lid nearby to smother small flare-ups. Don’t use water on hot wax.
- Work on a protected surface with newspaper or a silicone mat.
- Use a thermometer; keep wax below its flash point (check your wax/fragrance specs).
- Ventilate lightly when adding fragrance. Wear gloves if you have sensitive skin.
- Label test candles with date, wick size, and fragrance ratio for reference.
Mistakes to Avoid
- Using crayons for color: They contain pigments and fillers that clog wicks and cause poor burns.
- Skipping the thermometer: Pouring or adding fragrance at the wrong temp can ruin scent throw and finish.
- Overloading fragrance: More is not always better; it can cause sweating, poor adhesion, and smoking.
- Ignoring container safety: Only use heat-resistant glass or ceramics without cracks.
- Not trimming the wick: Leads to soot, large flames, and wasted wax.
FAQ
Can I use essential oils instead of fragrance oils?
You can, but results vary. Many essential oils fade in hot wax, require higher amounts, and can be more expensive per candle. If you try them, start small (2–4% by weight), test burn carefully, and store finished candles away from light to help preserve scent.
How long should I cure my candles before burning?
For soy, 24–48 hours is a practical minimum, and up to a week often improves hot throw. Paraffin often needs less time, while beeswax can be burned once fully set. Always label your pour date to track cures.
Why did my candle tunnel even though I used the “right” wick?
First burns set the memory of the wax. If you extinguish too early, tunneling can start even with a good wick. Aim for the first burn to create a full melt pool near the edges—usually 2–4 hours depending on diameter.
How do I clean up spilled wax on counters or tools?
Let it cool and scrape gently with a plastic scraper, then use hot soapy water. For glass and metal, a final wipe with a paper towel and rubbing alcohol removes residue. Line your workspace to make cleanup easier next time.
If you want to keep going, take a look at budget fall décor ideas.
Final Thoughts
With a few budget tools, the right wick, and attention to temperature, you can make reliable, great-looking candles at home. Start small, take notes, and adjust one variable at a time. Your second and third batches will already look and burn better—without stretching your budget.