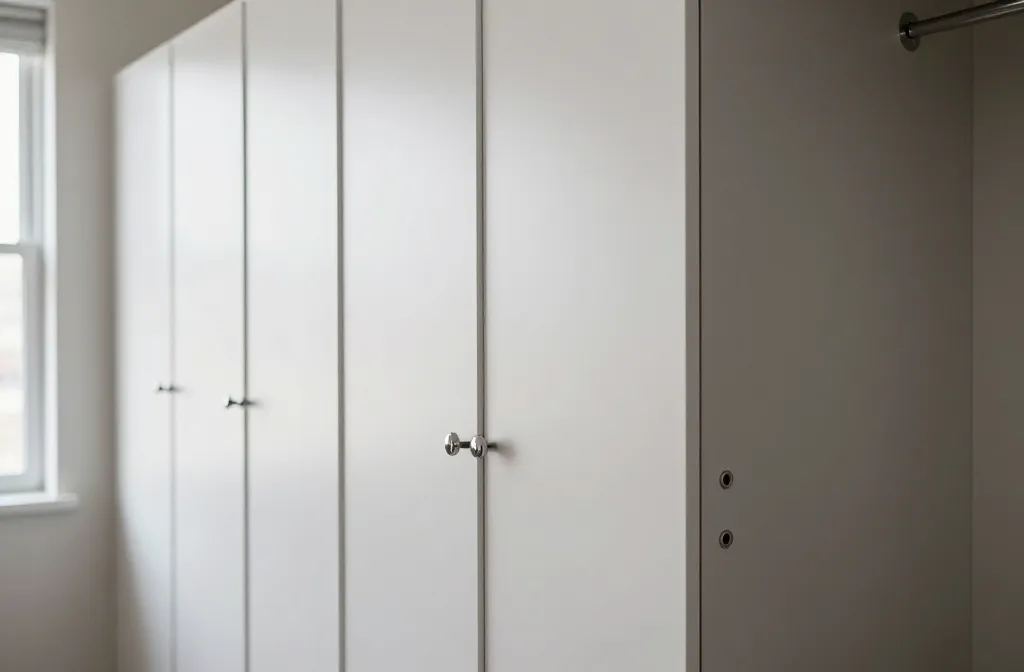

The closet doors are plain, and you’re over it. You don’t need a full renovation to make a big impact. A few budget-friendly upgrades can transform a boring slammer into something that actually sparks joy every morning.
Quick wins: why small changes matter
Let’s be real: tiny tweaks can punch above their weight. A fresh coat of paint, updated hardware, or new panels can shift the entire vibe without wrecking your wallet. Plus, you’ll actually enjoy opening the doors instead of pretending they’re part of a cardboard box factory.
Paint it like a pro (without hiring a pro)
Painting is the ultimate budget upgrade because it’s fast, forgiving, and ridiculously transformative. FYI, you don’t need to sand every inch to get great results.
- Choose the right paint: semi-gloss or satin for durability and easy cleaning on closet doors.
- Prep lightly: wipe down with a damp cloth, scuff the surface with a bit of sandpaper, and wipe again. You don’t have to strip years of grime, just enough to help the paint grab.
- Don’t skimp on primer: a quick coat of primer helps bold colors cover evenly and reduces the number of coats.
- Color ideas: bright white for a clean, modern look; a moody charcoal for drama; or a pastel for a breezy vibe.
Finishing touches you’ll thank yourself for
After the paint dries, consider a second step: add a light sealer or poly to make the surface scrubbable. If you’re using bold color, a clear topcoat keeps the shade from dulling with fingerprints and scuffs.
Hardware swap: tiny screws, big impact
This is the “why didn’t I think of that” move. Old hardware drags the whole look down, even if you just did a coat of paint.
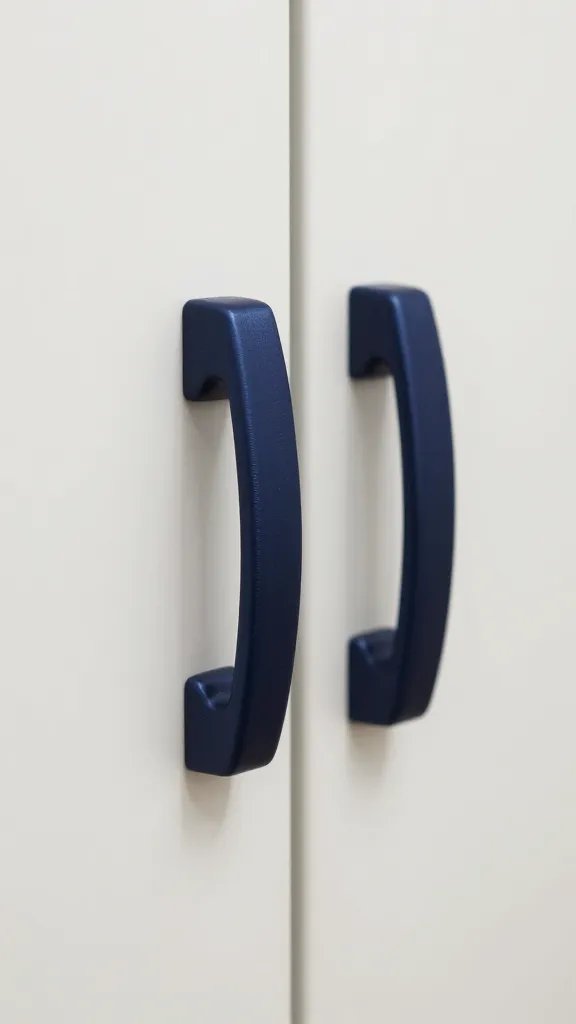
- Quit the staples: replace handles or knobs with something that matches your aesthetic—brass for warmth, matte black for modern edge, or creamy ceramic for a softer vibe.
- Uniformity is your friend: keep hardware consistent across all doors for a cohesive look.
- Budget tips: you can find stylish pulls for under $5 each if you shop sales or thrift stores.
Patterns and textures with hardware
Not all hardware has to be flat and boring. Go for a subtle texture or a shaped knob that echoes your furniture pulls. FYI, even a simple, rounded knob can feel fancy when it gleams in the right light.
Door overlay and paneling: cheap DIY upgrades
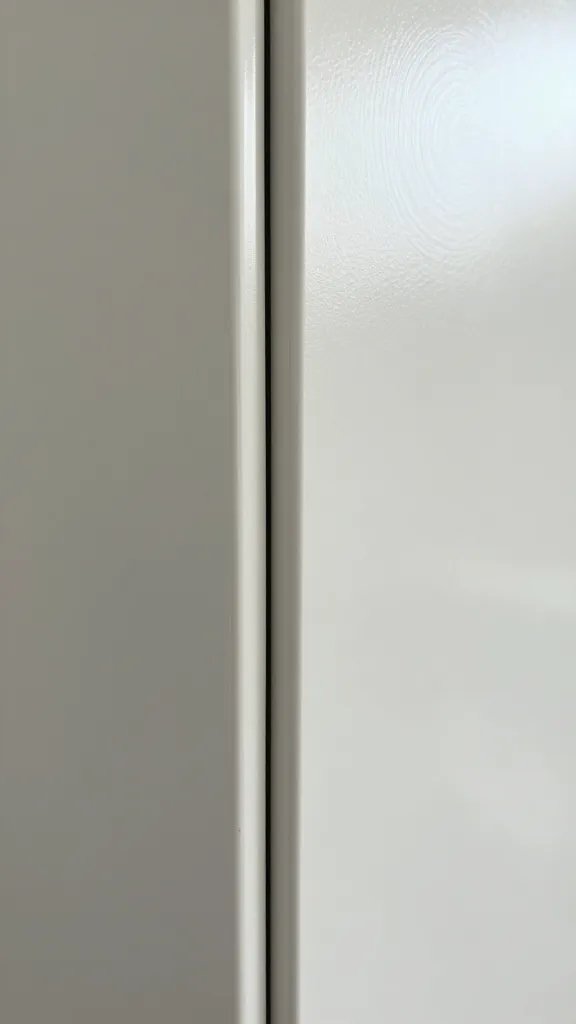
If your doors are flat and flat can be boring, add some depth with overlays or paneling. You don’t need to tear the doors apart to do this.
- Foam core panels: lightweight, easy to cut, and cheap. Attach with adhesive and finish with paint or stain.
- DIY faux shiplap: thin polystyrene boards or plywood strips create a chic texture without a full carpenter’s bill.
- Decals and stencils: for a quick pattern without committing to real paneling.
How to lay it out
Plan a grid that matches the door size. A 2-by-3 panel pattern is a safe starting point. If you’re feeling bold, shift to diagonal layouts or asymmetric panels for a modern twist.
Mirrored or frosted accents: brighten and expand the space
Doors don’t have to be matte and dull. A mirror or frosted film can open up a tiny closet and reflect light around the room.
- Mirror panels: attach small mirror tiles or a single larger pane to one or two doors for a punchy focal point.
- Frosted film: sticks right on and peels off later. It’s perfect for a subtle, muted glow.
- Safety note: use shatter-resistant mirrors if the doors are in high-traffic areas or homes with kids.
Maintenance friendly tips
Clean mirrors with a standard glass cleaner and a microfiber cloth. For frosted film, avoid ammonia-based cleaners that can degrade the adhesive over time.
Organization-minded upgrades: hidden functionality
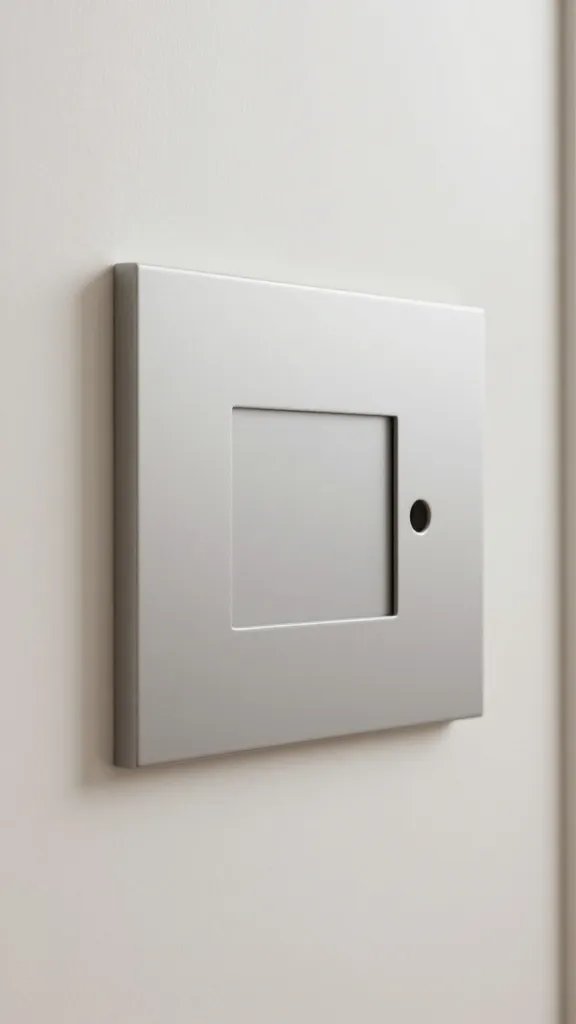
Why not make the doors do double duty? A little organization magic can save space and keep things tidy.
- Door-mounted organizers: slim strips with hooks or small pocket organizers hold belts, ties, scarves, or small tools you reach for often.
- Chalkboard or whiteboard panels: transform a door into a planning hub. Great for notes, lists, and seasonal wardrobe swaps.
- Magnetic strips: store metal-on-metal items like cosplay accessories, pins, or small hardware bits.
Secret panel tricks
Try a hidden panel behind the door for seasonal items. It’s basically a tiny, accessible storage pocket that doesn’t scream “storage.” Your future self will thank you.
Budget pitfalls to avoid (so you don’t waste your money)
Sure, you want a big impact without blowing your budget, but some common missteps derail you.
- Overbuying materials: measure twice, buy once. Spare gallons of paint and extra hardware add up fast.
- Skipping prep: DIY wins come from prepped surfaces. Skipping primer or roughing up glossy doors will make paint chip fast.
- Underestimating tools: you don’t need a full toolbox, but a few basics (sandpaper, a scraper, a drill or screwdriver, painter’s tape) make life easier.
FAQ
Can I just wallpaper the doors instead of painting?
Wallpaper can look fantastic, but doors are high-traffic surfaces. Choose a peel-and-stick vinyl that’s rated for high wear, and go for patterns that won’t quickly go out of style. If you’re unsure about the durability, start with one door to test the vibe.
Do I need to remove doors from the frame to upgrade them?
Not necessarily. You can often upgrade while doors stay on the hinges, especially for hardware swaps or paint. If you’re adding panels or overlaying, you might find it easier to remove the doors and work flat. It’s your call, just plan for time and a spot to set them down.
What colors work best in small rooms?
Light neutrals or soft pastels make a space feel bigger and brighter. If you want drama, go with a bold accent on a single door and keep the rest neutral. IMO, contrast is your friend when you want a focal point.
Is it okay to mix hardware finishes?
Sure, as long as you keep it intentional. If you’re mixing, pick one “hero” finish (like brass) and pull in the second finish in a smaller amount (like a few knobs in matte black that tie the room together).
How long will these upgrades last?
That depends on use and care. Proper prep and a durable finish can last several years. If you’re someone who rearranges clothing every week, you’ll want to touch up paint or re-tighten hardware sooner.
Conclusion
Upgrading plain closet doors on a budget isn’t about a miracle fix. It’s about smart upgrades that deliver big impact with minimal chaos. A fresh color, new hardware, a dash of texture, or a clever organization tweak can transform drab into something you actually enjoy seeing every day. So pick one or two ideas, grab your toolkit, and start small—your closet doors will thank you with better vibes and fewer eye rolls. IMO, the best part is you get to call the shots without a long, expensive project. Ready to start? Let’s make those doors pop.