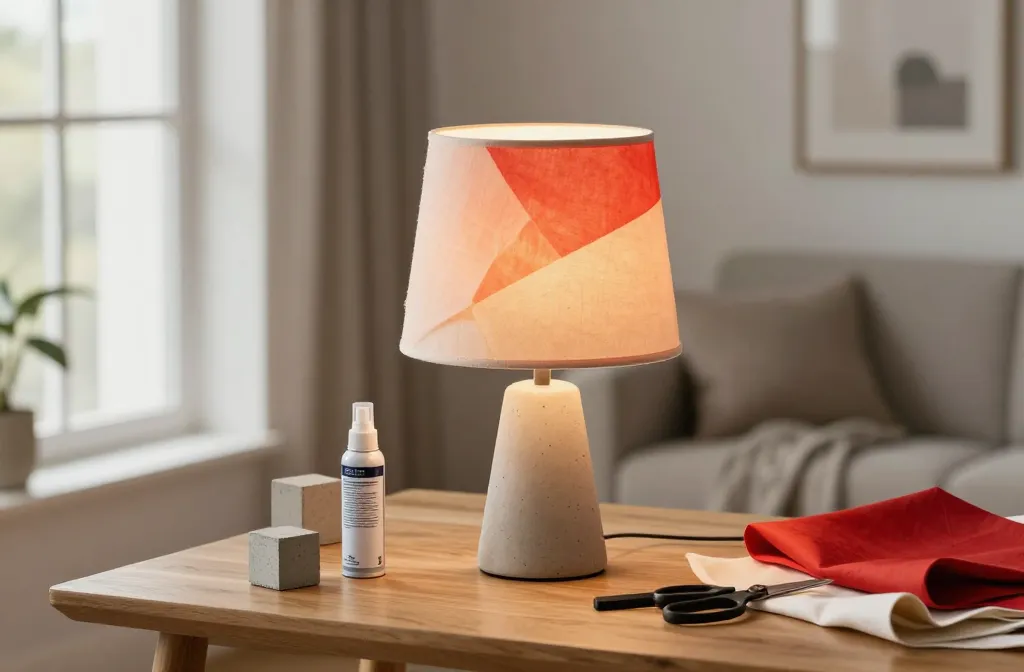

There’s something magical about a lampshade makeover. It can transform a room faster than a new couch and cost less than a weekly coffee habit. FYI, you don’t need a toolkit full of pro-grade supplies to pull this off—just a bit of creativity and a dash of DIY optimism.
Give Your Lampshade a Face-Lift Without Breaking the Bank
Who knew a shade could be the hero of a room? You can breathe new life into a tired lamp with easy, inexpensive ideas. Think fabric swaps, paint splashes, and clever decor tricks that look totally chic but stay friendly to your wallet. Ready to get crafty? Let’s dive in.
Idea 1: Fabric Swap That Feels High-End
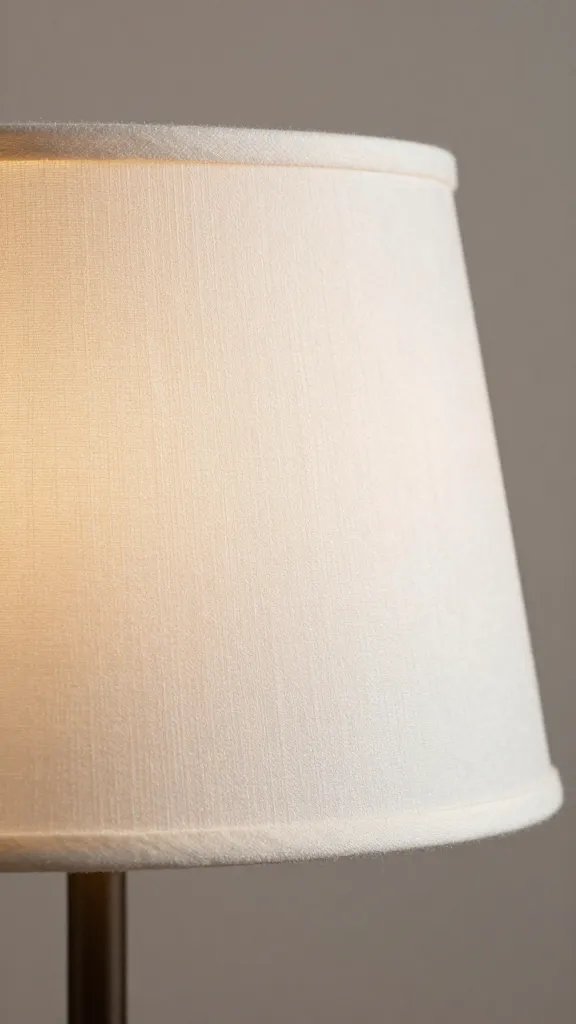
If your lampshade is looking a little dated, fabric is your best friend. It’s a low-cost way to change the vibe completely.
– Choose a fabric that matches or contrasts with your space.
– Pick a shade you can wrap without wrinkles (or go for a tacked-on fabric collar for drama).
– Secure with spray adhesive, hot glue, or double-sided tape designed for fabric.
Subsection: Quick Tips for a Flawless Wrap
– Iron the fabric first to avoid puckers.
– Leave a thin seam allowance so you can wrap cleanly around the edge.
– For delicate fabrics, use a light spray adhesive and a helper to smooth as you go.
Idea 2: DIY Patterned Lampshade with Stencils
Stencils turn a plain shade into a statement piece. No need for fancy equipment—just some patience and steady hands.
– Pick a stencil pattern you love: geometric, florals, or a quirky motif.
– Use fabric paint, acrylic mixed with fabric medium, or even permanent markers.
– Seal with a clear spray to prevent smudges if you’ll be handling it a lot.
Subsection: Stencil Etiquette — Keep It Clean
– Tape the stencil firmly to avoid bleed-through.
– Use a light dab of paint; avoid heavy coats that seep under the stencil.
– Work in small sections and let each area dry before continuing.
Idea 3: Tape, Texture, and Tape Again
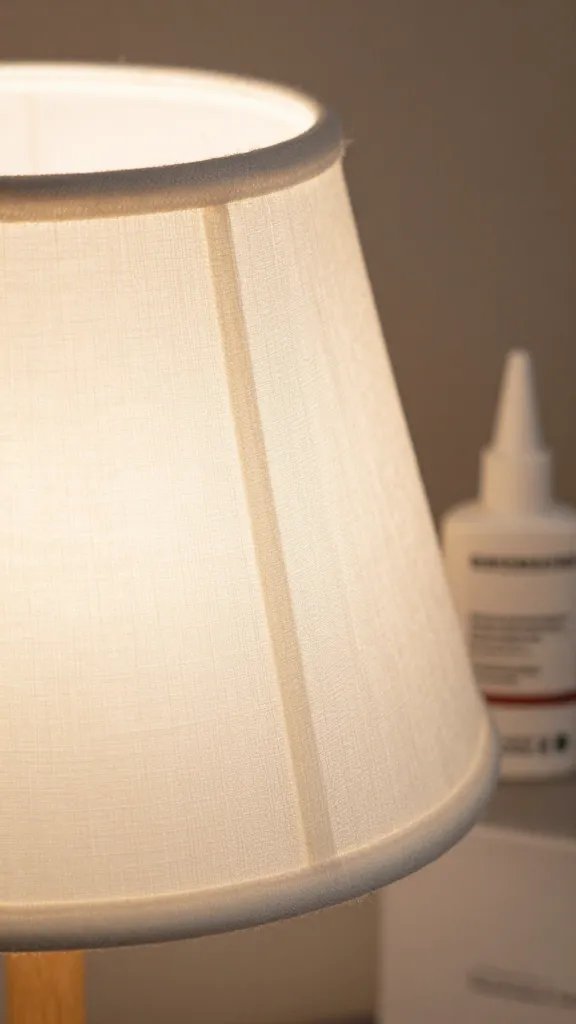
Painter’s tape isn’t just for walls. Create crisp lines, stripes, or blocks on your shade for a fresh look.
– Go bold with color-blocking or keep it subtle with tonal shades.
– Mix matte and gloss finishes for depth.
– Consider metallic tape for a little shimmer.
Subsection: Patterned Tape Adventures
– Try a chevron or diamond pattern by masking off alternating sections.
– Use masking tape on fabric to create a faux-but-fab texture.
– Pro-tip: press edges with a flat tool to avoid peeling later.
Idea 4: A Little Paint Goes a Long Way
If your shade is fabric, paper, or even plastic, paint can be the hero. This is where DIY meets art class.
– Chalk paint delivers a vintage vibe with minimal prep.
– Use spray paint for an even coat on hard surfaces.
– For fabric shades, mix fabric medium into acrylic paint to keep it flexible.
Subsection: Finishes to Consider
– Matte for a subtle, modern look.
– Satin for a soft sheen that reads polished.
– Metallics (brass, gold, copper) to add glam without a full redo.
Idea 5: Dazzle with Beads, Trim, or Tassels
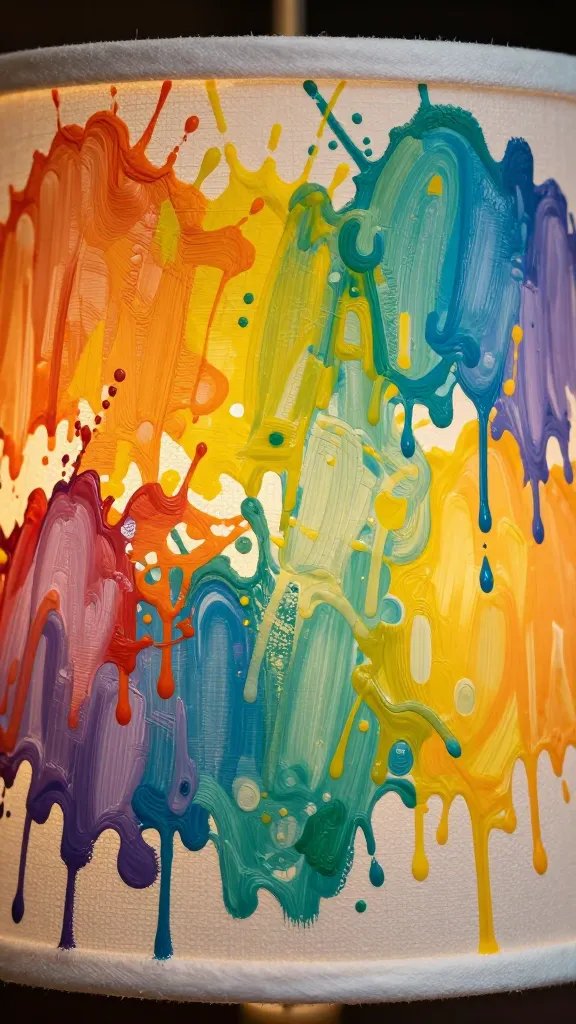
If you want texture and personality, drape or glue on trim, beads, or tassels. This works especially well on drum-shaped shades.
– Satin ribbons or pom-pom trim bring whimsy.
– Glass beads or small crystals catch the light and sparkle.
– Tassels add a playful, boho touch.
Subsection: Gluing Smartly
– Use a fabric glue or hot glue with a low-temp gun.
– Work in small sections to prevent clumping.
– Let fully dry before mounting back on the lamp.
Idea 6: Upcycle with Materials You Already Own
This is where your inner thrift-store hunter shines. Look around for unexpected materials you can repurpose.
– Old maps, sheet music, or wallpaper scraps as a chic canvas.
– Doily overlays for a vintage lace vibe.
– Burlap or linen for a rustic or earthy style.
Subsection: Layering for Depth
– Start with a base color, then add a contrasting translucent layer on top.
– Use the same color family in different textures to keep it cohesive.
– Don’t overdo it—one strong idea is plenty, two max.
Idea 7: Lighting Layering and Safety First
A makeover isn’t just about looks. The right bulb and setup matter for ambiance and safety.
– Choose LED bulbs for energy efficiency and less heat.
– If your shade is porous, test for heat tolerance and consider fabric-safe paints.
– Ensure the shade fits the lamp harp and neck without wobbling.
Subsection: Accessibility and Practicality
– Consider a shade that’s easy to dust or wipe down.
– Use lighter fabrics to keep the lamp stable and easy to handle.
– If you’re renting, take photos of the original to reverse later.
FAQ
Can I really make a strong impact with a small shade makeover?
Absolutely. A well-chosen fabric, color, or texture can change the entire vibe of a room. It’s the fast, affordable decor win you didn’t know you needed.
What materials are safest for fabric lampshades?
– Use heat-resistant paints or paints designed for fabric when possible.
– Opt for low-heat LED bulbs to minimize risk.
– If you’re unsure, test a small, inconspicuous spot first.
How do I fix mistakes on a DIY lampshade?
– Quick fixes exist: peel-and-stick fabric patches, more paint layers, or a new trim.
– For paint bleeds, dab with a clean cloth and a bit of water, then touch up.
– If all else fails, you can recover the shade with a fresh fabric wrap.
Is it expensive to makeover a lampshade?
Not at all. Most ideas use everyday supplies or found materials. You’ll likely spend under $20 for a dramatic transformation, especially if you repurpose something you already own.
How long does a makeover typically take?
Depends on the complexity. A fabric wrap can take 1–2 hours, while a stencil or painted design might stretch to a few evenings if you’re layering and letting things dry.
Conclusion
So there you have it: seven practical, budget-friendly ways to turn a tired lampshade into a conversation piece. The beauty of a DIY lampshade makeover lies in its flexibility—you can go bold or keep things subtle, and you won’t have to empty your wallet to do it. IMO, the best part is that you get a little bit of you in the room, every time you flick the switch.
If you’re feeling inspired, start with one idea and see how it feels in your space. FYI, you don’t need perfection to win here—personality counts as much as technique. Ready, set, shade!