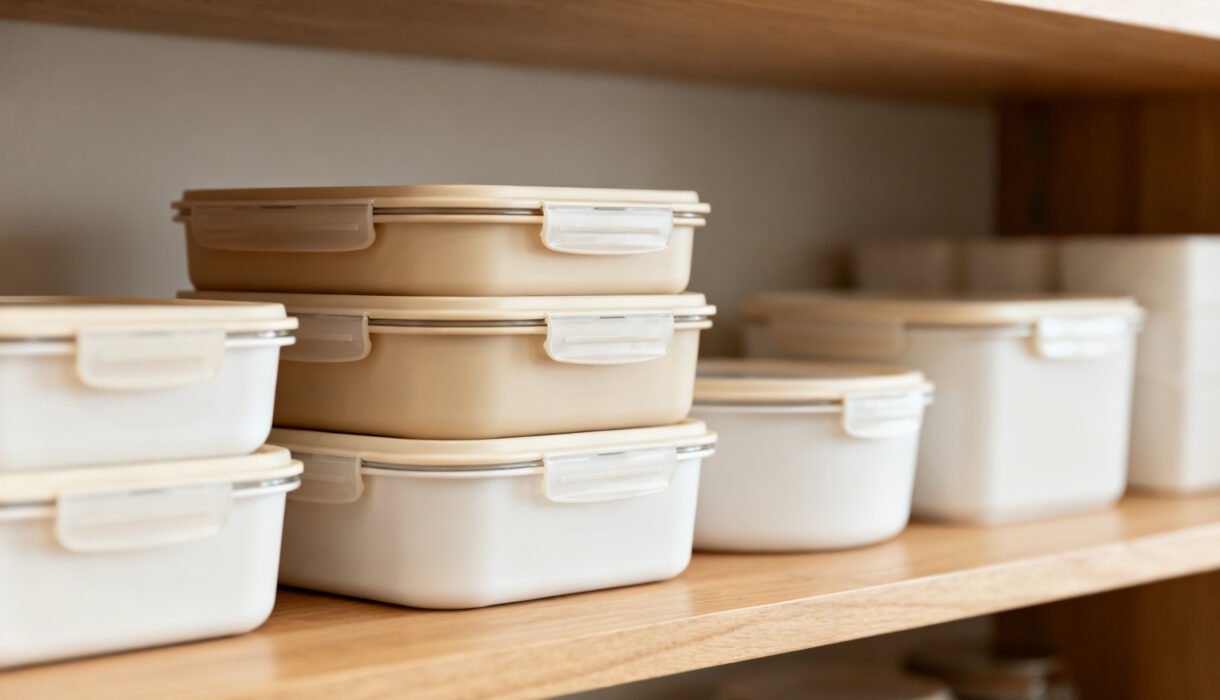

You open the cabinet to grab a container and a plastic avalanche tries to end you. We’ve all been there. The lids play hide-and-seek, the bottoms nest like Russian dolls, and somehow nothing matches.
Good news: with a few smart moves, you can tame the chaos and actually find a lid when you need it. Wild concept, right?
Start by Decluttering Like You Mean It
Before we organize anything, let’s get ruthless. You don’t need 42 containers if you only use six on repeat.
Pull everything out, then sort.
- Match game: Pair every container with a fitting lid. No lid? No mercy.
- Check condition: Toss anything warped, stained beyond recognition, cracked, or suspiciously melty.
- Audit duplicates: Keep a reasonable set.
Donate or recycle extras if they’re in good shape.
- Standardize brands if you can: Sets that stack and share lids = less headache.
What to Keep (Quick Criteria)
- Durability: BPA-free plastic or glass with solid seals.
- Practical sizes: A mix of small (sauces), medium (leftovers), and large (meal prep).
- Shape matters: Rectangles and squares store better than round, IMO.
Designate a “Container Zone”
Give them a home. One cabinet or one deep drawer works best. Keep it near where you plate food or pack lunches.
If you stash containers across four random cabinets, you’ll lose your mind (and your lids).
- Measure first: Know your shelf height and drawer depth before buying inserts.
- Go vertical with lids: Store lids upright so they don’t sprawl everywhere.
- Use the door: Over-the-door or stick-on organizers fit small lids or labels.
Nest the Bases, File the Lids
This is the golden rule. You can’t stack lids on top and hope for peace. You need a lid system.
Smart Ways to Store Lids
- Lid dividers: Use a bakeware organizer, magazine holder, or adjustable rack to “file” lids vertically by size.
- Dedicated bin: Put all lids in a shallow bin or pull-out tray so they aren’t playing slip-n-slide.
- Attach where possible: Some brands clip lids to the base.
Use that feature if you’ve got it.
Nesting the Bases Without Rage
- Sort by shape first: Keep squares with squares, rounds with rounds.
- Nest largest to smallest: Put the biggest base at the bottom and build up.
- Cap the stack: Optional: place the smallest base on top to stabilize the stack.
Create Size Families (and Label Them)
Put your containers into “families” so you stop hunting. Then make it obvious.
- Family bins: One bin for small snack containers, one for lunch sizes, one for meal-prep beasts.
- Label everything: Use simple labels like “S – 1 cup,” “M – 3 cups,” “L – 6+ cups,” and “Lids – Square.” FYI, your future self will thank you.
- Color cues: If lids come in colors, assign them: blue for square, gray for round, etc.
When You Have Mixed Brands
Stop trying to force a one-size-fits-all. Group by what actually works:
- Stackability: Which ones nest without toppling?
- Most-used: Keep the MVPs at the front; banish the benchwarmers to the back.
- Lid compatibility: If a brand has universal lids, make that your daily driver.
Use Organizers That Pull Their Weight
You don’t need a fancy system, but the right little tools save your sanity.
- Drawer dividers: Adjustable bamboo or plastic dividers keep stacks in lanes.
- Pull-out cabinet trays: No more digging in the dark abyss.
Install one where possible.
- Bakeware racks: Perfect for upright lids on a shelf.
- Turntables: Great for small containers and tiny lids. Spin to win.
- File boxes or magazine holders: Cheap, effective lid “filing cabinets.”
For Tiny Kitchens
- Go vertical: Stack to the ceiling with shelf risers.
- Hang what you can: Command hooks inside doors for lightweight lids or silicone bags.
- Collapsible containers: Not perfect, but they save serious space.
Set Rules for Real Life
You organized it once—awesome. Now make it stick.
A few tiny habits keep chaos from creeping back.
- One in, one out: If you buy a new set, retire an old one.
- Wash and re-home immediately: When containers come out of the dishwasher, match and file them right away.
- Never store with lids on: It wastes space and traps smells, IMO.
- Monthly tune-up: Two minutes to re-sort lids that got wild.
Meal Prep Workflow Tips
- Pre-match before cooking: Pull the number of bases and lids you’ll need and set them on a tray.
- Label leftovers: A roll of masking tape + marker = no mystery meals.
- Assign a shelf: Give prepared meals one shelf in the fridge so they don’t migrate.
Upgrade to Better Containers (Strategically)
You don’t need to buy everything new, but a few upgrades can change your life—or at least your lunch.
- Uniform sets: Choose one system with interchangeable lids. Fewer shapes, fewer tears.
- Glass for reheating: Heavier, but they stack neatly and don’t stain. Plastic for on-the-go.
- Modular sizes: A system where two small equal one medium equals one large makes Tetris easy.
- Visible volume markings: Super helpful for portioning and meal prep.
- Gasketed lids: Leak-proof beats soup in your bag.
Every. Time.
What About Oddballs?
- Reusable silicone bags: File them upright in a bin or hang them to dry on clips.
- Mason jars: Store lids in a small jar and stack jars by size with a shelf riser.
- Takeout containers: Keep a small number for gifting leftovers; don’t let them multiply.
FAQ
How do I keep lids from sliding everywhere?
Use a vertical organizer, like a bakeware rack or an adjustable lid divider, inside a shallow bin. File lids by size and shape.
If they still slip, line the bin with a grippy shelf liner to add friction.
Is it better to store containers with lids on?
Nope. That wastes a ton of space and traps moisture and smells. Nest bases together and file lids upright nearby.
If you’re worried about dust, store the whole bin in a closed cabinet or drawer.
What’s the best number of containers to own?
Enough for one week of your real life. For most people: 6–8 small, 6–8 medium, 2–4 large, plus a couple specialty pieces. If you meal prep heavily or have a big family, scale up.
If you live solo and eat out a lot, scale way down.
How do I stop stains and smells?
Use glass for tomato-based sauces. For plastic, spray with cooking oil before red sauces, and wash promptly. Sunlight can help remove stains—set clean containers in a sunny window for a few hours.
Baking soda paste scrubs out odors fast.
Any tips for kids packing lunches?
Create a lunch-packing station. Put kid-friendly containers and matching lids on a low shelf or bin. Color-code lids for each kid.
Keep a roll of labels and a marker right there. Simpler containers = higher chance they’ll actually close them.
What should I do with orphan lids and bottoms?
Give them a brief amnesty period in a “lost and found” bag. If the match doesn’t appear within a month, recycle if possible or repurpose as drawer organizers, paint trays, or craft bins.
After that, bye-bye.
Wrap-Up: Your Cabinet, Your Rules
You don’t need a Pinterest pantry to win at container organization. Keep what you use, file lids vertically, nest bases, and set a couple of simple rules. That’s it.
Do this once, spend two minutes a month maintaining it, and enjoy a lid that actually fits—without a plastic avalanche. FYI, that feeling? Chef’s kiss.