How To Organize Small Kitchen Appliances Without Cluttering The Counter
Posted in :

You bought the air fryer, the blender, the espresso machine, and that slow cooker your aunt swore would change your life. Now they all want VIP countertop real estate. Let’s fix that.
You can keep the gadgets you love without turning your kitchen into an appliance parking lot. The trick? Smart zones, smarter storage, and a little ruthless honesty.
Start with a Brutally Honest Audit
You don’t need to Marie Kondo your soul, but you do need to get real about usage.
Pull every small appliance out and ask: do I use this weekly, monthly, or “maybe again if I host a fondue party”? Keep only the weekly players near prime zones. Make three piles:
- Daily/Weekly: Coffee gear, toaster, blender if you smoothie.
- Monthly/Seasonal: Slow cooker, stand mixer, waffle iron.
- Donate/Storage: Uni-taskers you forgot existed.
Set a Countertop Quota
Give yourself a hard limit: two appliances out, max. If a third sneaks on, something else goes away.
Boundaries, bestie.
Designate “Zones” Like a Tiny Restaurant
Professional kitchens run on zones. So can yours. Group appliances by task and store them close to where you use them.
- Coffee Station: Espresso machine, grinder, filters, mugs in the cabinet above.
- Blend & Prep: Blender, immersion blender, measuring cups in the nearest drawer.
- Cooking & Baking: Slow cooker, Instant Pot, stand mixer near the pantry or oven.
This setup saves steps and, bonus, prevents your counters from becoming a tech museum.
Use Vertical Space Intentionally
Mount a small shelf or rail above the coffee area for filters, syrups, and mugs.
Keep appliances off the counter, but keep the accessories handy. FYI, a floating shelf > juggling a bag of beans every morning.
Make Cabinets Do the Heavy Lifting
Cabinets hide clutter, but only if you trick them out. Bare shelves waste space; hardware makes them sing. Upgrade options that pay off:
- Roll-out shelves: Slide out your air fryer without deadlifting it.
- Lift-up mixer shelf: Park your stand mixer inside and pop it up when needed.
Magic.
- Turntables (lazy Susans): Great for smaller tools or attachments.
- Stackable bins: Corral waffle iron, panini press, rice cooker by category.
Measure Before You Buy Organizers
Write down interior cabinet width, height, and depth. Then measure your appliances (including handles). Nothing stings like a pull-out that stops one inch short.
Ask me how I know.
Claim the “Low and Slow” Spaces
Low cabinets and deep drawers make perfect homes for bulky, occasional-use appliances. Put the slow cooker and Dutch oven down low. Save eye-level for daily tools. Drawer strategy for the win:
- Deep drawer near the stove: Pressure cooker or air fryer.
- Middle drawer by the sink: Immersion blender, handheld mixer, attachments in a divider.
- Shallow top drawer: Nothing with a cord.
Keep it for utensils.
Don’t Ignore the Floor… of the Pantry
The pantry floor isn’t a shame zone. Use it. Add a wire shelf and store two appliances tall.
Label the edge with painter’s tape so everyone knows what lives there.
Use the Dead Zones: Corners, Walls, and Doors
Corners love chaos, but they can also hide the big boys.
- Corner cabinet with a blind-corner pull-out: Sneak in the stand mixer.
- Wall-mounted pot rack or rail: Hang accessories, free up a drawer.
- Inside-cabinet-door organizers: Stash cutting discs, mixer paddles, sealing rings.
- Slim rolling cart between fridge and wall: Tuck a toaster oven or rice cooker if you’ve got a few spare inches.
Over-the-Fridge Is Not a Graveyard
If you can reach it safely, store light, seasonal appliances over the fridge in labeled bins. Just don’t stack a heavy bread maker up there unless you enjoy upper-body workouts.
Create “Grab-and-Go” Kits
Pair every appliance with its must-have parts so you don’t hunt. Store cords, accessories, and manuals together. How to kit it up:
- Clear lidded bin: Label “Blender + cups + gaskets.”
- Cord wraps: Velcro ties or silicone cord winders.
- Manuals: Scan or snap a photo; keep the paper copy in the bin if you must.
File the Heavy Stuff by Weight
Top shelves for featherweights (milk frother).
Middle shelves for medium (food processor). Bottom shelves for beasts (stand mixer). Gravity exists; let’s not fight it.
Make Countertop Storage Intentional
Sometimes you keep one thing out because it earns the spot.
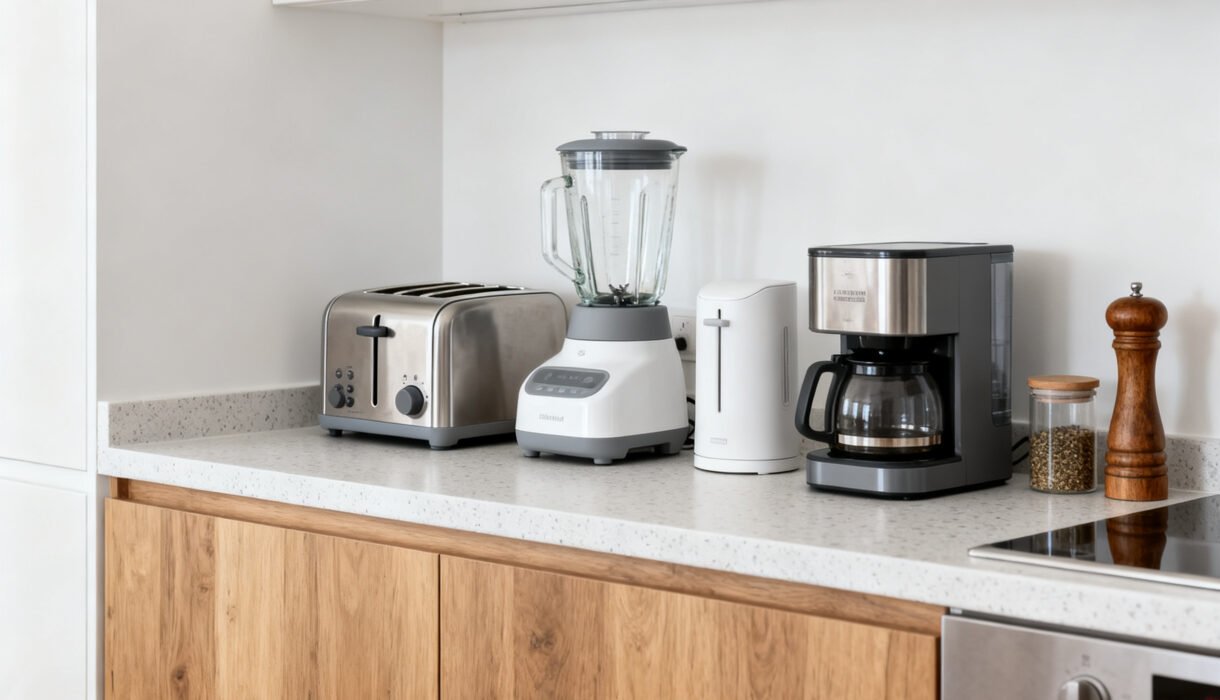
Fine. Just treat it like decor, not clutter. Rules for the chosen few:
- Match finishes: Stainless with stainless looks intentional, not random.
- Use a tray: Corral the machine plus accessories; it reads as one object.
- Limit cords: Route through a cable clip stuck to the backsplash.
Appliance Garages: The Fancy Fix
If you can swing it, add an appliance garage with a roll-up or lift-up door and an outlet inside. Coffee maker, toaster, blender all plug in and slide away.
Counter stays clear. Mood improves. IMO, it’s the best splurge.
Maintenance: The Five-Minute Reset
You organized everything.
Now keep it that way without a full weekend reboot. Do a tiny reset each night. Quick checklist:
- Put stray appliances back in their zone.
- Wipe crumbs and splatters so nothing gets sticky.
- Wrap cords and tuck them under or behind.
- Glance at the counter quota. Over the limit?
Evict something.
Quarterly Reality Check
Haven’t touched the ice cream maker since last summer? Store it with the seasonal gear or donate it. Your space deserves tools that show up for you.
FAQ
Where should I keep my stand mixer if I bake weekly?
Use a lower cabinet with a lift-up shelf if possible.
Otherwise, a deep drawer near the prep area works great. Keep attachments in a labeled bin beside it so you can grab everything in one go.
How do I handle appliances with lots of parts, like a food processor?
Store the base on a roll-out shelf and corral blades, discs, and the pusher in a small bin or inside-door organizer. Label each bin.
FYI, a turntable on the same shelf makes swapping attachments painless.
Is it okay to store appliances in the garage?
Only if temperature and humidity stay fairly stable. Extreme temps can crack plastics and mess with electronics. If the garage stays mild, keep rarely used items in sealed bins and add silica packets for moisture control.
How many appliances can live on the counter without it looking cluttered?
Two, maybe three if your kitchen’s big and you style them well.
Use a tray, match finishes, and hide cords. If it feels crowded, it is crowded—trust that gut check.
What if I rent and can’t install pull-outs or shelves?
Go freestanding: rolling carts, stackable bins, over-the-door organizers, and turntables. Command hooks and cable clips help route cords without drilling.
You can still build zones; you’ll just do it with portable pieces.
How do I keep cords from tangling everywhere?
Use Velcro wraps on every appliance cord and stick a small cable clip inside the cabinet to anchor the end. You can also feed cords through a simple cord box or a bamboo charging station repurposed for kitchen gadgets. Clean, contained, no knot rage.
Conclusion
You don’t need a bigger kitchen—you need smarter rules.
Audit what you use, set zones, kit up accessories, and give the heavy hitters a proper home. Keep only the MVPs on the counter and reset in five minutes each night. Do that, and your kitchen will look organized, feel bigger, and actually work for your life.
IMO, that beats wrestling a blender out of a cabinet avalanche any day.