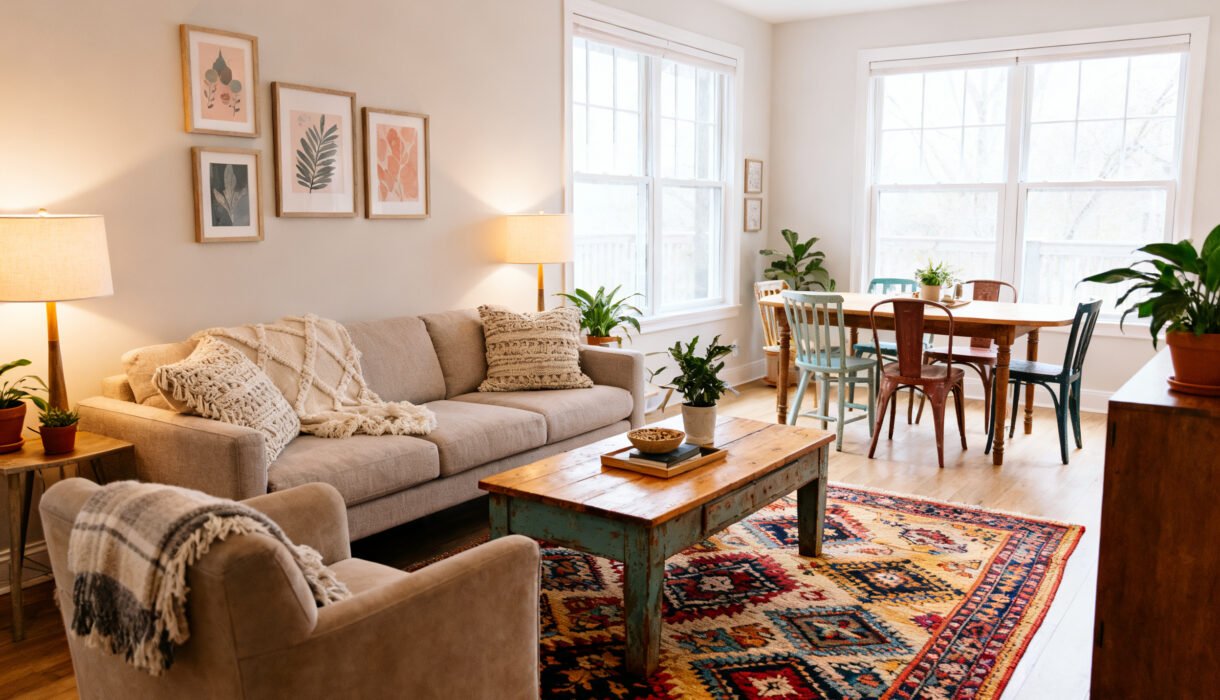
How To Style An Open-concept Living And Dining Room On A Budget
Posted in :

You’ve got one big room doing double duty—living and dining—and a budget that’s more snack-sized than entree. Totally doable. You don’t need custom built-ins or designer prices to make it look polished.
With a few smart choices and a little DIY energy, you can create zones, add personality, and keep your wallet intact. Ready to make that open space actually feel intentional?
Start With a Simple Floor Plan (No Fancy Software Needed)
You can’t style what you can’t see. Sketch your room on paper and measure the walls.
Identify windows, doors, and walkways so you don’t block traffic or create weird furniture bottlenecks. Divide the room into zones using your biggest pieces first. Anchor the living area with a rug and the dining space with a table. Keep a clear path between zones so everything feels breezy, not cramped.
Quick layout rules that save money
- Float your sofa if you can.
Use the back of the sofa as a subtle divider.
- Push the dining table slightly toward a corner or near a window to feel “dining-nooky.”
- Leave at least 30-36 inches for walkways. Your shins will thank you.
Use Rugs Like a Pro (AKA: Instant Zoning)
Rugs do 80% of the zoning work for 20% of the cost—if you buy smart. You want a rug big enough to sit under the front feet of your living room seating.
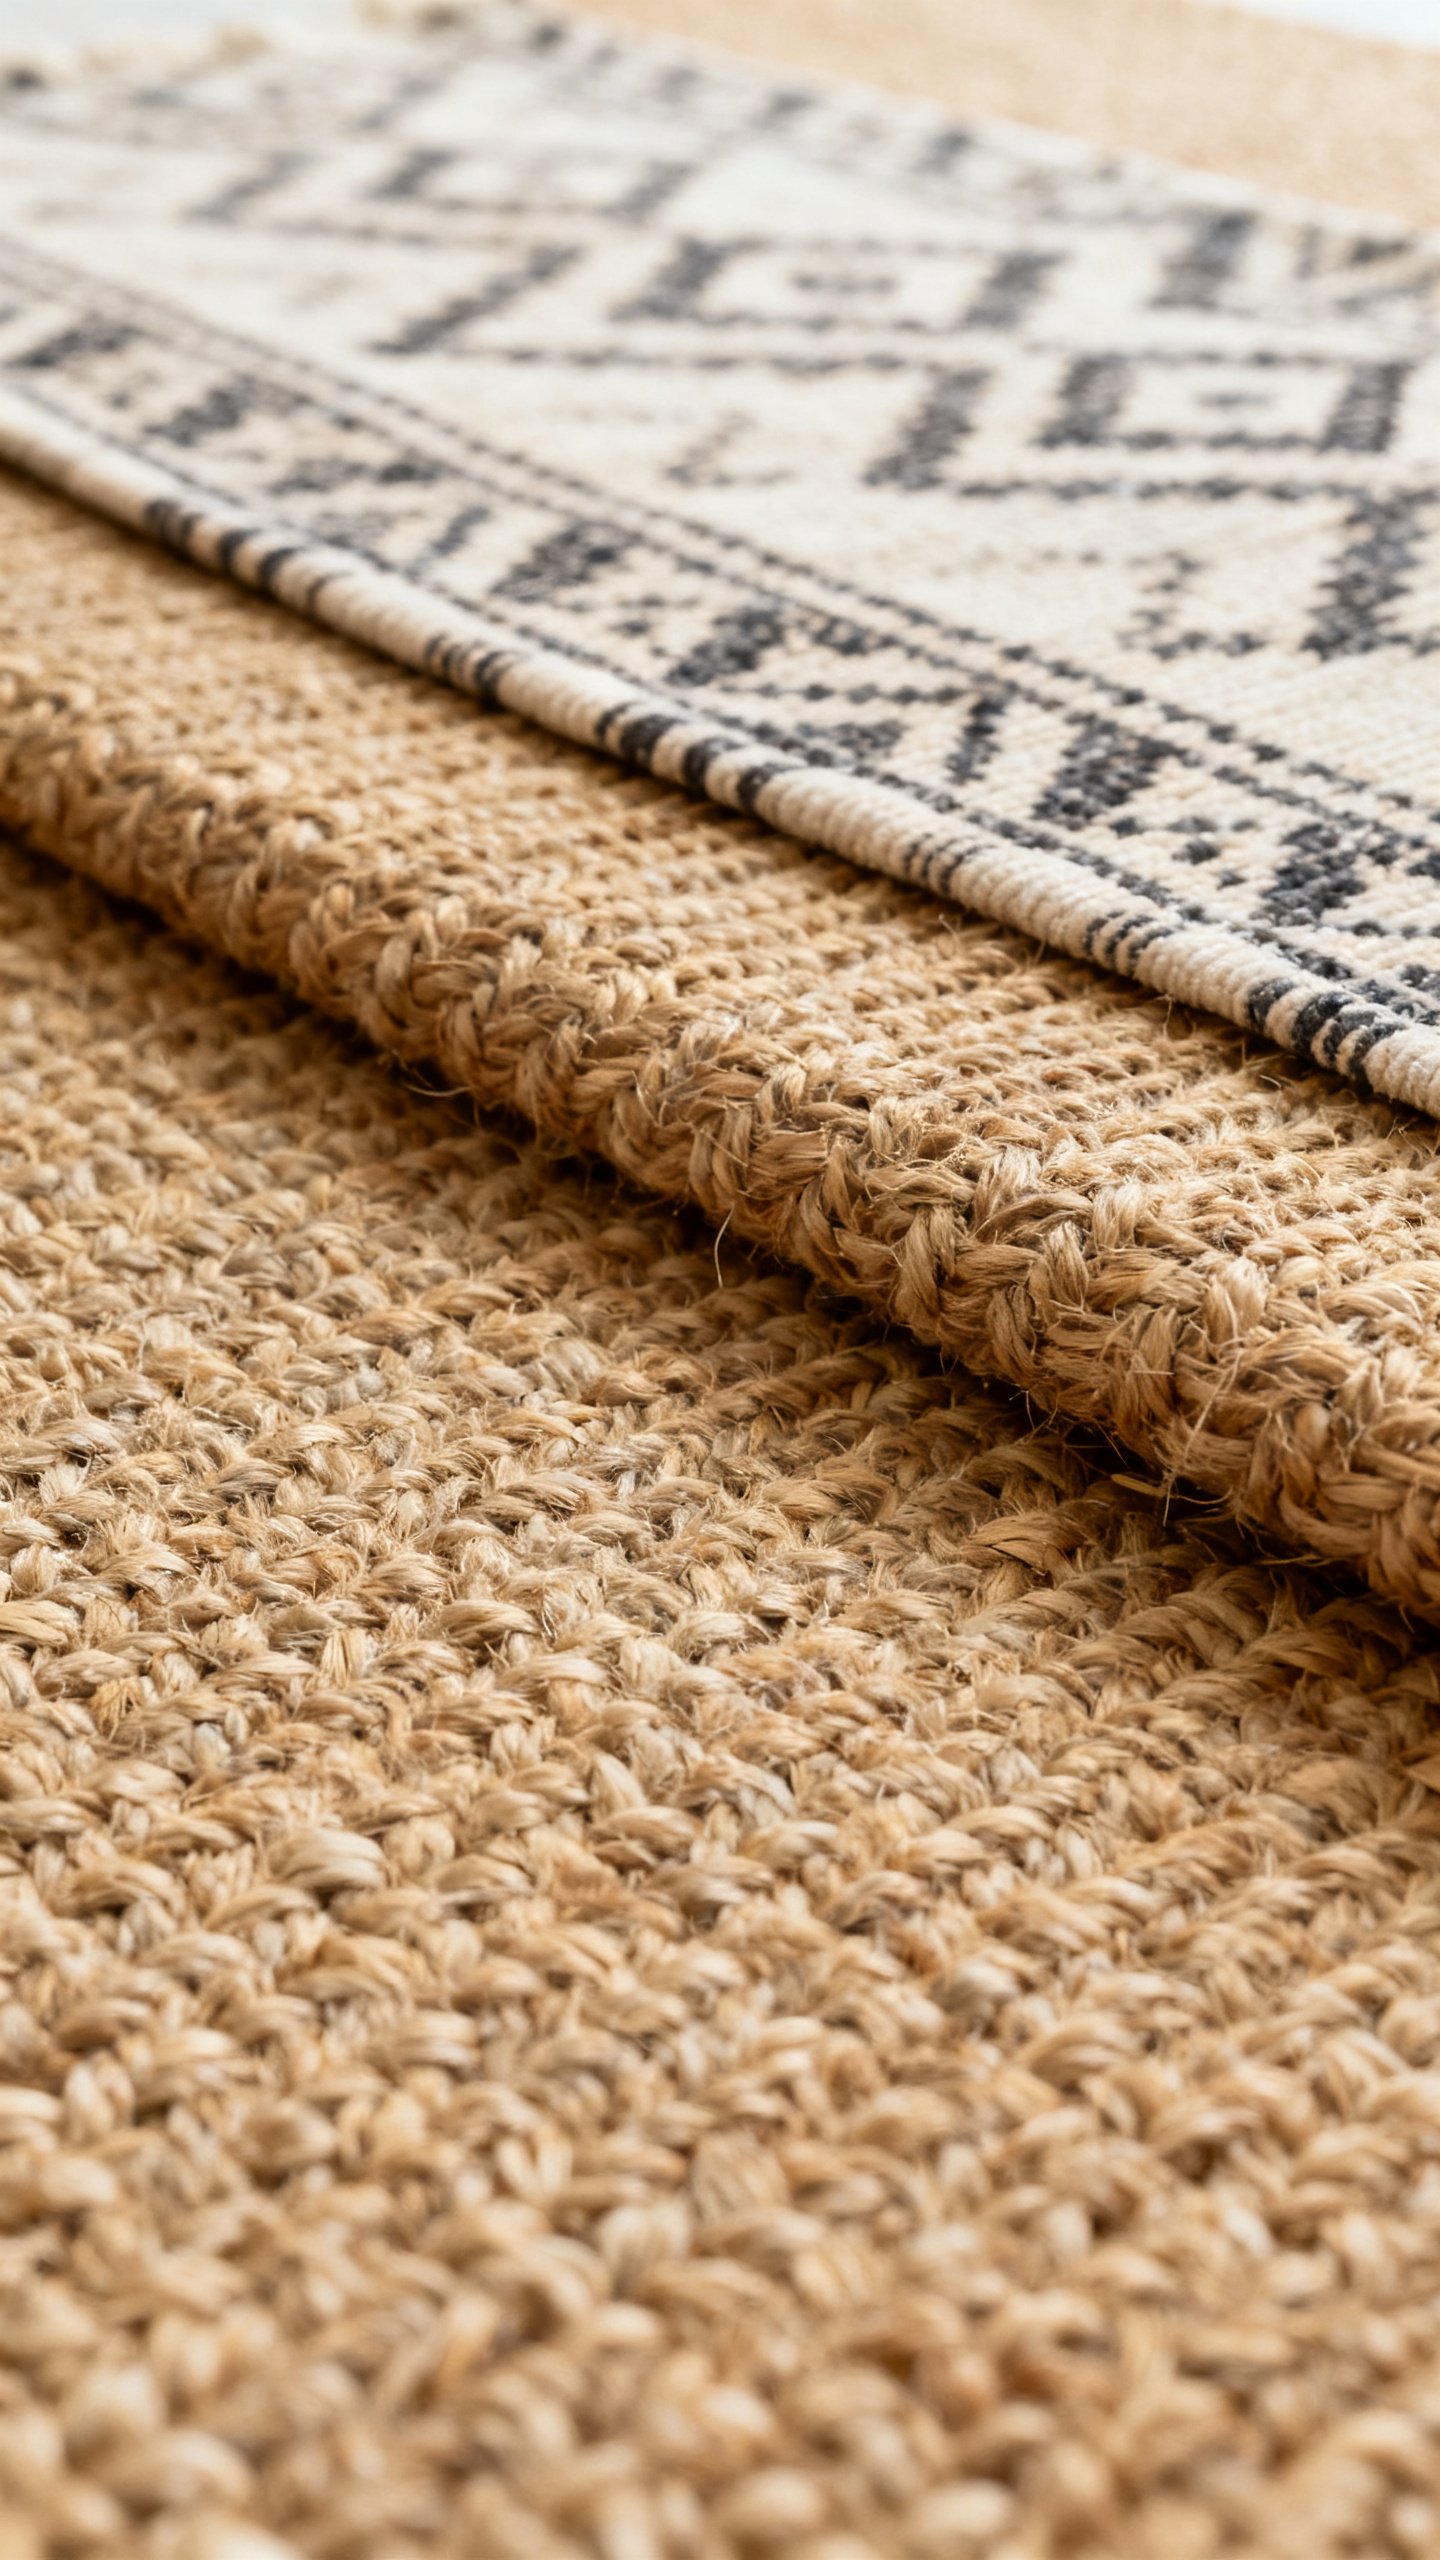
For dining, the rug should extend 24 inches beyond the table so chairs don’t catch. Budget hack: Layer! Use a large, inexpensive natural fiber rug (jute, sisal) and top it with a smaller patterned rug. Twice the style, half the price of a huge high-end rug.
Sizes that rarely fail
- Living zone: 8×10 works for most sofas plus two chairs.
- Dining zone: 6×9 fits most tables that seat six.
- Round table?
Go round with the rug too for extra cohesion.
Set a Cohesive Color Story (But Don’t Go Monochrome Boring)
An open concept needs a color plan so it doesn’t look like a random furniture yard sale. Pick one base neutral for walls (creamy white, warm greige, soft taupe) and choose two accent colors you’ll repeat across both zones. Keep accents consistent so the room reads as one space. If the throw pillows go earthy green and rust, let your dining art or napkins echo that.
IMO, repetition makes budget pieces feel intentional.
Cheap ways to add color
- Throw pillows and covers instead of new cushions—check washable options so life stays livable.
- Curtains in a simple linen blend—hang them high and wide to fake taller windows.
- Paint thrifted frames the same color for a gallery wall that looks curated, not chaotic.
Light It Like You Mean It
One overhead light won’t cut it. You need layers: ambient, task, and accent. FYI, lighting can make even bargain furniture look luxe. Do this:
- Swap out builder-basic fixtures for a statement pendant over the dining table.
Drum shades are timeless and cheap.
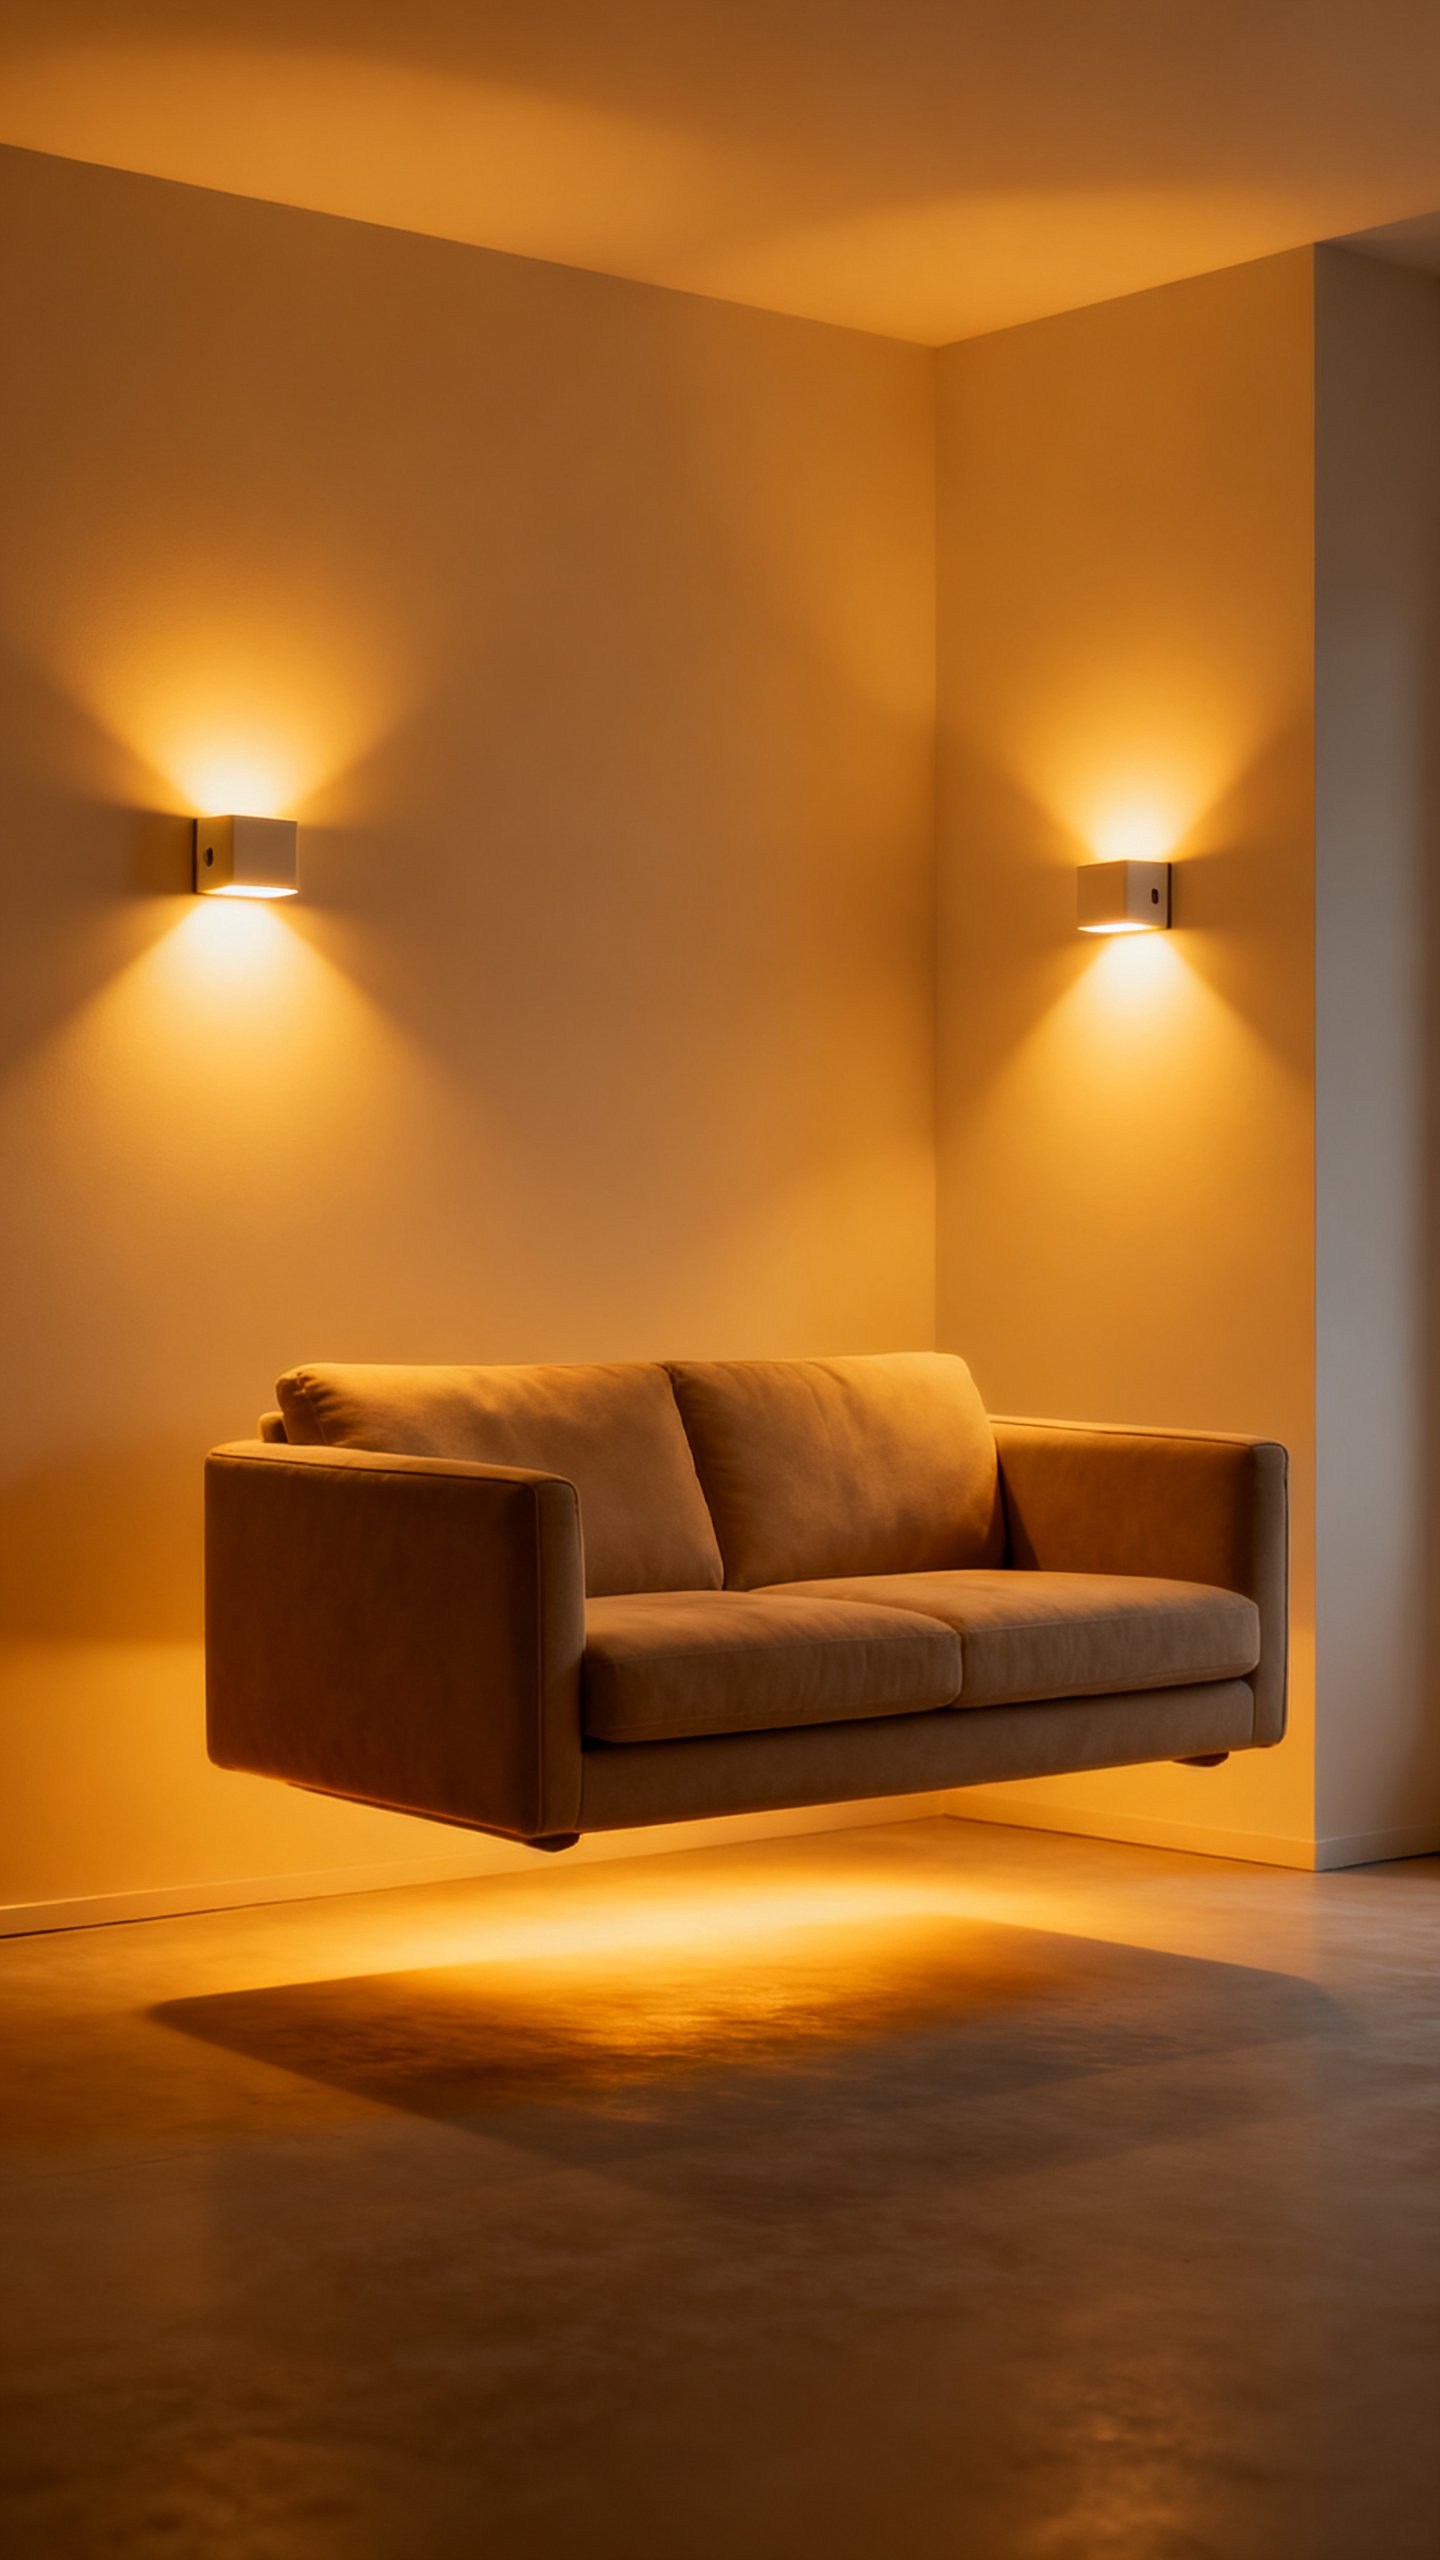
- Add two to three lamps in the living zone—floor + table. Warm bulbs (2700K–3000K) make everything cozy.
- Use plug-in sconces to frame a sofa or buffet. No electrician required.
Shade shapes that flatter
- Drum shades = modern, clean.
- Empire shades = classic, cozy glow.
- Glass pendants = reflect light and keep sightlines open.
Furniture: Spend Where It Counts, Save Where It Doesn’t
Let’s be strategic.
You sit on the sofa and dining chairs every day—buy those for comfort and durability. Coffee tables, sideboards, and accent chairs can come from Facebook Marketplace, thrift stores, or flat-pack heaven. Smart splurge vs. save guide
- Sofa: Splurge-lite. Look for a solid frame, removable covers, and a medium-firm seat.
Neutral fabric ages best.
- Dining chairs: Mid-range. Matching sets aren’t required—mix styles, match finishes for cohesion.
- Side tables, coffee table, media console: Save territory. Paint or new hardware upgrades everything.
Secondhand shopping tips
- Search “solid wood,” “mid-century,” “campaign,” or “parsons” for gems.
- Measure twice, purchase once.
Depth matters more than width for tight spaces.
- Bring touch-up markers and furniture sliders into your life. They’re miracle workers.
Create Visual Separation With Repetition (Cheap and Chic)
Instead of building walls, repeat design elements to connect zones. Use the same metal finish for lamps and curtain rods.
Repeat wood tones across both areas. Echo patterns lightly—stripe in pillows, stripe in a runner. Try this formula:
- One hero pattern (rug or large art)
- One supporting pattern (pillows or runner)
- One texture superstar (jute, boucle, chunky knit)
Zone anchors
- Living: Rug + low coffee table + media piece.
- Dining: Pendant light + art or mirror + runner on the table or buffet.
Storage That Doubles as Style
Open spaces need clutter control or you’ll blink and it’ll look like a yard sale. Integrate storage that looks intentional. Budget-friendly MVPs:
- Credenza or sideboard between zones—holds dinnerware and board games, creates a light divider.
- Ottoman with hidden storage—blankets in, feet up, all good.
- Wall shelves—stack cookbooks near dining, plants and frames near living for a balanced vibe.
DIY upgrades in an hour
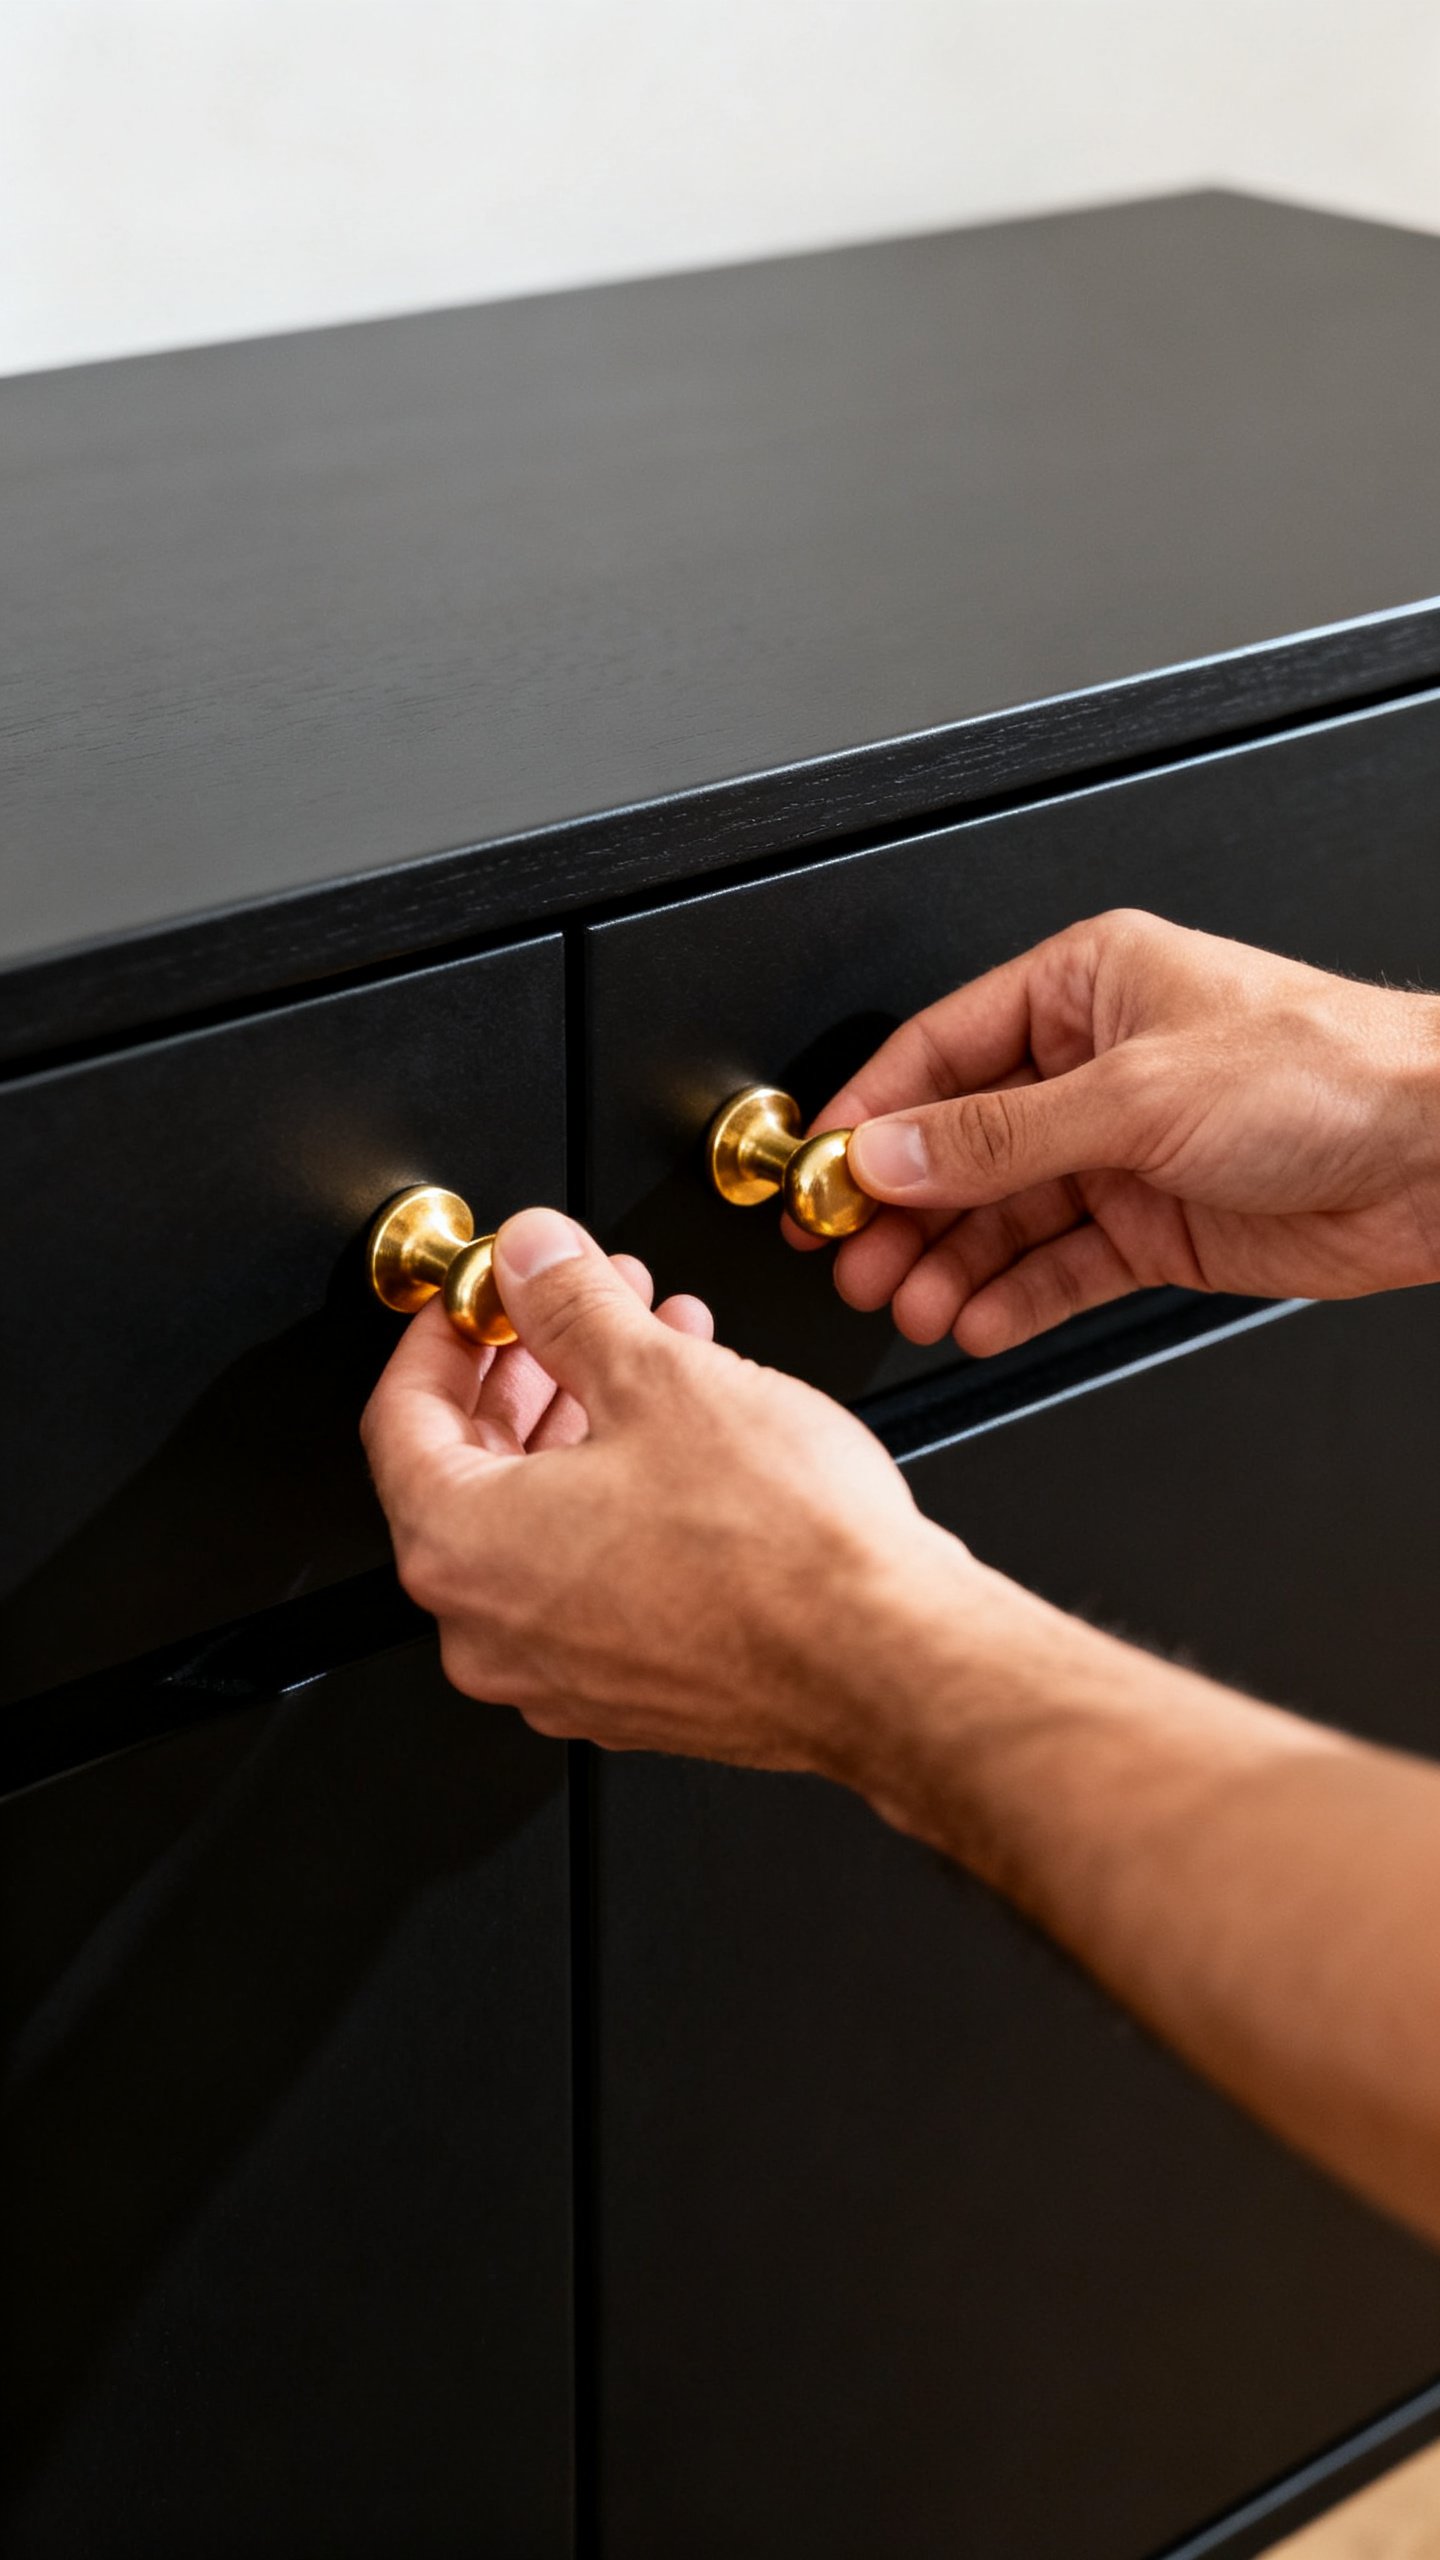
- Swap hardware on a basic cabinet for matte black, brass, or leather pulls.
- Add peel-and-stick wallpaper inside a bookcase for surprise personality.
- Apply wood-tone contact paper to a damaged tabletop—instant glow-up.
Art, Greenery, and the Fun Stuff
Art ties everything together.
Hang one larger piece or a tight gallery wall in the dining zone, then balance it with a statement mirror or art over the sofa. Don’t scatter tiny frames everywhere—group them for impact. Plants bring life and also hide awkward corners. Mix heights: one tall floor plant, two medium tabletop plants, and a trailing vine on a shelf.
FYI, fake plants work if you dust them and avoid neon green plastic leaves.
Easy, affordable art ideas
- Frame fabric, wallpaper samples, or vintage maps.
- Print black-and-white photos at engineering print shops—huge, cheap, dramatic.
- Use a large corkboard with pinned postcards for an evolving “exhibit.”
FAQ
How do I make the living and dining areas feel separate without building anything?
Use two rugs, distinct lighting (a pendant over dining, lamps in living), and furniture orientation. Float the sofa with its back to the dining zone and place a slim console behind it. Repeat colors across both zones so it still feels cohesive, not choppy.
What if my room is small?
Choose fewer, larger pieces instead of lots of tiny items.
Use a glass or light-wood coffee table, hang curtains high, and pick armless dining chairs you can tuck in fully. Keep the palette light and consistent, and let mirrors bounce light around.
Do I need matching wood tones across both areas?
Nope. Aim for a family of tones instead.
Mix one light wood, one medium, and one dark, then repeat each at least twice. Consistency beats perfection—IMO, that layered look feels more collected (and less showroom-y).
Can I mix metal finishes?
Yes, but do it with intention. Pick a dominant finish (say, black) and a secondary (brass).
Use the dominant one 70% of the time so it reads as a choice, not an accident.
How big should my dining light be?
For round tables, choose a pendant 1/2 to 2/3 the table’s diameter. For rectangular tables, consider a linear fixture or two smaller pendants. Hang it about 30–34 inches above the table so it feels intimate but not head-bonking.
What’s the cheapest upgrade with the biggest impact?
Lighting and rugs.
Swap the dining pendant, add two warm lamps to the living zone, and use a big rug to anchor seating. The room will instantly feel pulled together—even if the sofa came from your cousin.
Conclusion
Open-concept spaces don’t need big budgets—just a plan, a few smart anchors, and some repeated elements. Define zones with rugs and lighting, keep a tight color story, and mix high-low pieces like a pro.
Edit often, add storage that works hard, and let art and plants do the charm offensive. You’ll end up with a space that feels intentional, stylish, and totally you—no renovation required.