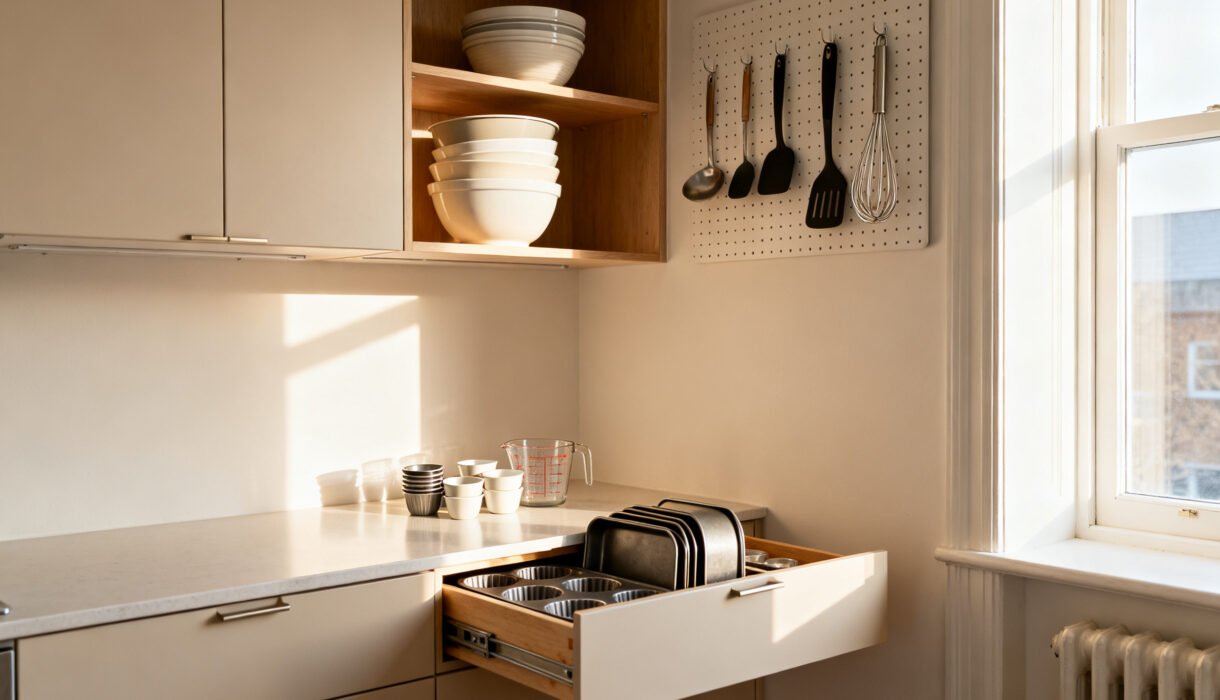

Let’s be honest: baking in a small kitchen can feel like a chaotic treasure hunt. You know the cinnamon exists, but it’s hiding behind a mountain of mismatched sprinkles and a rogue muffin tin. The good news?
You can absolutely wrangle your baking stash, even in a tiny space. I’ll show you how to sort, stash, and streamline so you can actually bake without swearing at your cabinets.
Start With a Ruthless Edit (Yes, You Own 6 Spatulas)
You can’t organize clutter; you can only relocate it. So first, drag everything out—drawers, cabinets, that weird bin above the fridge.
Group items by category: flours, sugars, mix-ins, tools, pans, decorating stuff. Ask three questions:
- Do I use this more than twice a year?
- Do I own duplicates that don’t spark joy or brownies?
- Does it actually work, or does it wobble/chip/leak?
Donate the extras. Toss anything broken. Keep the keepers tight.
FYI: seasonal cookie cutters don’t need premium real estate all year. They can hibernate.
Pro tip: Pick a “baking zone”
Designate one area—one cabinet plus the nearest drawer and a slice of counter. Pull everything you need into that zone so you’re not sprinting across your kitchen mid-whisk.
Contain Dry Goods Like a Pro
Open bags spill, clump, and make a mess.
You need containers that stack and seal. What works best IMO:
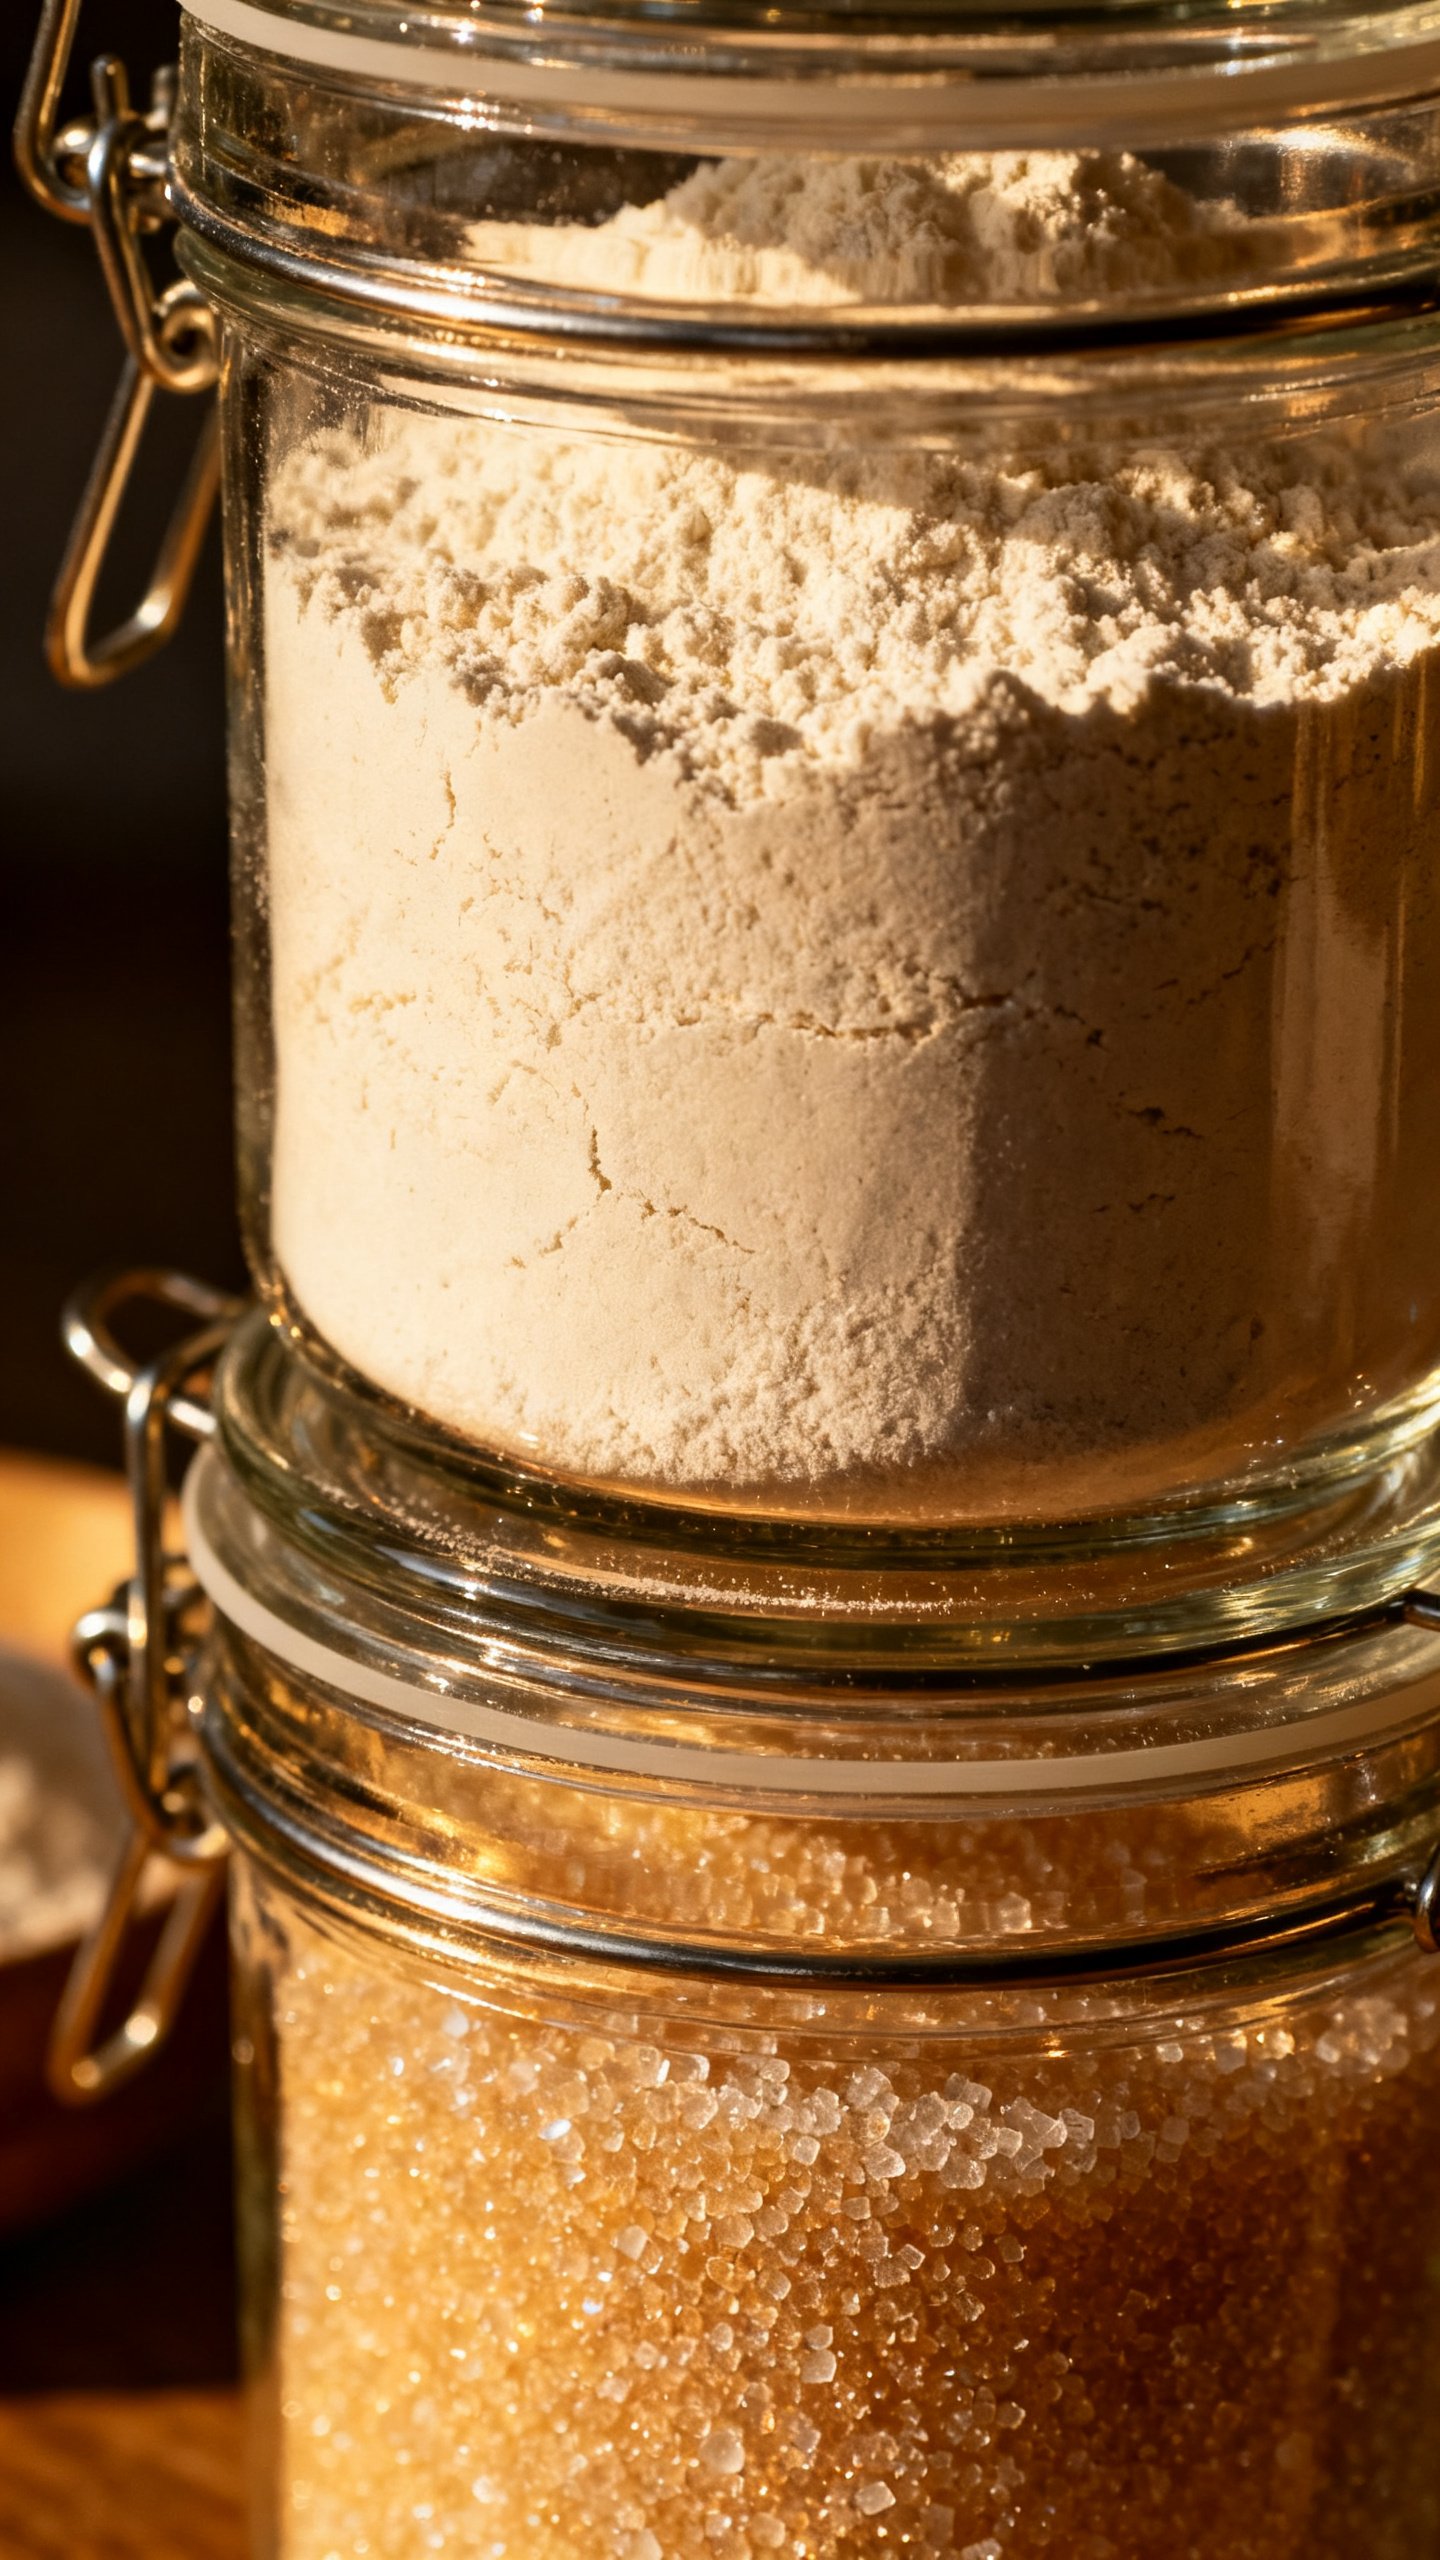
- Square or rectangular airtight containers for flour, sugar, oats—they stack like Tetris.
- Clear canisters so you can see levels at a glance. Labels still help (because flour and powdered sugar love to cosplay as each other).
- Modular sizes: 5 qt for all-purpose flour, 3–4 qt for bread and pastry flour, 2–3 qt for sugar, 1–2 qt for chocolate chips and nuts.
Label like you mean it:
- Product name + date opened
- Baking conversion or hydration notes for flour nerds
- Storage caveats, e.g., “almonds: freezer after opening”
Where to put them
If you lack a pantry, use a single deep cabinet with a two-tier turntable for smaller items (yeast, extracts, food coloring). Put your big canisters at the front of a lower shelf.
Keep baking powder and soda at eye level—expired leaveners sink cakes and spirits.
Make Vertical Space Work Overtime
Small kitchens hide space in plain sight—up walls, inside doors, and under shelves. Smart add-ons:
- Over-the-door organizers on pantry or cabinet doors for sprinkles, piping tips, and cupcake liners.
- Under-shelf baskets for flat items: parchment sheets, silicone mats, cooling racks.
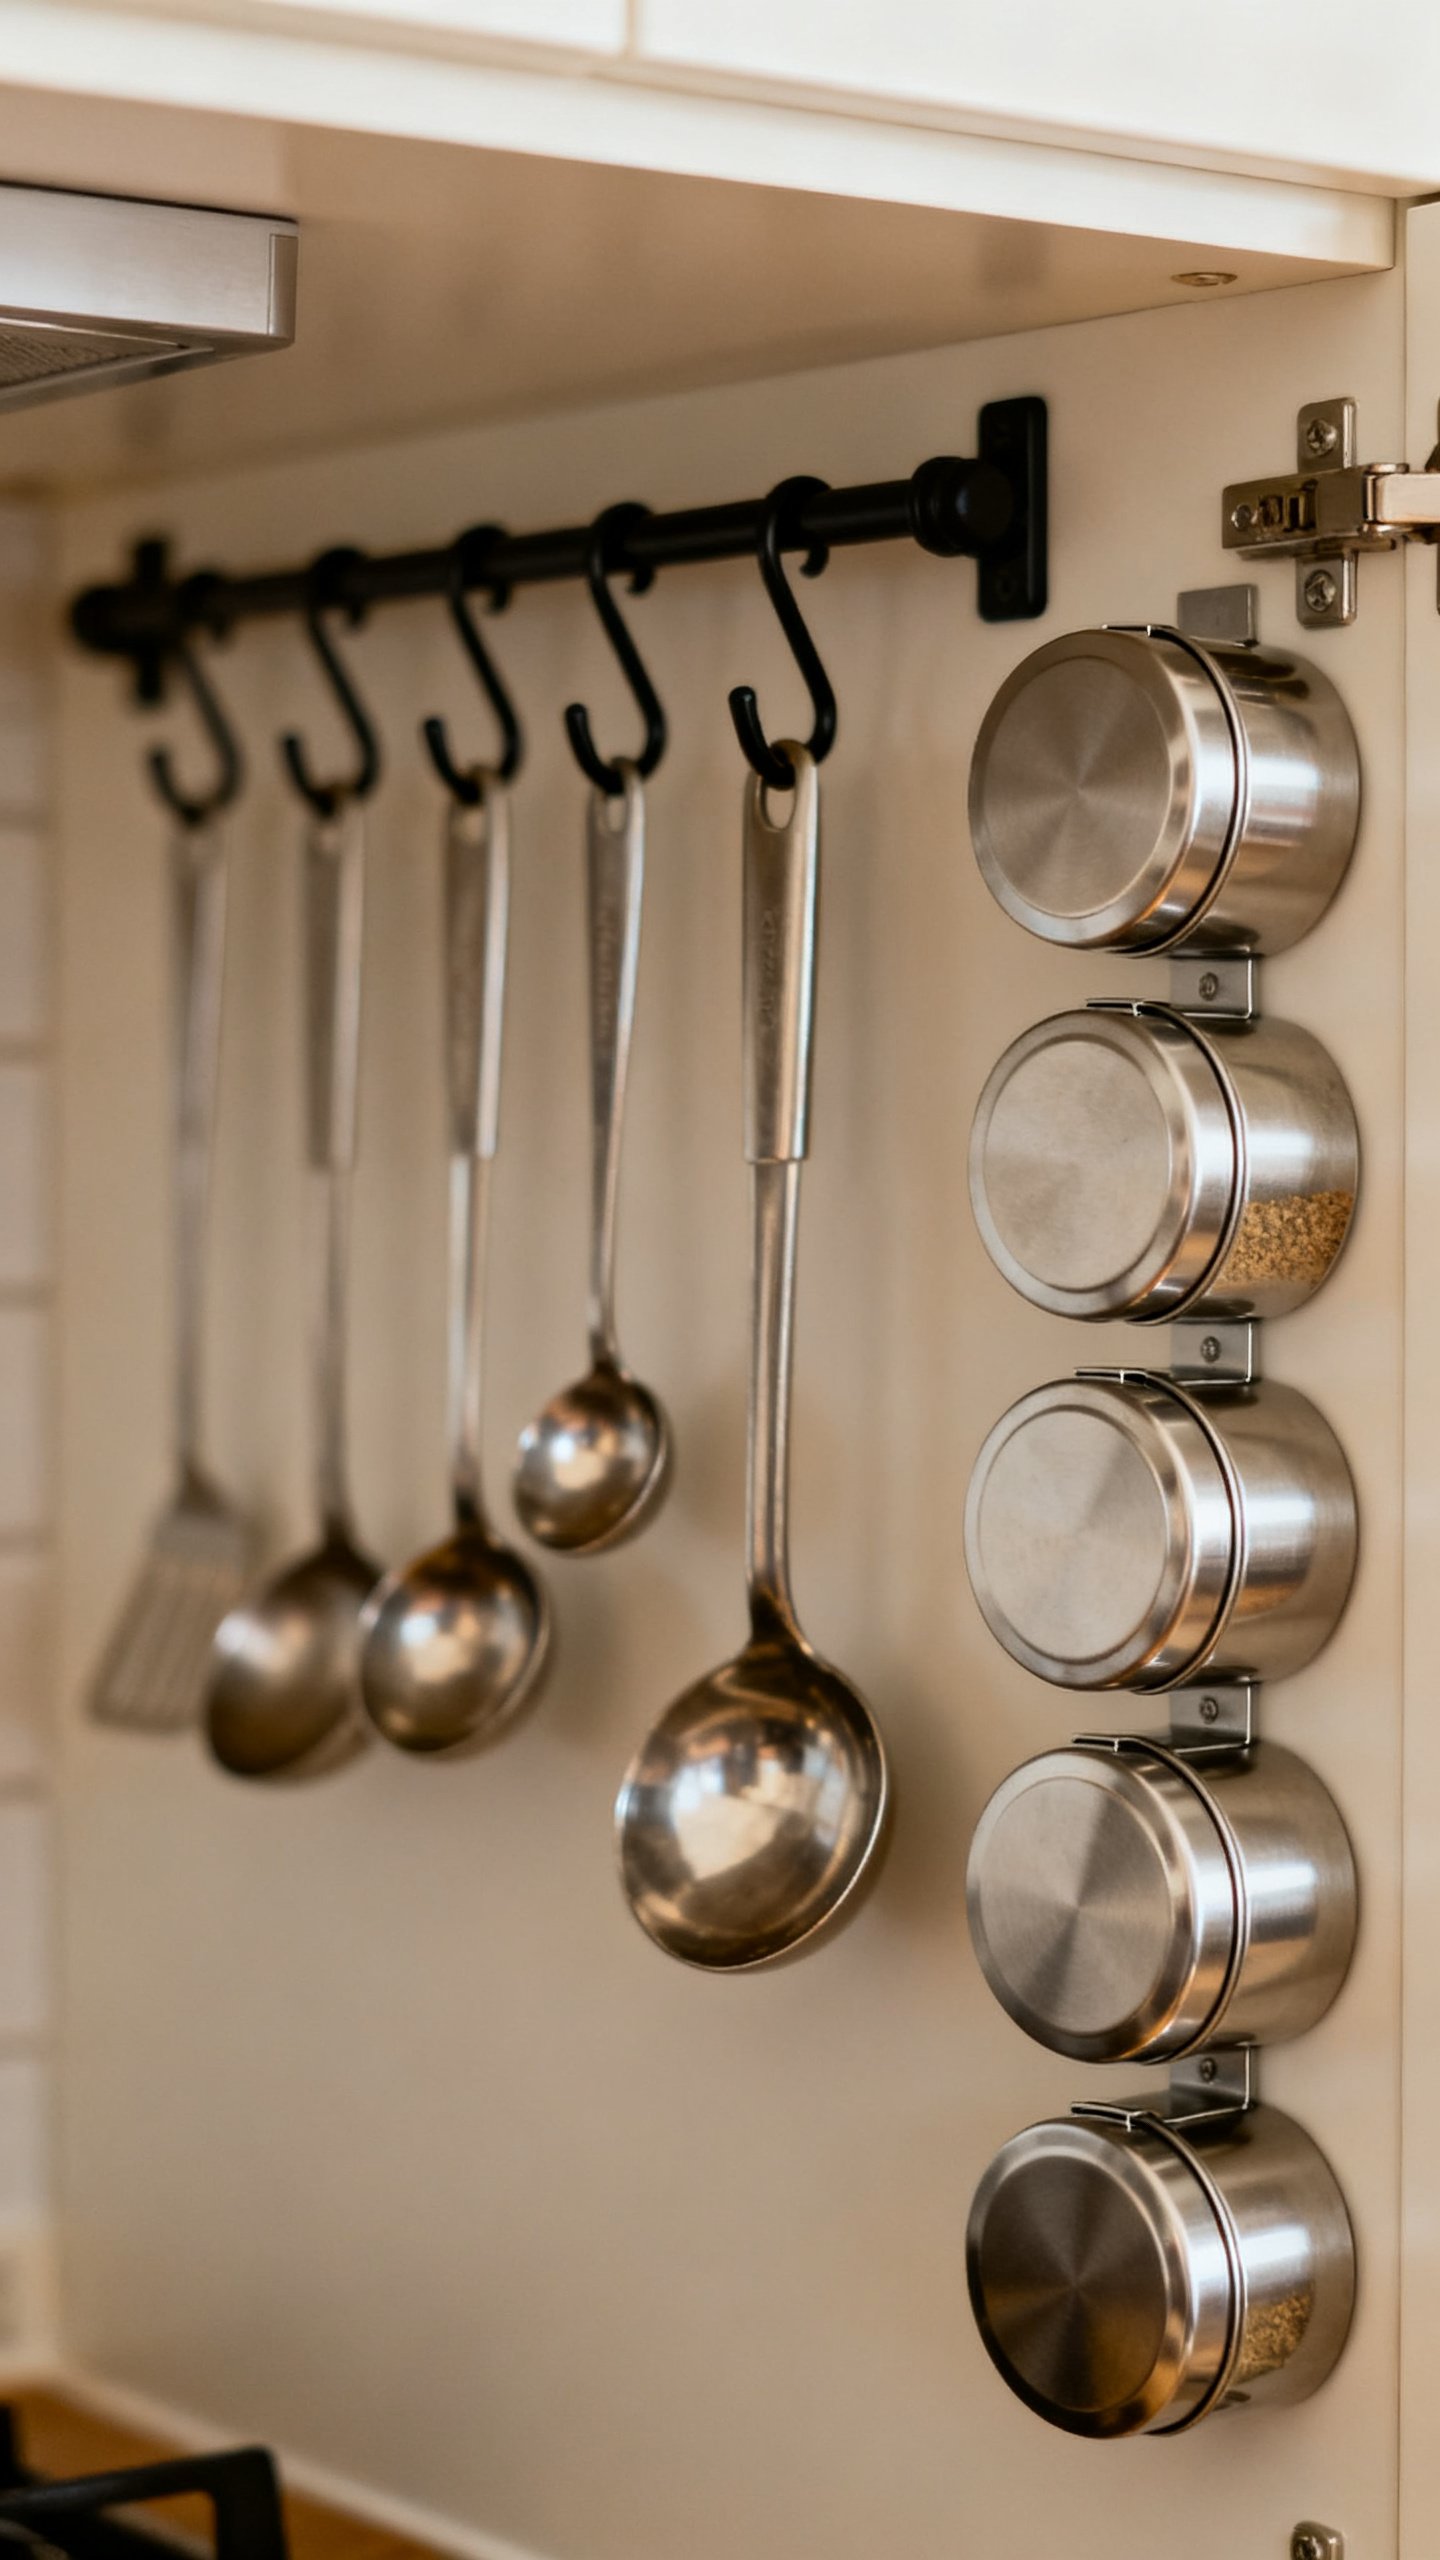
- Magnetic spice tins for small amounts of spices you actually bake with: cinnamon, nutmeg, cardamom, cloves, ginger.
- Command hooks for measuring cups/spoons inside cabinet doors. Instant grab-and-go.
Risers and turntables = easy wins
Shelf risers turn one shelf into two. Use them for extracts and jars, not heavy canisters.
Turntables make tiny bottles findable. No more avalanche of vanilla.
Create a “First Grab” Baking Drawer
Think of this like your baker’s toolbox. One drawer holds your daily drivers; everything else becomes supporting cast. Fill it with:
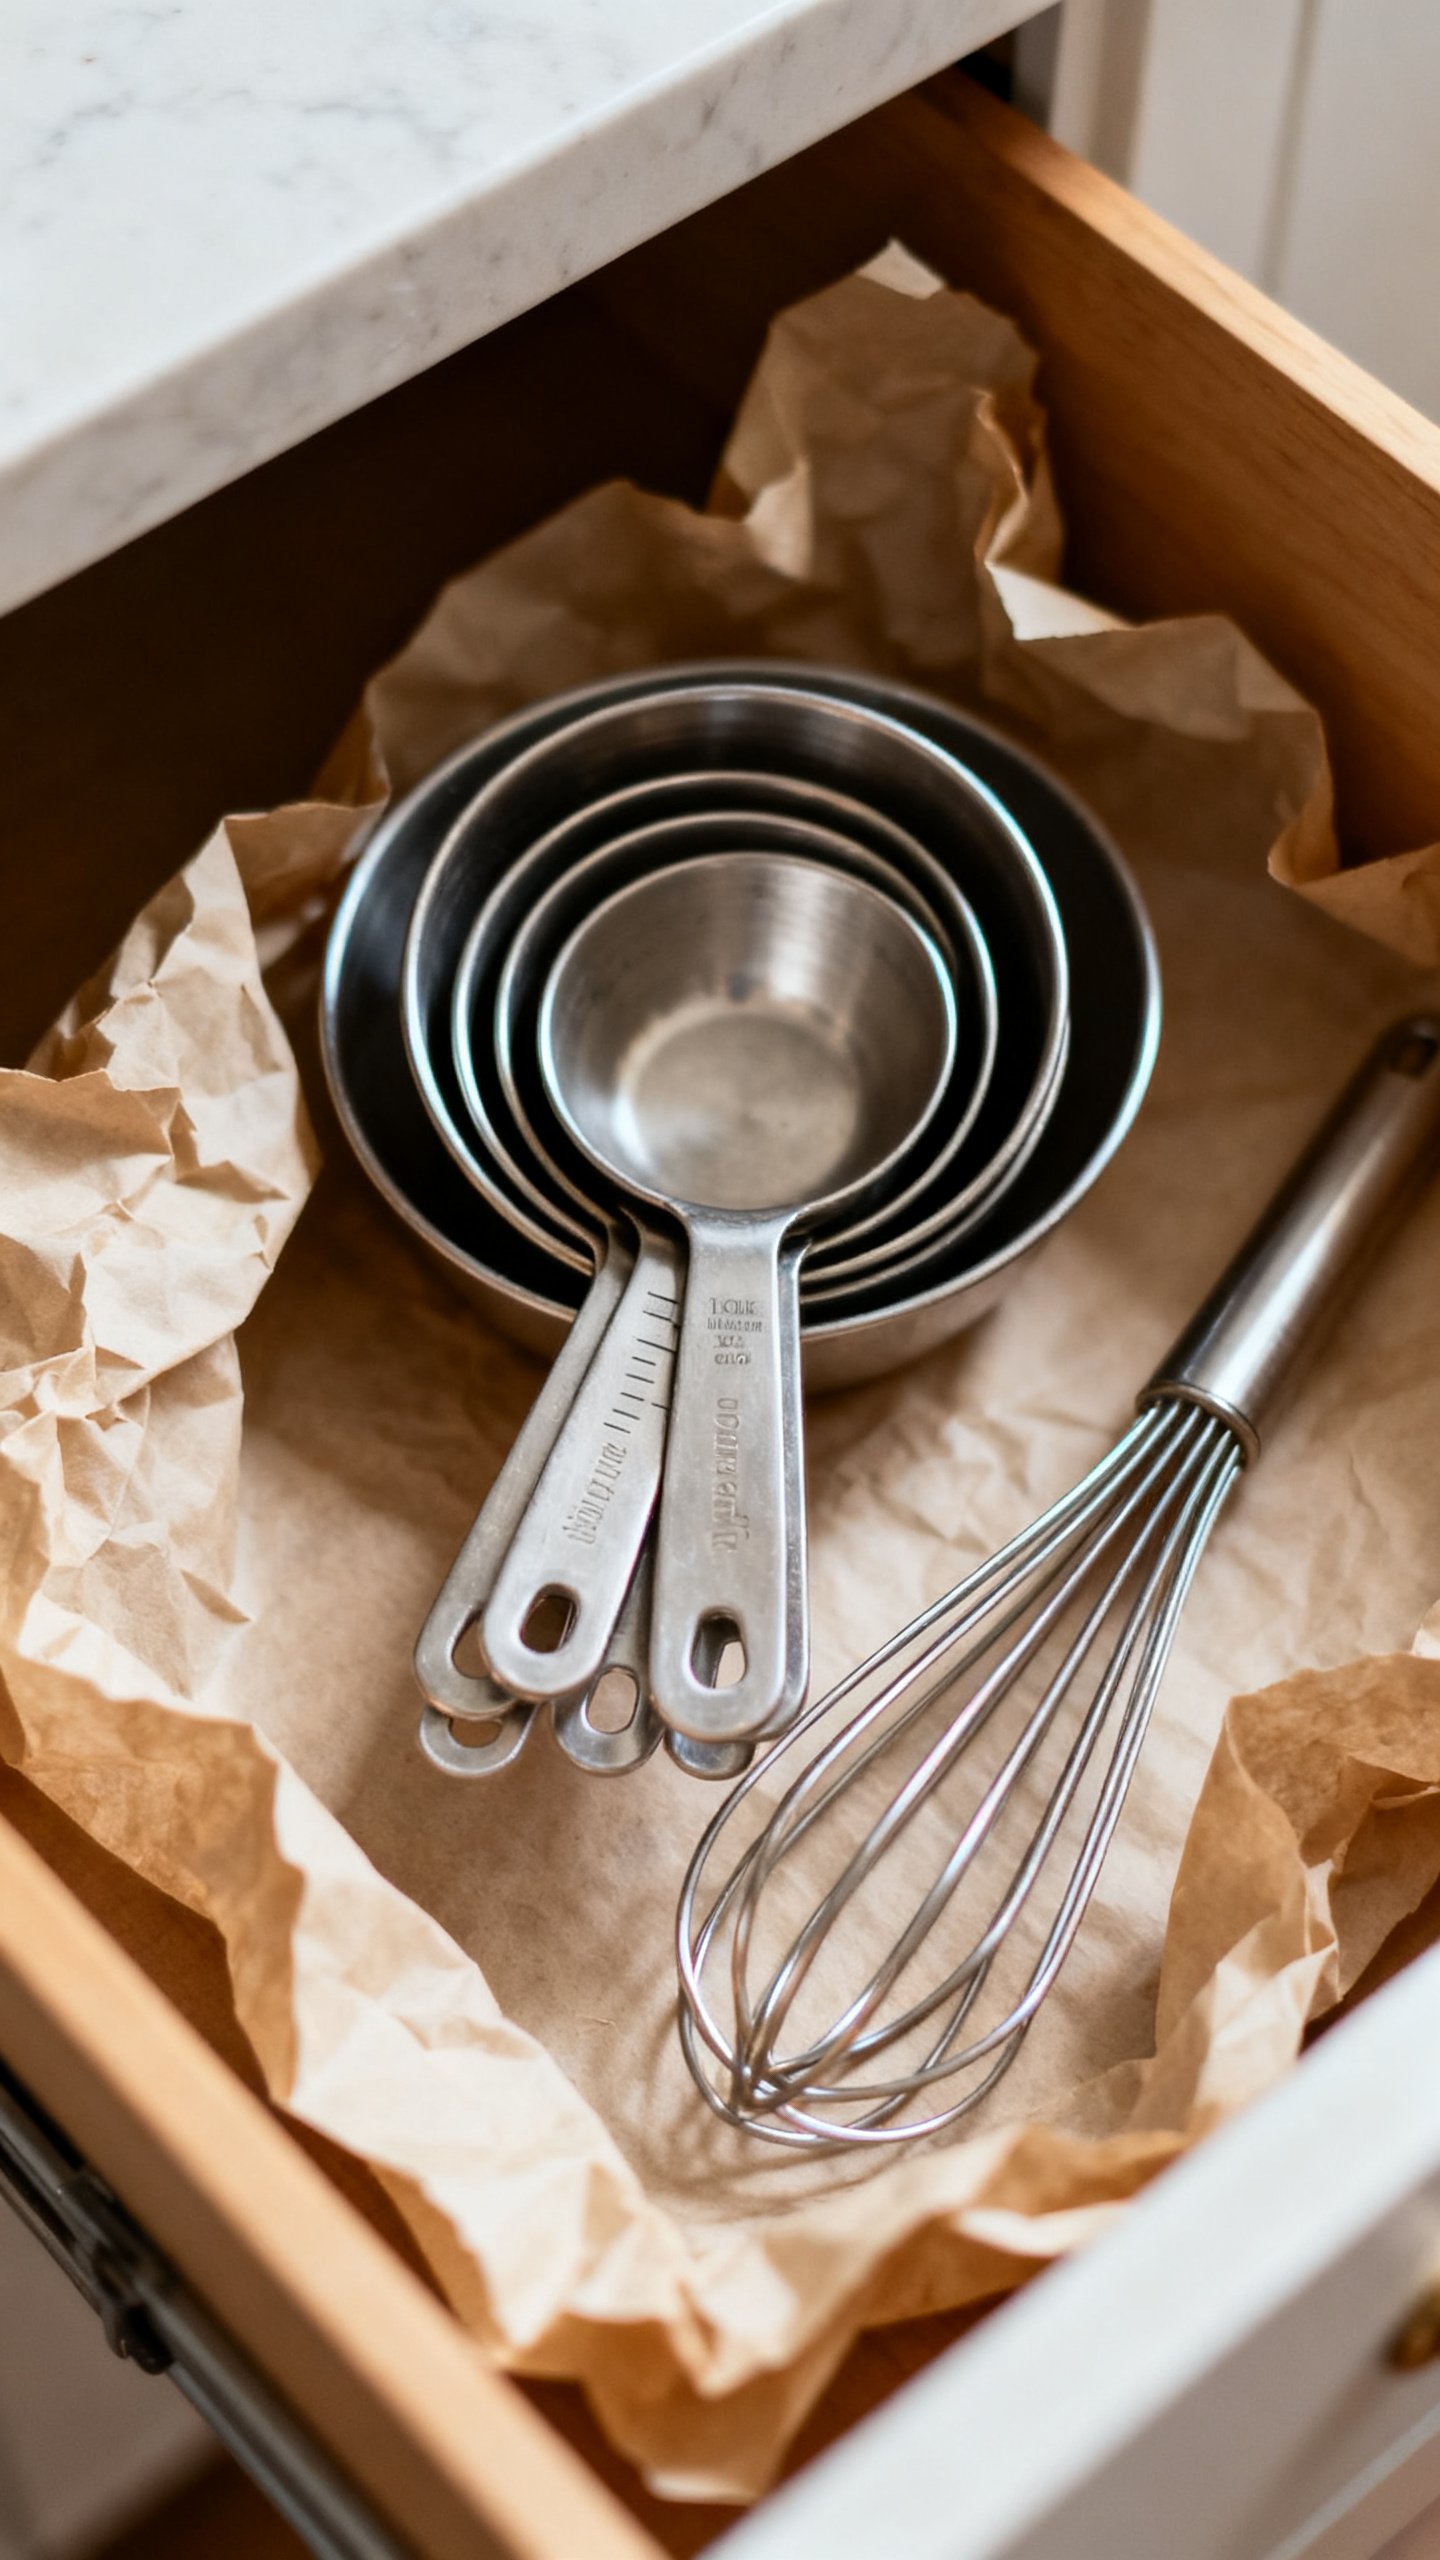
- Measuring cups and spoons (nesting sets to save space)
- Bench scraper, offset spatula, rubber spatulas (two sizes)
- Whisk, small sieve, instant-read thermometer
- Parchment sheets cut to pan size (store flat in the back)
- Roll of masking tape and a marker for labeling
Use an adjustable drawer divider or a cutlery tray so nothing swims around.
If you bake a lot, add a small digital scale. Precision and fewer dirty cups? A win-win.
Stack Smart: Pans, Tins, and Sheets
Pans hog space when you stack them like a wobbly Jenga tower.
Instead, file them vertically. Try this:
- Use a lid organizer to stand up baking sheets, muffin tins, cooling racks, and rectangular pans.
- Nest round cake pans by size with a coffee filter or paper towel between to prevent scratches.
- Hang lightweight items like whisks or tiny sifters on a peg rail or hooks.
Bulky stuff strategy
Dutch oven? Bundt pan? Giant mixing bowl?
Store them high or low, not in your daily zone. You grab them less often, so don’t sacrifice prime space.
Corral the Tiny Chaos: Decorating and Tools
Piping tips, couplers, gel colors, and sprinkles love to scatter. Give them strict housing assignments. Containment options:
- Clear tackle boxes or photo organizer cases for tips and couplers—each slot gets a size group.
- Small bins or drawer inserts for sprinkles by color family.
Yes, rainbow order sparks joy.
- One shallow bin labeled “Decorating” that you can pull out and plop on the counter.
Keep edible markers, skewers, and cupcake liners together. You’ll stop buying duplicates “just in case”… which you definitely already did.
Make a Portable Baking Caddy
No counter space? Use a lightweight caddy or tote for your everyday ingredients and tools.
Store it in a cabinet; pull it out when it’s baking time. What to pack:
- Vanilla and extracts
- Baking powder, baking soda, salt
- Measuring spoons, small whisk, offset spatula
- Thermometer and kitchen timer
This hack keeps your counters clear and your brain calmer. Also great if you share a kitchen and want to keep your stuff together. Territorial?
Maybe. Effective? Absolutely.
Use the Cold Zone Wisely
Some baking ingredients prefer the chill life.
Don’t waste fridge and freezer space on random clutter; use it to extend shelf life. What to store cold:
- Nuts and seeds: freeze to prevent rancidity.
- Whole grain flours: fridge or freezer after opening.
- Yeast: refrigerate after opening; freeze for long-term.
- Butter: keep a baking stash in the freezer; move a few sticks to the fridge as you need them.
Label everything with dates. Future you will thank past you for not guessing if that almond flour is vintage or just sad.
Label, List, and Keep It Moving
Systems die when people stop maintaining them. Make it painless. Keep it simple:
- Use the same style of labels across containers—clean and fast to read.
- Stick a mini inventory on the inside of a cabinet door: flours, sugars, chocolate, nuts.
Update it with a quick tick mark.
- Schedule a 10-minute tidy every month. Pull forward expiring items and plan a bake to use them up. Twist my arm.
Grace for real life
You’ll have messy weeks.
That’s fine. As long as every item “knows” where it lives, you can reset fast.
FAQs
How do I store different types of flour without mixing them up?
Use clear, airtight containers with bold labels that include the flour type and date opened. Store the most-used flours (AP, bread) at eye level and the specialty ones (rye, cake, whole wheat) on a riser or higher shelf.
If you scoop by habit, add a small card with your go-to recipes’ weights for quick reference.
What’s the best way to organize spices for baking?
Pull out the “baking crew” from your main spice rack and give them a separate home: cinnamon, nutmeg, cloves, ginger, cardamom, allspice. Use a small turntable or magnetic tins on a side panel. You’ll reach them constantly, so don’t make them a scavenger hunt.
Do I need a baking cart if my kitchen is super tiny?
A cart helps, but you don’t need one.
A portable caddy, a turntable, and a dedicated drawer can cover 90% of needs. If you do get a cart, choose one with a low profile, guard rails (to prevent runaway canisters), and at least one shallow drawer for tools.
How do I keep measuring cups and spoons from getting lost?
Hang them inside a cabinet door on small hooks and keep them nested. If you buy new ones, pick magnetic sets that snap together.
One set in the baking drawer, one hanging—done.
What should I do with rarely used items like cookie stamps or specialty pans?
Store them in a labeled bin on a high shelf or in an under-bed storage box if your kitchen laughs at storage. Group by theme: “Holiday Baking,” “Decorating Tools,” “Specialty Pans.” You’ll still find them quickly when the mood strikes.
Is a kitchen scale worth the space?
Yes, 100%. A slim digital scale slides into a drawer and replaces a pile of measuring cups.
You’ll get consistent bakes and fewer dishes. That’s not minimalism; that’s common sense.
Conclusion
Small kitchens can crank out big bakes when you give everything a home and keep only what you actually use. Contain the dry goods, file your pans, and build a tight baking zone with tools at arm’s reach.
Add a few MVPs—turntables, risers, a caddy—and you’ll stop chasing ingredients and start making magic. IMO, organized shelves taste like success. And cookies.
Definitely cookies.