
A clear, well-planned desk saves you time, lowers stress, and makes work feel easier. You don’t need fancy organizers to get there—just a few smart tweaks and low-cost tools. Use this guide to create a setup that works for your space, your tasks, and your budget.
Start with a 30-Minute Reset
Before buying anything, give yourself a clean slate. This makes it easier to see what you truly need to organize and what can live elsewhere.
- Empty the desk surface and drawers completely. Wipe everything down.
- Sort items into four piles: Keep on desk, Keep nearby, Store elsewhere, Donate/Recycle/Trash.
- Group “Keep on desk” items by task (note-taking, charging, mailing, daily tools).
- Measure your desk’s depth and width, plus drawer interiors. Keep notes for shopping.
Tip: Be ruthless with duplicates. Keep one good pen cup’s worth of pens, not a shoebox. Excess supplies can go into a labeled bin in a closet.
Design a Simple Desk Layout That Fits How You Work
For more ideas, see our guide on how to budget home office setup ideas.
Plan zones so the most-used items are within arm’s reach. A basic layout stops clutter from drifting back onto your work surface.
Core zones to set up
- Primary work zone: Keyboard, mouse, notebook, and one pen. Keep this area clear of decor and piles.
- Quick-grab tools: Scissors, 3–5 pens/highlighters, sticky notes, and charging cables. Contain these in a cup or small tray on the non-dominant side.
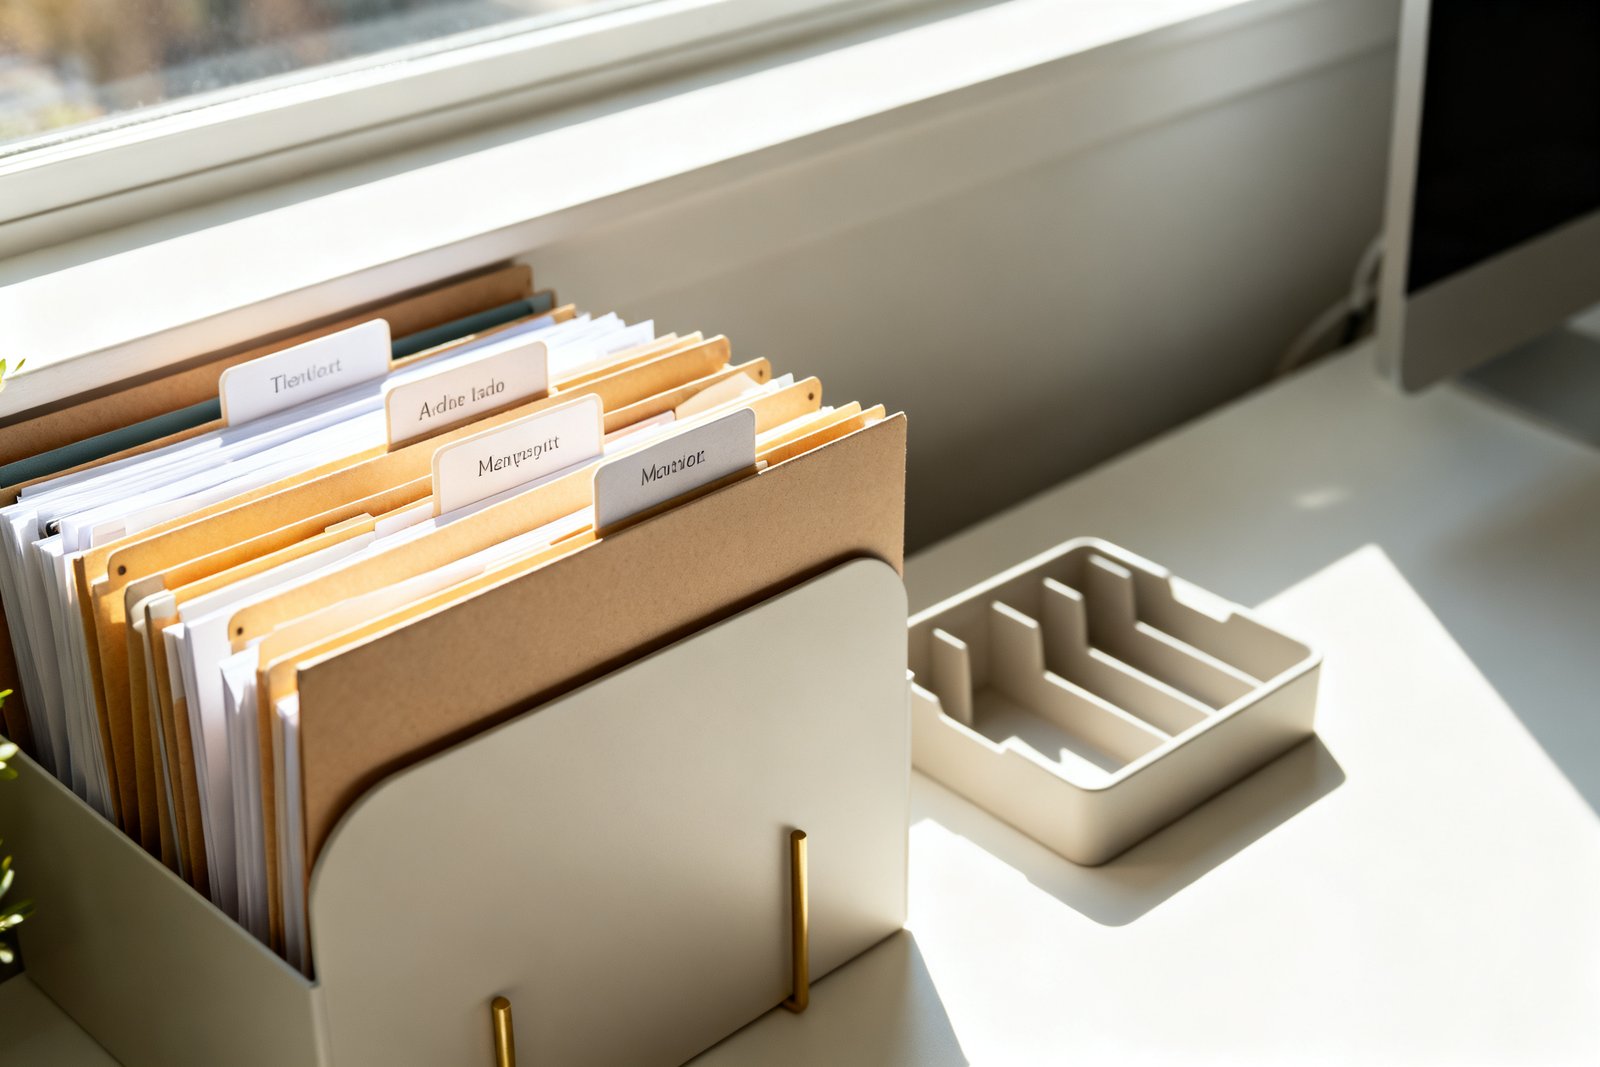
- Paper parking spot: A single vertical file or letter tray for “In” (to process today) and “Out” (to file or mail). Limit to one of each.
- Reference zone: A stand for your phone/tablet and a small notepad holder. These live just outside your keyboard area.
Keep decor slim: one plant or a small photo, not both, if surface space is tight. Visual calm makes it easier to focus.
Budget Organizers That Actually Work
A clear desk clears the mind. Bring that same order to the rest of your home with our free 5-Day Budget Home Reset.
You don’t need a matching set to be organized. Mix and match low-cost pieces that fit your exact drawers and habits.
For the desktop
- Pen cup alternatives ($0–$5): A clean food can wrapped in contact paper, a mason jar, or a thrifted mug.
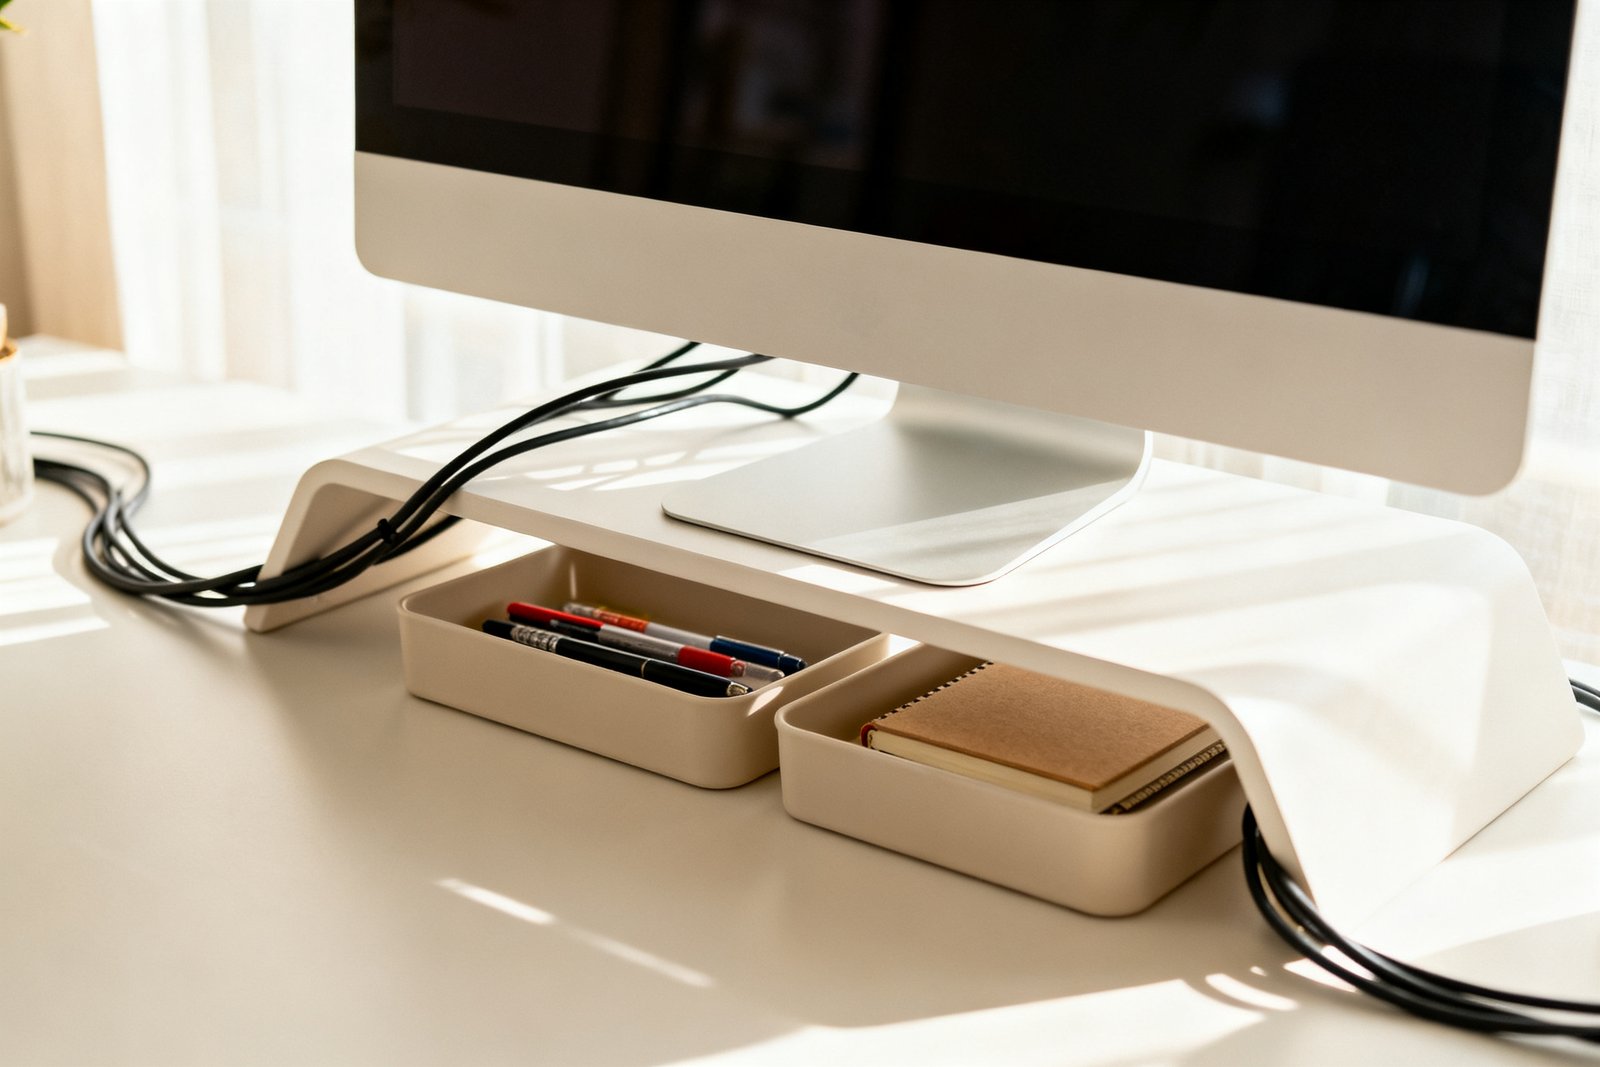
- Cable control ($6–$15): Adhesive cable clips or a $10 under-desk cable tray. A binder clip at desk edge also holds a charging cable for free.
- Paper corral ($6–$20): A vertical file stand keeps papers upright and visible. Repurpose a magazine holder as an “In/Out” sorter.
- Small catch-all tray ($2–$12): A melamine kitchen tray or bamboo drawer organizer to hold keys, USBs, and sticky notes.
Inside the drawers
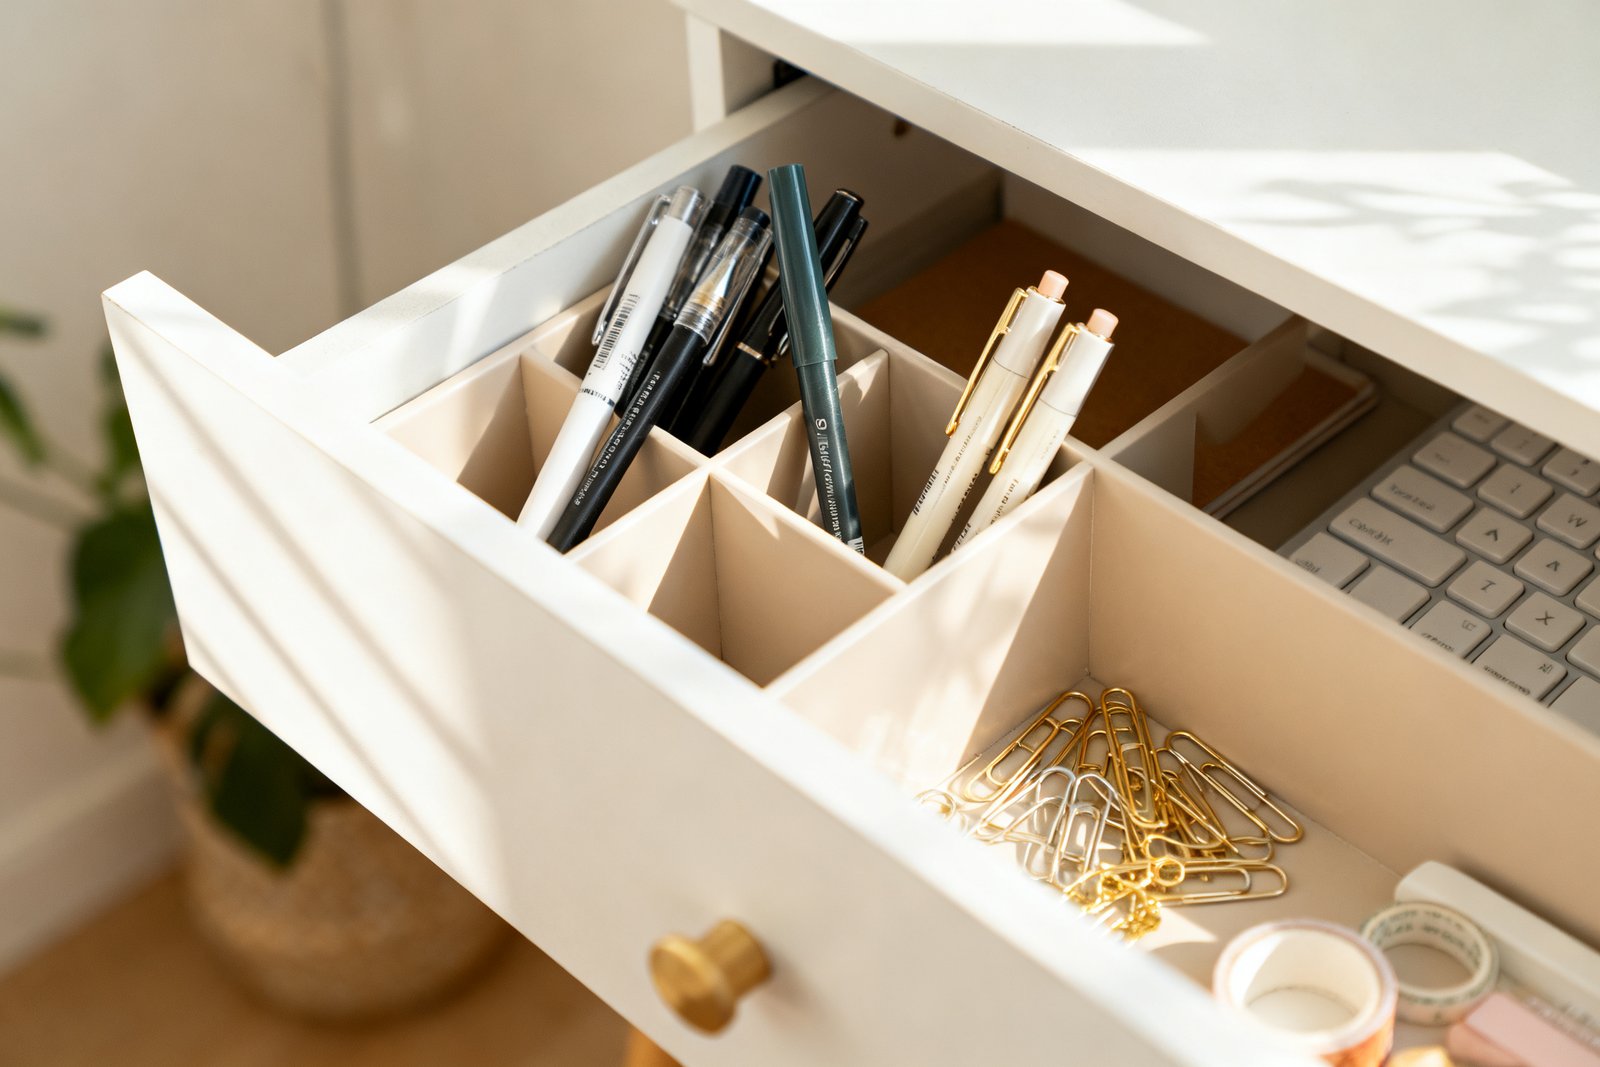
- Modular bins ($8–$20 per drawer): Mix 3–4 small bins for pens, clips, sticky notes, and batteries. Dollar-store packs work well.
- DIY dividers ($0–$5): Cut cardboard or foam board to create custom sections. Cover edges with tape for smoothness.
- File drawer on a budget ($10–$25): Hanging file frame plus folders. If no file drawer, a desktop file box under the desk works.
Under and around the desk
- Rolling cart ($25–$45): Adds three tiers for printer paper, mailers, and extra pens. Tucks beside or under most desks.
- Wall file pockets ($12–$25 each): Move paper storage off the desk entirely. Mount 1–3 near eye level.
- Pegboard ($15–$35): Mount above the desk for scissors, headphones, and small shelves. Great for renters with removable hooks.
Reality check: Buy organizers after you’ve sorted. Measure twice to avoid returns and wasted money.
Make Paper and Digital Work Together
It also helps to check out maximize vertical storage.
Most desk clutter is paper. Set up a simple flow so nothing lingers without purpose.
A two-tray system
- In: New mail, notes, receipts. Process daily.
- Out: Items to file or send. Empty 2–3 times per week.
For bills and statements, go paperless where possible. For what remains, create 3–5 hanging file categories (e.g., Taxes, Home, Work, Warranties, Receipts). Avoid micro-categories that are hard to maintain.
Weekly 15-minute routine
- Scan or snap photos of receipts you need to keep.
- File anything in “Out.” Recycle/shred what you don’t need.
- Reset desk zones: pens back in the cup, cables clipped, trays cleared.
Tools on the cheap: A free notes app, your phone camera, and a basic cloud drive handle 90% of “I might need this” paper.

Smart Cable and Tech Setup
Visual cable mess makes a desk feel chaotic. Tidy lines help your brain, not just your space.
Low-cost cable wins
- Label both ends of each cable with masking tape and a marker ($0).
- Bundle slack with Velcro ties ($5–$8 per pack) or twist ties.
- Mount a power strip under the desk with removable adhesive strips ($8–$15). Keep cords off the floor.
- Use a $10–$15 cable box to hide the power strip if it stays on the floor.
Ergonomics on a budget
- Raise your monitor with a sturdy stack of books or a $15–$25 stand.
- Angle a desk lamp to the opposite side of your writing hand to reduce shadows ($12–$30).
- Add a $10 wrist rest or fold a small towel for support.
Example: Tiny Desk, Tight Budget
You have a 36-inch-wide desk in the living room and $60 to spend. You work on a laptop, handle household mail, and need space for a notebook.
Solution: You keep the surface clear except for a laptop stand ($20), pen mug (free, old mug), and a single-letter tray ($8) for “In.” You attach two adhesive cable clips ($6) behind the desk to hold your charger and headphones. Inside the single drawer, you use three dollar-store bins ($6) for pens, clips, and sticky notes. A vertical file ($12) on the shelf below holds five hanging folders for Home, Work, Taxes, Warranties, and Receipts. Masking tape labels ($0) mark each folder and both cable ends. Total: $52 before tax, and your notebook lives beside the keyboard with room to write.
Maintenance: 5-Minute Daily, 15-Minute Weekly
Organization sticks when the upkeep is quick and obvious. Embed it into what you already do.
Daily (5 minutes)
- Clear the “In” tray of anything under two minutes to handle.
- Return tools to their homes: pen in cup, scissors on hook, cables clipped.
- Wipe crumbs and dust. Clear your primary work zone.
Weekly (15 minutes)
- File “Out,” scan receipts, recycle/shred paper.
- Top up supplies (note pads, stamps) from a backstock bin, not the desk.
- Review if any item keeps floating—assign it a permanent spot or let it go.
Mistakes to Avoid
- Buying bins before measuring: Leads to poor fit and wasted money.
- Over-categorizing: Ten micro-bins create friction. Use broad categories you’ll actually maintain.
- Keeping duplicates on the surface: One stapler, one tape. Extras live in a labeled backstock bin.
- Ignoring vertical space: Wall pockets, pegboard, or a small shelf free up inches fast.
- Letting “temporary” piles live on the desk: Give every new paper a home the day it arrives.
Quick-Start Checklist
- Empty, clean, and sort desk contents.
- Define zones: Work, Tools, Paper, Reference.
- Measure drawers and desktop space.
- Choose 3–5 low-cost organizers that fit your measurements.
- Set up “In/Out” paper trays and 3–5 file categories.
- Tame cables with clips, labels, and a mounting plan.
- Schedule daily 5-minute and weekly 15-minute resets.
FAQ
How do I keep my desk clear if I’m a “piler” by habit?
Give your piles a legal parking spot: a single vertical file or letter tray labeled “In Today.” Limit it to what fits in that container. At day’s end, move anything still there to either “Out” (to file) or to a calendar task so it doesn’t linger without a plan.
What if I share the desk with someone else?
Create color-coded or labeled bins for each person’s essentials (one small desktop bin and one file folder each). Agree on shared tools (stapler, tape) and keep them in a neutral zone. Do a 3-minute handoff to reset the desk between users.
How can I organize without any drawers?
Use vertical solutions: a wall-mounted file pocket for paper, a pegboard for tools, and a narrow rolling cart that tucks under or beside the desk. Add a small desktop tray and one pen cup. Keep the rest in the cart to prevent surface clutter.
What’s the cheapest way to make it look cohesive?
Stick to one material or color for visible pieces—white, black, or natural wood tones are easy to mix. Wrap mismatched containers with contact paper or washi tape, and use consistent labels. Visual unity makes inexpensive items look intentional.
If you want to keep going, take a look at organize supplies in a small space.
Final Thoughts
A well-organized desk is about clear zones, simple routines, and a few well-chosen tools—not a full shopping cart. Start with what you own, add budget organizers to solve specific problems, and keep your layout honest about how you actually work. With a 5-minute daily reset, your desk will stay calm, functional, and ready for whatever’s next.