
A big blank wall can make a room feel unfinished, but filling it doesn’t have to be expensive. With a plan, a tape measure, and a few low-cost materials, you can turn that emptiness into a focal point. Here’s how to choose the right approach for your space and budget—and actually get it done.
Start With a Plan: Size, Style, and Spend
Before you buy anything, figure out what your wall needs to do. Do you want it to display art, add storage, improve acoustics, or simply feel finished? A simple plan saves money by keeping you from buying the wrong thing twice.
Measure and map it out
- Measure the wall’s width and height, note outlets/vents/thermostats.
- Decide how much of the wall you want to cover (a single statement piece vs. an arrangement across the whole span).
- Sketch ideas or tape out sizes on the wall with painter’s tape so you can visualize scale.
Pick a lane (or two)
Choose one primary approach—gallery art, shelving, paint treatment, textiles, or DIY panels—and optionally a secondary accent (like a picture ledge under a mural). This keeps the wall cohesive. Set a realistic budget range (for example, $50-$100 for a simple gallery, $120-$250 for shelving, $30-$80 for a paint treatment).
Budget-Friendly Statement Walls With Paint
For more ideas, see our guide on how to hang a gallery wall step by step.
Paint is the fastest, cheapest way to fill visual space. It costs more time than money and can dramatically shift a room’s proportions and mood.
Color blocking and stripes ($30–$80)
Use a quart or gallon of paint to create a wide horizontal band, a large rectangle “faux headboard,” or vertical stripes. A single gallon ($25–$45) plus painter’s tape ($5–$10) can cover most large walls with a pattern. Keep lines crisp by burnishing tape edges and removing tape while paint is slightly wet.
DIY mural or geometric shapes ($30–$100)
Project a simple design using a phone projector (borrow or $20–$40) or grid the wall lightly with pencil. Stick to 2–3 colors for simplicity. Abstract arcs, overlapping circles, or mountain silhouettes read modern and hide minor wall flaws.
Two-tone wall with a ledge ($50–$120)
Paint the bottom two-thirds in a darker shade and add a thin picture ledge (1×3 pine, $8–$12 plus brackets $3–$6 each). It creates depth and gives you a flexible display without a full gallery investment.
Gallery Walls Without the Price Tag
Filling one big wall can transform a room—want to refresh the rest? Our free 5-Day Budget Home Reset gives you one simple, low-cost task a day.
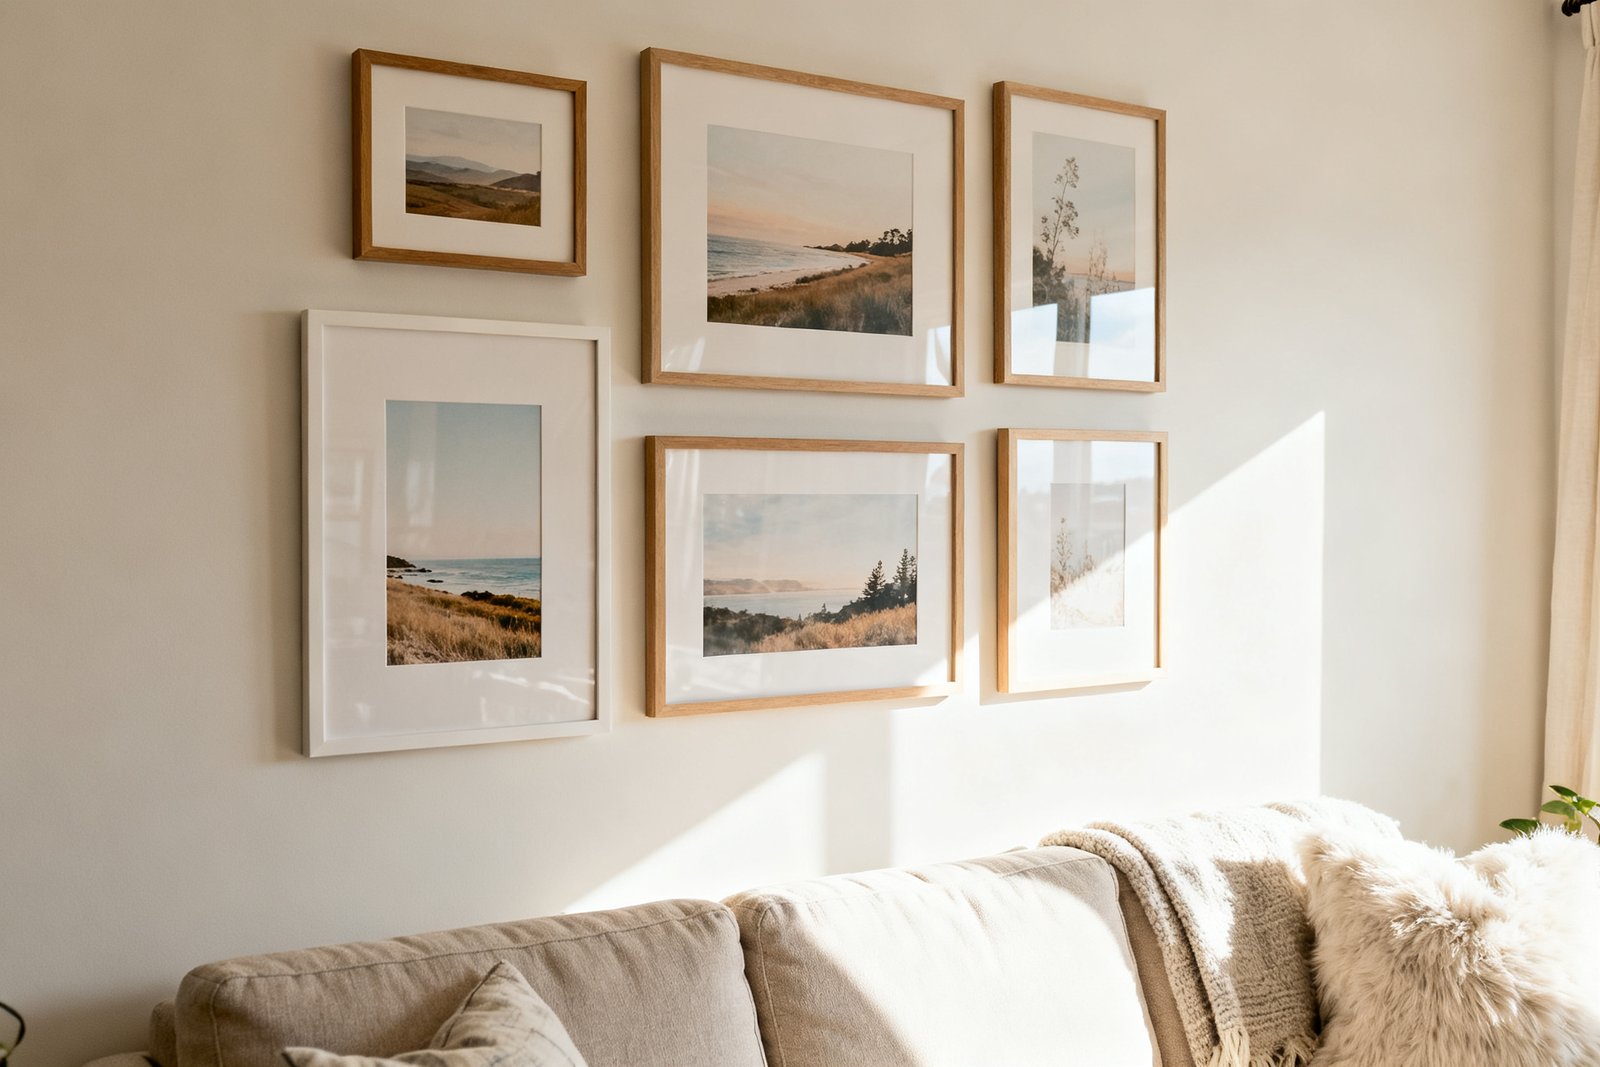
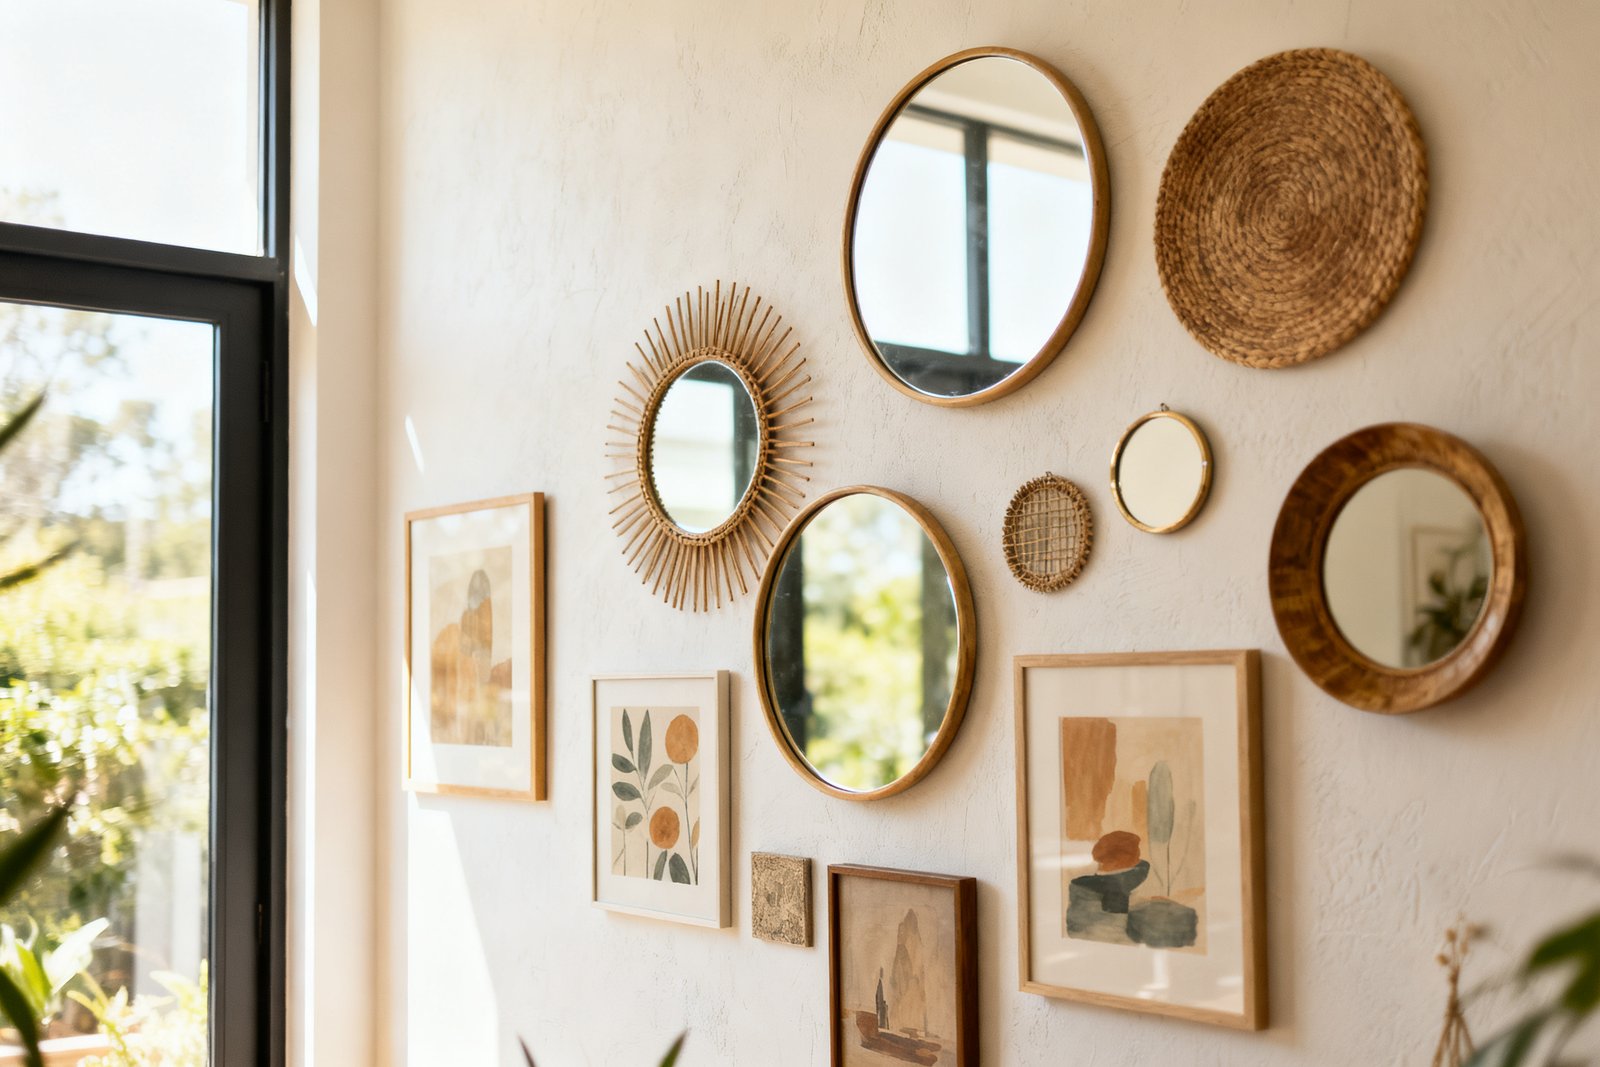
Gallery walls fill space while showcasing personality. You don’t need fine art or matching frames—consistency in spacing and color carries the look.
Where to source art cheap or free
- Printables and public-domain art: Libraries and museums often have free high-resolution images. Print at home or use a local shop ($1–$5 per 8×10, $8–$15 for 16×20).
- Thrift stores and yard sales: Frames for $1–$6 each. Look past the art—spray the frame a uniform color ($6–$8 per can).
- Personal items: Postcards, maps, kids’ art, fabric scraps, vintage book pages—mat them for polish (bulk mat packs $10–$20).
Layout that works
- Choose a theme (all black frames, botanical prints, travel photos) to tie it together.
- Lay pieces on the floor and aim for 2–3 inches between frames.
- Use kraft paper templates and painter’s tape to test placement on the wall.
- Hang with picture hooks or adhesive hangers for rentals. Use a level and start from the center.
Cost guide: Six to ten frames from thrift stores ($10–$40), spray paint for frames ($6–$12), prints ($10–$40). Total: $30–$90 for a full, balanced wall.
Textiles and Rugs as Wall Art
It also helps to check out budget wall styling ideas.
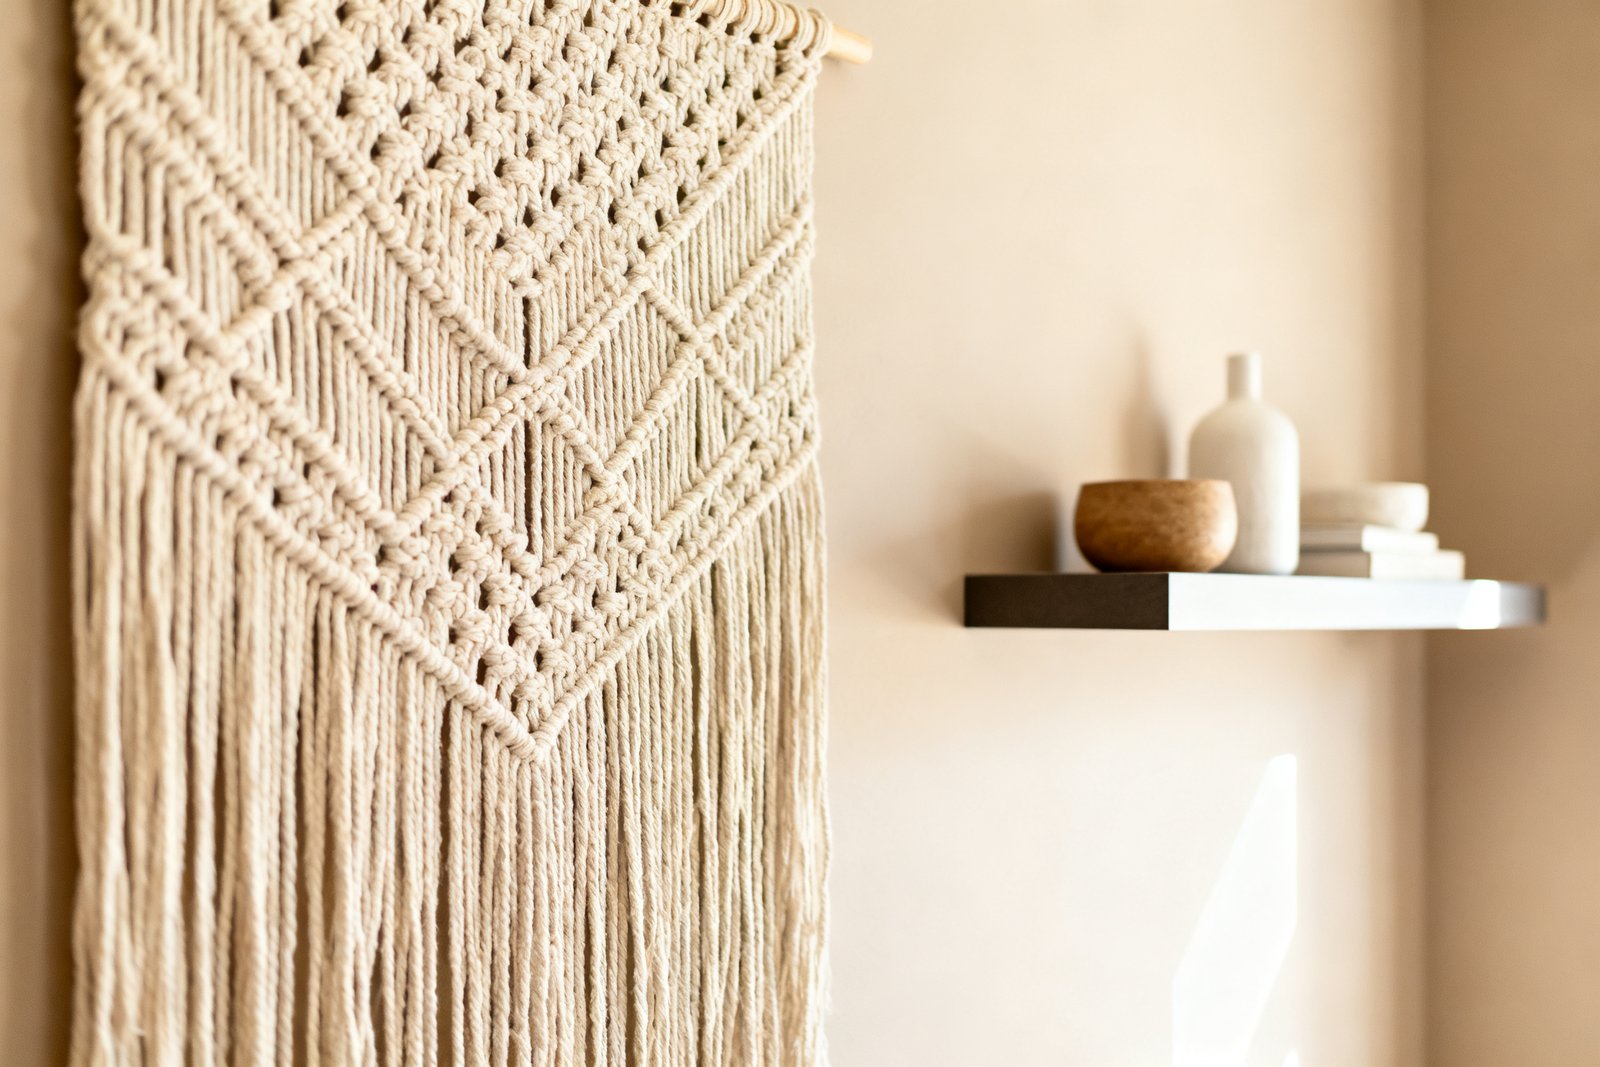
Soft materials add texture, absorb sound, and make large spaces feel warm. They also cover a lot of area with minimal holes.
Use a flat-weave rug or quilt ($20–$120)
Thrift a clean flat-weave or kilim-style rug ($25–$70) or hang a quilt/coverlet. Attach a simple wood batten or curtain rod ($10–$25) and curtain clips ($6–$10) to distribute weight. Keep it 6–12 inches above furniture for balanced height.
DIY fabric panel triptych ($25–$60)
Wrap foam insulation boards or canvas panels with fabric or drop cloth. Staple or duct-tape on the back. Hang three panels with 2–3 inches between for a modern, oversized look without big art prices. Fabric remnants or painter’s drop cloths are inexpensive and forgiving.
Shelving That Doubles as Decor
Shelves fill vertical space and provide display and storage. Keep them light and consistent to avoid a cluttered look.
Picture ledges ($10–$60)
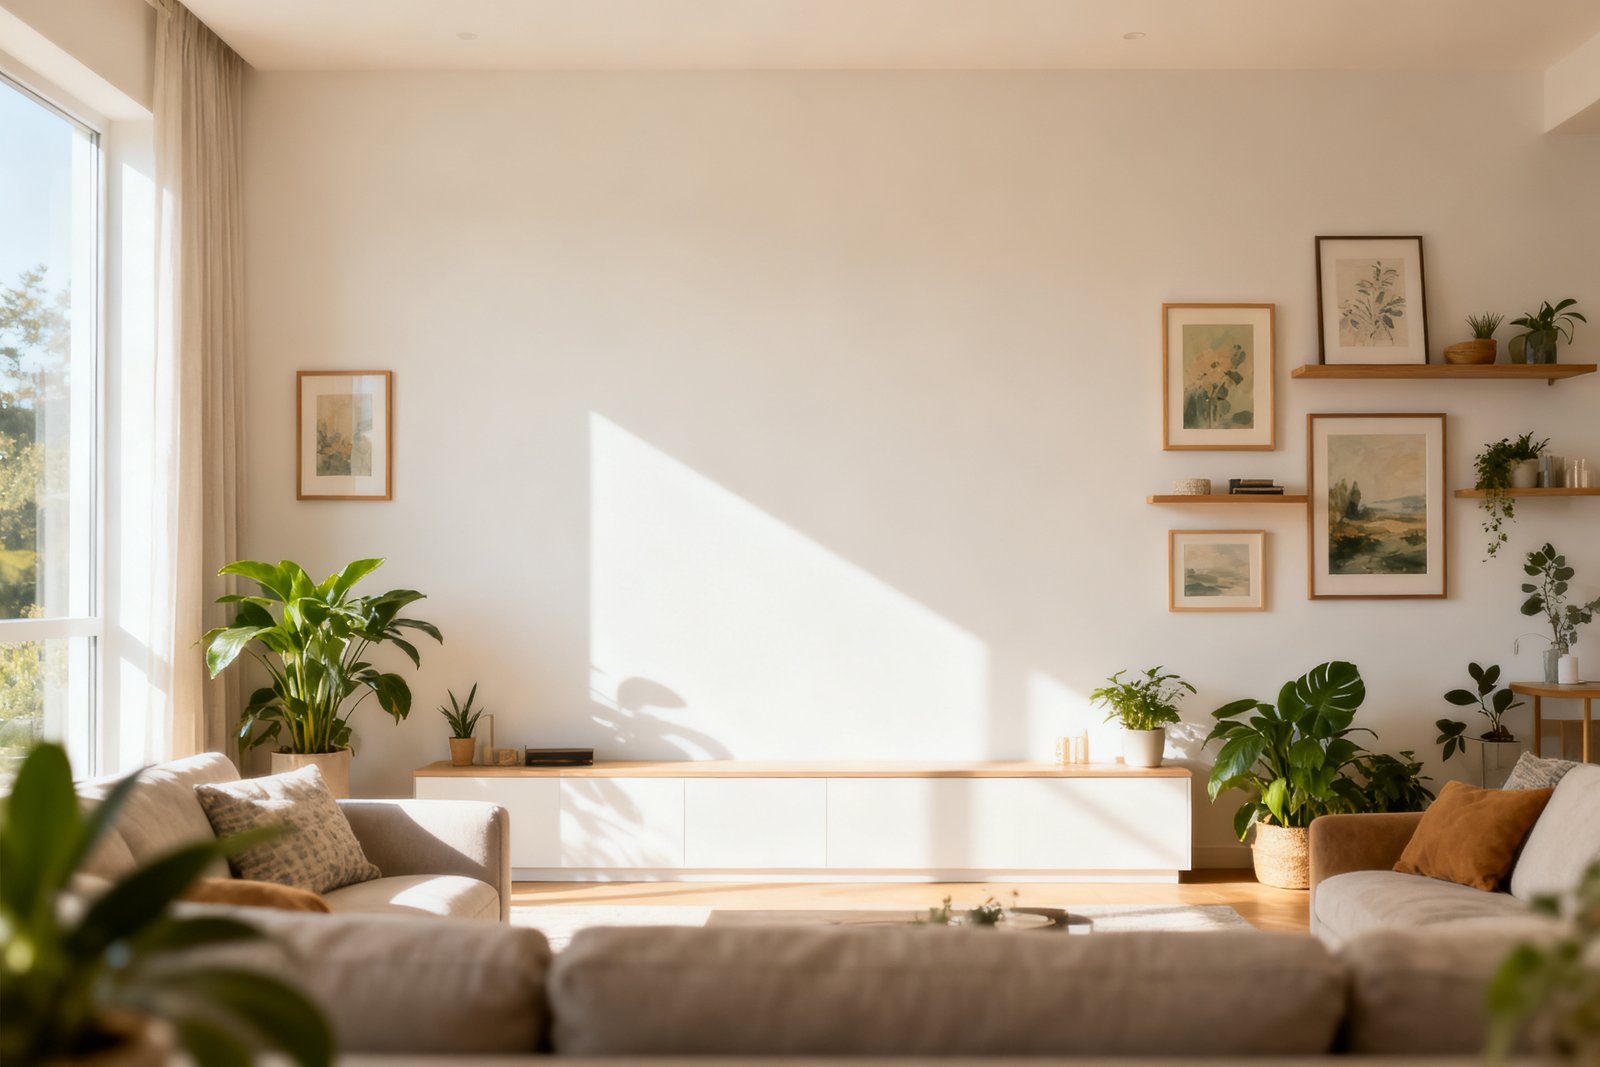
Install two or three ledges in a staggered arrangement to spread across a wide wall. DIY from 1×3 and 1×2 boards with wood glue and brad nails, or buy premade. Style with framed prints, small plants, and books—easy to rotate seasonally without new holes.
Bracket or floating shelves ($30–$120 per section)
Use three long shelves to span a wall: pine boards (1×10 or 1×12) stained to match floors or furniture. Mount brackets into studs or use proper anchors. Mix closed baskets ($8–$15 each) with decorative items for a tidy look.
Grid cubbies on a budget ($40–$120)
Repurpose a basic 8- or 9-cube organizer horizontally and wall-anchor for safety. Style with plants, framed art, and storage bins. It visually “grounds” a big wall and works behind a sofa or in an entry.
Architectural Interest: Trim, Slats, and Panels
If you want a custom look without custom prices, add lightweight trim. It’s paint-driven and material-light, so costs stay manageable.
Board-and-batten lite ($50–$150)
Use thin lattice or MDF strips (1–2 inches wide) to create vertical battens across the lower two-thirds of a wall. Cap with a small ledge and paint everything one color. This creates a focal plane that looks built-in without heavy carpentry.
Wood slat feature ($60–$180)
Cut thin strips from plywood or use pre-cut lattice. Space evenly (1/2–3/4 inch) and mount onto painted drywall. Stain or paint. Use where you want texture but not a full gallery—behind a TV or sofa works well.
Peel-and-stick panels or decals ($20–$120)
Quick-install options like beadboard-look panels or large botanical decals cover big space fast. Use sparingly to avoid overwhelming the room. Ideal for rentals if removable.
Oversized Art Without Oversized Prices
One large piece can anchor a room, but you don’t need to buy a gallery canvas. Build the scale yourself.
Engineer prints and poster frames ($20–$60)
Print a high-contrast photo as an engineer print (black-and-white is cheapest) and place in a poster frame. For a softer look, print botanical line drawings or maps. Use a mat or leave borderless for a modern feel.
DIY canvas from drop cloth ($25–$75)
Stretch a painter’s drop cloth over a homemade frame from 1×2 furring strips. Prime with gesso or leftover paint. Create simple abstract art with a limited palette—large gestures read best from across the room.
Framed wallpaper sample or fabric ($20–$80)
Use a large frame and fill it with a beautiful wallpaper sample or remnant fabric. Repeat this in pairs or a series of three for more presence.
Realistic Example: Living Room 12-Foot Wall, $150 Budget
Goal: Make the wall behind a sofa feel finished and cohesive, with flexibility to update seasonally.
- Paint a wide horizontal color block 36 inches tall across the wall in a moody green. Supplies: tape, roller, one gallon ($45).
- Install two 72-inch DIY picture ledges above the color block. Materials: 1×3 and 1×2 pine, screws, wood glue, wall anchors ($35–$45).
- Style with thrifted frames sprayed matte black (6–8 frames, $20–$35) and a mix of public-domain botanical prints and family photos ($10–$20 to print).
- Add two trailing plants in lightweight wall planters at the far ends to visually stretch the composition ($15–$25).
Total: Approximately $125–$170, depending on frame finds and plant choices. The color block grounds the sofa, the ledges fill horizontal space, and the changeable art keeps it fresh.
Mistakes to Avoid
- Going too small: Tiny frames on a big wall look like clutter. Aim for fewer, larger pieces or tighter groupings.
- Ignoring scale with furniture: Keep major elements aligned—tops of art within 6–8 inches above a sofa; center of art near eye level (around 57–60 inches).
- Skipping anchors: Heavy items need studs or proper anchors. Check weight ratings to avoid repairs later.
- Overmixing styles: Pick a unifying element—frame color, wood tone, or a recurring color—to prevent visual noise.
- Not testing layouts: Use paper templates or painter’s tape to avoid extra holes and returns.
Quick Decision Guide
- Fastest under $50: Paint color block or geometric shapes; hang a large tapestry with a tension rod if possible.
- Under $100 with flexibility: Picture ledges plus DIY prints.
- Add storage and decor: Long shelves or a low cubby unit with art above.
- Textural warmth: Hang a rug, quilt, or three fabric panels.
- Custom look: Simple trim treatment painted to match your walls.
FAQ
How high should I hang art on a large wall?
As a baseline, aim for the center of the artwork or grouping to be about 57–60 inches from the floor. If hanging above a sofa or console, keep the bottom of the art 6–8 inches above the furniture, and try to make the art span about two-thirds the width of the furniture piece.
Can I mix frames and still look cohesive?
Yes—choose one or two elements to unify the mix. For example, keep all frames black and wood, or keep mats the same color and spacing consistent at 2–3 inches. Repainting thrifted frames a single color is the easiest shortcut.
What are good renter-friendly options?
Use adhesive hooks/strips for lightweight frames, peel-and-stick decals or panels, and tension rods to hang textiles within a nook. Picture ledges can sometimes be mounted with minimal small anchors; patching tiny holes at move-out is simple with spackle.
How do I avoid making a big wall feel cluttered?
Go for larger-scale elements, repeat colors or materials, and leave intentional negative space. If you use shelves, style with a mix of closed storage and a few larger decor items instead of many small pieces. Step back often as you install to check overall balance.
If you want to keep going, take a look at cheap printable wall art.
Final Thoughts
Decorating a large blank wall on a budget is about smart scale, simple materials, and a clear plan. Choose one main approach, keep details consistent, and build in flexibility so the wall can evolve with your space. With a weekend and a modest budget, you can turn a blank expanse into a practical, polished feature that suits your style.