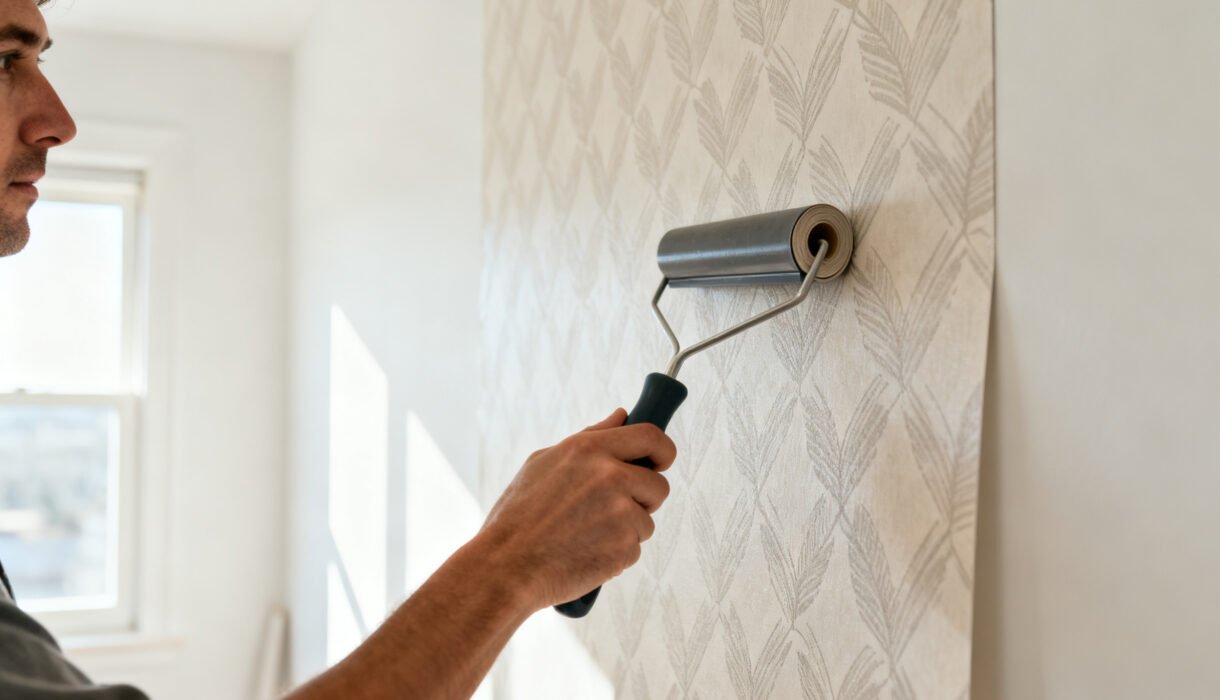

You can transform a room in under a day with peel-and-stick wallpaper—no paste, no mess, no tears (well, mostly). The secret? Prep, patience, and a few pro tricks you wish you knew sooner.
If you can stick a sticker without wrinkling it, you can do this. Ready to turn that boring wall into a show-off moment?
For more removable upgrades, see Budget Accent Wall Ideas (No Paint or Damage Required), Budget Kitchen Backsplash Ideas (Peel-and-Stick), and How to Decorate a Rental Without Painting.
Pick the Right Wallpaper (and the Right Wall)
Not all peel-and-stick papers behave the same. Some feel thick and forgiving; others stretch if you tug too hard.
Read reviews and look for words like “repositionable” and “matte finish.” Gloss looks flashy but highlights every bump. Choose your wall wisely. Freshly painted walls need time to cure—wait at least 2–4 weeks.
Avoid heavy texture like orange peel or knockdown. The smoother the wall, the better the stick (and the easier your life).
Measure Like You Mean It
You’ll need enough rolls from the same dye lot so the color matches. Measure wall width and height, then:
- Add 10–15% extra for pattern matching and oops moments.
- Check the label for repeat size—larger repeats waste more during matching.
Gather Your Tools (a.k.a.
Your Anti-Frustration Kit)
You don’t need a toolbox, but a few things make this go smoothly:
- Sharp utility knife with extra blades (dull blades tear vinyl—don’t do that)
- Plastic smoothing tool/squeegee with a soft edge
- Level or laser level (a plumb line beats eyeballing)
- Tape measure and pencil
- Step stool or ladder
- Microfiber cloth and mild cleaner
- Hair dryer (for warming stubborn bubbles and edges)
Prep the Wall Like a Pro
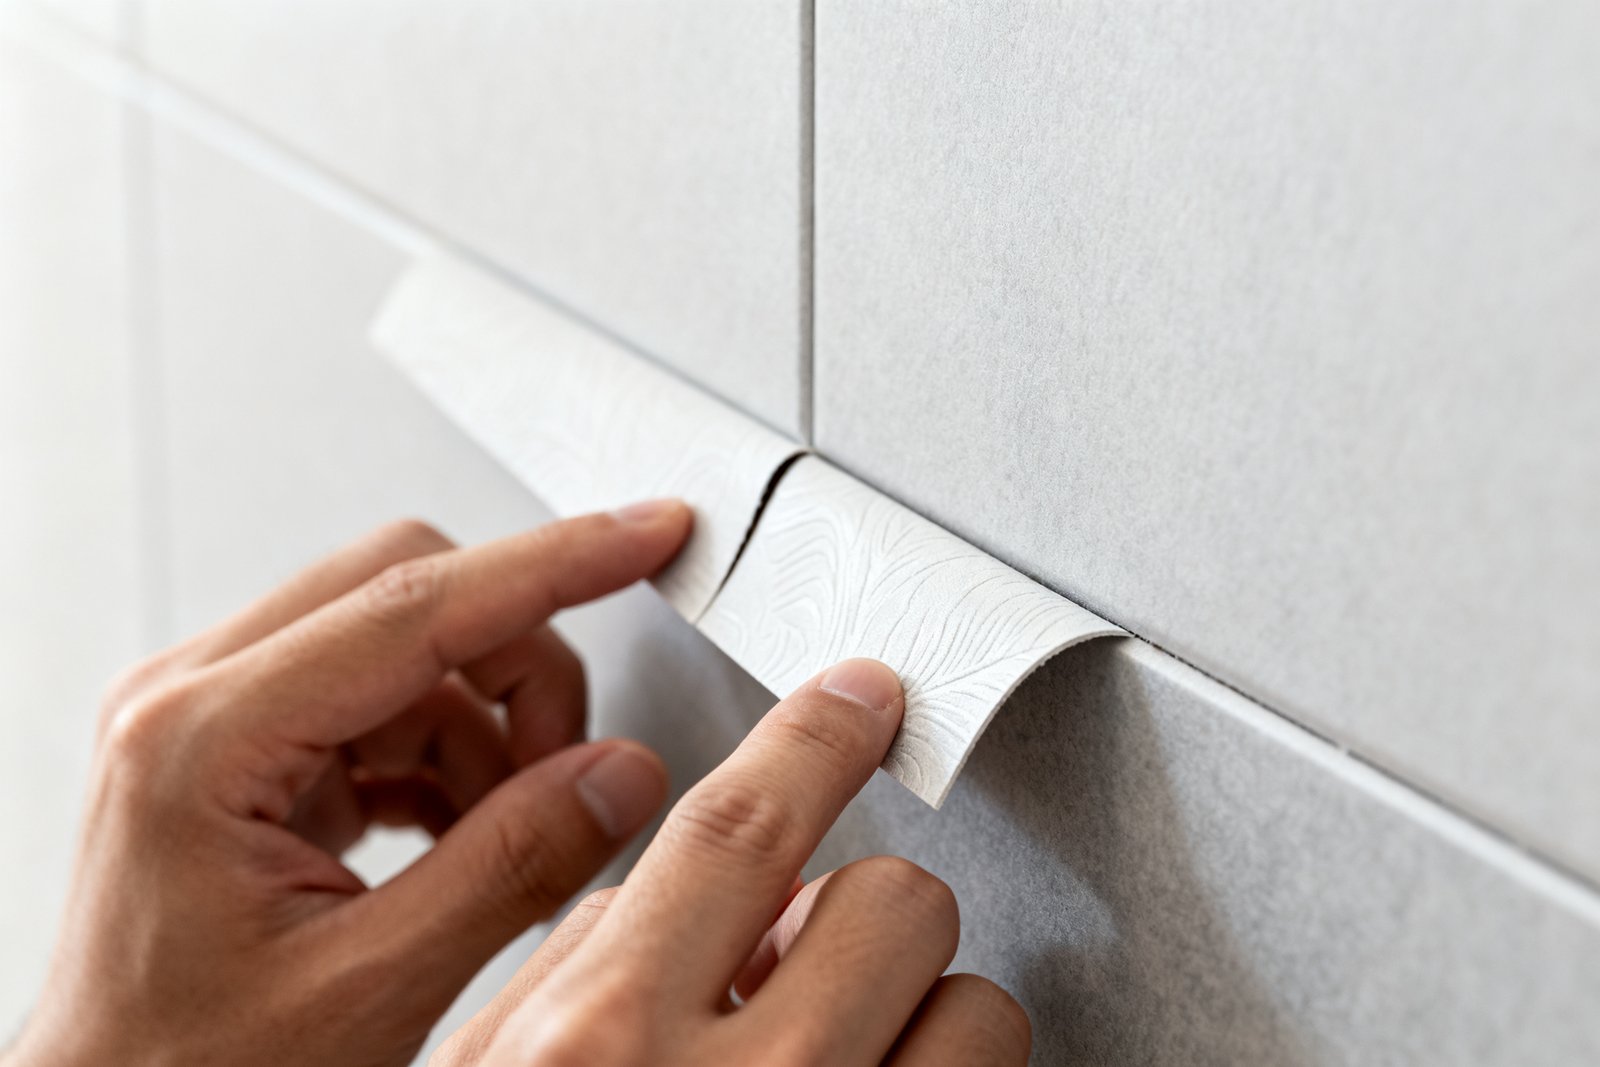
No one enjoys prep, but it decides your finish. Give the surface a spa day:
- Clean the wall. Use mild soap and water. Rinse and let it dry fully.
- Patch and sand. Fill holes and smooth bumps.
The paper telegraphs imperfections. Sorry, it’s honest like that.
- Prime if needed. On flat latex paint or raw drywall, a wallpaper primer improves adhesion and future removal. IMO it’s worth it.
- Remove obstacles. Pop off outlet covers and switch plates.
Turn off power first, FYI.
Make a Straight Start Line
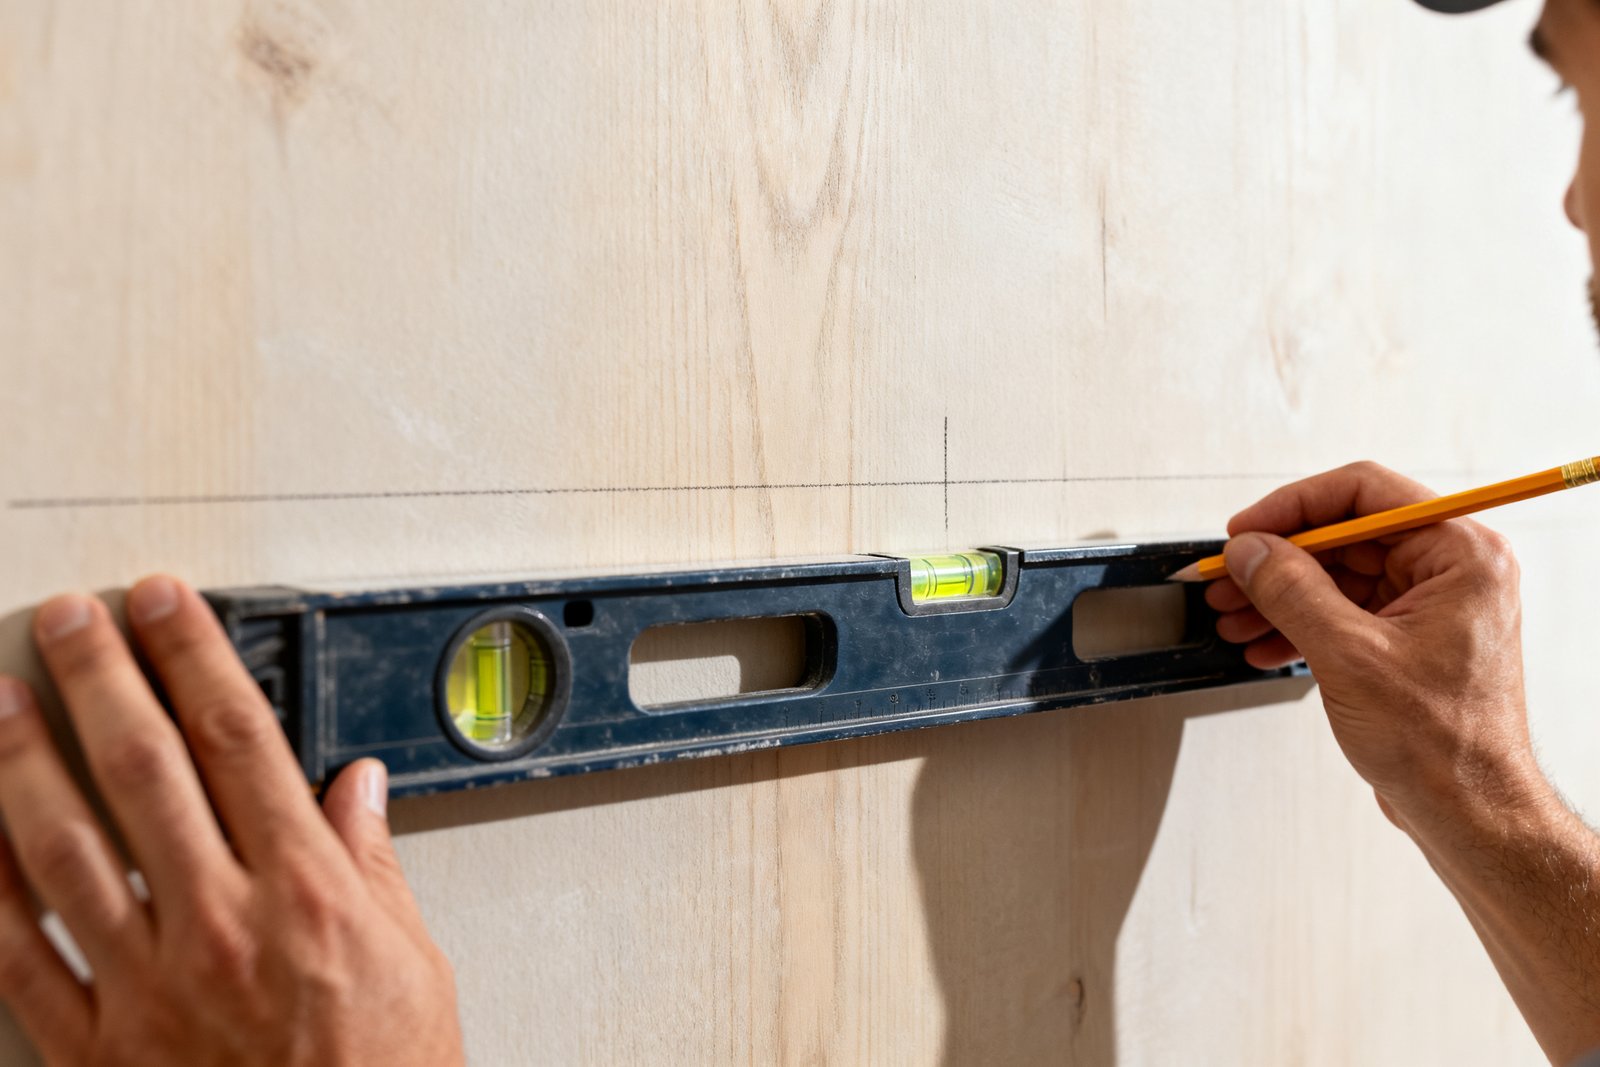
Walls tilt, floors sag, and ceilings deceive. Don’t trust them. Use a level to draw a plumb line one panel width from the corner.
Your first strip follows that line, not the corner. This avoids the dreaded “why is my pattern slanting?” moment.
Cut and Dry-Fit Before You Commit
Roll out the first panel on a clean floor. Cut it with 2–3 inches extra at top and bottom.
If your paper has a big repeat, match the next panel on the floor now and mark the top edges with a light pencil tick so you keep the sequence. Do a quick dry-fit by holding the panel to the wall. Check the pattern against the ceiling line and the plumb mark.
If something looks off now, it won’t magically fix itself later.
Stick It: The Bubble-Free Method
Time to peel and stick—with strategy, not vibes.
- Peel 6–10 inches of backing from the top and crease it behind the panel.
- Align the top of the panel near the ceiling, overlapping by about an inch for trimming. Line the edge with your plumb mark.
- Anchor the top by pressing lightly. Don’t fully commit yet—you want forgiveness.
- Work down slowly, peeling more backing as you go.
Smooth from the center out with the squeegee in gentle, overlapping strokes.
- Chase bubbles to the nearest edge. If a big wrinkle shows up, lift and restick. Don’t stretch the paper—stretching invites seams to shrink later.
Trim Like You Mean It
Once the panel sits flat:
- Press the top and bottom edges tight with the squeegee.
- Use a fresh blade to trim along the ceiling and baseboard.
Replace blades often—IMO every 1–2 panels.
- Cut around outlets by slicing an “X,” folding flaps back, and trimming the excess. Replace covers for a crisp finish.
Wallpaper is just the start—want a whole-room refresh plan? Try the free 5-Day Budget Home Reset →
Match the Pattern at Seams (This Is Where Magic Happens)
Your second panel decides if the wall looks pro or “Pinterest fail.” Align the pattern first, not the edge. Most peel-and-stick wants a butt seam—edges touch, no overlap.
If the manufacturer says overlap, follow that, but most modern papers don’t. Tips for flawless seams:
- Dry-fit the match at eye level before peeling more than a few inches of backing.
- Hang top to bottom, keeping gentle tension so it doesn’t drift.
- If you see micro-gapping, warm the seam lightly with a hair dryer and press together.
- A soft cloth beats a hard squeegee directly on seams—less risk of stretching.
Inside and Outside Corners
Corners rarely run straight. For inside corners:
- Run the panel into the corner and onto the next wall by 1/2 inch.
- Start the next panel on the new wall, overlapping that 1/2 inch, and use your plumb line again.
For outside corners, split the difference: wrap 1/2 inch around and start fresh on the adjacent face.
Fully wrapping a panel around corners invites peel-back.
Deal with Obstacles Without Swearing (Much)
Vents, windows, and radiators try to rattle you. You’ve got this:
- Windows/doors: Hang past the trim, then trim tight with a fresh blade and a metal straightedge.
- Vents: Remove covers, paper over the opening, then trim out the interior. Replace covers later.
- Thermostats/shelves: If they don’t come off easily, cut a small relief slit and trim carefully around them.
Finishing Touches That Matter
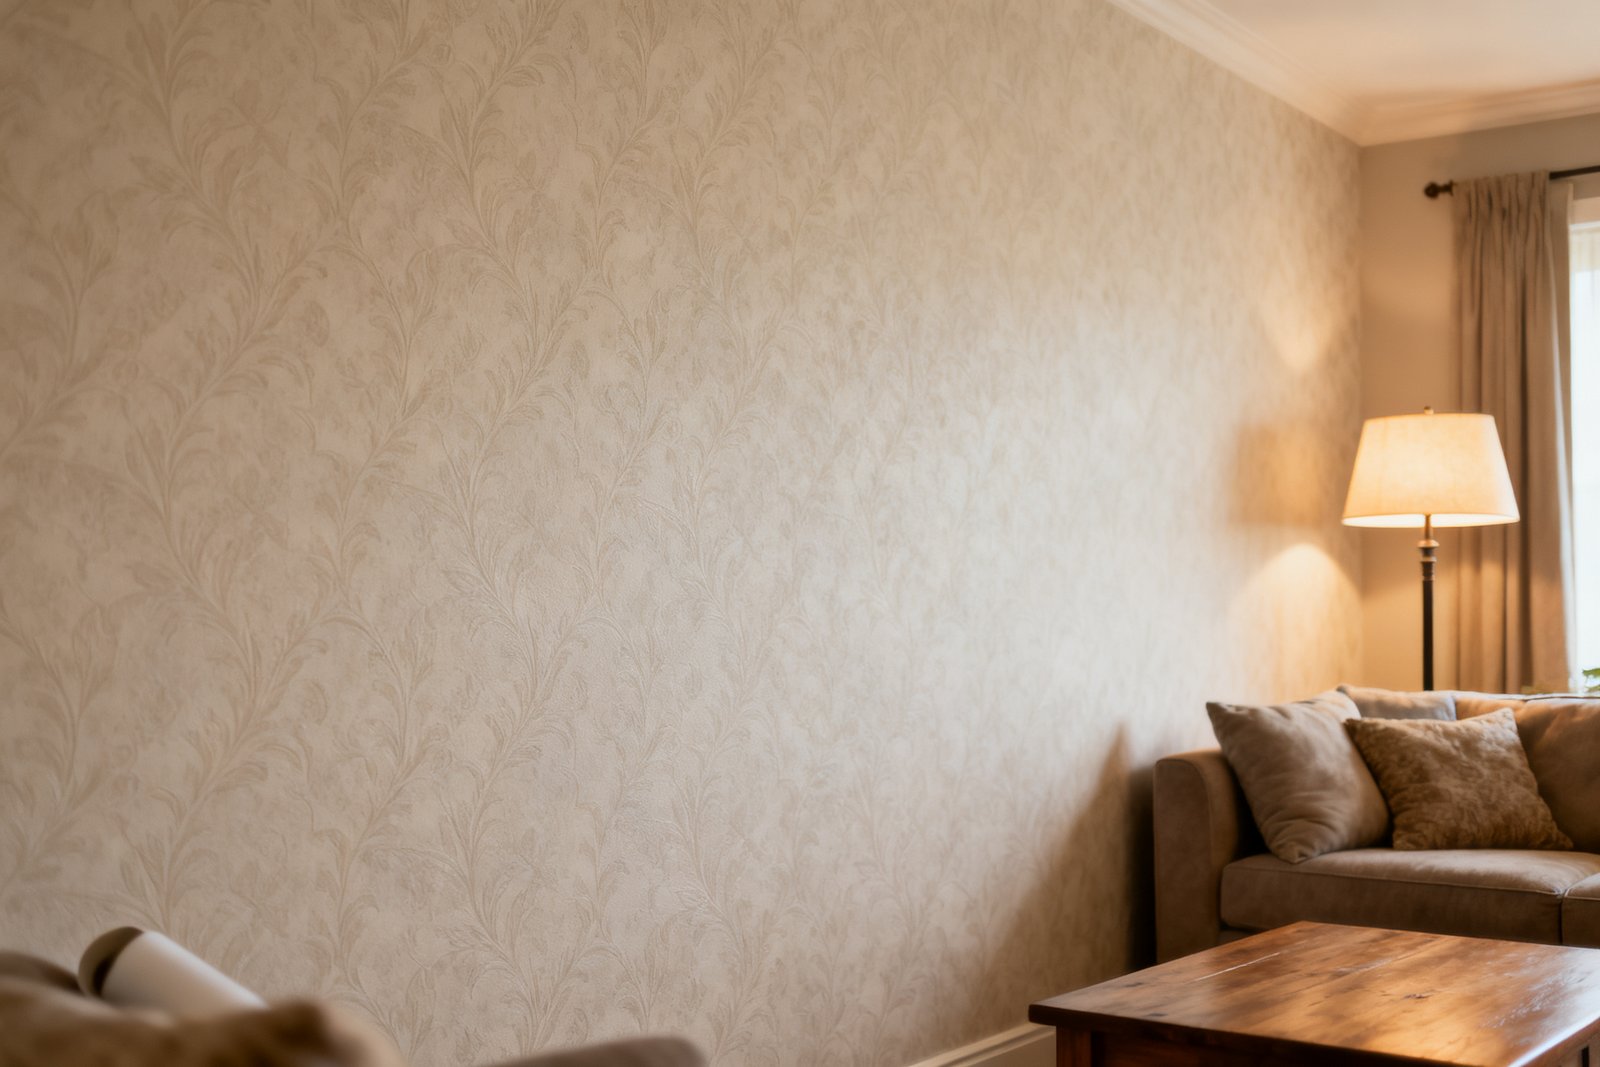
When everything’s up, step back and do a quality sweep:
- Re-smooth seams with a cloth.
Heat stubborn edges lightly for better adhesion.
- Check lighting. Turn on lamps and overhead lights to spot bubbles or missed trims you couldn’t see before.
- Let it rest. Avoid scrubbing or steaming for 24 hours while adhesives settle.
Maintenance and Cleaning
Most peel-and-stick cleans up with a damp cloth. Skip harsh chemicals and abrasives. Spot test if you’re nervous.
If a corner lifts later, warm it, press it, and hold for 30 seconds. Easy.
FAQ
Will peel-and-stick wallpaper damage my paint when I remove it?
Usually no—on properly cured, clean, non-textured latex paint. If the wall was dusty, glossy without primer, or freshly painted, you might lift some paint.
Test a small piece first and, FYI, primer improves both adhesion and clean removal.
Can I install it over textured walls?
Light texture sometimes works, but you’ll see the pattern telegraph and get weak adhesion. For a flawless finish, skim-coat and sand, or use a lining paper first. If you must try, buy a sample and test an inconspicuous area before committing your weekend.
How do I handle pattern repeats without wasting tons of paper?
Check the repeat size on the label and order extra accordingly.
Stagger your cuts to align the pattern efficiently, and keep offcuts for shorter drops over doors or windows. Big, bold repeats need more overage—10–15% is realistic, IMO.
What if bubbles show up the next day?
Small bubbles often disappear as the adhesive cures. Persistent ones?
Warm the spot with a hair dryer, lift gently, and smooth back down from the center out. For tiny trapped air pockets, a pin prick plus a gentle smooth works.
Is peel-and-stick safe for bathrooms or kitchens?
Yes, with caveats. Choose vinyl or moisture-resistant papers and avoid direct splash zones or high-heat areas behind ranges.
Good ventilation helps. Wipe surfaces dry before installation, and let showers run after 24 hours, not immediately.
Can I reuse the wallpaper if I remove it?
Technically possible, practically unreliable. Once you remove it, dust and stretch reduce stickiness and alignment.
If you plan to move it, keep the backing paper and handle gently, but manage your expectations.
Conclusion
Peel-and-stick wallpaper rewards patience and prep. You clean, level a line, match your seams, and trim with a sharp blade—boom, flawless finish. Take it one panel at a time, don’t rush the corners, and keep that hair dryer handy.
Do it right once, and every time you walk past that wall, you’ll grin like you built the room yourself.