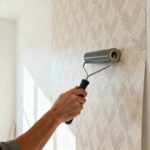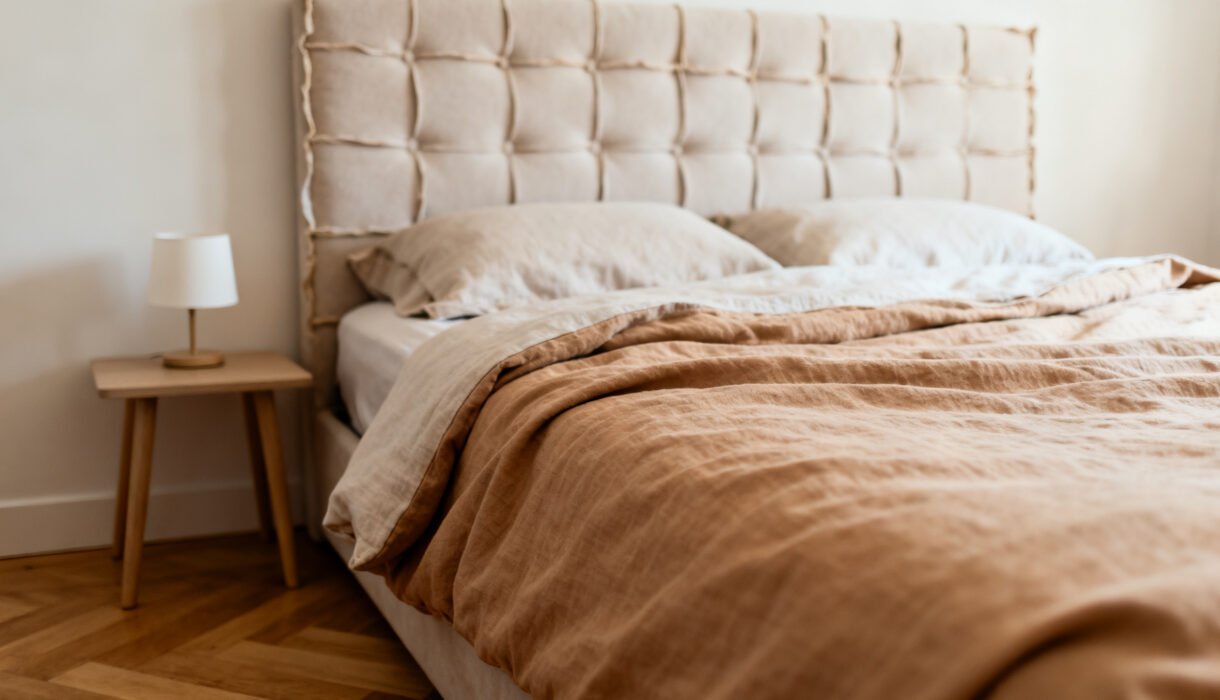

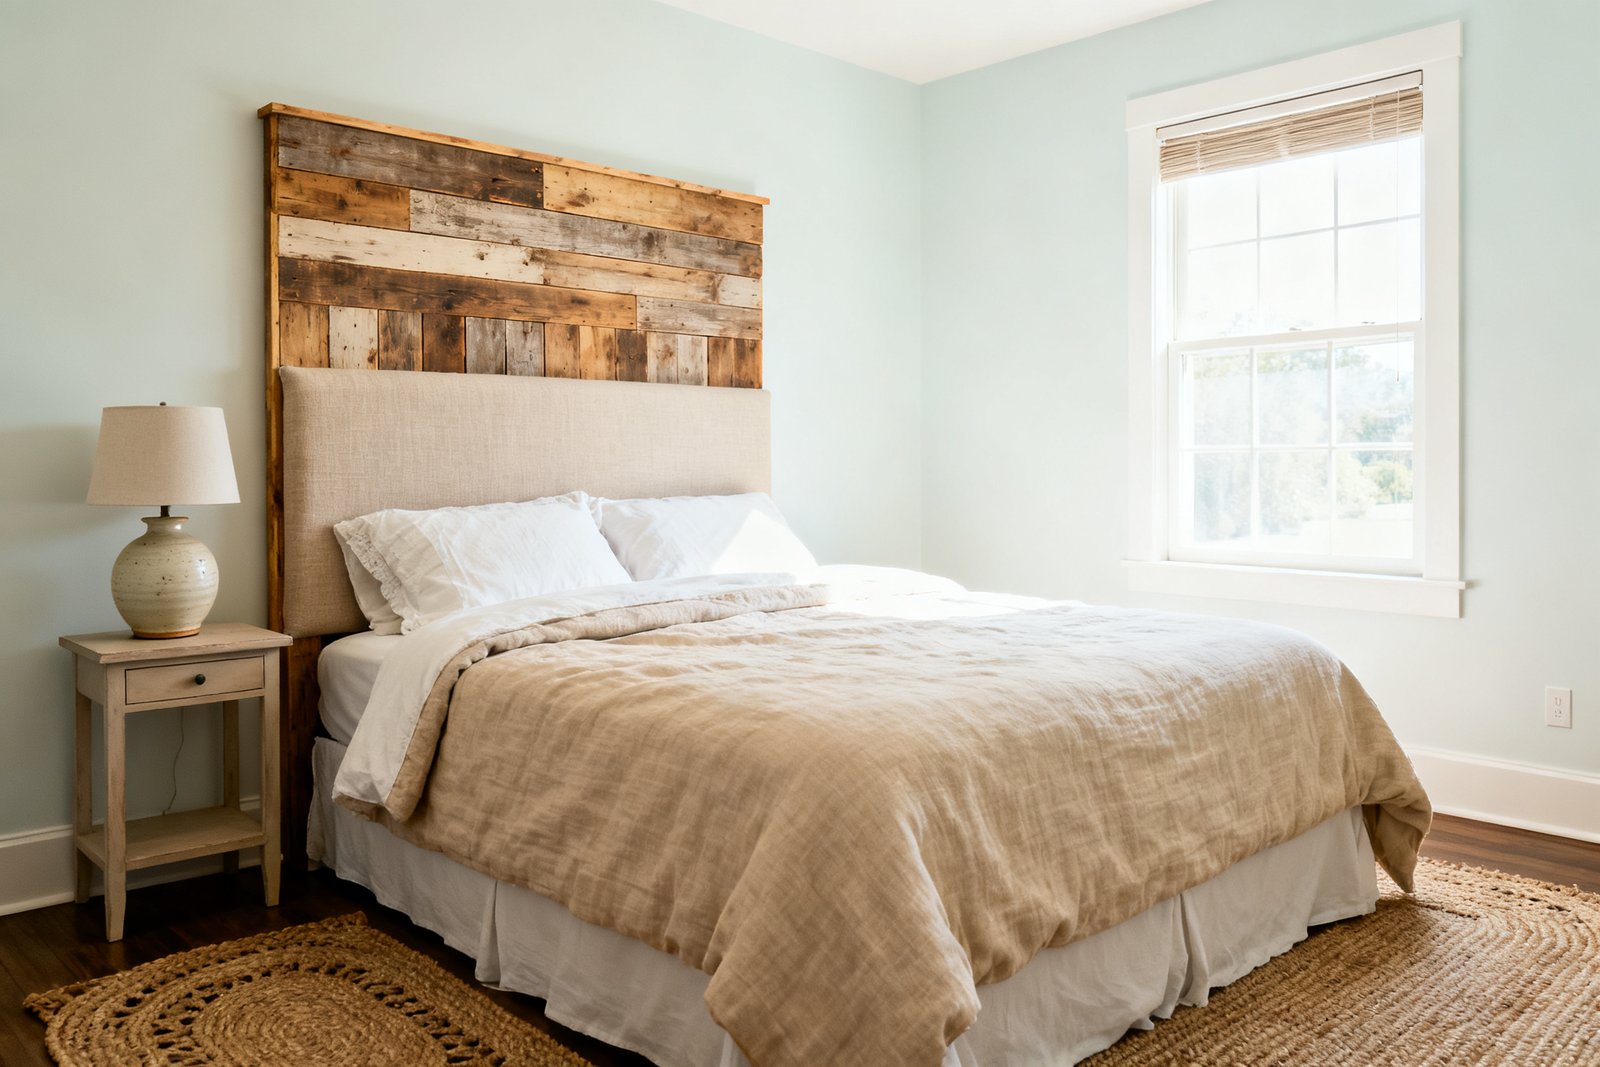
You don’t need a designer headboard to make your bedroom look intentional. You need a free weekend, a small budget, and a little creativity. Headboards do a ton of visual heavy lifting, and you can DIY one with basic tools and thrift-store karma.
Ready to turn that blank wall into a moment? Let’s build something awesome.
For more bedroom ideas, see How to Make a Small Bedroom Look Bigger, Minimalist Bedroom Décor Ideas You’ll Actually Want to Wake up To, and How to Style a Nightstand Like a Designer.
Why a DIY Headboard Totally Works
You set the vibe instantly with a headboard. It frames the bed, adds texture, and makes your room feel finished.
Plus, you can size it exactly how you want and pick materials that match your style and wallet. Bonus: Most DIY headboards mount to the wall, not the bed frame, so they stay solid and don’t wobble. If you rent, you can still pull this off with removable hardware or minimal holes.
No-Tools Fabric Headboard (a.k.a. The Rental-Friendly Hack)
Want a soft, cushy headboard without the drill drama?
Go fabric-forward. You’ll layer foam, batting, and fabric over plywood or even sturdy cardboard (yes, cardboard — calm down, it works). You’ll need:
- 2–3″ foam (or pool noodles if you’re scrappy), batting, and your fabric
- Staple gun (or heavy-duty fabric tape for the cardboard version)
- Plywood cut to width of bed + 6–10″, or thick cardboard panels
- Command picture strips or French cleat for mounting
How to:
- Cut foam to size and layer onto your board.
- Wrap in batting for smooth edges; pull tight and staple.
- Add fabric, staple on the back, and keep it taut. No weird wrinkles.
- Mount with your chosen hardware.
Frame the bed, then bask.
Style tip: Go with a heavy cotton, boucle, or velvet for a luxe look. Patterns hide life’s little imperfections, FYI.
Make It Custom
Add channel tufting with evenly spaced lines of staples on the back. Or create arches with separate foam panels covered individually, then mounted side by side for a playful silhouette.
Peel-and-Stick Genius: Faux Headboard Wall
Zero tools, maximum transformation.
Use peel-and-stick wallpaper or wood-look planks to “draw” a headboard right on the wall. Try these shapes:
- Simple rectangle: Crisp, minimal, and fast.
- Soft arch: Trace with a string-and-pencil hack; cut wallpaper to shape.
- Two-tone block: Paint the lower half and add a slim molding trim for edge definition.
Pro move: Add a 1×2 wood ledge across the “top” for a shelf moment. It makes the faux headboard read more intentional and gives your alarm clock a home.
Slatted Wood Serenity (On a Real Budget)
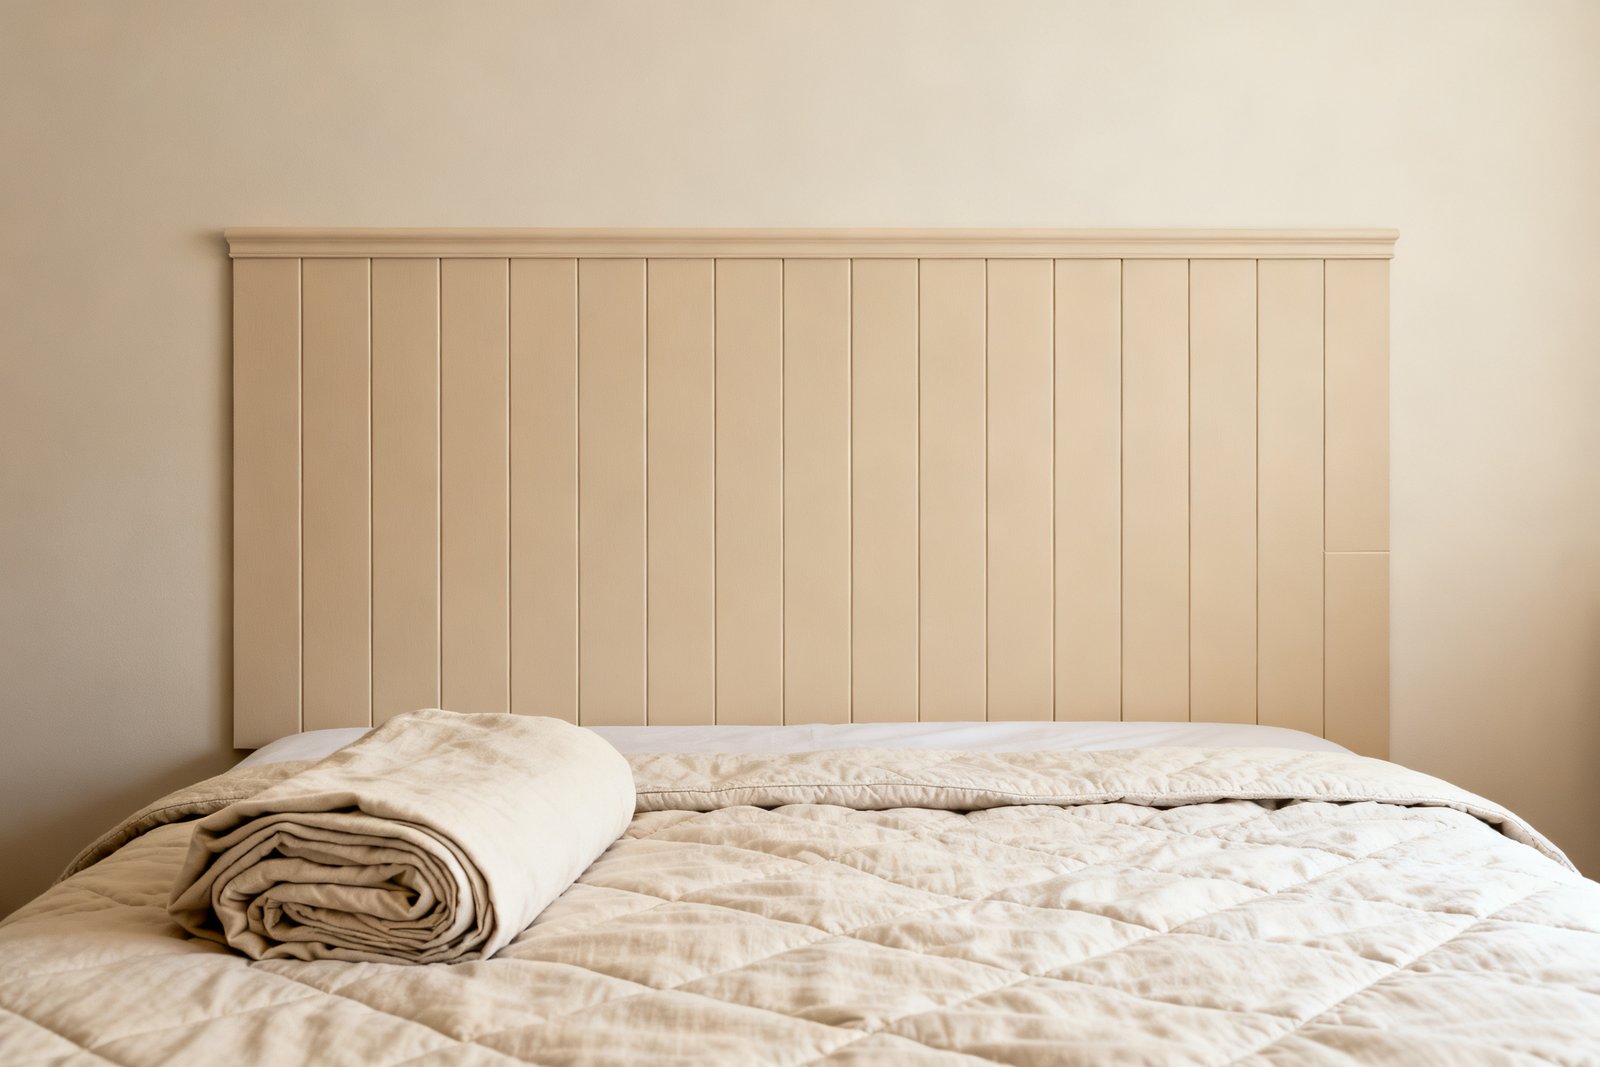
Wood slats look pricey but cost less than takeout if you buy furring strips or ripped plywood. The vertical lines stretch your space and feel spa-level calm. You’ll need:
- Furring strips or 1×2 boards (measure the width of your bed)
- Sandpaper, stain or clear coat, brad nails or screws
- 1 sheet of thin plywood as a backing (optional but easier)
How to:
- Cut slats to height.
Sand so your pillows don’t suffer splinters.
- Stain or seal for tone. Light oak = airy. Walnut = moody.
- Attach slats to the plywood backing with even spacing (use a coin as a spacer).
- Mount the finished panel to the wall with a French cleat or sturdy screws.
Cost saver: Use poplar lattice or rip a sheet of 1/4″ plywood into strips.
IMO, the uniform grain looks designer.
Add Softness
Slide in a narrow upholstered panel at pillow height between slats for a mixed-material look. Your back will thank you during doomscrolling.
Old Doors, New Life
One person’s discarded door is your new statement headboard. Solid wood doors or paneled closet fronts turn into instant charm with minimal effort. Shopping tips:
- Check architectural salvage, Facebook Marketplace, or the curb on bulk trash day.
- Look for solid wood, not hollow-core, if you plan to stain.
- Paneled detail adds depth; glass panels add drama (back them with fabric).
How to:
- Clean, sand, and paint or stain.
- Mount horizontally for a modern look or vertically for height.
- Add side sconces with cord covers to fake a built-in setup.
Safety Check
Anchor heavy pieces to studs.
No one wants a surprise headboard hug at 2 a.m.
Giving your bedroom a refresh? Start with a simple room reset. Try the free 5-Day Budget Home Reset →
Pegboard or Cane Panel: Light, Airy, and Cheap
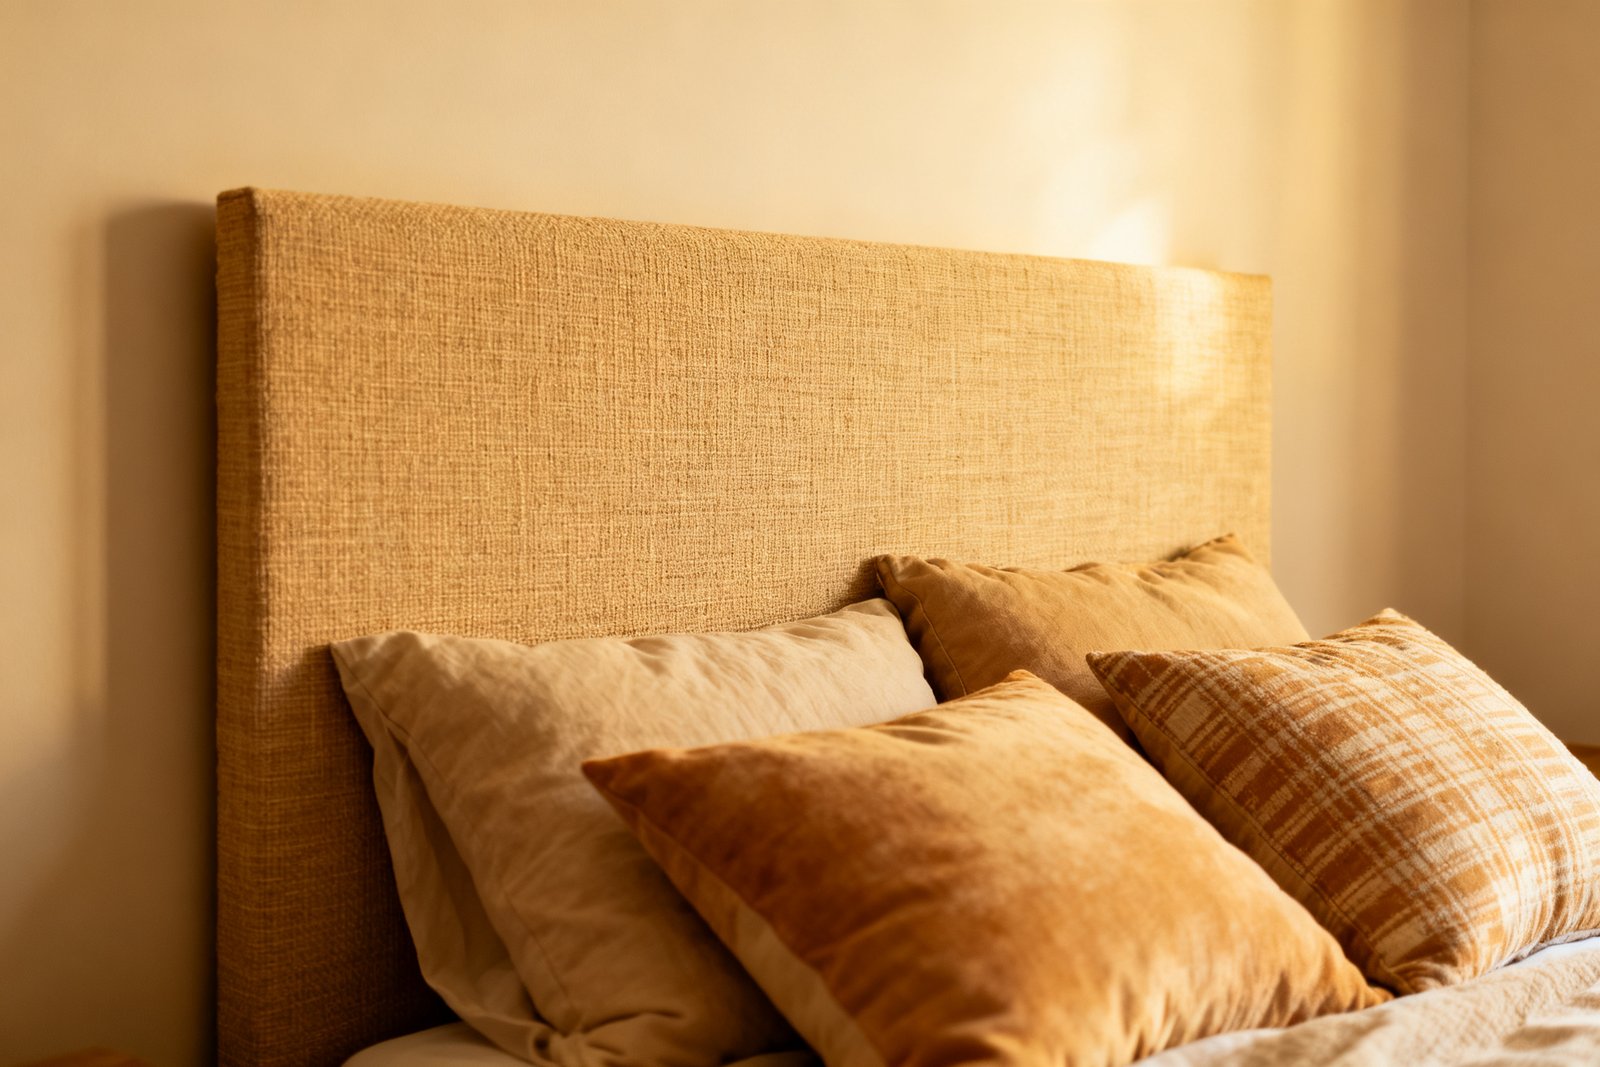
Perforated panels like pegboard or cane mesh create texture without bulk. They also give you surface area for accessories. Pegboard headboard:
- Paint the board your wall color for subtlety or a pop color for fun.
- Use peg hooks to hang small shelves, plants, or a reading light.
- Mount the board inside a thin wood frame for a polished edge.
Cane panel headboard:
- Build a simple rectangular frame from 1x2s.
- Stretch caning across the back and staple evenly.
- Finish the frame with a natural oil for that breezy, resort vibe.
Note: Cane needs support every 12–16″ to stay taut. Add center rails if you go wide.
Art-Led Headboards: Fabric, Rugs, and Tapestries
Hanging a textile behind the bed delivers instant color and softness.
Zero woodworking. Maximum effect. Good options:
- Vintage kilim rug or Moroccan wedding blanket
- Large tapestry or even curtain panels
- Quilt or pieced fabric for a cottage-core moment
How to hang:
- Install a curtain rod or wooden dowel just above pillows.
- Clip the textile with ring clips or sew a rod pocket.
- Layer fairy lights behind sheer fabric if you like twinkle (yes, we’re extra).
Scale Matters
Go wider than the bed for a high-end look. A 12–18″ overhang on each side feels balanced and intentional.
Built-In Look With Nightstands, Minus the Built-In Price
You can fake custom millwork with a wide headboard panel and simple shelves.
It’s the “I hired a designer” move on a drive-thru budget. Plan:
- Create a single panel slightly wider than the bed + nightstands.
- Finish it in wood, fabric, or textured paint.
- Mount two floating shelves at nightstand height on either side.
Power-up: Add a cord channel down the backside for chargers and sconces. Clean surfaces, zero chaos.
Finishing Touches That Make It Look Expensive
Strong DIYs shine with crisp details. Small upgrades matter.
- Edge banding: Cover raw plywood edges for a pro finish.
- Matte topcoat: Seal paint or stain so it resists scuffs.
- Strategic height: Top of headboard should hit around 48–60″ from the floor for most beds.
- Lighting: Clip-on or plug-in sconces protect your nightstand real estate.
- Texture mix: Pair wood with linen bedding; pair velvet with metal accents.
FAQ
How do I mount a headboard without ruining my rental walls?
Use Command strips for lighter fabric or wallpaper versions.
For sturdier builds, go with a French cleat and keep holes to stud locations only. Patch and paint when you move out, and your landlord will never know, IMO.
What size should my DIY headboard be?
Match the width of your bed or go up to 12–18″ wider for a designer look. For height, aim between the top of your mattress and 12–24″ above your pillows.
Test with painter’s tape before you commit.
Can I make a headboard if I own zero power tools?
Absolutely. Many options use pre-cut boards, peel-and-stick products, or no backing at all. You can have the hardware store cut plywood for you and finish the rest with a staple gun and sandpaper.
Easy win.
What fabrics work best for upholstered headboards?
Choose medium-to-heavyweight fabrics like velvet, chenille, denim, or upholstery-grade cotton. Avoid thin or super stretchy fabric because it shows every bump. Patterns and textured weaves hide wear and look rich, FYI.
How do I keep it from wobbling?
Mount to the wall instead of the bed frame.
Use at least two anchors into studs or a proper cleat. If you must attach to the frame, add L-brackets and tighten all hardware periodically.
What’s the cheapest option that still looks great?
Peel-and-stick wallpaper in an arch or block shape costs very little and looks intentional fast. A close second: a dowel + tapestry setup.
Both deliver big visual payoff with tiny budgets.
Wrap-Up: Your Headboard, Your Rules
You don’t need a trust fund to create a bedroom moment. You need a plan, a few materials, and the confidence to staple like you mean it. Start simple, aim for clean lines, and focus on texture.
Before you know it, you’ll have a headboard that looks custom and costs less than dinner for two—win, IMO.
Planning a full bedroom refresh around your new headboard? Get the Budget Bedroom Makeover Planner →