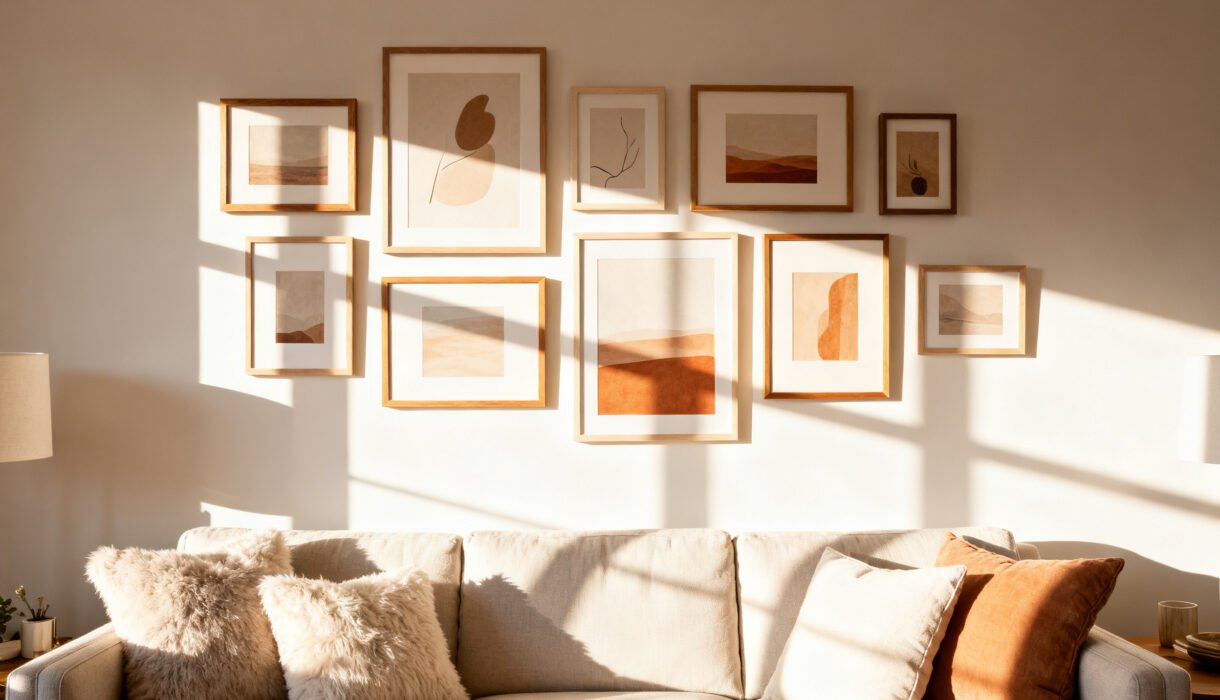

You’ve got bare walls and champagne taste on a lemonade budget. Perfect. A gallery wall can transform a room without bleeding your wallet dry.
You don’t need a designer, a laser level, or perfect symmetry. You need a plan, a pile of frames, and the confidence to hammer holes with purpose.
Pick Your Wall and Your Vibe
Choose the wall that needs the most love. Entryway?
Above the sofa? That awkward hallway you pretend doesn’t exist? Start there.
Then decide on a vibe: clean and modern, eclectic and collected, or bold and graphic. This isn’t forever-marriage level commitment, but it helps you shop and style with fewer meltdowns. Quick tip: Anchor your gallery around one “hero” piece. Bigger, bolder, or just your favorite.
It gives the whole wall direction and saves you from analysis paralysis.
Good Spots That Almost Always Work
- Over the sofa: Keep the gallery about two-thirds the width of the sofa.
- Above a console: Align the lowest frames 6–8 inches above the surface.
- Hallway: Go long and linear. Think “mini art museum,” but with better snacks.
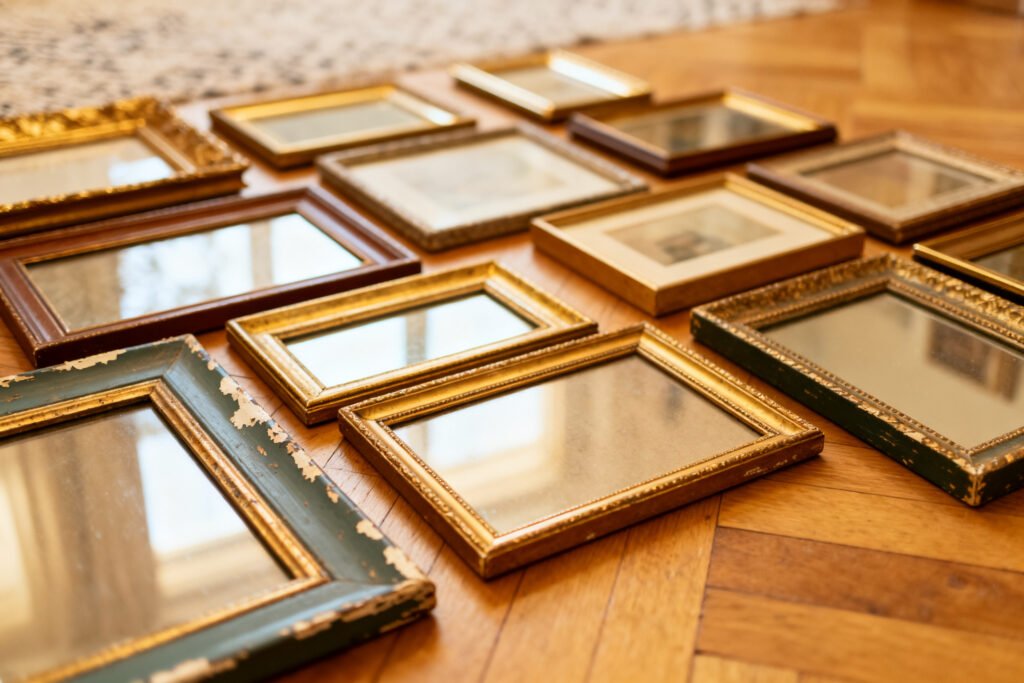
Source Art Without Spending Much
You can fill a wall for the cost of a pizza if you get scrappy. Skip pricey prints and go hunting.
- Thrift stores and flea markets: Look for frames first, art second. Ugly art? Replace it with something you like.
- Downloadable prints: Etsy, public domain archives (Met Museum, Smithsonian), and indie artists offer budget-friendly files. Print at home or use a cheap online service.
- Personal photos: Black-and-white prints of travel, family, or cityscapes look chic for pennies.
- DIY art: Abstract brushstrokes, pressed leaves, fabric swatches, or maps. If it fits in a frame, it counts.
FYI: Mix mediums. Photography + typography + drawings = layered and interesting. All canvases or all quotes can feel flat unless you like that minimalist lane.
Frames That Look Expensive (But Aren’t)
You don’t need museum frames.
You need consistency where it counts.
- Thrift your frames: Mismatched finishes can work. Spray paint them black, white, or brass for cohesion.
- Multipacks: Big box stores sell packs in common sizes that stretch your budget fast.
- Use mats: Mats make cheap prints look intentional. Buy pre-cut mats or DIY with a craft knife.
- Choose 2–3 finishes max: For example, black metal + natural wood. Keep variety controlled.
Sizes That Create Rhythm
Aim for a mix:
- 1 large anchor (18×24 or bigger)
- 2–3 medium (11×14 or 12×16)
- Several smalls (5×7 or 8×10)
This combo gives your wall movement without chaos. Think of it like a playlist—ballads, bops, and a couple of weird remixes.
Lay It Out on the Floor First
Never wing it on the wall. Your spackle will thank you.
Lay everything on the floor and play Tetris.
- Start with the anchor piece in the center of your layout.
- Add medium frames around it. Keep 2–3 inches between frames for a cohesive grid-adjacent look.
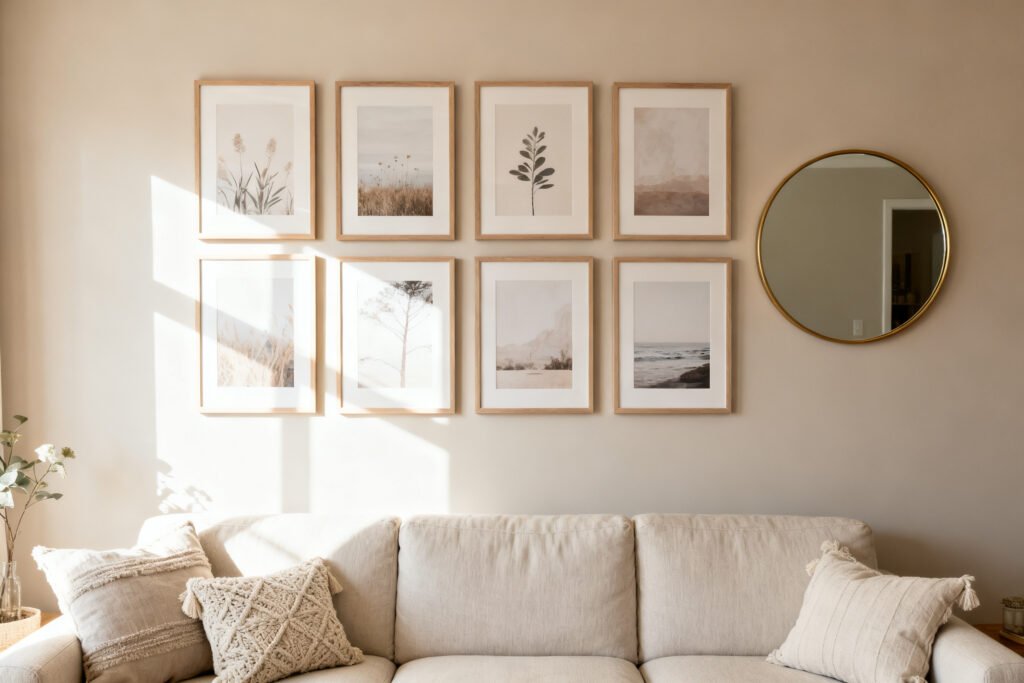
- Fill gaps with smaller frames and one or two “wild cards” like a round mirror or a textile.
- Check balance: Step back. Does one side feel heavy? Move pieces until it feels even.
Paper Template Hack
Trace each frame onto kraft paper or old wrapping paper. Cut them out, mark the hanging point, and tape the templates to the wall. Move paper around until you’re happy.
Zero holes. Zero regrets. IMO, this is the budget MVP.
Hang Without Stress (or a Laser Level)
You can hang a gallery wall with basic tools.
No fancy contractor energy needed. Tools to gather:
- Painter’s tape and pencil
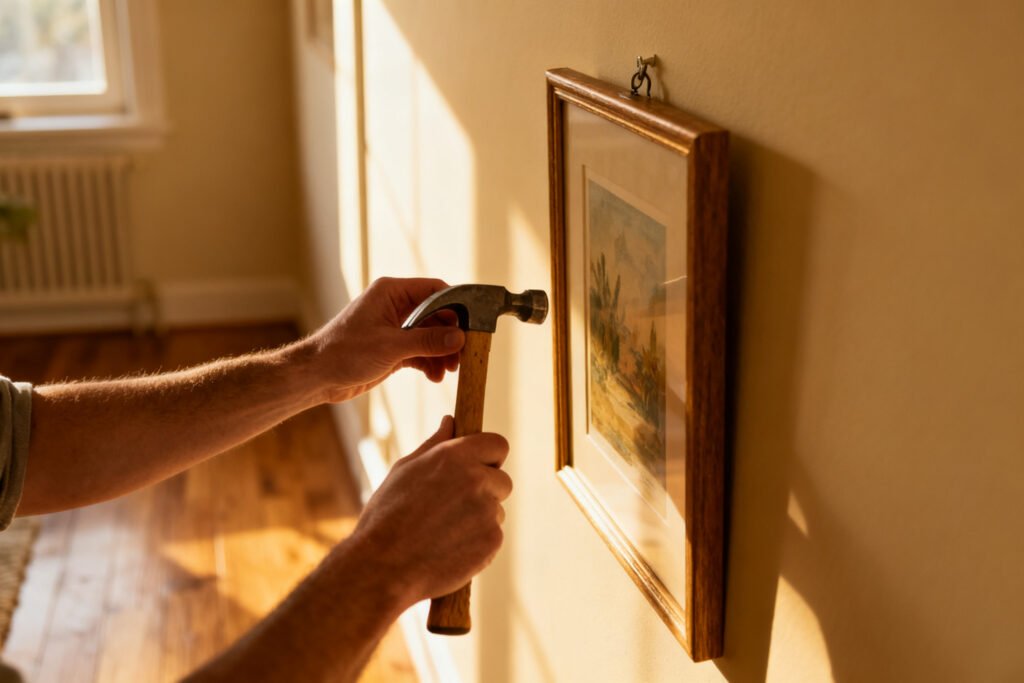
- Hammer and small nails or picture hooks
- Command strips if you rent or fear commitment
- Tape measure and a cheap torpedo level (or a level app)
- Wall anchors if your frames are heavy
- Mark your midline: Most art looks best with the center around 57–60 inches from the floor. Use this as a visual anchor.
- Hang the anchor piece first: Get it level. Everything else will reference this.
- Work outward: Add the medium pieces next, then the smaller ones. Keep gaps consistent—use a 2–3 inch spacer cut from cardboard.
- Fix tiny slants fast: Self-adhesive frame bumpers or a bit of poster putty keep frames straight.
Pro move: For wire-backed frames, measure from the top of the frame to the peak of the tightened wire. Transfer that measurement to your paper template or wall to place your nail exactly right.
Style on a Shoestring
You can make budget art look curated with a few styling cheats.
- Color story: Pick 2–3 main colors across your prints. Black-and-white with one accent color rarely fails.
- Repeat visual elements: Two botanicals, two cityscapes, two abstracts. Repetition creates rhythm.
- Vary orientation: Mix portrait and landscape. Toss in a round or oval for relief.
- Add texture: Shadow boxes with souvenirs, woven trivets, or a tiny shelf with a plant. Instant depth.
When Minimal Budget Meets Max Impact
Try this combo:
- One large DIY abstract (cheap canvas + leftover paint)
- Two thrifted black frames with public-domain photography
- One small gold frame with a pressed leaf
- One text print with a favorite quote (printed at home)
Five pieces, balanced sizes, and it reads expensive.
Your wall just leveled up.
Before you start hammering nails, it helps to clear the visual noise around your wall. The free 5-Day Budget Home Reset walks you through a quick five-day declutter so your new gallery wall gets all the attention it deserves.
Cost-Cutting Tricks You’ll Actually Use
Let’s talk savings without sacrificing style.
- Print in standard sizes: 8×10, 11×14, 12×16 cost less and fit off-the-shelf frames.
- Skip glass for large frames: Use plexi or go glass-free for canvas and heavy paper.
- Buy frames in phases: Start with 3–5 pieces and add over time. Real homes evolve.
- Use washi tape for lightweight prints: Tape directly on the wall for a studio vibe (and easy swaps).
- Shop your house: Old calendars, book pages, postcards—frame them and boom: instant “art.”
FAQ
How high should I hang the gallery wall?
Aim for the center of the arrangement at 57–60 inches from the floor, which matches standard gallery eye level. If you’re hanging above furniture, keep the lowest frame about 6–8 inches above it.
Keep the whole layout visually connected to what’s below.
Do the frames need to match?
Nope. Keep cohesion with consistency in either color, finish, or mat style. For example, use mixed frame styles but stick to white mats.
Or use different sizes but all black frames. That balance looks curated, not chaotic.
What’s the best spacing between frames?
Stick to 2–3 inches between pieces. This spacing keeps the layout tight and intentional.
If your wall is huge, you can push to 4 inches, but don’t overdo it or everything feels disconnected.
For more ways to dress your walls for less, see cheap wall art you can print at home, budget wall styling ideas, and DIY printable wall art.
How do I avoid a crooked mess?
Hang the anchor piece level, then measure from that. Use templates and a spacer. Add small adhesive bumpers on the frame backs so they don’t shift every time someone slams a door.
FYI, Command strips help keep things aligned too.
Can I mix art with mirrors or 3D objects?
Please do. Mirrors bounce light and break up rectangles. Add a small textile, a hat, or a shallow basket for texture.
Just keep the weight balanced visually—don’t stack all the “stuff” on one side.
What if I rent and can’t make holes?
Use Command strips and lightweight frames. For heavier pieces, use multiple strips and follow the weight limits. Or try a ledge shelf to lean several frames—only two small holes, huge impact.
Wrap It Up (and Hang It Up)
You don’t need a decorator or deep pockets to create a killer gallery wall.
You need a plan, a few smart buys, and the courage to make the first nail hole. Start with an anchor, keep your spacing tight, and mix high-low art like a pro. IMO, the best gallery walls tell your story—and yours just found the perfect spot to live.
Once your wall is up, plan the rest of the room the same low-stress way with The Budget Bedroom Makeover Planner, a printable that helps you budget and lay out a full bedroom refresh before you buy a thing.