Simple Room Makeover Ideas Ideas That Actually Work (and Look Designer)
Posted in :
You don’t need a sledgehammer or a reality TV budget to makeover a room. You just need a few smart moves that pull big visual weight. Consider this your friendly, zero-stress guide to upgrades that are quick, affordable, and—most importantly—actually work.
1. Edit Ruthlessly, Then Style What’s Left
Before you add anything, take things away. Clutter is the top reason rooms feel meh. When you strip back to the essentials, the good stuff finally gets to shine.
How to Edit Fast
- Pull everything off surfaces. Shelves, coffee tables, nightstands—wipe them clean like a reset button.
- Sort into three piles: keep, relocate, donate. Be brutal. If it’s not useful or beautiful, it’s out.
- Group by theme or color. Curate what returns so it looks intentional, not random.
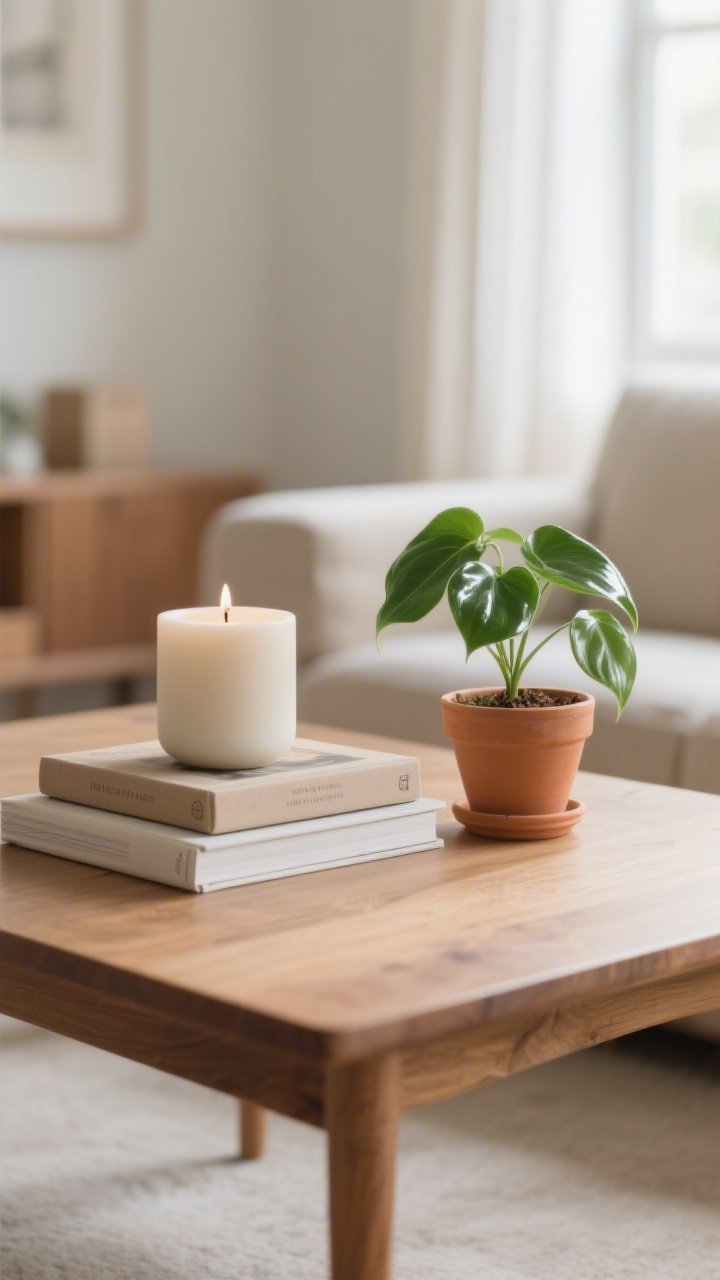
Then style like a pro. Use the classic rule of three—vary height, shape, and texture. A stack of books + a candle + a plant? Instant vignette. FYI, empty space is design too.
2. Create a Focal Wall Without Paint Fumes
One wall with personality can flip the entire vibe. You don’t have to break out rollers and tarps (unless you want to). There are easier, renter-safe tricks that pack drama.
Focal Wall Ideas That Pop
- Peel-and-stick wallpaper: Try a bold pattern behind your bed, sofa, or dining table. It photographs like a dream and peels off cleanly.
- Oversized art: One big piece looks more polished than a bunch of tiny frames. Go DIY with a canvas and acrylics if you’re on a budget.
- Architectural decals or molding: Apply stick-on molding to create faux paneling. Paint it later if you feel fancy.
- Leaning mirror: A tall mirror on the focal wall doubles light and visually expands the room.
Pick one hero moment. Too many accents compete—and then nothing stands out. Keep the rest of the room quieter to let the focal wall sing.
3. Layer Textures Like a Designer (Not a Maximalist)
Texture is the secret ingredient people notice but can’t name. If your room looks flat, it’s probably missing contrasting materials. Think cozy meets sleek, rough meets smooth.
Texture Combos That Always Work
- Soft + Hard: A chunky knit throw on a leather chair.
- Matte + Shine: Linen curtains with a brass floor lamp.
- Natural + Polished: Woven baskets next to a glossy side table.
Focus on 3–5 distinct textures per room to avoid chaos. And yes, rugs count as texture—layer a smaller patterned rug over a large neutral one for instant depth. IMO, this is the fastest “why does this look expensive?” trick out there.
4. Swap Lighting: The Three-Layer Rule
Bad lighting can make a beautiful room look sad—and great lighting can make budget furniture look chic. The magic formula? Three layers: ambient, task, and accent.
Lighting Moves That Transform
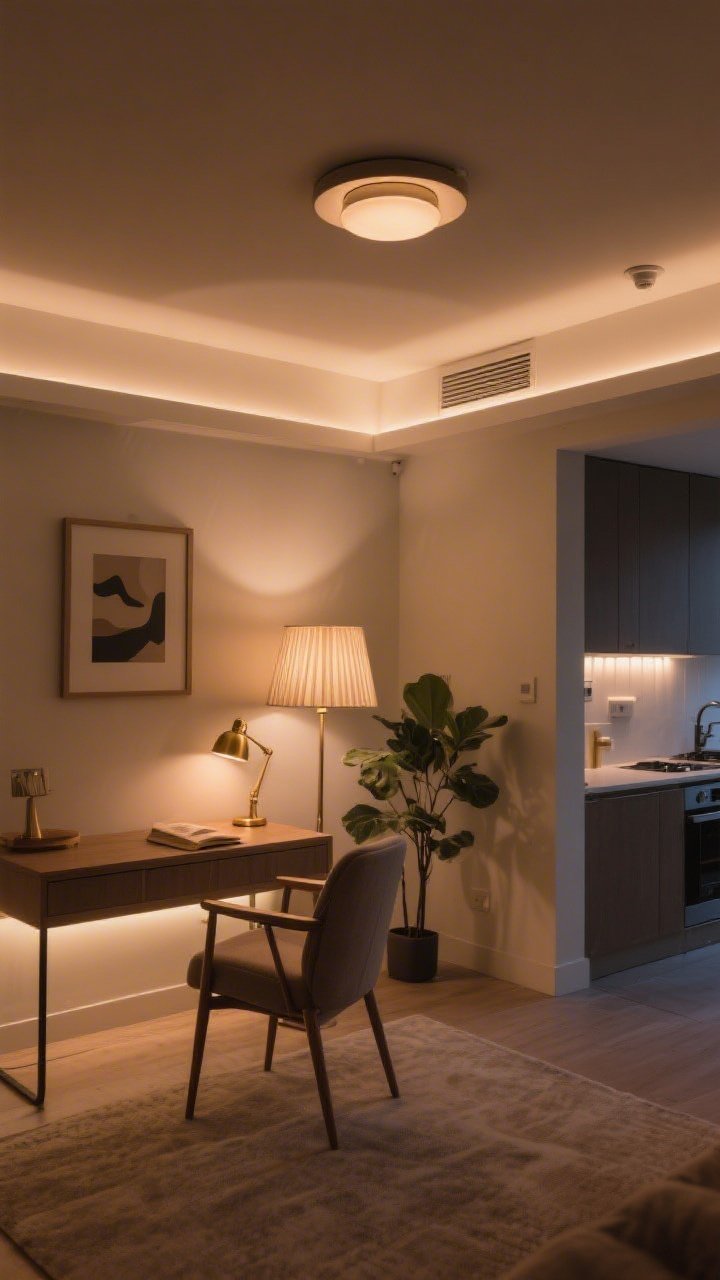
- Ambient: Replace harsh builder bulbs with warm LEDs (2700K–3000K). Install a dimmer if possible. Life-changing.
- Task: Desk lamps, reading lamps by the sofa or bed, under-cabinet strips in the kitchen.
- Accent: Picture lights, wall sconces, or a small uplight behind a plant. It’s drama in the best way.
Don’t ignore the lampshade—swapping to linen or pleated fabric softens light and adds texture. And if a ceiling fixture is the room’s “hat,” give it a stylish one. A new pendant or flush mount is a high-impact, medium-effort upgrade.
5. Rethink Layout With Micro-Zones
Sometimes a room feels off not because of what’s in it, but how it’s arranged. Carving out “zones” makes spaces look designed, even when they’re small.
Easy Zoning Ideas
- Anchor with rugs: A rug defines your conversation area or dining spot. Front legs of sofas and chairs on the rug, please.
- Float furniture: Pull the sofa off the wall a few inches. Add a slim console behind it for lamps and storage.
- Create a nook: Chair + small table + lamp = reading corner. Add a throw and it’s Pinterest-ready.
- Balance the room: If everything tall is on one side (bookcases, curtains), move a floor lamp or plant to the opposite side.
Pro tip: Walk “paths” through the room. If you’re dodging furniture like it’s an obstacle course, adjust until movement feels natural.
6. Upgrade Textiles: Curtains, Pillows, And Throws That Actually Match
Textiles are like outfits for your room. When they’re cohesive, everything feels polished. When they’re random, it’s chaos. Luckily, this is the easiest thing to fix.
Textile Tricks That Tie It All Together
- Curtains: Hang them high and wide—mount 6–10 inches above the frame and extend past the window. It makes ceilings look taller and windows bigger.
- Pillows: Mix sizes (22″, 20″, lumbar) and patterns. Use a formula: one solid, one small-scale pattern, one bold pattern. Keep a shared color thread.
- Throws: Drape casually, not perfectly. A little “undone” looks lived-in and luxe.
- Bed linens: Crisp white sheets with a textured duvet or matelassé cover. Add a patterned lumbar pillow to finish the look.
Stick to a 3-color palette: one dominant, one supporting, one accent. Repeat those colors at least three times each—on pillows, art, books, even candles—so the room feels intentional.
7. Add Life: Plants, Scent, And Personal Art
Rooms feel finished when they reflect you—and when they feel alive. Greenery, scent, and personal touches make huge impact for minimal cash. Yes, even if your thumb is closer to beige than green.
Low-Effort, High-Reward Finishes
- Plants: Start with easy wins—ZZ plant, pothos, snake plant. Group in odd numbers and mix pot textures (terracotta, ceramic, woven).
- Scent: Candles or diffusers in warm, subtle notes (cedar, fig, citrus). Match the vibe—fresh for workspaces, cozy for bedrooms and living rooms.
- Personal art: Frame travel photos, kids’ sketches, or vintage book pages. Use cohesive frames so the collection reads gallery, not dorm.
- Books and trays: Stack coffee table books by color or theme. Corral small items on a tray so “stuff” looks styled.
Final polish: add a small bowl for keys, a catchall on the dresser, and one quirky object that sparks joy. FYI, a room with personality never goes out of style.
Quick Mini-Checklist
- Edit surfaces and curate vignettes.
- Create one bold focal wall.
- Layer 3–5 textures for depth.
- Use ambient, task, and accent lighting.
- Define zones with rugs and smart layouts.
- Coordinate textiles with a tight color palette.
- Bring in plants, scent, and personal art.
That’s it—you’re set. Start with one idea today and stack from there. Little changes snowball into big transformation, and before you know it, your space will look like you hired a designer (without the invoice). Go make it gorgeous.
Start Your Room Makeover
Use a simple checklist system to plan and finish your makeover.