
You don’t need expensive drapery to make a window look pulled together. You need creativity, a few tools, and maybe a trip to the hardware aisle. Ready to ditch the curtain clichés and still save cash?
Let’s level up your windows without blowing the budget.
Faux Roman Shades (No-Sew Magic)
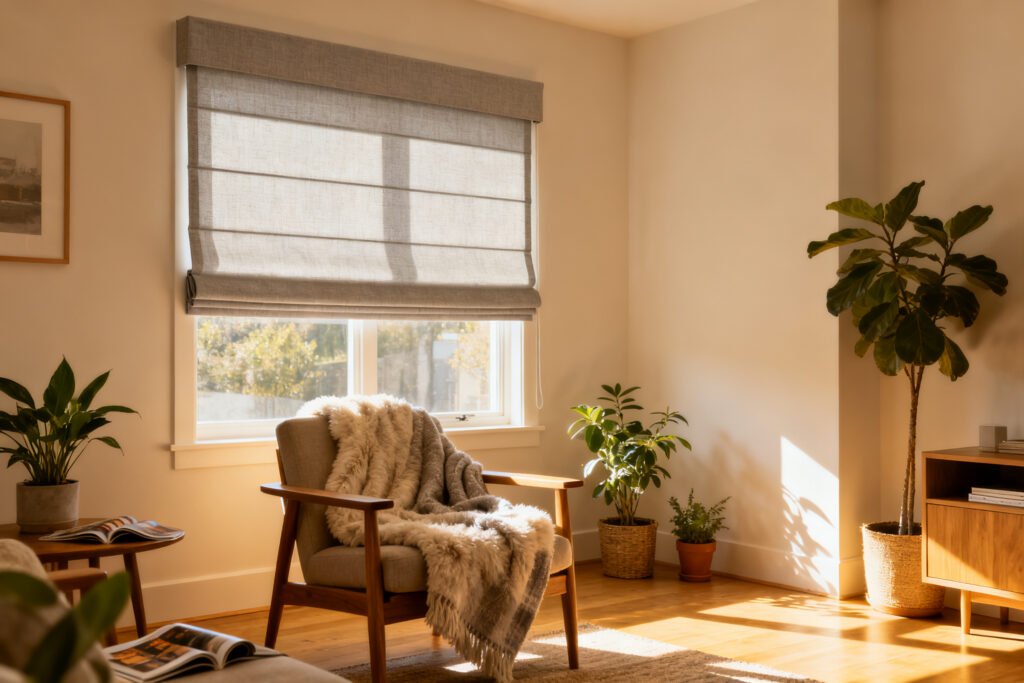
Roman shades look luxe, but the price tag usually doesn’t. The hack? Use fabric, fusible hem tape, and a mini blind you already own (or can snag for cheap).
You get the elegant folds without learning how to sew.
How to pull it off
- Snag a basic vinyl mini blind and your favorite medium-weight fabric.
- Cut the fabric to the width of your window with 2 inches extra on each side.
- Remove some slats from the blind so you space them 6–8 inches apart.
- Use fusible tape or fabric glue to attach fabric over the slats. Trim and clean up the edges.
Result: You get clean, custom-looking folds that lift and lower like a real Roman shade. On a budget.
Without an existential crisis at the sewing machine.
Frosted Film for Privacy (and Aesthetic)
Window film gives you privacy without blocking light, which is clutch in bathrooms and street-facing rooms. Plus, it looks high-end if you apply it carefully. Patterns range from simple frosted to geometric, so you can go subtle or bold.
Application tips that actually help
- Clean the glass like your security deposit depends on it.
No lint, no streaks.
- Spritz with a water and a drop of dish soap mix. This lets you reposition the film.
- Use a squeegee or credit card to push out bubbles from the center outward.
- Trim edges with a sharp craft knife for crisp lines.
Pro move: Do a frosted band across the center of the window for privacy, leave the top and bottom clear to keep the light. Looks designer, costs lunch money.
DIY Roller Shades (Fabric + Basic Mechanics)
You can re-cover an existing roller shade with prettier fabric in under an hour.
No one needs to know it used to be beige and boring. It’s the same clean profile you love, but with texture, pattern, or even blackout lining.
What you’ll need
- Plain roller shade (works even if it looks sad)
- Fabric or wallpaper you love
- Spray adhesive or double-sided tape
- Clothespins or clips for holding edges while drying
Steps: Cut fabric to size, adhere smoothly, and clip the edges while it sets. Add a wooden dowel or hem at the bottom for weight so it rolls cleanly.
FYI: choose thin fabric so it doesn’t jam the roller.
Bamboo, Matchstick, and Natural Woven Shades
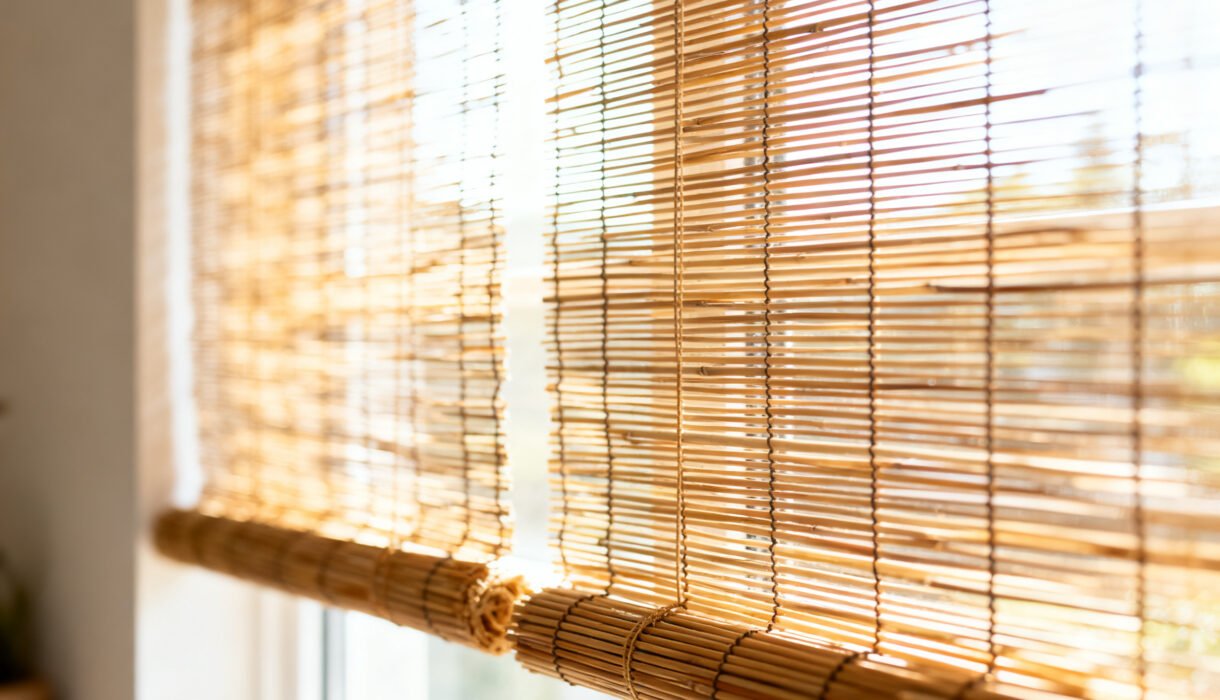
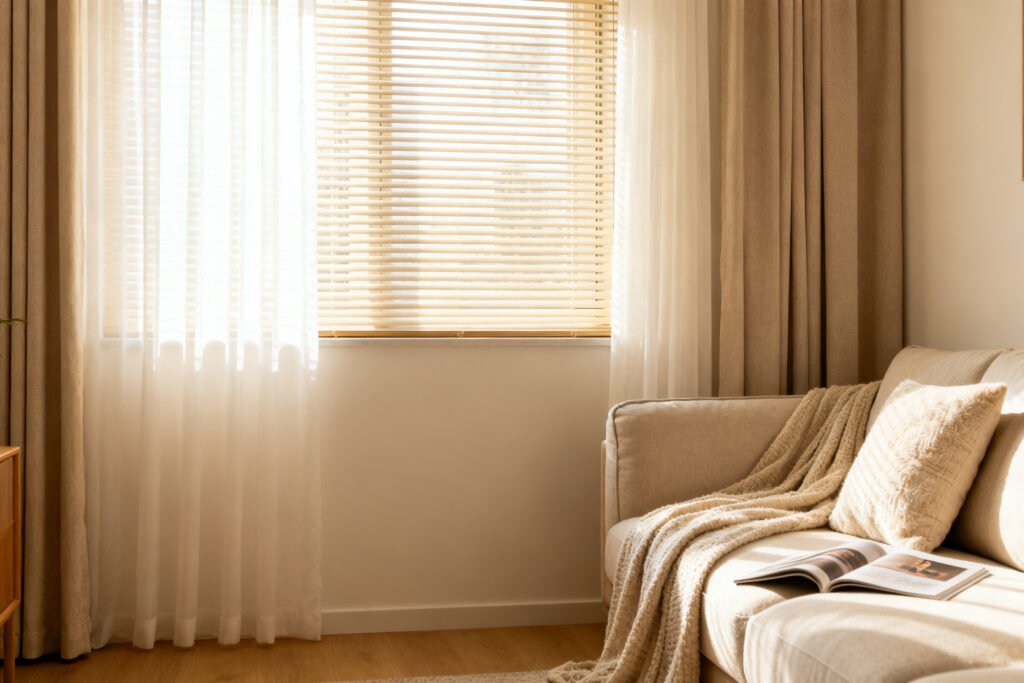
If you want texture and warmth, bamboo or matchstick blinds crush it. They look custom, they’re budget-friendly, and they filter light like a champ. Pair them with a small valance or leave them solo for a minimal vibe.
Make them look pricier (without spending more)
- Mount them higher and wider than the window to create the illusion of bigger windows.
- Add a DIY edge binding with ribbon or bias tape for a tailored finish.
- Layer a simple cafe curtain below for extra privacy, IMO the cutest combo ever.
Note: Many budget bamboo shades are semi-sheer.
If you need privacy at night, line the back with a snap-on liner or a lightweight blackout fabric.
Cafe Curtains and Half-Shades
Yes, this technically uses a curtain, but we’re talking half-height for a fresh, European cafe look. They’re budget-savers because they use half the fabric and a simple tension rod. Bonus: they let in top light while covering the bottom half—aka, “I want privacy but I also want vitamin D.”
Go from sweet to stylish
- Skip ruffles; choose crisp linen or cotton in a solid or skinny stripe.
- Use clip rings on a tension rod for easy wash days.
- Try them in kitchens, bathrooms, or entryways—anywhere you want a balance of light and privacy.
Hot tip: Mount the rod slightly above the window midpoint to elongate the window and avoid a squat, “oh no” look.
Interior Shutters on a Budget
Real wood shutters cost more than rent sometimes.
But you can fake the look with DIY shaker-style panels or vinyl options if you want the vibe without the invoice. Hinged cafe-height shutters pair beautifully with the cafe curtain idea for layered charm.
Simple build, simple tools
- Use lightweight plywood or hobby boards to build rectangular panels.
- Add 1×2 trim for a shaker frame, then hinge to the inside casing.
- Paint them the same color as your trim for a classic built-in look.
Why it works: Shutters add architecture where none existed. They also fix tricky window shapes that fight with fabric.
Macrame, Shades, and Textiles as Art
Who said window treatments must open and close?
In low-privacy zones, hang macrame panels, woven wall hangings, or textiles as soft screens. You get texture, shadow play, and personality without seams or hardware drama.
Best placements
- Stairwell landings and hall windows where no one’s peeking in.
- High windows that just need softening.
- Over blinds to hide the top hardware with something sculptural.
Keep it simple: A wooden dowel, some cord, two cup hooks, and you’re done. Easy to swap seasonally when your personality changes again.
FYI, we’ve all been there.
New window treatments pop against a tidy room. The free 5-Day Budget Home Reset helps you get there fast.
Industrial and Minimal: Shades on Tracks
If you like clean lines, consider panel tracks or sliding fabric panels. They cover large windows like champs and slide smoothly. You can DIY panels with fabric and interfacing, then attach to a budget track system.
Panel pointers
- Use medium-weight fabric with iron-on interfacing so the panels hang straight.
- Hem the bottoms with flat weights or small chain for stability.
- Mix opaque and sheer panels for light control and a gallery vibe.
IMO: This is the move for sliding doors.
It looks modern without feeling cold.
Valances, Cornices, and Top Treatments
Top-only treatments hide hardware, add color, and frame your view without needing full curtains. Foam-board cornices are a weekend project with big payoff. They create the illusion of taller windows and add polish for not much cash.
Build a foam-board cornice
- Cut foam insulation board to your window width with a 3–6 inch drop.
- Wrap with batting and fabric, secure with hot glue, and L-bracket it to the wall.
- Leave space behind for blinds or shades to operate freely.
Design trick: Match the cornice to your wall color for a minimal look, or go bold with pattern to crown the window like it just got promoted.
Hardware Hacks That Stretch Your Budget
You can DIY the look of custom hardware without the custom cost.
The right rod or bracket trick can change everything.
- Conduit pipe rods: Paintable, sturdy, and cheap. Add finials or caps for a finished look.
- Leather strap brackets: Cut scrap leather and screw into studs—instant boutique vibes.
- Inside-mount tension rods: Great for small shades and cafe curtains—no drilling drama.
- Velcro mounts: For light valances and cornices where you want zero visible hardware.
Color, Texture, and Light: Quick Styling Wins
You can fake “custom” with smart styling even if your materials came from the clearance bin.
- Repeat a color: Pull a hue from your rug or art to make the treatment feel intentional.
- Mix textures: Pair smooth roller shades with a chunky cornice or a woven valance.
- Layer function: Combine a privacy shade with a decorative top treatment so you get style and utility.
- Mind the stack: Mount hardware high and wide so treatments don’t block daylight when open.
FAQ
What’s the cheapest window treatment that still looks good?
Frosted film wins for cost and style. It adds privacy, lets in light, and looks polished.
Pair it with a simple cafe curtain if you want softness too.
For more budget window ideas, see budget curtain ideas, make a small room look bigger, and budget wall styling ideas.
Can I get blackout without expensive drapes?
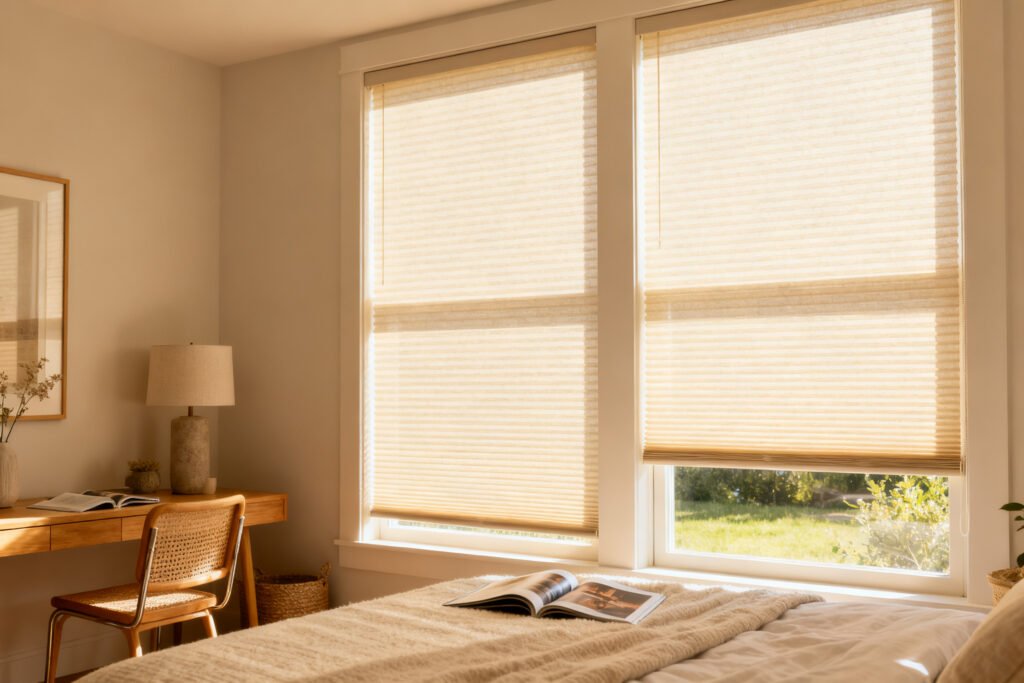
Yes. Add a blackout liner to a roller shade or bamboo shade. You can also layer a cellular shade behind a valance for a clean, light-blocking setup that doesn’t scream “college dorm.”
What’s best for renters who can’t drill?
Tension rods, adhesive hooks, and static-cling window film.
You can also use Velcro to mount lightweight cornices or valances. Everything removes cleanly when you move out—no awkward wall patching sessions.
How do I measure so it looks custom?
Measure the inside width for any inside-mount shade precisely, to the nearest 1/8 inch. For outside mounts, add 2–3 inches on each side and 4–6 inches above the window.
Mounting higher and wider makes windows look taller and grander. Magic, but real.
Are bamboo and woven shades private at night?
Not usually. Light from inside turns them into shadow puppets.
Add a liner, use a second roller shade behind them, or choose a tighter weave if you need true nighttime privacy.
What about weird window sizes?
DIY roller re-covers and panel tracks shine for odd sizes. You can cut hardware to length and customize fabric to fit. When in doubt, outside-mount the treatment larger than the window—clean lines, zero weird gaps.
Conclusion
Curtains aren’t the only path to window glory.
With films, faux Romans, DIY rollers, bamboo textures, and clever hardware hacks, you can craft windows that look custom for bargain prices. Mix function with a bit of personality, keep it simple, and don’t be afraid to experiment. Worst case, you peel off some film and try again—best case, your windows become the main character.
FYI, they deserve it.
Updating bedroom windows as part of a refresh? The Budget Bedroom Makeover Planner helps you plan every step.