
Working in a small kitchen without a pantry is all about making every inch do double duty. With a few smart systems and low-cost tools, you can create real storage, keep things visible and accessible, and stop buying duplicates. Here’s how to turn limited space into a kitchen that actually works.
Start With a Ruthless Edit
Before you add a single shelf, take an hour to edit what you own. You don’t need 12 mugs if two people live here. Keep the gear you use weekly, and store or donate the rest.
- Pull everything out of cabinets and drawers. Group like with like: baking, spices, snacks, cans, tools.
- Check dates and condition. Toss expired foods, stale spices, cracked containers, and single-use gadgets you never reach for.
- Set realistic limits. For example: 6 mugs, 2 sheet pans, 1 roasting pan, spices you use in the last 6 months.
- Measure open spaces (inside cabinets, above fridge, between fridge and wall, under sink, behind doors) and note width x depth x height.
This edit often frees up 20–30% of your existing storage—no new products required.
Use Walls, Doors, and Vertical Surfaces
For more ideas, see our guide on how to tiny kitchen organization hacks.
When you can’t build a pantry, build up your walls. Vertical storage keeps counters clear and turns blank space into a “pantry zone.”
Inside-cabinet and door storage
- Over-the-door racks ($20–$40): Hang on a kitchen door or the back of a closet door near the kitchen. Great for foil, wraps, spices, and snacks.
- Slim wire organizers ($10–$20): Screw inside cabinet doors for cutting boards, pot lids, and flat baking sheets.
- Adhesive spice racks ($10–$25 for a set): Mount on inner doors to free a whole shelf. Choose shallow racks so doors still close.
Wall-mounted rails and shelves
- Expandable tension rods ($8–$15): Create quick wrap stations under upper cabinets or corral cutting boards vertically.
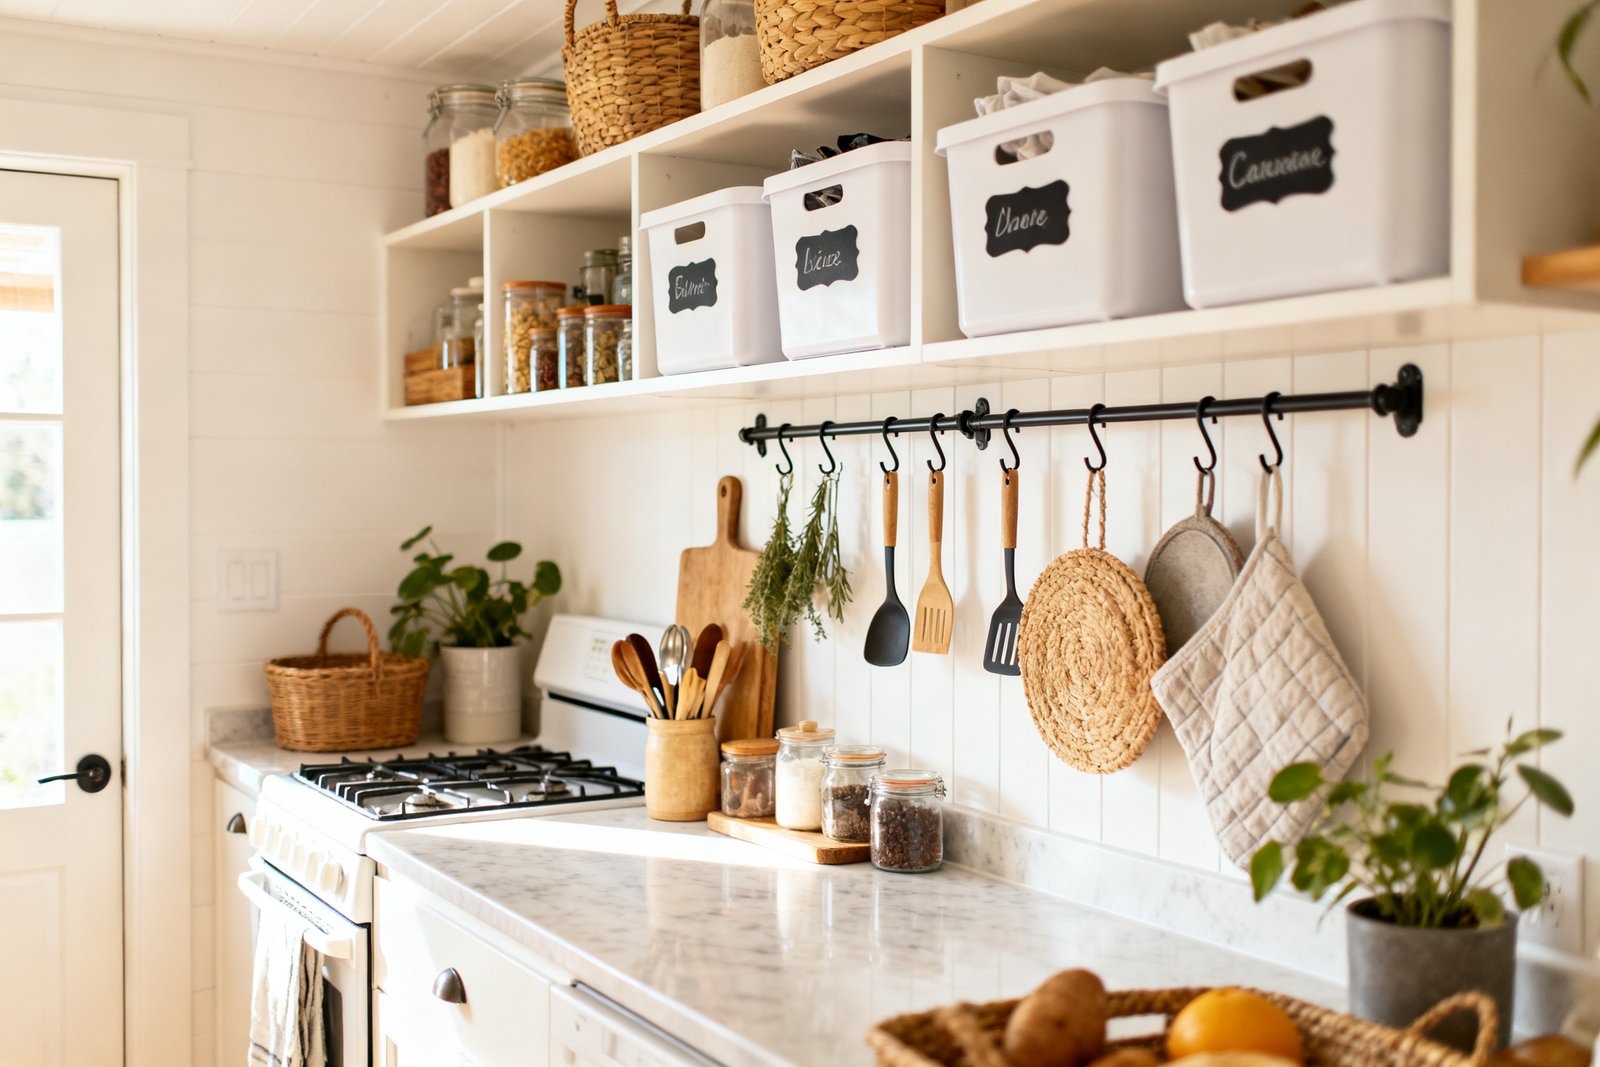
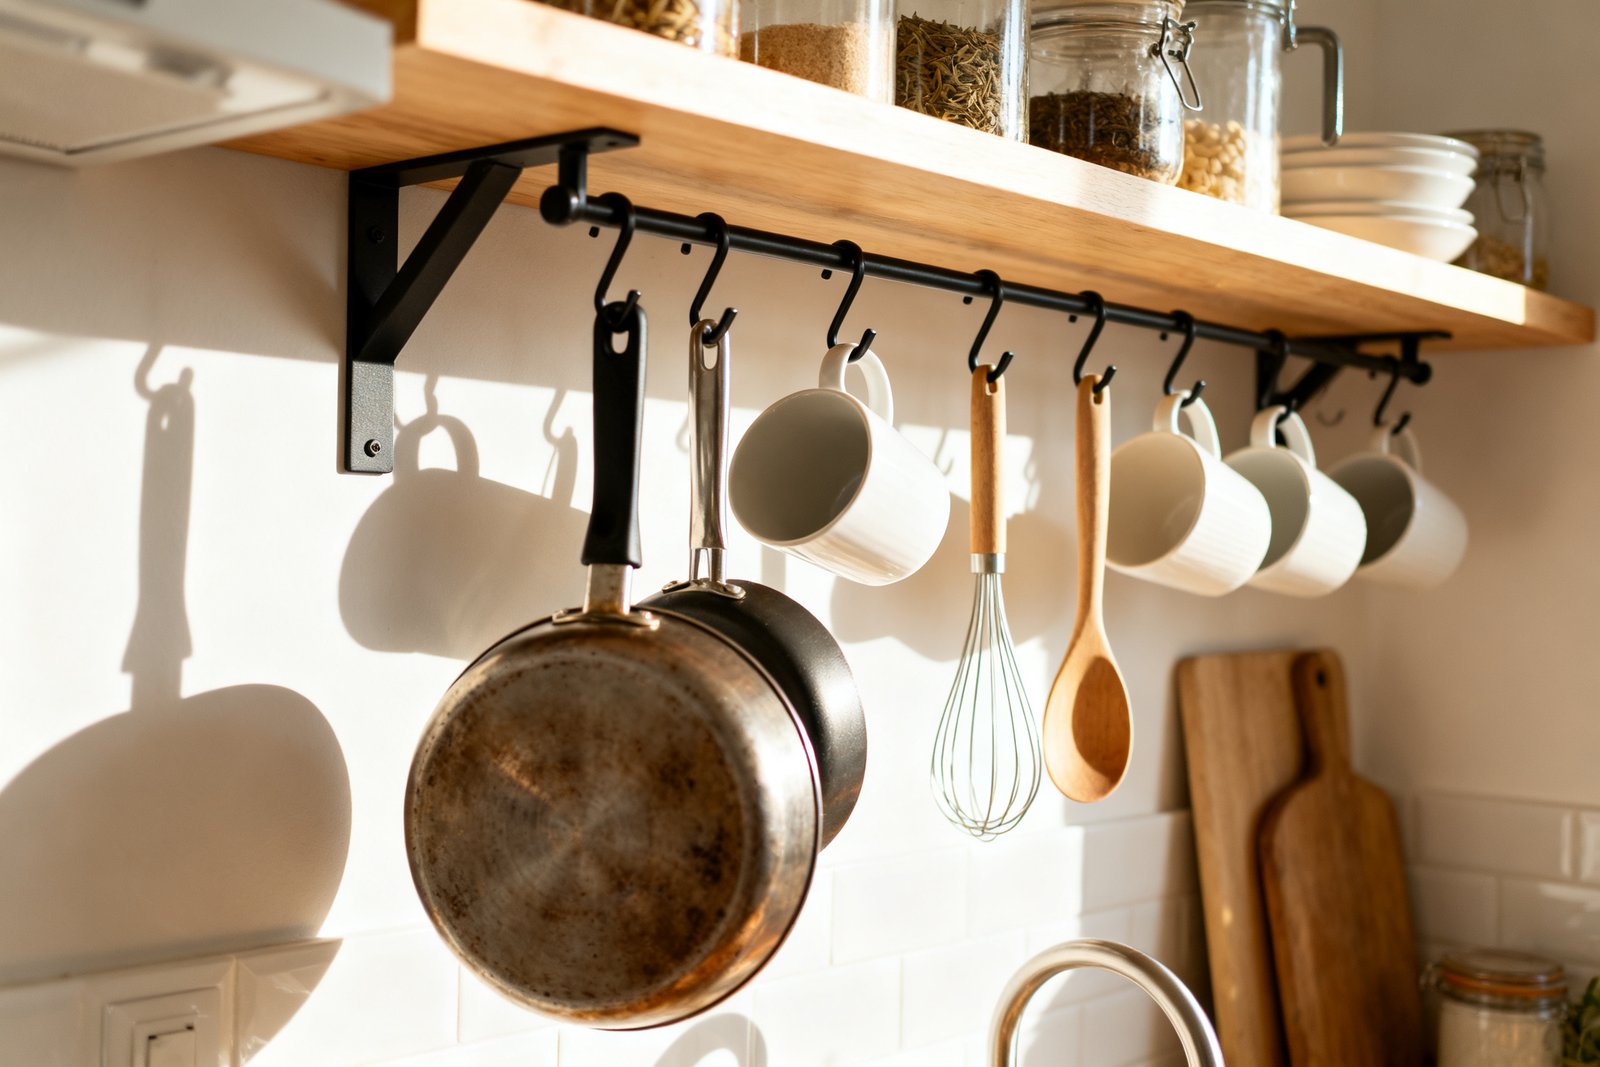
- Metal rail with hooks ($15–$30): Hang measuring cups, strainers, ladles, and a small colander. Keeps drawers from overflowing.
- Floating shelves ($15–$40 each): Mount 2–3 over a prep area for jars of grains, coffee, and frequently used dry goods in airtight containers.
Keep wall storage to items you use daily—this avoids visual clutter and dust build-up.
Turn Cabinets Into Mini-Pantries
Short on kitchen space? Our free 5-Day Budget Home Reset gives you clever, low-cost ways to reset your whole home, one day at a time.
Cabinets without upgrades waste vertical space. Simple inserts transform them into easy-access mini-pantries where nothing gets lost.
Maximize vertical space
- Shelf risers ($8–$15): Add an extra tier for cans or bowls so you can see the back row.
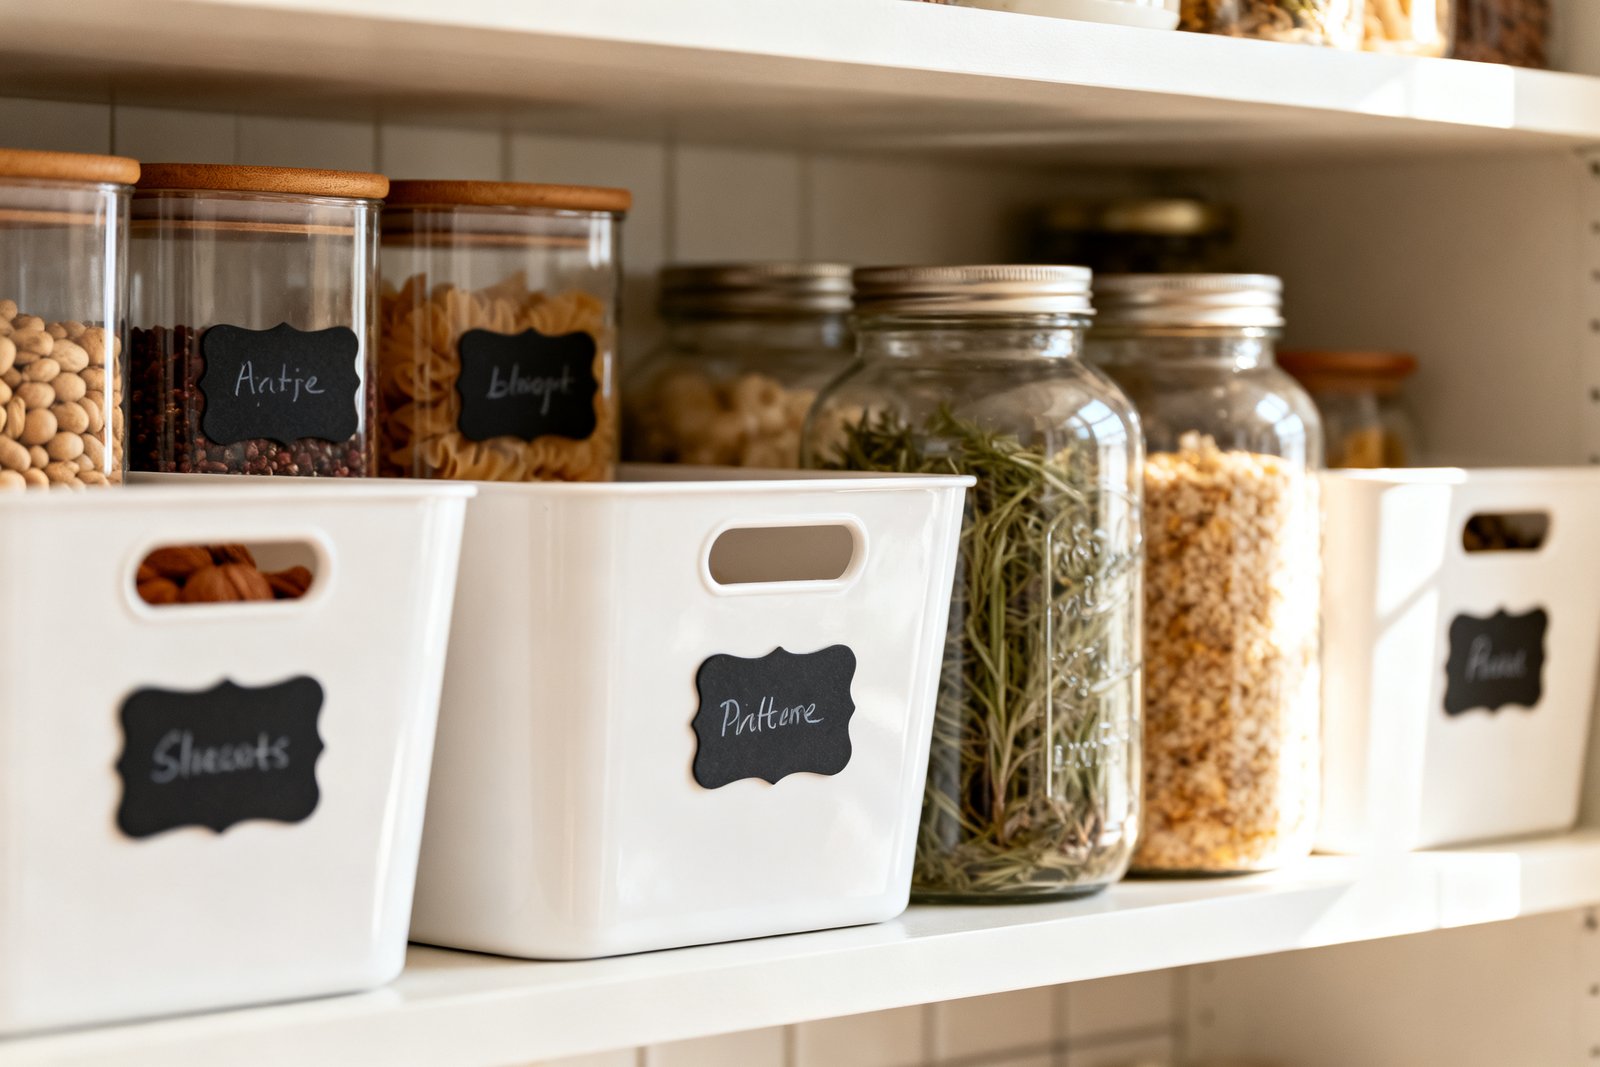
- Stacking bins ($10–$20 each): Use for snacks, pasta, and baking supplies. Label the front and stack two high.
- Under-shelf baskets ($8–$15): Clip onto shelves to hold wraps, napkins, or spice packets.
Make the back of the cabinet reachable
- Turntables/Lazy Susans ($10–$25): Perfect for oils, vinegars, and sauces. One spin shows everything.
- Shallow bins with handles ($6–$12): Store categories—“Breakfast,” “Baking,” “Rice & Grains.” Pull out like a drawer.
- Tiered can organizers ($12–$20): Step-style platforms for canned goods so labels are visible.
Decant with purpose (not for show)
You don’t need a uniform set. Reuse glass jars and mix in a few airtight containers ($4–$10 each) for staples you buy in bulk—rice, flour, oats. Label plainly with painter’s tape and a marker. Skip decanting one-off items that will just clutter your shelf.
Create a Rolling or Hidden “Pantry”
It also helps to check out make a small kitchen feel bigger.
When you have no closet, wheels and odd gaps are your best friend. Think mobile and slim.
Rolling cart solutions
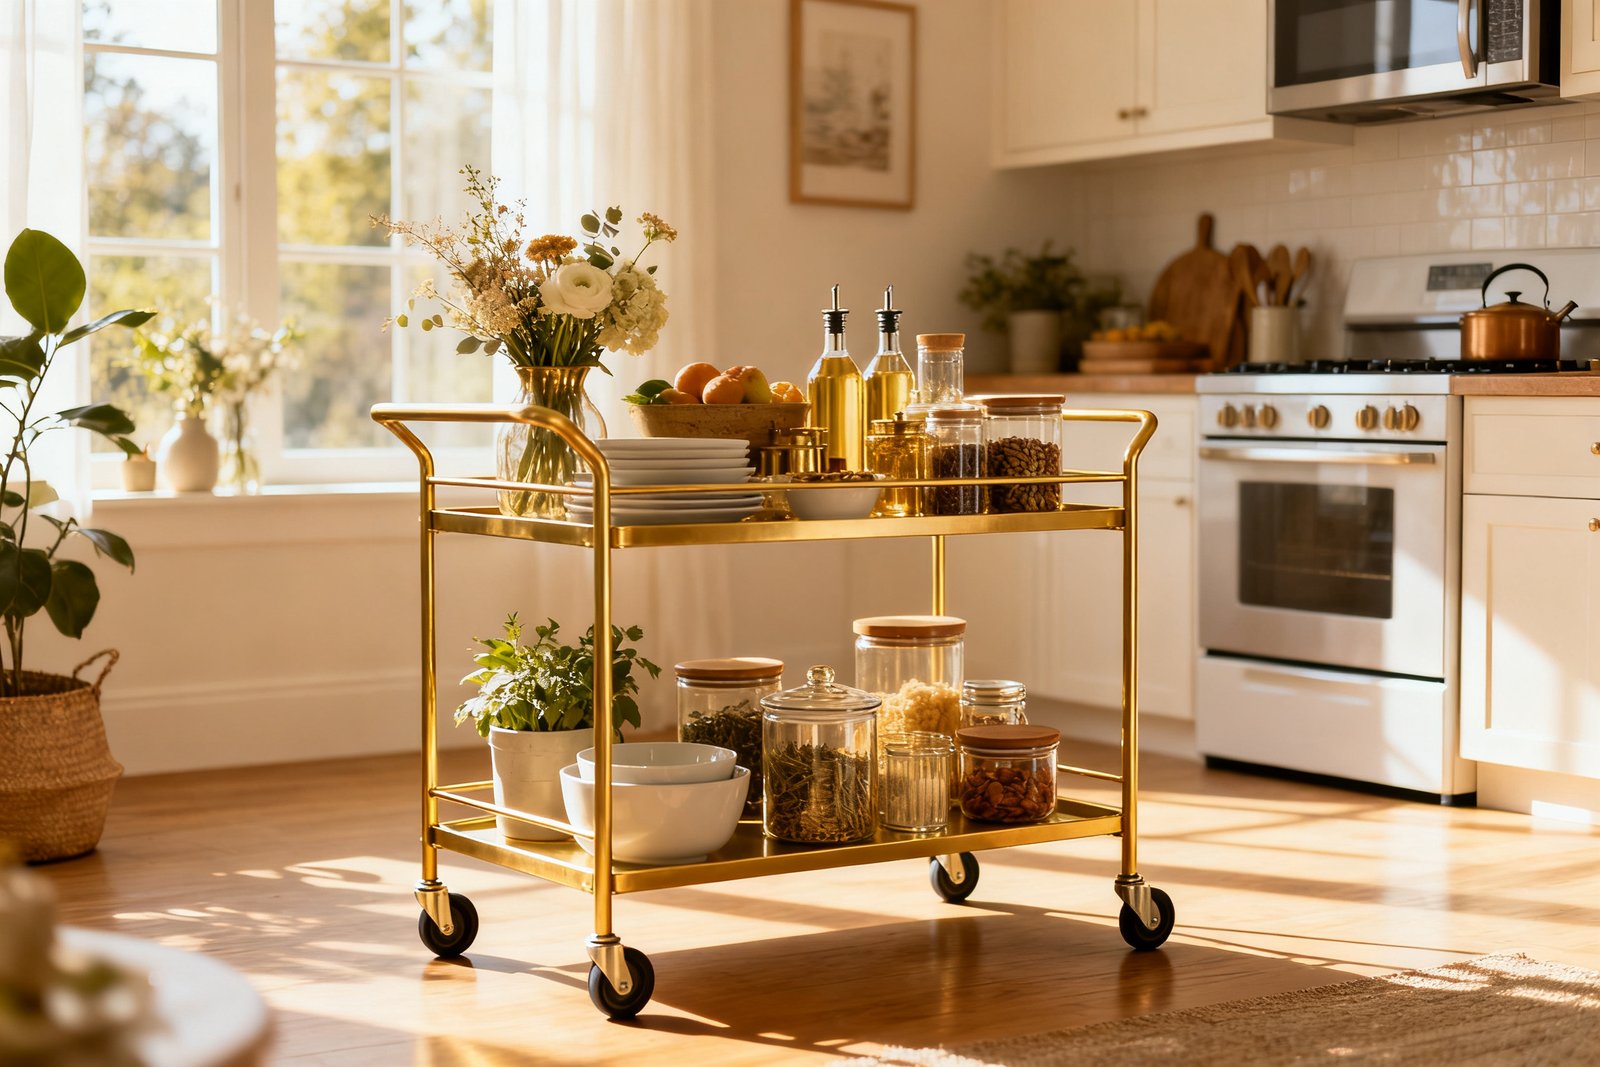
- Utility cart ($30–$60): Store breakfast items on the top, pantry staples in the middle, and snacks or small appliances on the bottom. Roll it out to cook, then park in a corner.
- Slim rolling shelf ($25–$50): Fits between fridge and wall. Use for cans, jars, and bottles. Measure depth so it clears baseboards.
Above the fridge
That gap is prime real estate. Use two labeled baskets ($10–$15 each) to store backstock like extra pasta, flour, and paper goods. Avoid heavy glass up high, and place a grippy liner to stop sliding.
Under the sink (carefully)
Install an under-sink shelf ($15–$30) that works around the pipes. Keep only sealed, non-food items here—cleaning supplies, trash bags, dishwasher tabs—to avoid contamination. Freeing these from other cabinets makes room for food.
Rethink the Counter and Drawers
Counters can work like a micro-pantry if you keep them minimal and contained. Drawers should hold tools that speed up daily cooking.
Countertop rules
- 1 tray or riser only ($10–$20): Place salt, pepper, daily cooking oil, and a sugar bowl if you use it. Containment prevents spread.
- Bread box or lidded bin ($20–$35): Doubles as a “snack station” to hide visual clutter.
- Utensil crock ($10–$20): Only everyday tools—spatula, spoon, tongs, whisk. The rest go in a drawer.
Drawer organizers that earn space
- Expandable bamboo organizers ($15–$25): Fit more cutlery without jumbling.
- Knife in-drawer tray ($12–$25): Frees counter space and keeps blades safe.
- Small bins or repurposed food containers (free–$2): Group bag clips, corn holders, and odd bits.
Make a Weekly Reset Routine
A small kitchen only stays organized if you maintain it. A short weekly habit saves money and time.
- 10-minute inventory: Open cabinets and jot what’s low (rice, beans, coffee). Check produce that needs cooking.
- Front-load cooking: Move nearing-expiry items to the most visible spot or a “Cook First” bin.
- Wipe and reset: Quick wipe of shelves/turntables; return strays to their bins.
- Shop to your containers: If the snack bin is full, skip snacks this week. Limits prevent overbuying.
Example: Studio Kitchen, No Pantry
Jasmine cooks for one in a studio with two lower cabinets, one drawer, and no pantry. After decluttering, she mounted a 24-inch rail with hooks above the stove for ladles, measuring cups, and a small skillet. Inside a cabinet door, she added a $12 wire rack for cutting boards and lids.
One cabinet became her “dry goods” zone with a $14 tiered can organizer and a $10 turntable for sauces. She reused three pasta sauce jars for rice, lentils, and oats, labeled with tape. A $35 slim rolling cart sits beside the fridge with snacks on top, pasta and canned tomatoes in the middle, and backstock on the bottom. Above the fridge, two $10 baskets hold paper towels and extra coffee. Total spend: about $100, and everything she uses weekly is now one reach away.
Mistakes to Avoid
- Buying bins before measuring. Always measure width, depth, and door clearance.
- Decanting everything. Only decant real staples you replenish often.
- Deep, opaque bins for daily items. You’ll forget what’s inside. Use shallow or clear for high-use categories.
- Overloading walls. Keep wall storage curated so it’s functional, not visual noise.
- Ignoring maintenance. A 10-minute weekly reset beats a full re-org every few months.
Quick Budget Checklist
- 2–3 shelf risers ($8–$15 each)
- 1–2 turntables ($10–$25 each)
- Set of small handled bins ($6–$12 each)
- Over-the-door rack ($20–$40) or adhesive spice racks ($10–$25)
- Rail with hooks ($15–$30) or tension rod ($8–$15)
- Slim rolling cart or shelf ($25–$60) if you have a gap
- Painter’s tape and marker (a few dollars) for labels
FAQ
How do I store bulk items without a pantry?
Buy in smaller quantities that fit your containers. For true bulk deals, portion into airtight containers that live in your “mini-pantry” cabinet and store the extra in a sealed bin above the fridge or in a closet. Label each with contents and date so you use older stock first.
What should actually live on the counter?
Only daily-use items: salt, pepper, cooking oil, coffee gear if used daily, and one utensil crock. Everything else—foil, wraps, rarely used appliances—should be in cabinets, on a rail, or in a rolling cart to keep prep space open.
How do I handle spices in a small kitchen?
Pare down to what you use in the last 6–12 months. Store the core set on a door-mounted rack or a shallow drawer insert so labels face up. For odd sizes, use a small turntable. If you buy refills, keep just one backup in a labeled bin to avoid duplicates.
Where do small appliances go if I have no pantry?
Limit to your top two or three. Store the most-used on a lower shelf or the bottom of a rolling cart. Stash rarely used ones (holiday mixer, specialty gadgets) in a closet or under-bed bin with a label. If it hasn’t been used in a year, consider letting it go.
If you want to keep going, take a look at organize kitchen cabinets on a budget.
Final Thoughts
No pantry doesn’t mean no storage—just smarter storage. Edit first, use your walls and doors, divide cabinets into zones, and set up a quick weekly reset. Small, inexpensive tools paired with clear limits will keep your kitchen calm, functional, and ready for real-life cooking.