
Photos make a home feel personal, but framing and hanging them can get pricey fast. With a little planning and creativity, you can build a photo wall that looks polished without overspending. Here’s how to choose a style, source inexpensive materials, and install everything with minimal fuss.
Pick a Style That Fits Your Space and Budget
Before you buy anything, decide how you want the wall to feel: clean and uniform, eclectic and layered, or airy and casual. Your choice will guide frame styles, spacing, and how many photos you need.
Common layout styles
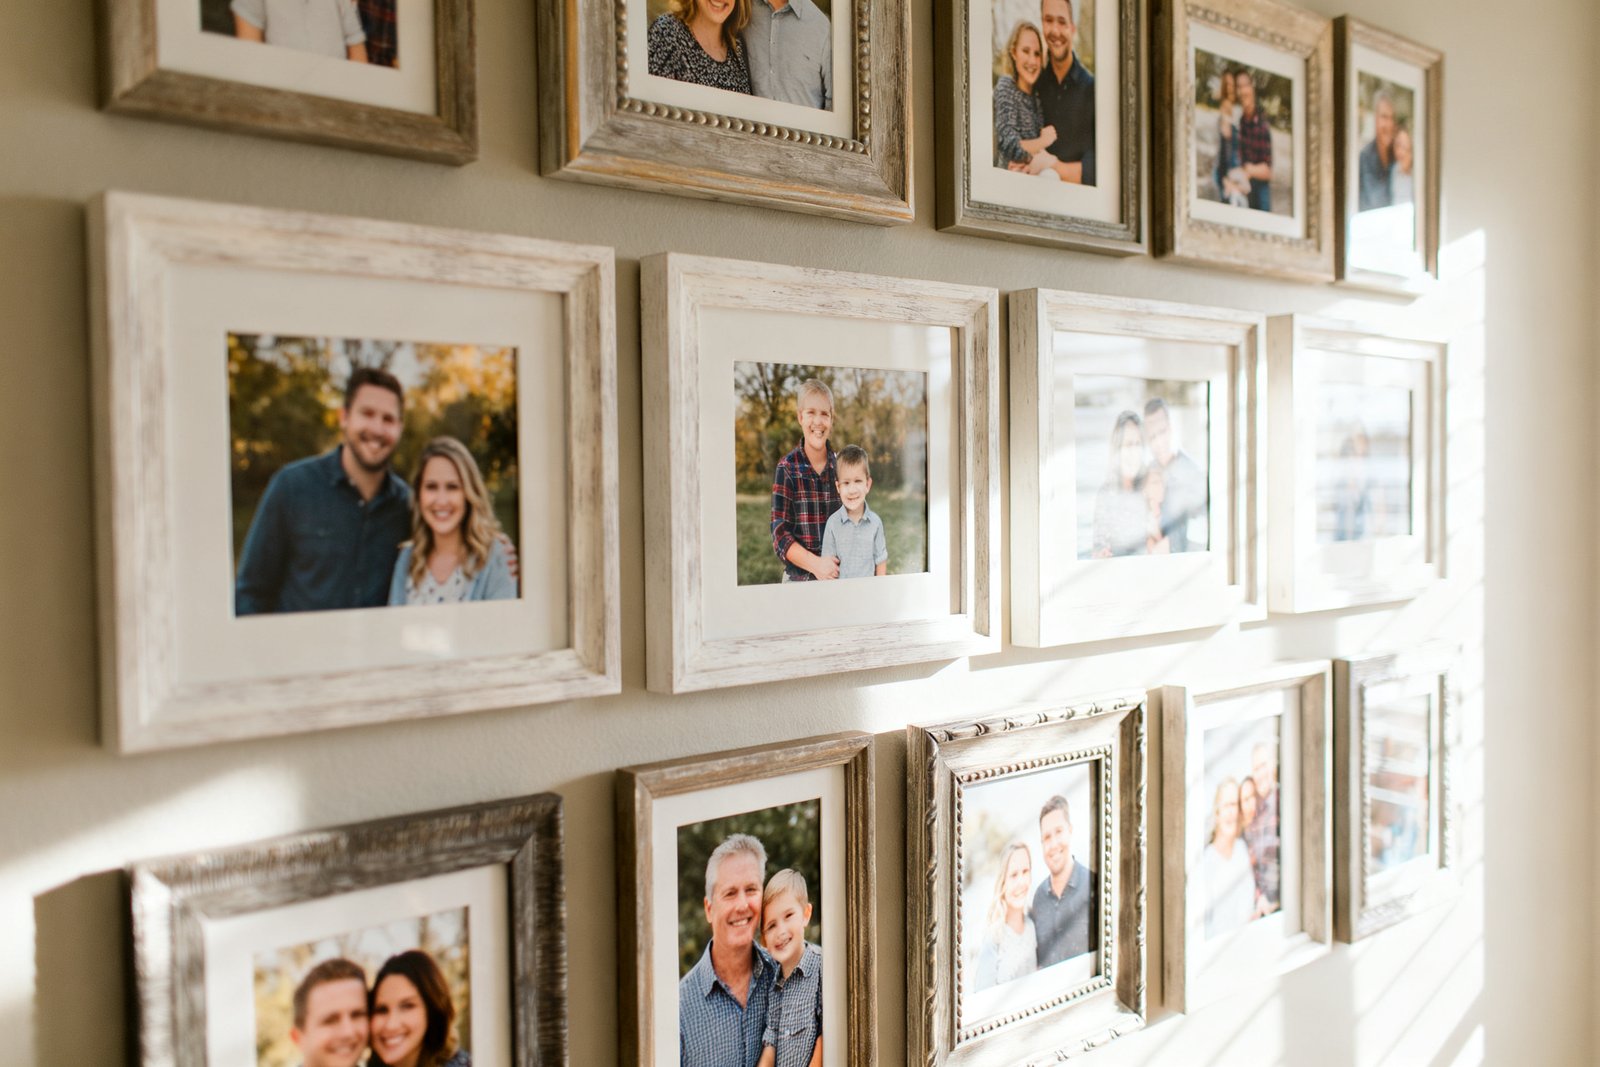
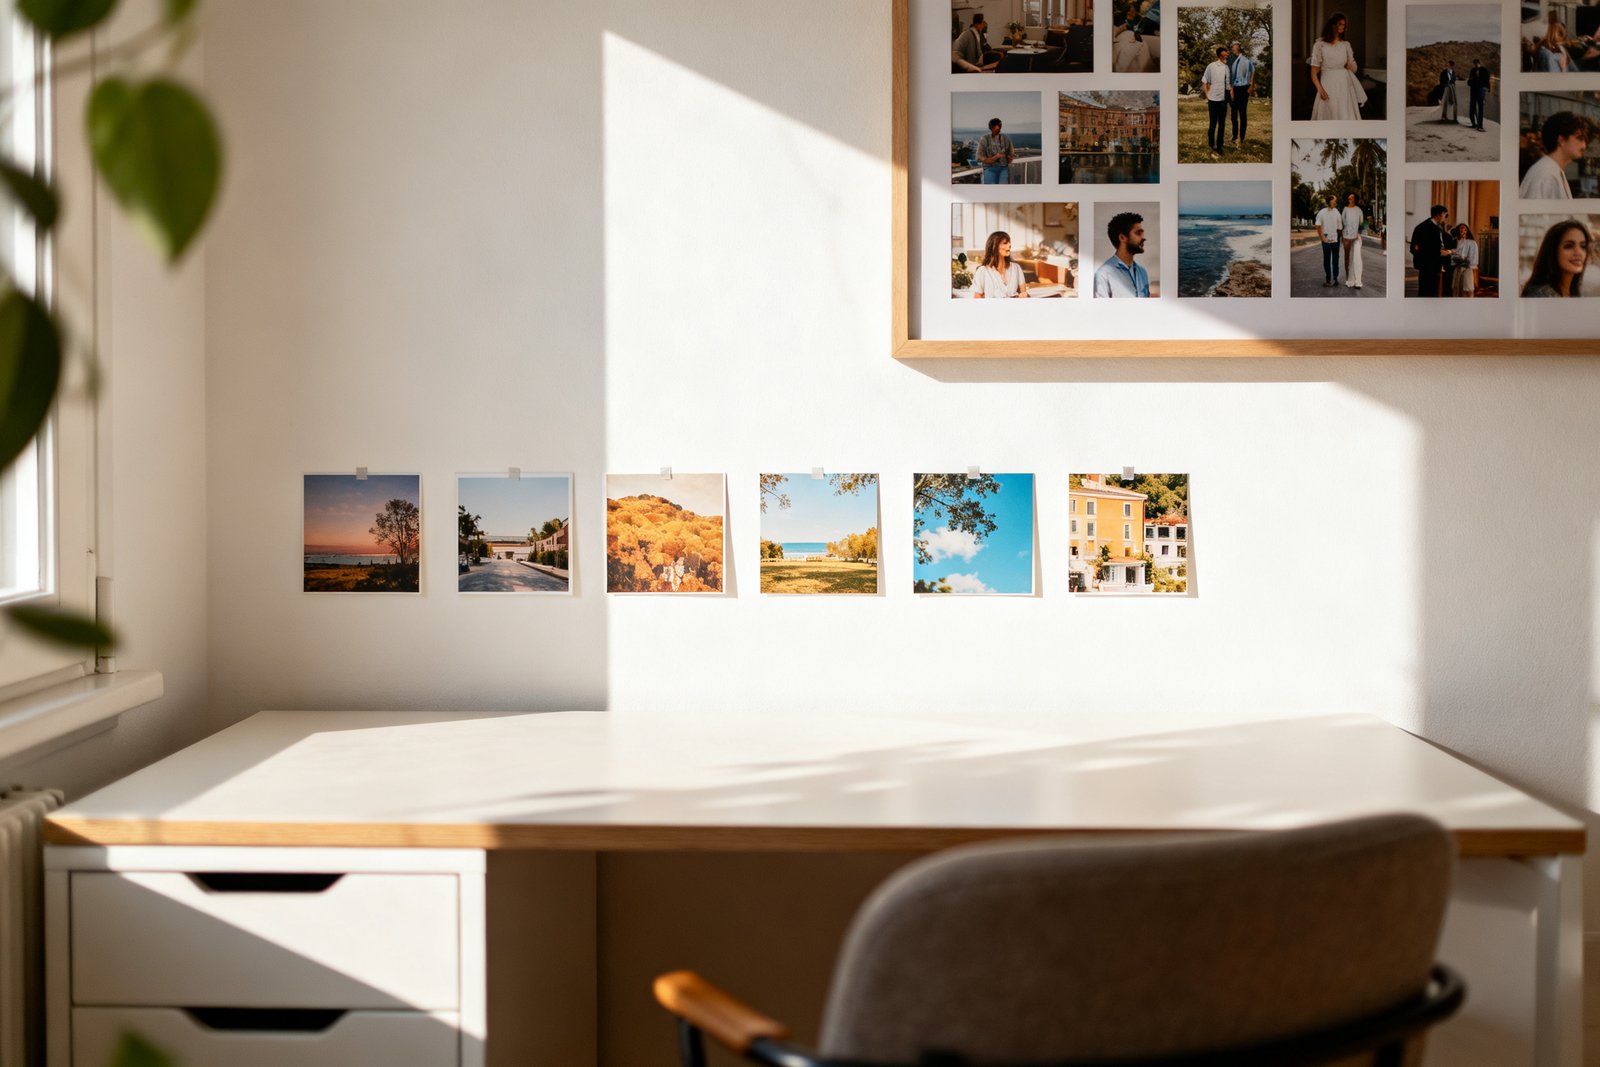
- Grid gallery: Matching frames, equal spacing. Best for a modern look and easy to expand over time.
- Eclectic salon wall: Mixed frames and sizes arranged organically. Great for thrift and secondhand finds.
- Linear ledge display: Photos sit on picture ledges or shelves; easy to swap without new holes.
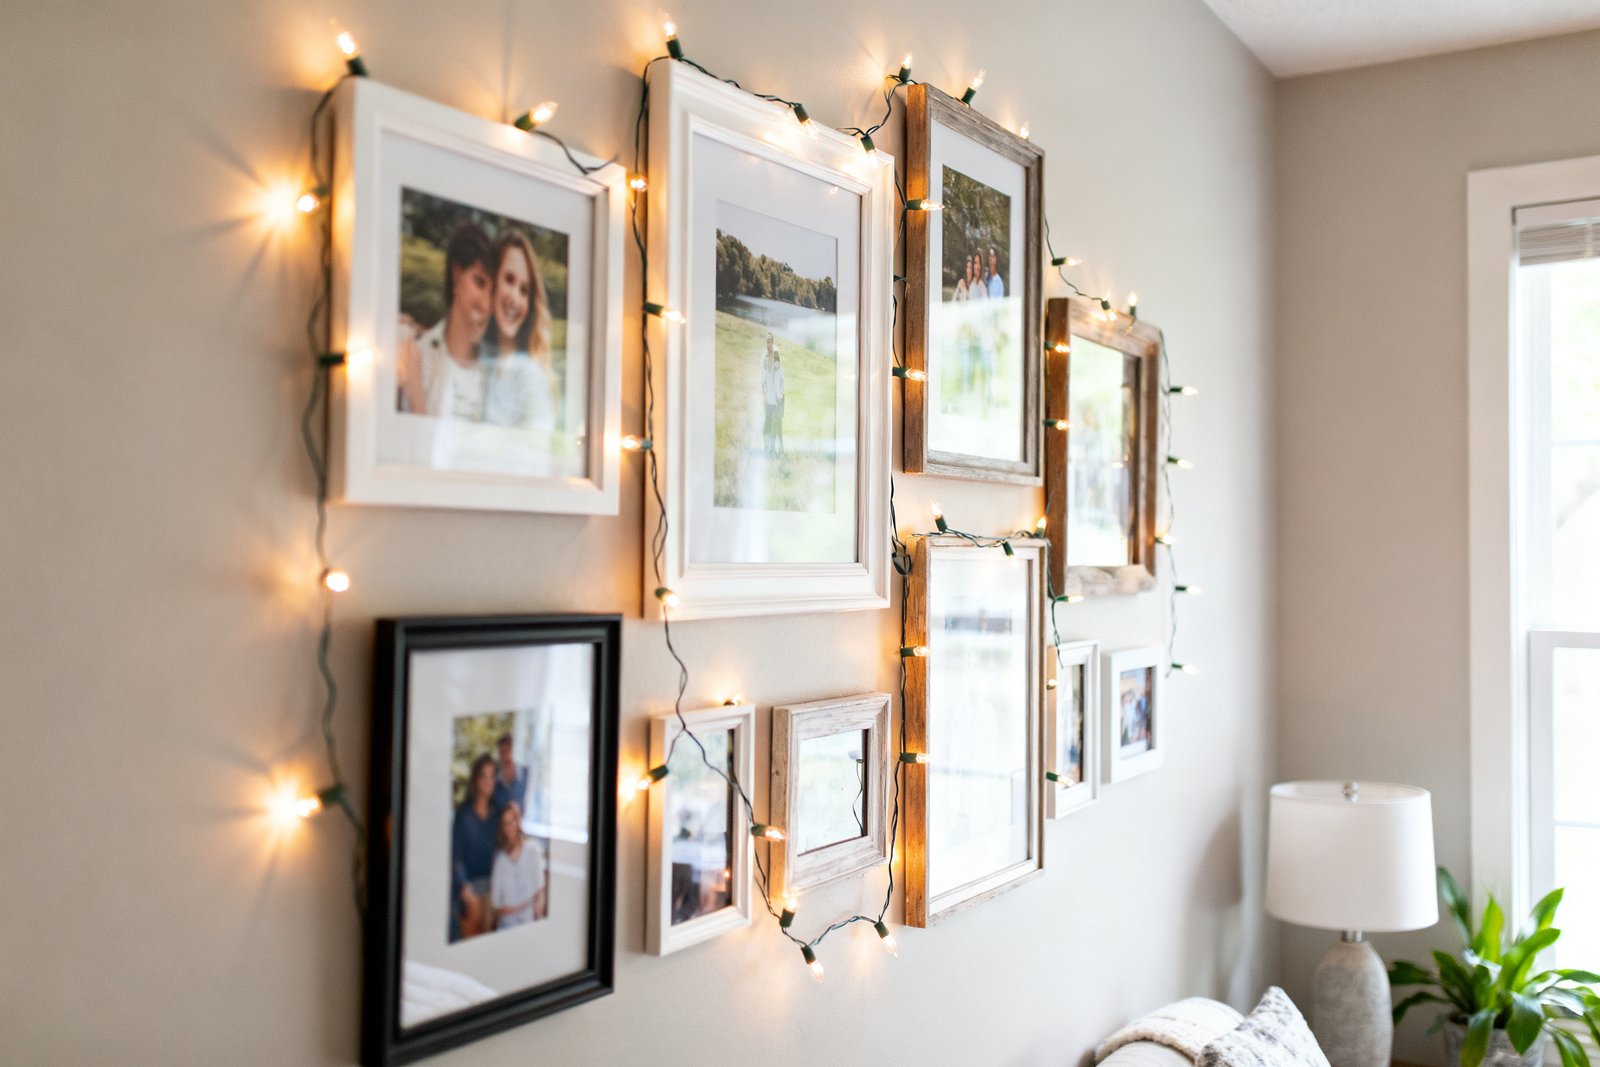
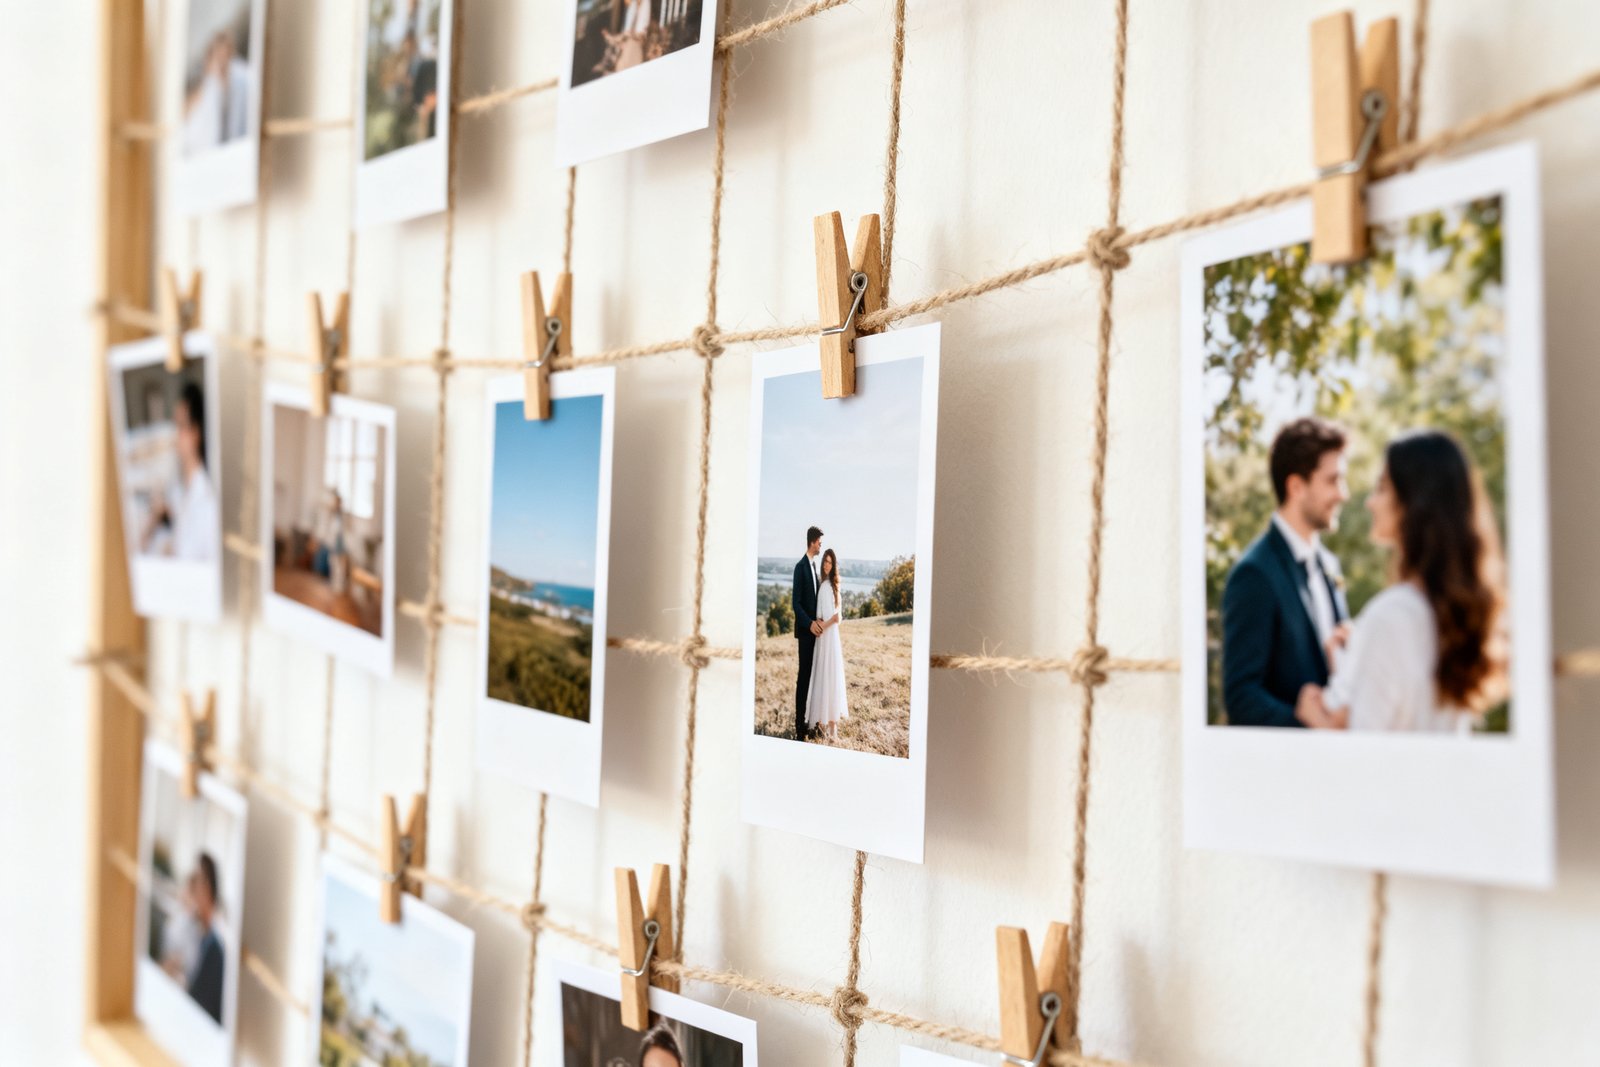
- Clip and string: Binder clips on twine or wire; light, casual, and renter-friendly.
- Poster-size anchor + small prints: One large piece with supporting snapshots to save on big-frame costs.
For tight budgets and renters, the clip-and-string or ledge approach keeps hardware simple and costs down. For a polished look, try a grid with budget frames from big-box stores ($5–$12 for 8×10).
Source Frames and Prints for Less
For more ideas, see our guide on how to hang a gallery wall step by step.
You can build a full wall for under $60 if you’re strategic about where you shop. Mix free or low-cost printing options with secondhand frames to stretch your dollars.
Frames
- Thrift stores and yard sales: Wood frames for $1–$4 each. Ignore the art; focus on sturdy frames and glass.
- Discount retailers: Multipacks of 8×10 or 11×14 frames cost $20–$35 ($4–$7 each).
- IKEA/Hobby chains: Consistent sizes and mats; 12×16 with mat often under $15.
- Skip glass for lightweight: Use acrylic sheets or leave frames open to reduce weight on thin walls.
Prints
- Drugstore prints: 4×6 for $0.15–$0.25; frequent coupons.
- Engineer prints (black-and-white): 18×24 for $2–$4 at copy shops; looks graphic and modern.
- At-home printing: Matte photo paper is $10–$15 per pack; great for small runs and test prints.
- Reusable mats: Buy one set of white mats and rotate images seasonally to avoid reprinting.
Plan Your Layout: Simple Methods That Work
Displaying your memories is just the start. Our free 5-Day Budget Home Reset helps you refresh your whole home on a budget.
Planning saves time and avoids a wall full of patchwork holes. Even a quick paper mockup helps you get spacing right.
Paper template method (fast and accurate)
- Trace each frame on kraft paper or newspaper and cut out.
- Label each template and mark the hanging point on the paper.
- Tape templates to the wall with painter’s tape. Adjust until spacing looks balanced (2–3 inches is a safe gap).
- Measure from floor: Center the overall arrangement at roughly 57–60 inches from the floor (eye level).
- Hammer nails or place hooks at the marked points, then remove paper.
Grid quick guide
- Use all the same frame size (e.g., nine 8x10s).
- Keep even spacing: 2 inches between frames horizontally and vertically.
- Start from the center and work outward to maintain symmetry.
Eclectic wall guide
- Anchor with 2–3 larger pieces (11×14 or 16×20), then fill with smaller frames.
- Repeat colors/finishes at least three times (e.g., black frames, wood tones, brass) to look intentional.
- Vary orientation (portrait/landscape) and leave negative space for breathing room.
Low-Cost Hanging Options (Including Renter-Friendly)
It also helps to check out DIY printable wall art.
Mounting hardware affects cost, wall damage, and how stable your arrangement feels. Choose based on weight and wall type.
Budget hardware
- Sawtooth hangers and small nails: $3–$5 per pack; good for light frames.
- Command strips: $7–$12 per pack; clean removal, perfect for rentals and clip displays.
- Picture hanging wire and hooks: $4–$8; allows tiny straightening adjustments.
- Drywall anchors: $5–$8 per pack; for heavier frames or shelves.
Renter-safe displays
- Picture ledges: Use minimal screws and patch later; swap photos freely. DIY from 1×3 lumber and a small lip ($8–$12 per 4-ft ledge).
- Clip-and-string: Pushpins, tacks, or removable hooks hold twine. Use mini clothespins or binder clips ($3–$6 total).
- Removable grid: Apply large removable strips to the back of lightweight frames (8×10 or smaller); press firmly and follow weight limits.
DIY Display Ideas You Can Make This Weekend
1) Black-and-White Grid with Engineer Prints
Pick nine favorite photos and convert to black-and-white for a cohesive look. Print at 8×10 or scale two images as engineer prints for a large center anchor. Use identical inexpensive frames. Total cost: roughly $45–$70 depending on frames.
2) Rustic Clip Rail
- Cut a 1×2 board to your wall width and sand edges.
- Stain or paint ($5–$8 sample pot) and let dry.
- Screw in small cup hooks along the length, 6–8 inches apart.
- String twine between hooks and use binder clips or mini clothespins to hang 4×6 prints.
Great for kids’ art and postcards. Easy to change seasonally. Approximate cost: $10–$20.
3) Mixed-Metal Thrift Frame Wall
Collect frames in gold, black, and wood. Clean, spray-paint mismatched frames ($6–$8 per can), and add white mats for consistency. Arrange around one larger central piece to organize the mix. Cost varies, but $25–$50 can cover a small wall.
4) Picture Ledges for a Layered Look
Install two ledges 12–16 inches apart. Layer frames in front of each other and add a few objects (a small plant, a letter). This avoids extra holes when you want to rotate photos. Materials: $20–$40 DIY or $30–$60 ready-made.
5) Washi Tape Frames
For the lightest, least expensive option, print 4×6 photos and “frame” them with washi tape directly on the wall. Create faux mitered corners by overlapping cuts at 45 degrees. Works best on smooth, durable paint. Cost: $3–$10.
Make It Look Cohesive on a Budget
Even with varied frames and print sources, a few choices will pull everything together. Aim for repeated elements and balanced spacing.
Unify with color and mats
- Black-and-white photos hide printing differences and look tailored.
- Use white or off-white mats; if frames don’t include them, buy a bulk pack or cut your own from poster board ($2–$4 per sheet).
- Repeat frame finishes in odd numbers (3 or 5) to feel intentional.
Size and spacing tips
- Keep 2–3 inches between frames in a grid; go up to 4 inches on large walls.
- Leave at least 6–8 inches above furniture tops (sofa, console) and center the arrangement on that piece.
- For stairs, follow the angle of the railing; keep frame centers roughly parallel to the handrail line.
Realistic Example: 8-Foot Sofa Wall Gallery for Under $80
Goal: A 5×3 grid (15 photos) above an 8-foot sofa. Budget under $80.
- Frames: Three packs of five 8×10 frames at $18 per pack = $54.
- Prints: Fifteen 8×10 drugstore prints at $1.25 = $18.75 (often less with coupons).
- Hardware: Picture hooks and a small level = $6.
Process: Use paper templates and 2-inch spacing. Hang the middle row first with centers at 60 inches from the floor, then align the rows above and below. The uniform black frames and identical sizing create a high-end look for a modest cost.
Mistakes to Avoid
- Skipping a layout plan: Leads to crooked rows and extra holes. Use paper templates or painter’s tape outlines.
- Hanging too high: Aim for eye-level centers (57–60 inches) for comfort and cohesion.
- Ignoring scale: Tiny frames on a large wall look lost. Either cluster tightly or add a larger anchor piece.
- Too many colors/finishes: Limit to two or three repeated finishes for a unified look.
- Overloading removable strips: Check weight ratings and surface prep to prevent falls.
FAQ
How do I choose which photos to print?
Pick a theme to narrow choices: travel, family milestones, or a single color palette. For a cohesive look, convert everything to black-and-white or apply the same warm/cool filter. Print more than you need and curate on the wall.
What sizes work best for a small space?
Use a mix of 5×7 and 8×10 with narrow frames and consistent spacing to avoid visual clutter. A vertical column of three 11×14 frames also looks sleek in tight spaces like hallways.
Can I mix art and photos?
Yes. Combine a few drawings, postcards, or typography prints with your photos. Keep a common thread—matching mats, repeated frame colors, or a shared color palette—so the arrangement feels intentional.
How do I avoid glare and fingerprints?
Choose matte or luster prints and consider anti-glare acrylic instead of glass on frames near windows. Handle prints by the edges and use microfiber cloths to clean frames before hanging.
If you want to keep going, take a look at DIY wall art from free printables.
Final Thoughts
A thoughtful photo wall doesn’t require expensive frames or custom printing. With a clear style, smart sourcing, and a simple layout plan, you can showcase your favorite memories in a way that looks polished and fits your budget. Start small, keep spacing consistent, and build over time as your collection grows.