
You want a kitchen glow-up without torching your savings account? Peel-and-stick backsplash tiles deliver exactly that: instant style, minimal mess, and zero commitment. You won’t need a wet saw, a contractor, or a weekend-long cry on the floor.
Just measure, peel, stick, and bask in your new backsplash like the DIY legend you are.
Why Peel-and-Stick Works (And When It Doesn’t)
You get speed, savings, and sanity. These tiles go up fast, and you can remove them later without wrecking your walls. Renters, hello.
But yes, peel-and-stick has limits. High heat and moisture can be tricky, and super-textured walls won’t hold them well. If your stove runs hot on the sides or your wall feels like a popcorn ceiling, you’ll want tweaks.
Where Peel-and-Stick Shines
- Behind sinks and along countertops
- Under cabinets for a sleek strip of pattern
- On kitchen islands as an accent wrap
- Inside open shelves for a surprise pop
Where to Be Careful
- Directly behind gas burners with no clearance
- On rough, glossy, or greasy walls (prep is everything)
- Over cracked or peeling paint
Styles You Can Nail on a Budget
Peel-and-stick tiles come in patterns that mimic the expensive stuff without the scary price tag. Choose your look, then act like you woke up naturally stylish.
1) Classic Subway, But Make It Fun
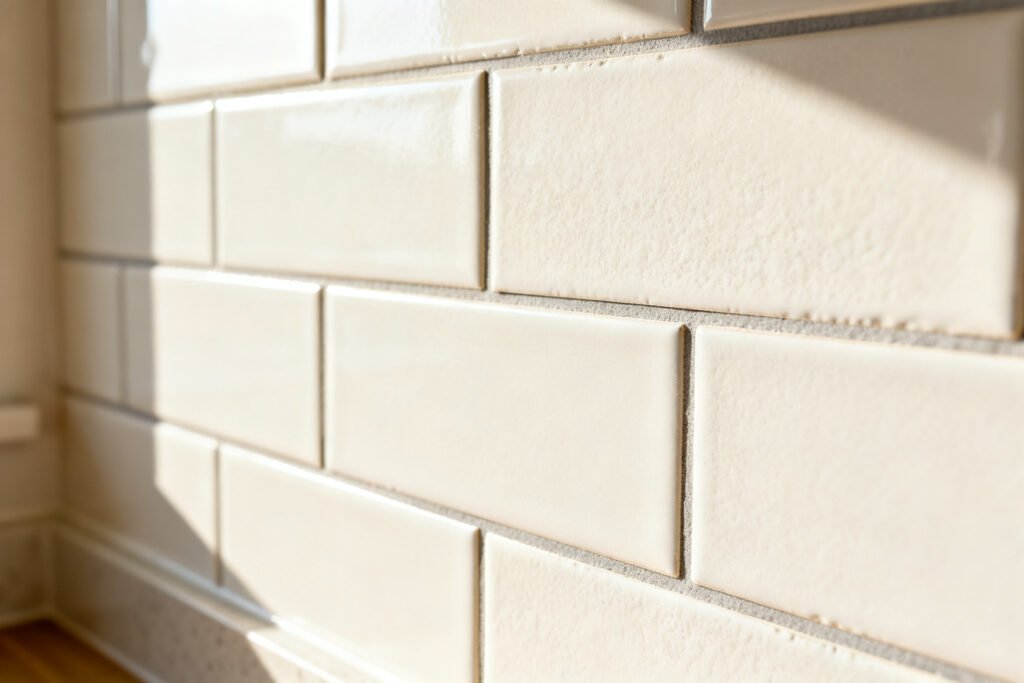
White subway peel-and-stick keeps your kitchen crisp and clean.
Want more drama? Try charcoal grout lines or a vertical stack. It makes your backsplash look taller and fresh, IMO.
2) Marble-Vibes Without Marble Prices
Faux Carrara or Calacatta patterns add instant fancy vibes.
Choose a high-resolution print with subtle veining so it doesn’t scream “sticker.” Pair with black hardware for contrast that slaps.
3) Moroccan and Encaustic Patterns
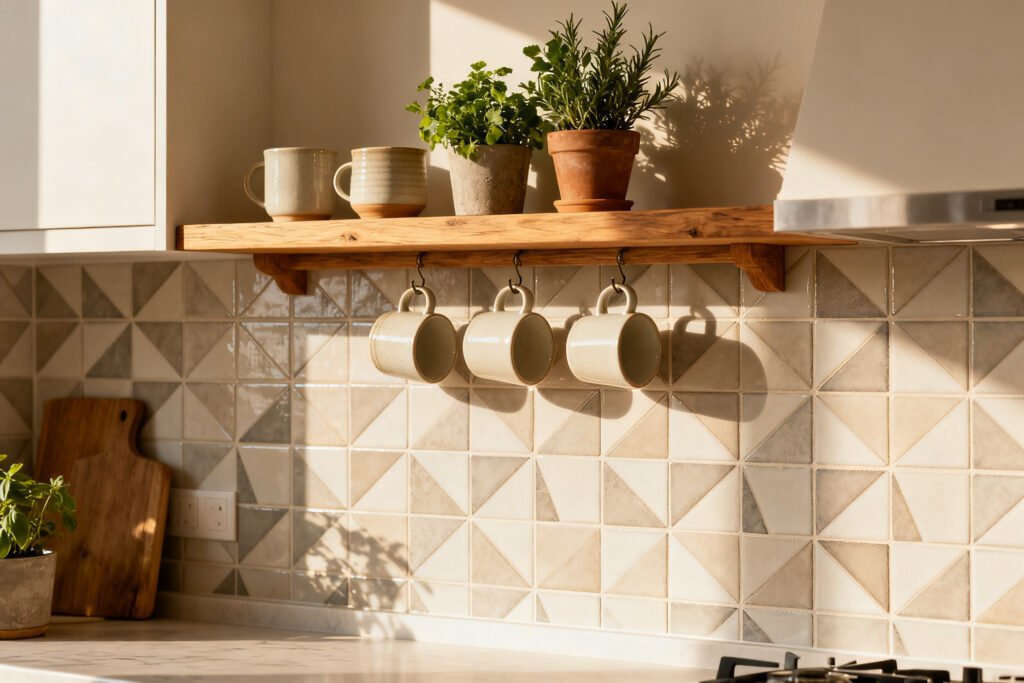
If your kitchen feels bland, patterned tiles bring life. Blue-and-white Moroccan prints or gray encaustic styles look custom. Keep cabinet colors simple so your backsplash can flex.
4) Textured and 3D Looks
Some peel-and-stick tiles come with a gel or 3D finish.
They catch light and feel more real. Great over small areas like coffee bars or open shelves.
5) Metal-Look Goodness
Brushed aluminum or copper-look tiles add warmth. Use sparingly or mix with wood tones for balance.
Pro tip: pair with warm-bulb under-cabinet lighting to keep it cozy.
Plan It Like a Pro (So You Don’t Swear Later)
A little planning saves you from “oh no” moments. Here’s your game plan.
Measure Smart
- Measure width and height in inches, multiply for square inches, then divide by 144 for square feet.
- Add 10–15% extra for trimming and oopsies.
- Order all at once so the print lots match.
Gather the Right Tools
- Level or laser level
- Sharp utility knife + spare blades
- Scissors for quick cuts
- Plastic squeegee or credit card
- Rubbing alcohol + lint-free cloth
- Measuring tape and pencil
Surface Prep: The Non-Negotiable Step
You stick to clean, dry, smooth walls, or the tiles will slowly peel like a bad sunburn. Don’t do that to yourself.
How to Prep Properly
- Wipe walls with mild degreaser, then clean again with rubbing alcohol.
Let dry fully.
- Lightly sand glossy paint so the adhesive can grip.
- Patch holes and sand flat. Wipe off dust.
- Remove outlet covers. Turn off power first, FYI.
Bonus: If your wall texture looks like gravel, add a thin backer like a smooth panel or apply a skim coat.
The smoother the surface, the longer the tiles last.
Installation: The Stress-Free Walkthrough
Here’s how to avoid crooked lines and sticky regret.
Step-by-Step
- Start at the most visible corner and work out. Dry-fit your first row without removing the backing.
- Use a level to draw a light guideline. Keep that first row laser-straight.
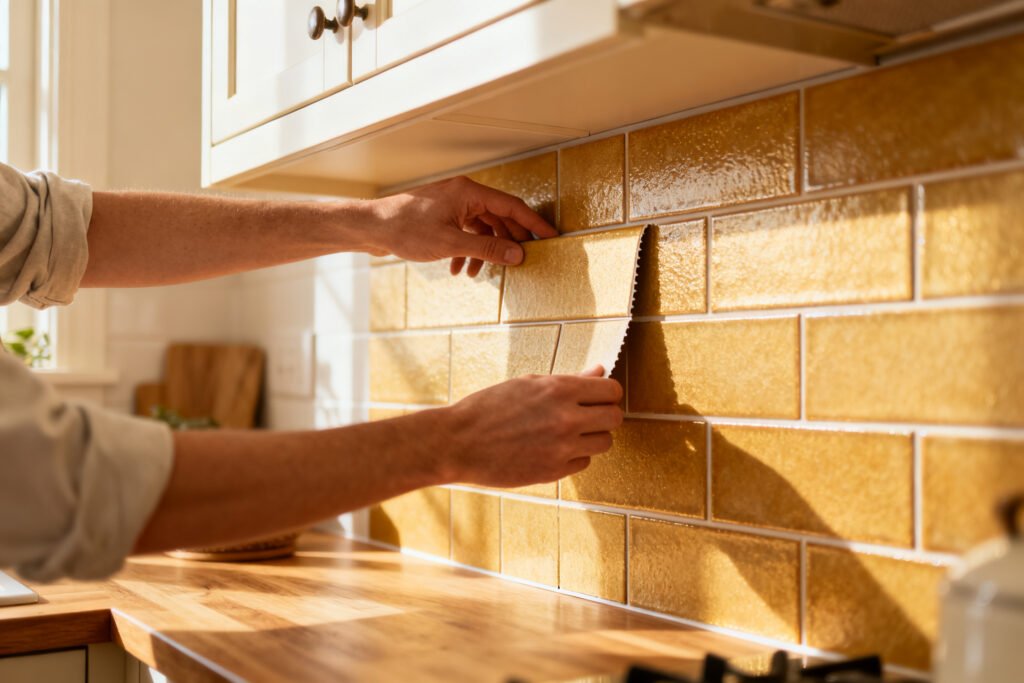
- Peel a few inches of backing, align carefully, and press from the center outward.
- Overlap or interlock edges per the brand’s instructions.
Don’t guess; read the tiny paper for once.
- Use a squeegee to press firmly, especially at seams and corners.
- Trim around outlets by tracing, then cutting with a sharp blade. Replace covers for a clean look.
Edge and Corner Tricks
- Use finishing strips or silicone edge trim for polished ends.
- For inside corners, cut tiles to meet cleanly—don’t fold unless the manufacturer says you can.
- If you see slight gaps, a thin bead of clear, paintable caulk hides sins like magic.
Heat, Moisture, and Real Life
We cook. We splash.
We burn things occasionally. Make your backsplash survive all that.
A backsplash upgrade shines in a clean kitchen. The free 5-Day Budget Home Reset helps you reset before you install.
Behind the Stove
- Gas stove with little side clearance? Add a metal heat shield or use real tile behind the burners and peel-and-stick everywhere else.
- Electric or induction?
You usually have more wiggle room, but check the tile’s heat rating.
By the Sink
- Seal the bottom edge where tile meets countertop with clear silicone to block water.
- Wipe splashes quickly and you’ll keep edges crisp for years.
Cleaning and Care
- Use a gentle cleaner: mild soap and water, microfiber cloth.
- Avoid abrasives and harsh chemicals that can haze the finish.
- If a piece gets damaged, just peel it off and replace that section. Easy win.
Design Combos That Look Expensive
Let’s make budget look boutique, shall we?
High Contrast, Low Cost
White subway + dark grout lines + matte black hardware = instant chef’s kitchen energy. Add a wood cutting board wall display to warm it up.
Warm Neutrals With Texture
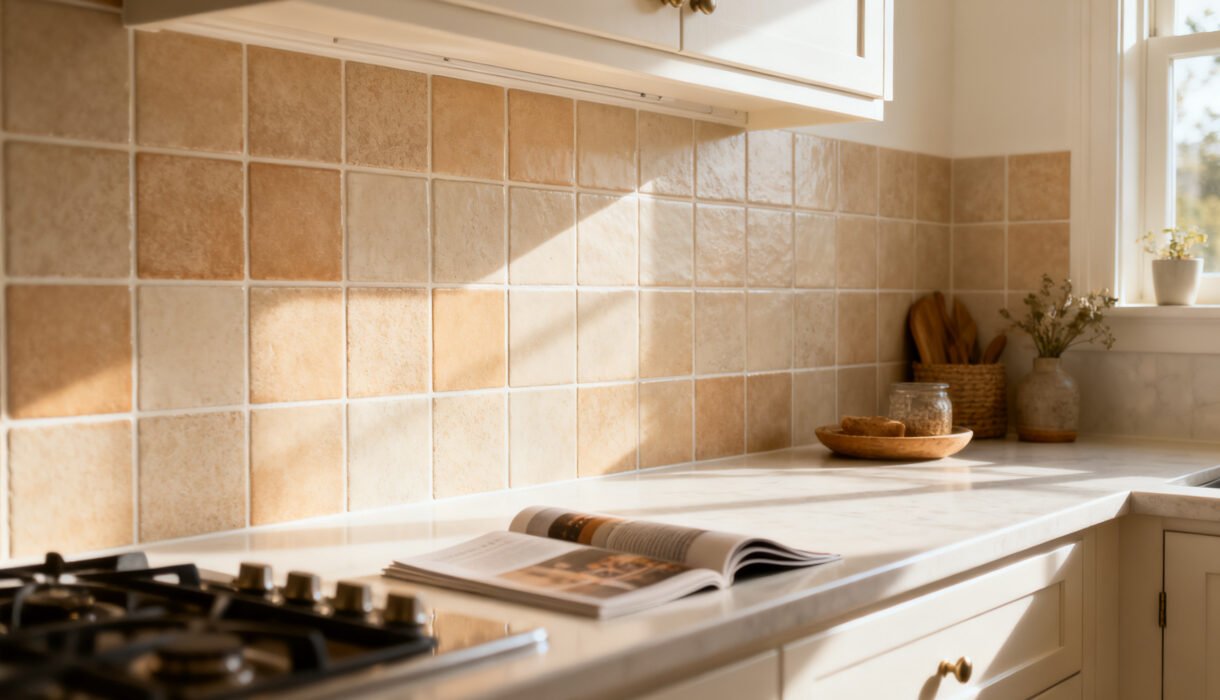
Try beige or greige stone-look tiles with brass pulls and warm LED strips under cabinets.
Cozy, not blah.
Bold Accent Zone
Tile the coffee bar or the area behind floating shelves with a patterned tile, and keep the rest simple. It feels custom without doing the whole wall.
Two-Tone Backsplash
Run clean subway on the main wall and switch to a patterned tile behind the range hood. It creates a focal point and looks curated, IMO.
Budget Tips You’ll Actually Use
- Buy multi-packs for better pricing and consistent dye lots.
- Use removable wallpaper behind open shelves instead of tile to save cash where it won’t get splashed.
- Mix and match: real tile on the hot zone, peel-and-stick everywhere else.
- Return unopened packs—most brands allow it if you keep them pristine.
FAQ
For more budget DIY ideas, see budget accent wall ideas, budget kitchen styling, and Dollar Tree DIY projects.
Will peel-and-stick backsplash damage my walls?
Most brands remove cleanly if you pull slowly and warm the adhesive with a hair dryer.
If your paint already peels, it might lift. Test a small piece in a hidden spot first.
How long does peel-and-stick tile last?
With good prep and normal kitchen use, you’ll usually get several years. Heat, moisture, and rough cleaning shorten the lifespan.
Clean gently and keep edges sealed for best results.
Can I put peel-and-stick over existing tile?
Yes, if the tile is smooth, clean, and dry. Degrease well and scuff glossy surfaces with fine sandpaper. You might need thicker tiles to hide grout lines.
Is it okay behind a gas stove?
Sometimes.
Check the manufacturer’s heat rating and your stove’s side clearances. If the wall gets hot, add a heat shield or use ceramic/porcelain in that section.
Do I need to grout peel-and-stick tiles?
Nope. Most come with faux grout lines or tight seams.
If you want the look of grout, choose a design with printed lines or a 3D style that mimics it.
What if I mess up a tile during install?
Peel it off gently and reposition right away. If the adhesive weakens or stretches, swap in a fresh piece. Always order 10–15% extra—future-you will send thanks.
Conclusion
Peel-and-stick backsplash tiles give you style, speed, and savings without demolition dust.
Prep your walls, plan your layout, and pick a look that makes you grin every time you pour coffee. Whether you go classic subway or bold pattern, you can transform your kitchen in an afternoon—and still have energy for dinner that isn’t cereal. FYI, that still counts as adulting.