10 Before and After Room Makeover Ideas on a Budget You’ll Want to Copy
Posted in :
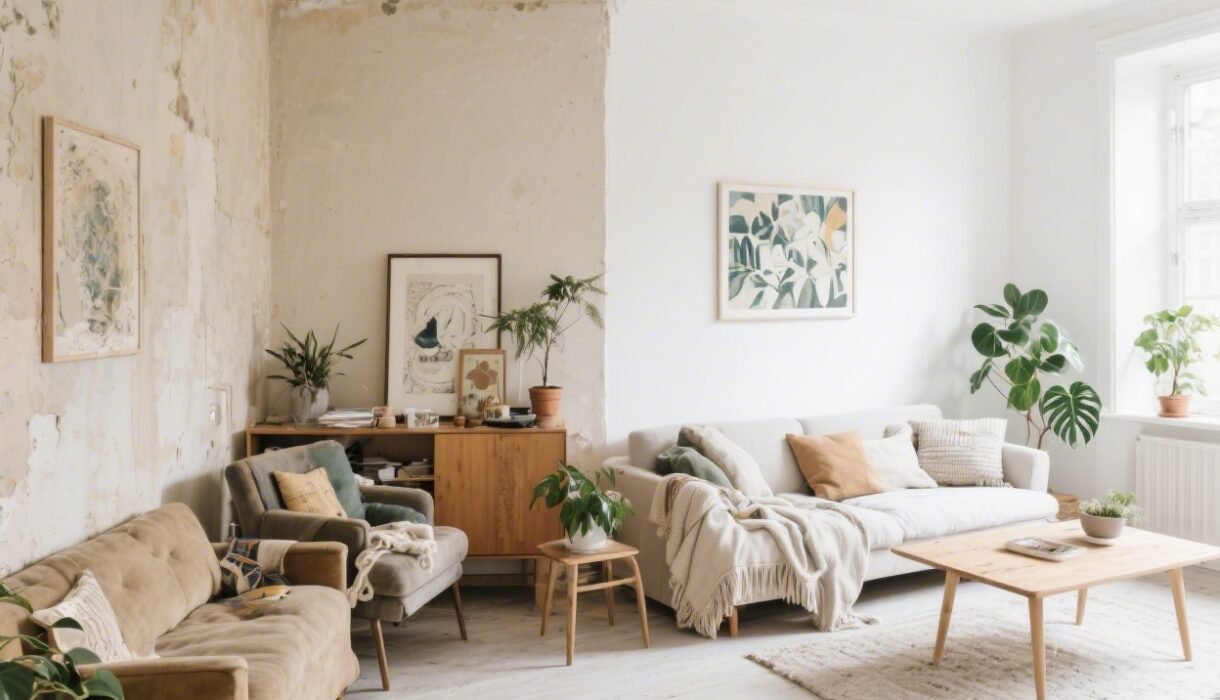
You don’t need a demo crew or a reality show budget to pull off a jaw-dropping before and after. You need strategy, a few power tools (or a screwdriver), and the confidence to paint things your mom said you shouldn’t. Ready to make your space look expensive without spending like it? Let’s do this.
1. Paint It Like You Mean It
Paint is the fastest “after” you can get. Go bold on one wall, soften the rest, or try color drenching (walls, trim, and doors in the same shade) for instant boutique vibes.
Budget Wins:
- Sample first: Test big swatches on multiple walls. Light changes everything.
- Color drench basics: One gallon can cover a small room if you’re efficient.
- Don’t skip prep: Clean, patch, sand lightly. A smooth wall looks pricier, FYI.
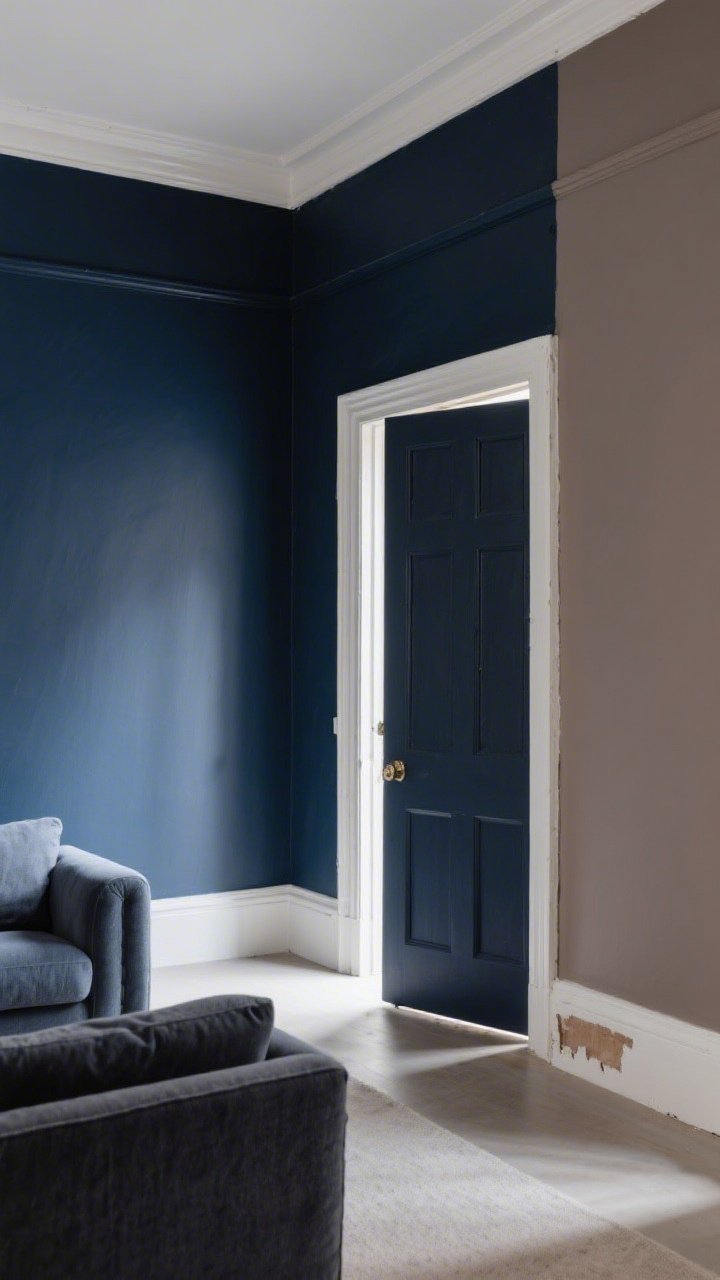
Pro tip: Paint interior doors a moody hue (charcoal, navy, taupe). It’s a subtle upgrade that reads custom.
2. Swap Your Lighting, Change Your Life
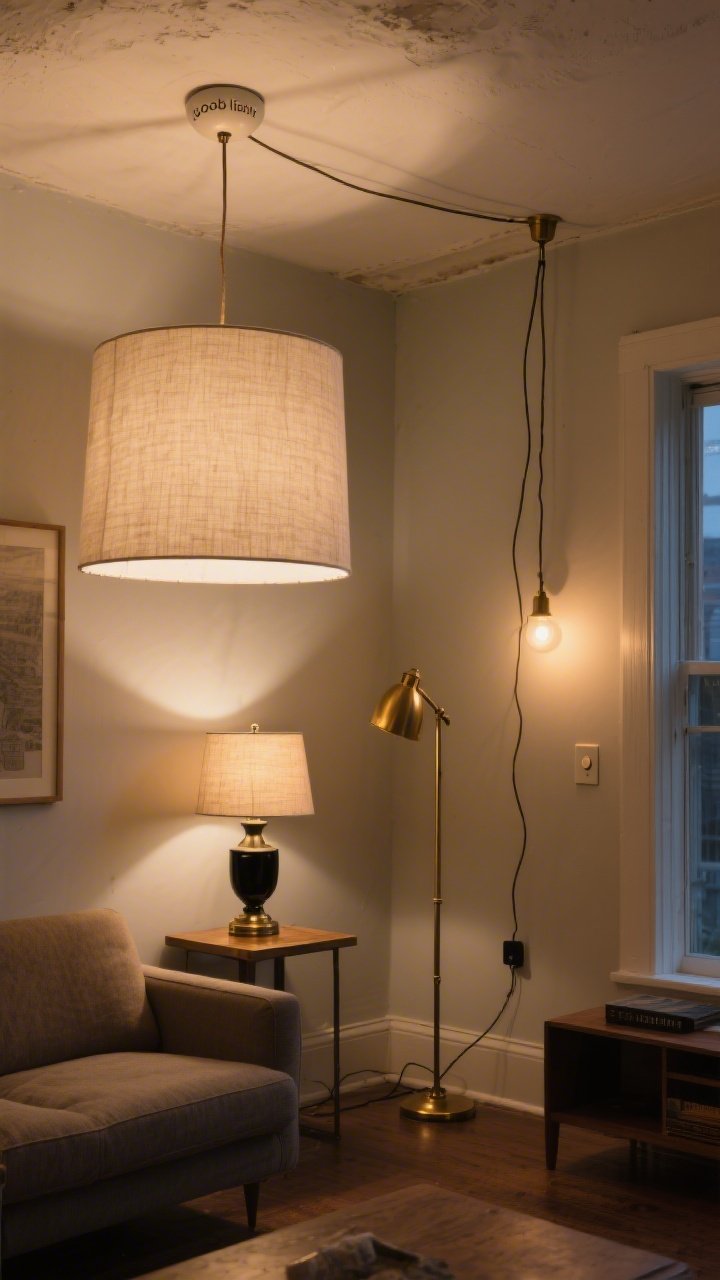
Overhead “boob lights” are the bad bangs of home decor. Replace them with a statement shade, and layer in floor and table lamps so your room doesn’t feel like an interrogation.
Budget Wins:
- Plug-in pendants: No electrician needed. Swag the cord with a ceiling hook.
- Secondhand scores: Thrift brass lamps and respray them matte black or antique gold.
- Bulb choice matters: 2700K warm white for cozy, 3000K for crisp-but-still-homey.
Bonus: Add dimmers. Your room will instantly feel like a lounge instead of a waiting room.
3. DIY Architectural Details (Fake It Till It Looks Custom)
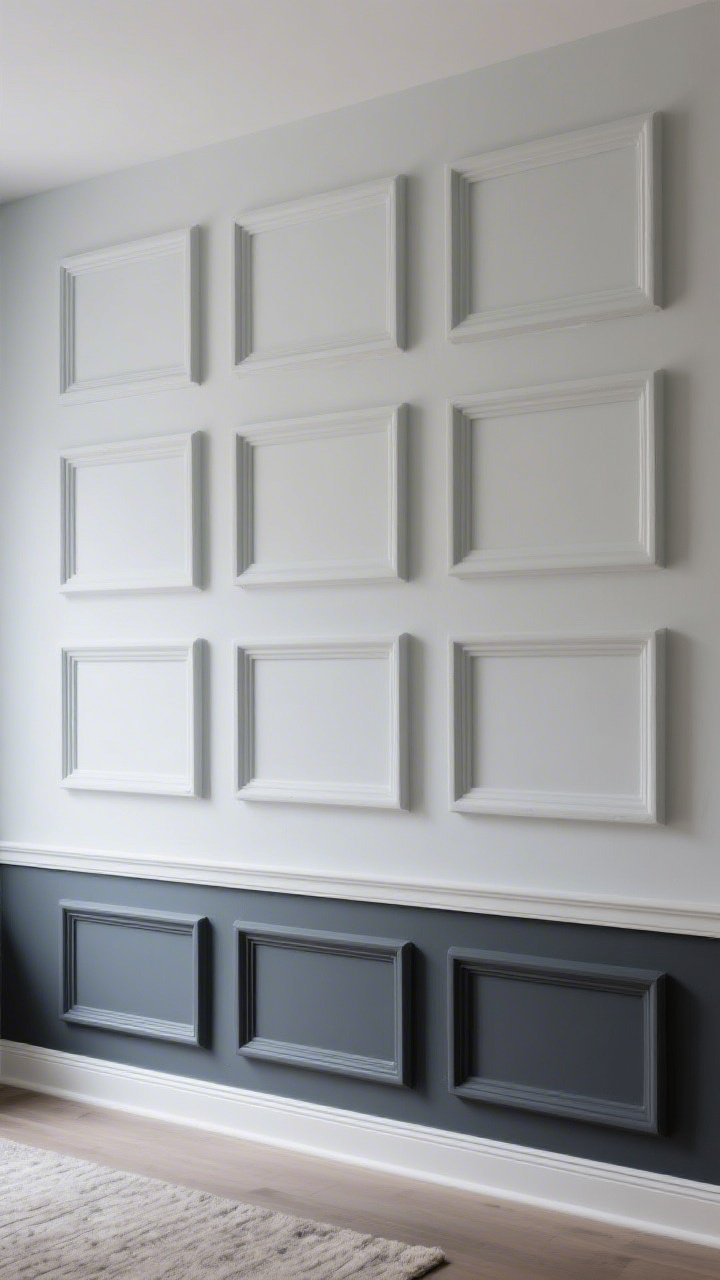
Blank walls are missed opportunities. Trim, board-and-batten, or picture frame molding looks fancy but is shockingly doable.
Budget Wins:
- Foam molding strips: Lightweight, paintable, and renter-friendly with removable adhesive.
- Grid walls: Use 1x2s and a brad nailer. Caulk, paint, and boom—instant “after.”
- Half-wall magic: Add a simple chair rail and paint below a darker tone for depth.
Keep lines even and symmetrical. Your room will look architect-approved without the architect fee.
4. Upgrade Your Window Game
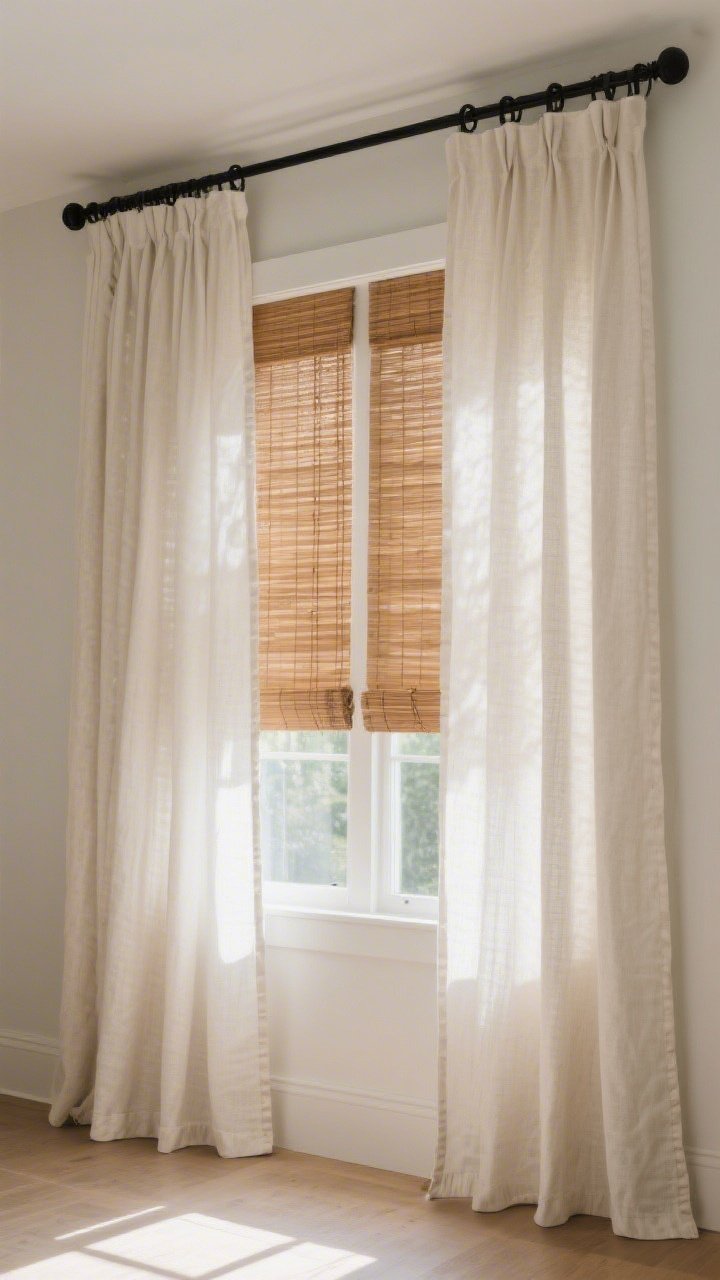
Short, skimpy curtains make rooms feel stumpy. Hang them high and wide to fake larger windows and taller ceilings.
Budget Wins:
- Rod placement: 4–6 inches above the frame, extend 6–10 inches beyond each side.
- IKEA + hemming tape: Cheap panels + iron-on hem = custom length without sewing.
- Layered look: Add bamboo shades under curtains for texture and warmth.
Choose fabrics with weight—linen blends, cotton twill. Flowy beats shiny every time, IMO.
5. Furniture Flip: From “Meh” to Main Character
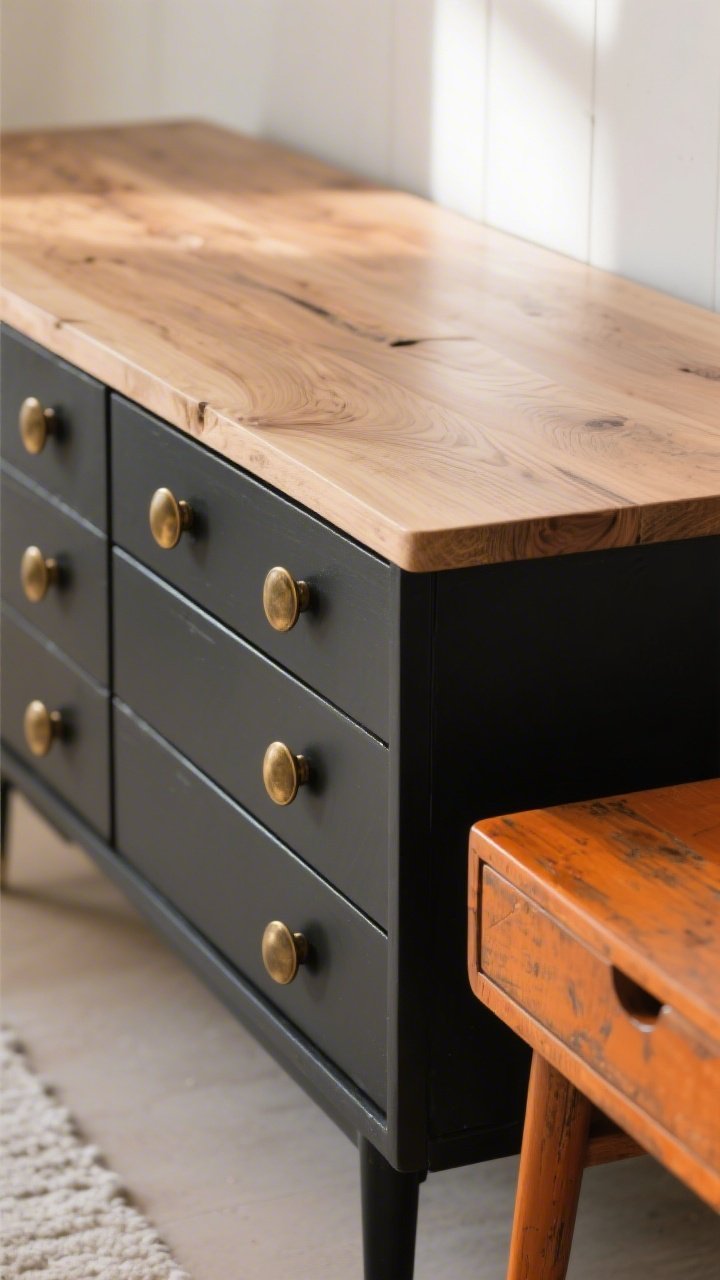
You don’t need new furniture—just better-looking furniture. Paint, new hardware, or a sanding session can rewrite history.
Budget Wins:
- Nightstands and dressers: Sand the tops to raw wood, paint the base, add chunky knobs.
- Tables: Strip orange varnish and finish with a matte poly or whitewash for a modern farmhouse vibe.
- Chairs: Reupholster seats with a yard of fabric and a staple gun. It’s 30 minutes, tops.
Mix tones: pair light wood with matte black or brass hardware for a boutique-hotel effect.
6. Peel, Stick, and Look Fancy
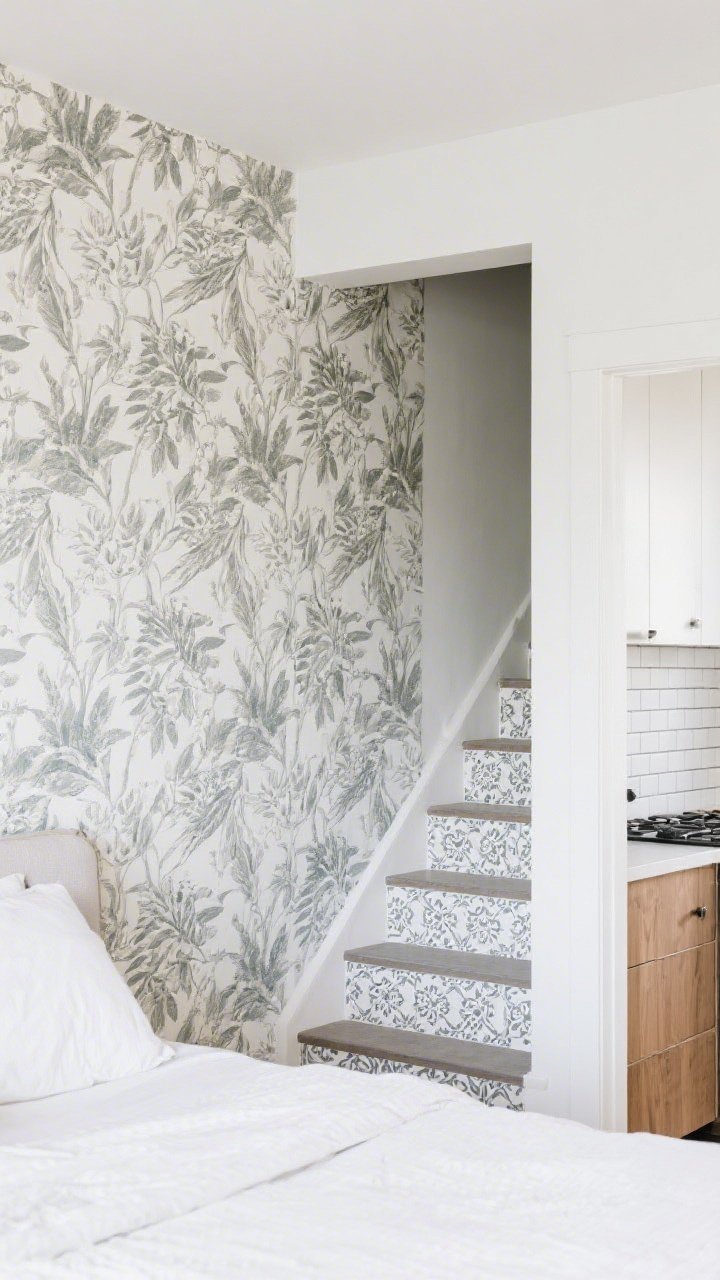
If you can peel a sticker, you can do a weekend makeover. Peel-and-stick wallpaper and tiles are the renter’s love language.
Budget Wins:
- Accent walls: Use peel-and-stick behind beds, desks, or in entry nooks for drama.
- Backsplashes: Vinyl tiles or faux brick panels in kitchens and laundry rooms—cleanable and removable.
- Stair risers: Patterned decals add personality with minimal material.
Choose a small-scale pattern for tight spaces, large-scale for bigger rooms. Balance is everything.
7. Curate Your Walls Like a Gallery
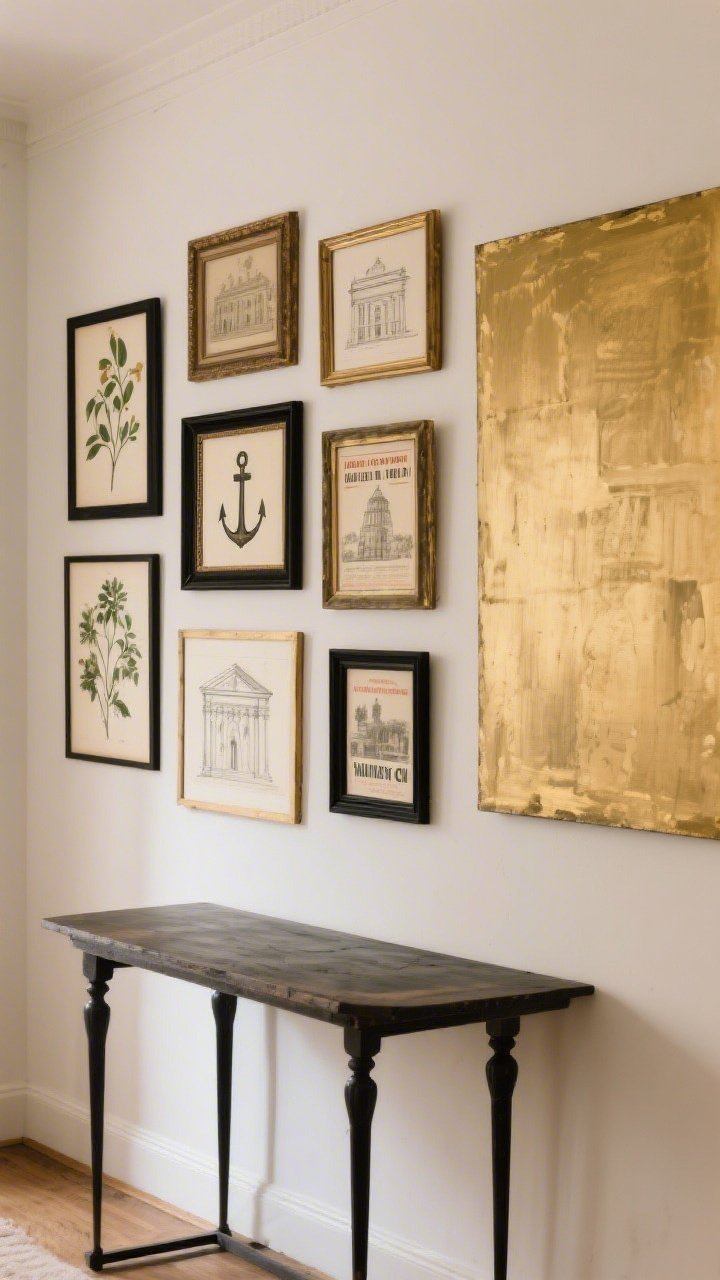
Empty walls equal missed personality points. A gallery wall turns all your “I’ll frame this someday” art into a statement.
Budget Wins:
- Thrift frames: Spray them all black, white, or gold to unify the look.
- Free art sources: Vintage prints from museum archives, botanical scans, public domain posters.
- Layout hack: Arrange frames on the floor first. Start with a center anchor, build out.
Not into busy walls? Go oversized. One huge canvas (DIY paint it!) can look ultra luxe and calm.
8. Style Shelves Like a Designer (No Degree Needed)
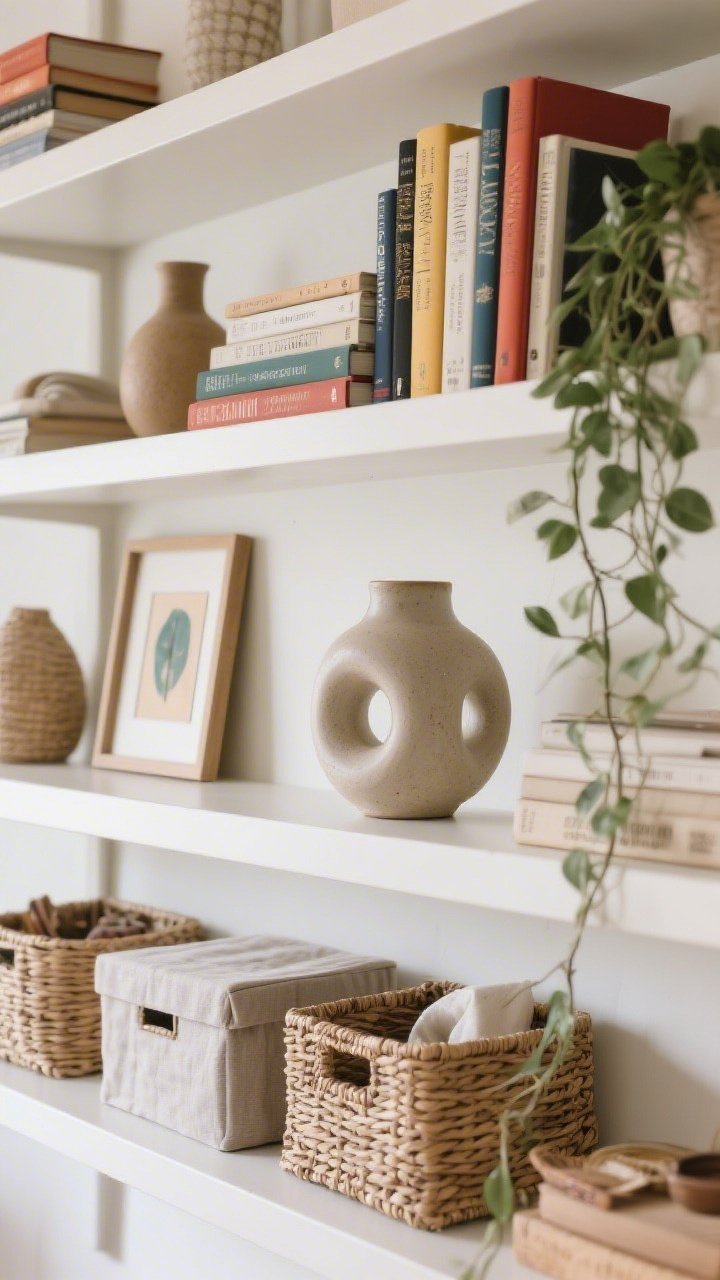
Bookshelves can either scream chaos or whisper chic. The trick is editing and layering.
Budget Wins:
- Rule of thirds: Mix books, objects, and art on each shelf. Vary heights for movement.
- Color blocking: Turn book spines inward or group by color for a cleaner read.
- Contain the small stuff: Baskets and boxes hide the random bits that ruin your aesthetic.
Add a plant or two for life. Greenery softens the geometry and makes shelves feel intentional.
9. Textiles: The Secret Sauce of Cozy

Texture is what makes a room feel expensive. Layer rugs, throws, and pillows like a stylist and watch the “before” melt away.
Budget Wins:
- Rug math: Front legs of furniture on the rug, minimum. Two rugs? Layer a jute base with a patterned top.
- Pillow swap: Buy pillow covers, not whole pillows. Mix sizes: 24″, 22″, 20″ for that designer scatter.
- Throws with purpose: Drape on corners, not dead center. Casual > fussy.
Go for natural textures—cotton, linen, wool blends. Shiny polyester reads cheap; nubby and matte reads cozy.
10. Declutter, Then Zone Like a Pro
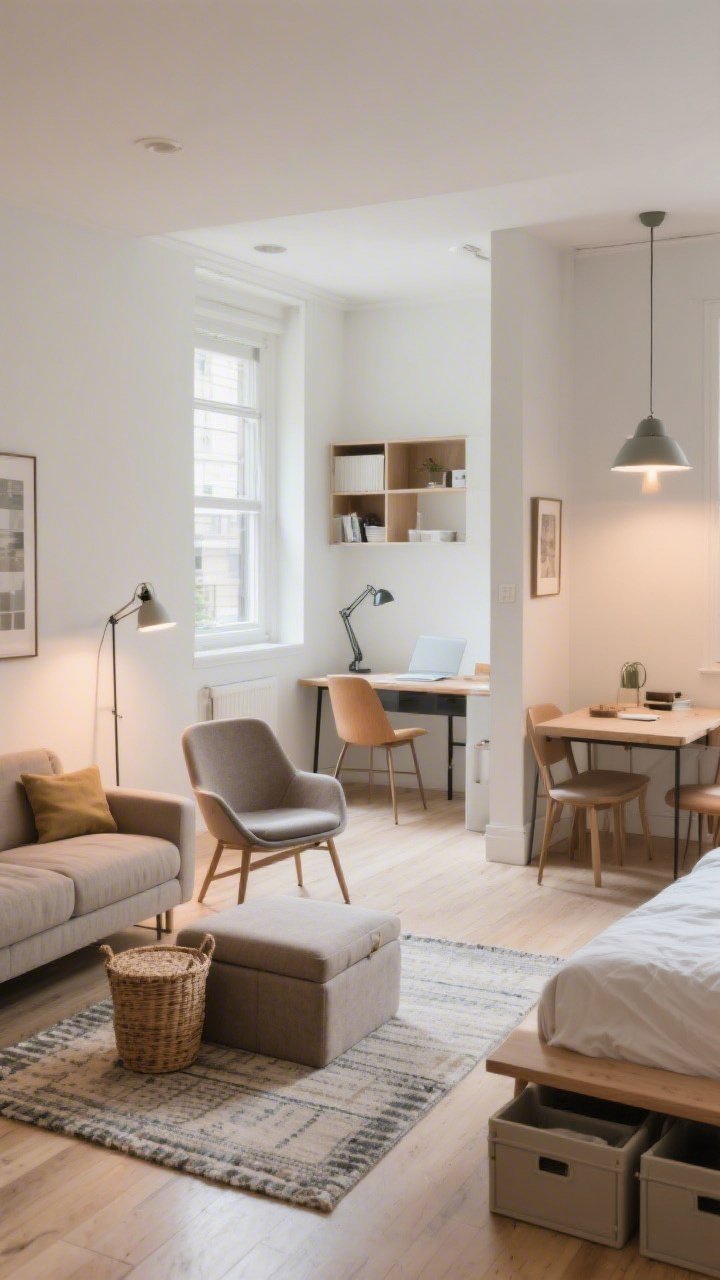
Sometimes the biggest “after” is just editing and rearranging. Create zones for living, working, dining—especially in small spaces.
Budget Wins:
- Three-box method: Keep, donate, relocate. Be ruthless with duplicates and decor that doesn’t spark joy (yes, still relevant).
- Zone markers: Use rugs, lighting, and furniture orientation to define areas without walls.
- Hidden storage: Ottomans, under-bed bins, and lidded baskets keep the “after” from backsliding.
Rearrange with intention: float the sofa, angle a chair, or center the bed under a new focal point. It’s free and dramatic.
Quick Room-by-Room Budget Ideas
- Living Room: Swap coffee table for two nested side tables, add a plug-in sconce over the sofa, layer a throw on the arm.
- Bedroom: Paint the headboard wall, hang curtains high, upgrade to matching nightstand lamps for symmetry.
- Kitchen: New hardware, peel-and-stick backsplash, and a runner rug add warmth and pattern.
- Bathroom: Frame the mirror with trim, update the faucet if possible, and roll towels spa-style on open shelves.
- Entry: Add a narrow console, wall hooks, and a statement mirror to bounce light.
Smart Spending Priorities
- Splurge a little: Lighting, rugs, and window treatments carry big visual weight.
- Save: Art (DIY/printable), side tables (thrift), decor accents (shop your home first).
- Skimp-proof: Don’t cheap out on prep supplies—primer, caulk, good brushes. The finish will show it.
Before-and-After Planning Checklist
- Set the vibe: Pick three words (e.g., airy, warm, modern). Every choice should pass that test.
- Create a mood board: Screenshots + your actual room photo = fewer impulse buys.
- Measure twice: Rugs, curtains, furniture. Returns are expensive and annoying.
- Batch your work: Paint on day one, install on day two, style on day three. Momentum is everything.
You don’t need a trust fund to get a show-stopping after—just smart choices and a little courage. Start with one idea, snap your before, and go for it. You’ll be shocked how far a gallon of paint, new lighting, and a few textures will take you. And hey, when your friends ask who your designer is, you can smile and say, “Me.”
See Real Before And After Results
This workbook gives you a proven system to transform your space step-by-step.