12 Small Room Makeover on a Budget Ideas That Transform Any Space—fast
Posted in :
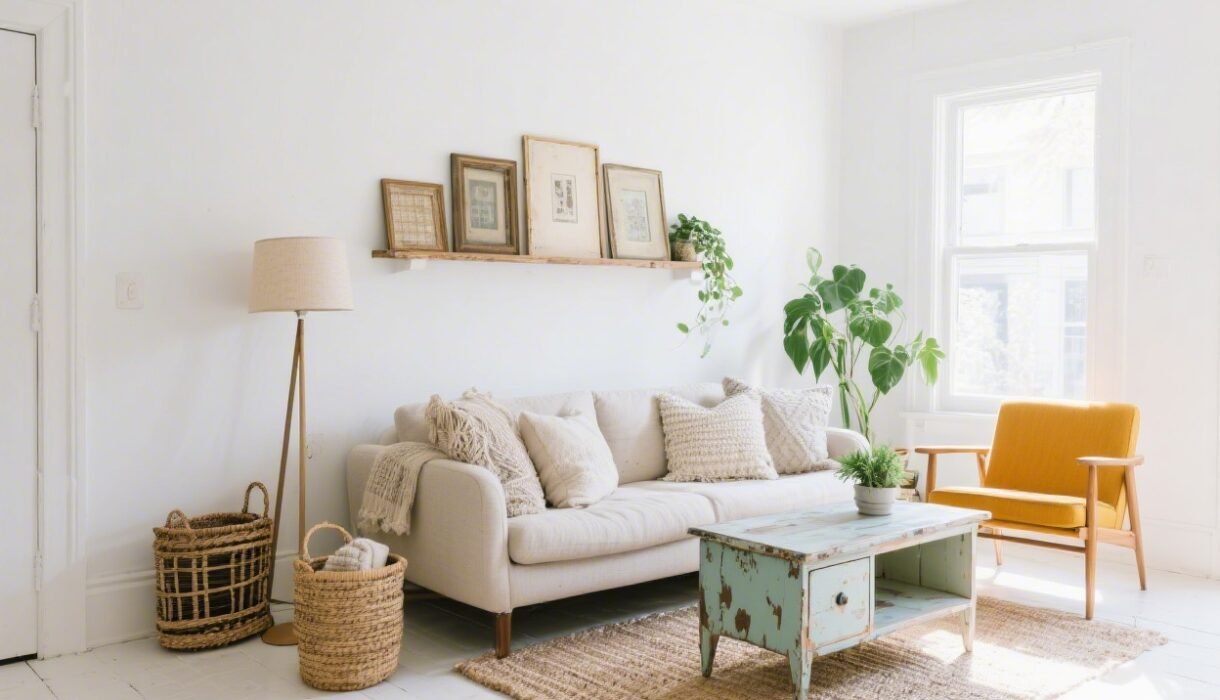
You don’t need a demo crew or a lottery win to make a tiny room feel bigger, brighter, and way more stylish. You just need smart moves, a little DIY spirit, and maybe a bold paint choice or two. Ready to turn that “meh” space into a “wait, this is the same room?” moment? Let’s go.
1. Paint Magic: One Can, Big Impact
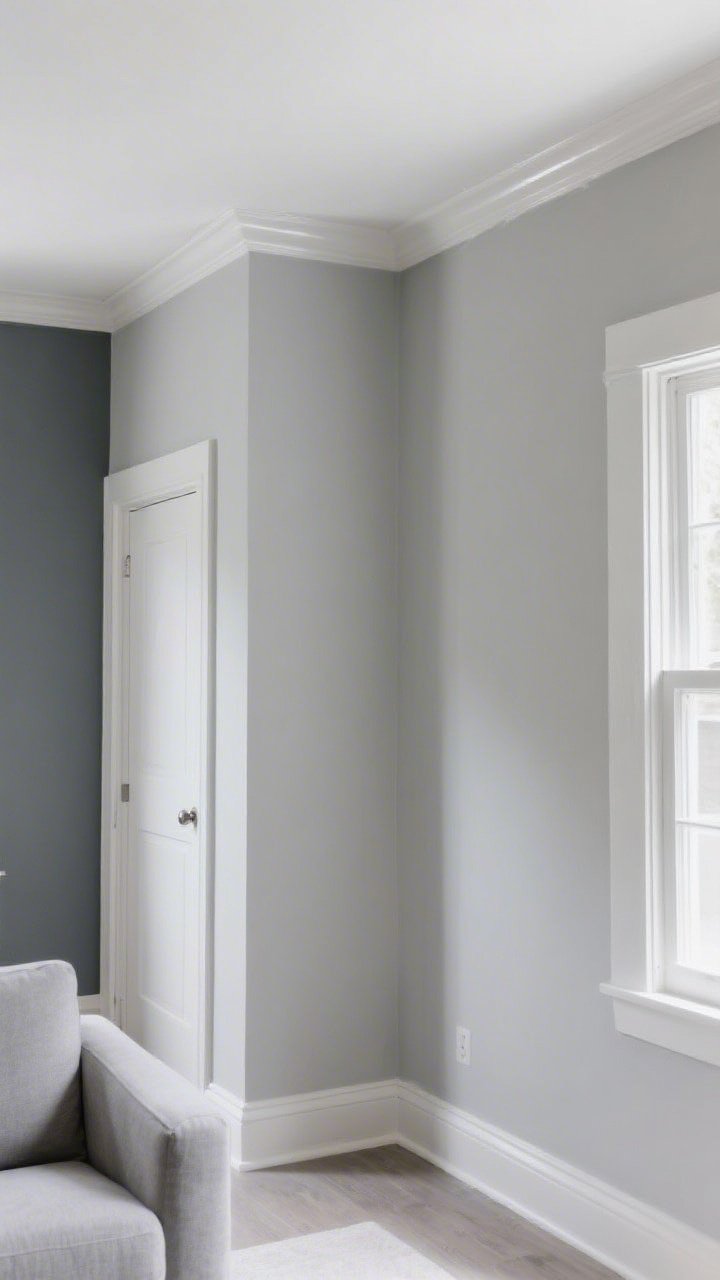
Paint is the cheapest makeover that looks the most expensive. A fresh coat instantly disguises scuffs, reflects light, and sets the mood. For small rooms, go either light and airy or moody and dramatic—both can make the space feel intentional.
Smart Color Moves
- Monochrome walls + trim: Paint baseboards and doors the same color as the walls to blur edges and make the room feel larger.
- Ceiling trick: Paint the ceiling 50% lighter than the walls or go high-gloss white to bounce light. Want cozy? Try a darker ceiling for a cocoon vibe.
- Accent wall… but subtle: Choose a shade just two tones darker than your main color for depth without chaos.
FYI: Quality rollers and a good angled brush are worth it. Crisp edges = designer look.
2. Double-Duty Furniture Is Your New Bestie
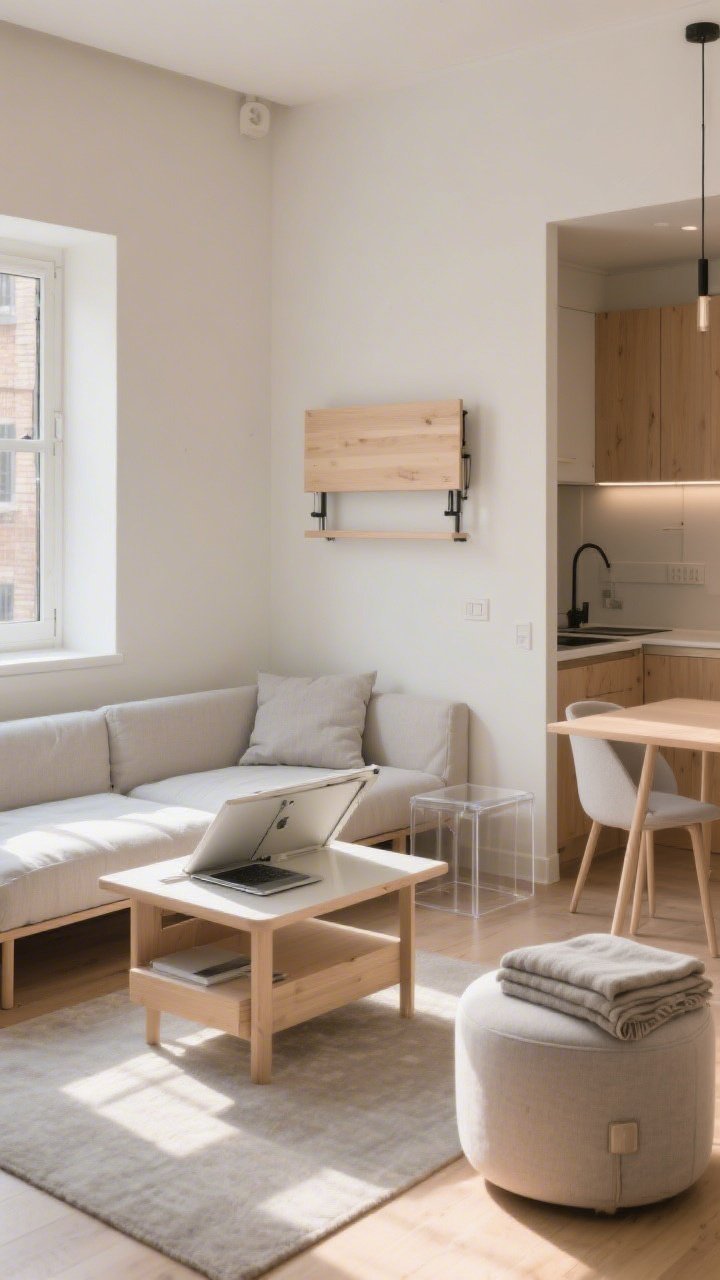
When square footage is tight, your furniture has to hustle. Think pieces that store, fold, stack, or transform faster than you can say “tiny apartment problems.”
High-Function Winners
- Storage ottoman: Coffee table by day, blanket/bored-game hideaway by night.
- Lift-top coffee table: Surprise! It’s also a desk.
- Daybed or futon: Lounge seating that moonlights as a guest bed.
- Wall-mounted drop-leaf table: Dining table that disappears after dinner.
Keep silhouettes light—think visible legs, slim profiles, and glass or acrylic surfaces to reduce visual bulk.
3. Vertical Real Estate: Use Your Walls Like a Pro
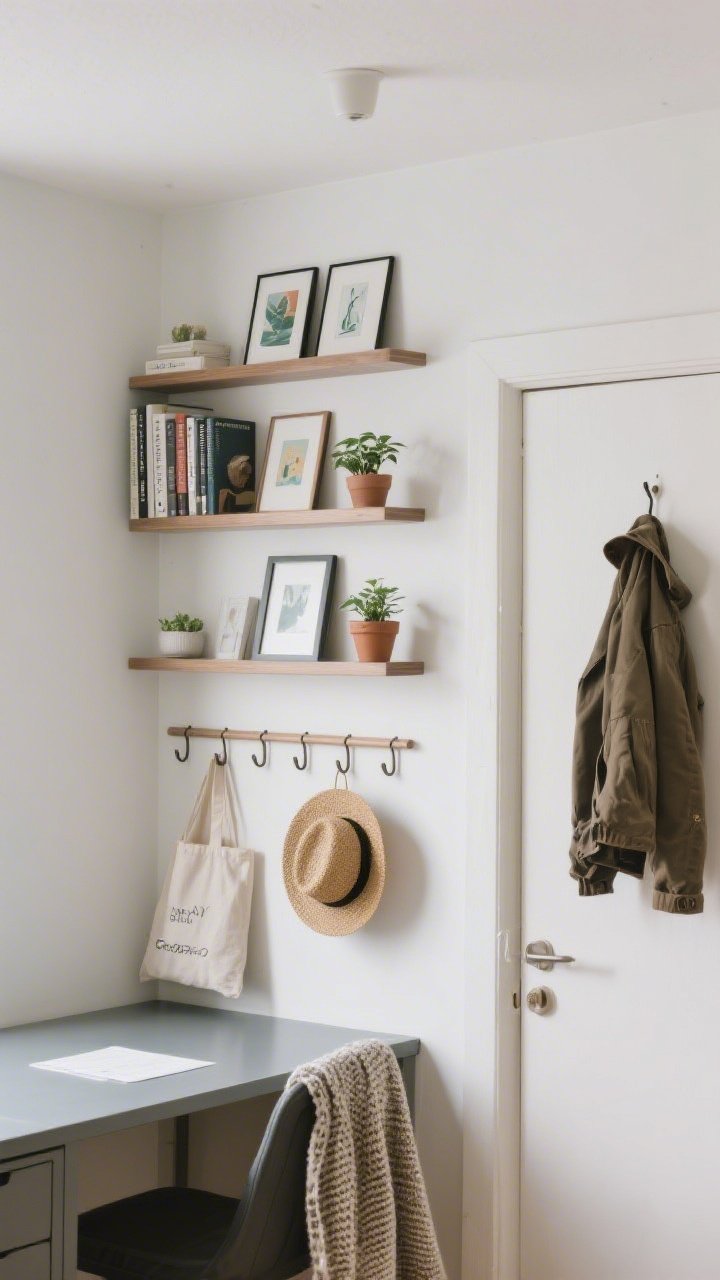
Small rooms don’t have floor space to waste, but they do have walls begging to help out. Store up, not out. It’s the golden rule.
High-Impact, Low-Cost Installs
- Floating shelves: Stagger a few over a sofa or desk for books and decor.
- Picture ledges: Great for rotating art and tiny plants (aka instant personality).
- Peg rails or Shaker pegs: Hang bags, hats, throws—cute and functional.
- Over-door hooks: Hide clutter where you won’t see it.
Pro tip: Leave some negative space between shelves and the ceiling so things don’t feel claustrophobic.
4. Light It Like a Boutique
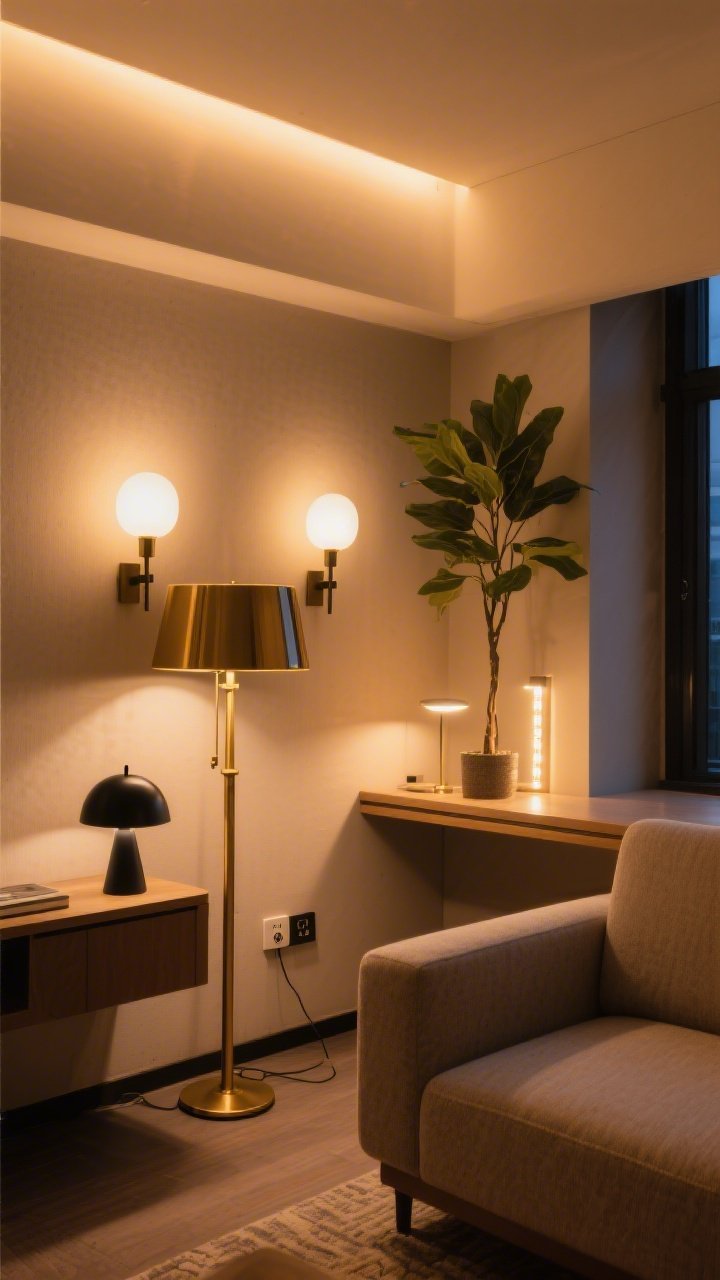
One sad overhead bulb makes a room feel like an interrogation scene. Layered lighting turns it into a chic hotel suite for less than you think.
The Three Layers
- Ambient: Floor lamps or plug-in sconces to soften the whole space.
- Task: Desk lights, under-cabinet strips, or reading lamps for focused zones.
- Accent: LED strips on shelves, a small uplight behind a plant, or a candle (real or faux) for mood.
Swap in warm LED bulbs (2700–3000K) for cozy vibes. Dimmer plugs will change your life—no electrician needed.
5. Mirror, Mirror: Instant Square Footage (Kinda)
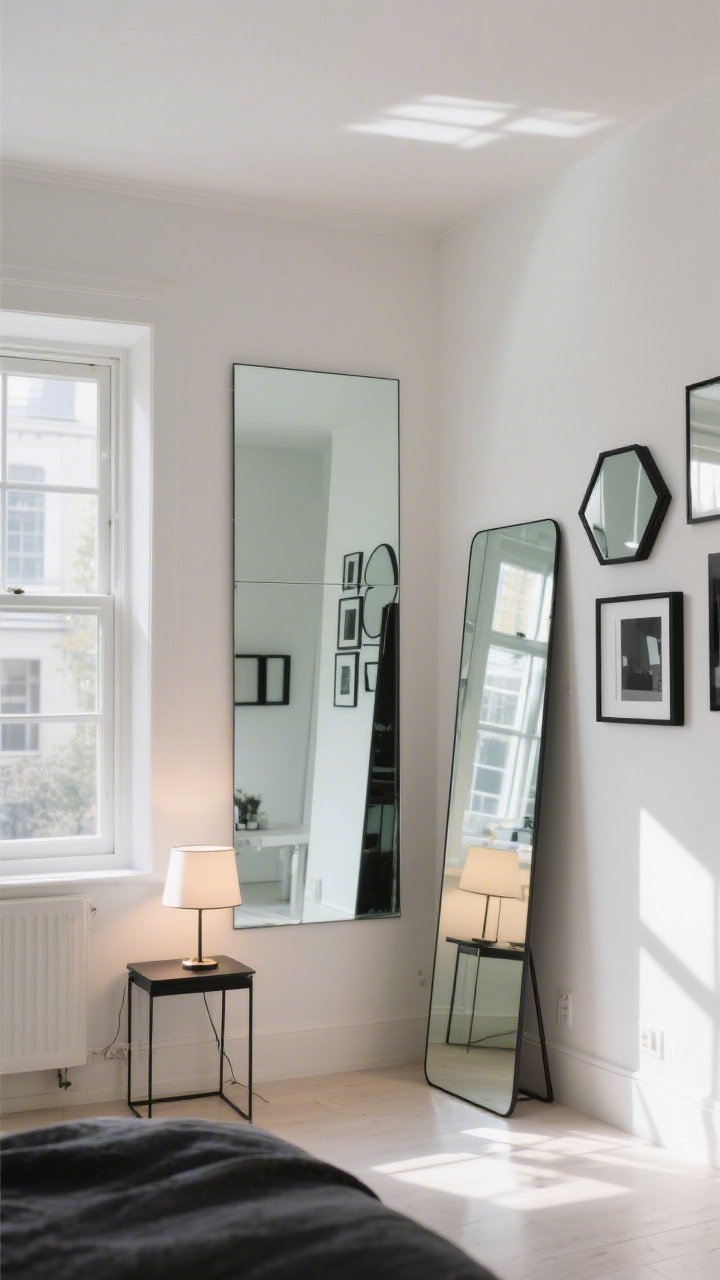
Mirrors bounce light and trick your eye into believing there’s more space. Science? Magic? Both. Just place them strategically.
Placement That Works
- Opposite a window: Doubles natural light like a pro photographer’s reflector.
- Behind a lamp: Boosts glow and feels luxe.
- Tall leaning mirror: Makes ceilings feel higher and fits narrow corners.
Choose thin or frameless edges to keep it sleek. Pro move: Create a “mirror gallery” with thrifted finds—mix shapes, keep frames one color for cohesion.
6. Strategic Decluttering (Without Going Full Minimalist)
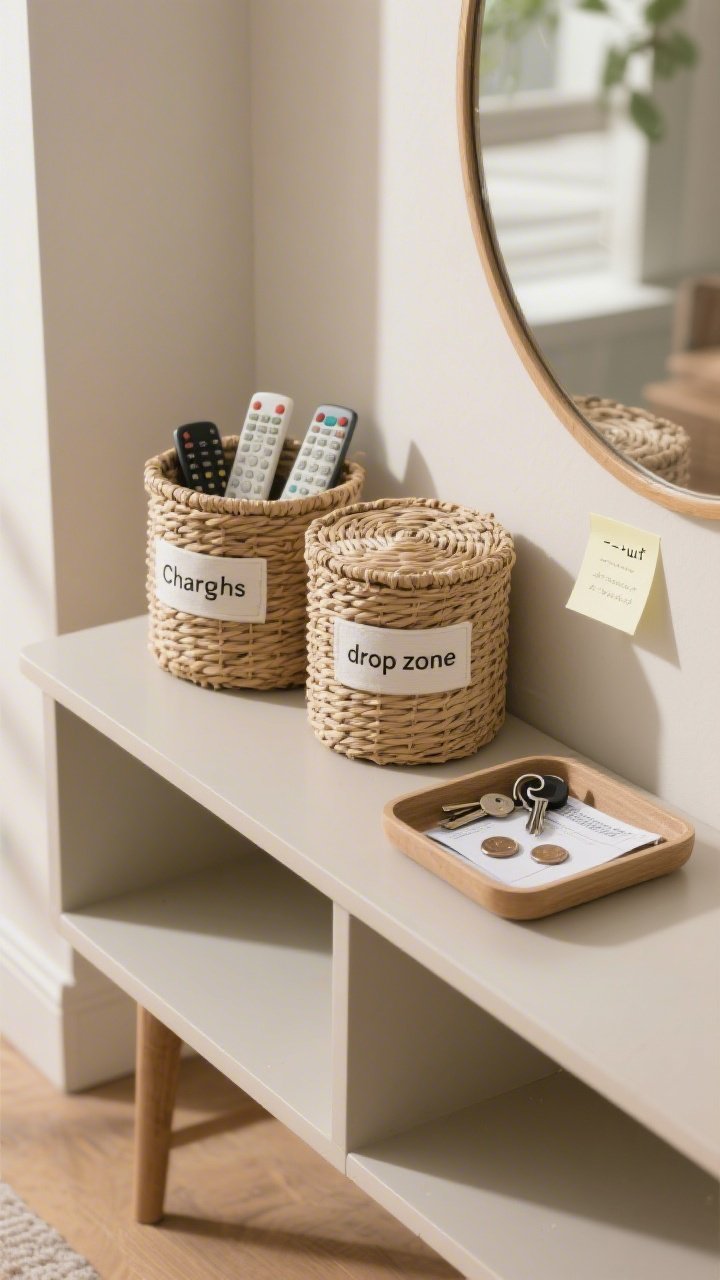
Clutter shrinks rooms. But you don’t need to live like a monk—just curate. Keep what you use and love, and hide the rest cleverly.
Small Habits, Big Payoff
- Basket brigade: Toss remotes, chargers, and randoms into lidded baskets.
- One-in, one-out: If something new comes in, something old leaves. Simple math.
- “Drop zone” tray: Keys, mail, and coins get a home so they don’t colonize your surfaces.
IMO, editing your stuff is the cheapest “renovation” on earth. It reveals your style underneath the noise.
7. Textile Glow-Up: Curtains, Rugs, and Throws
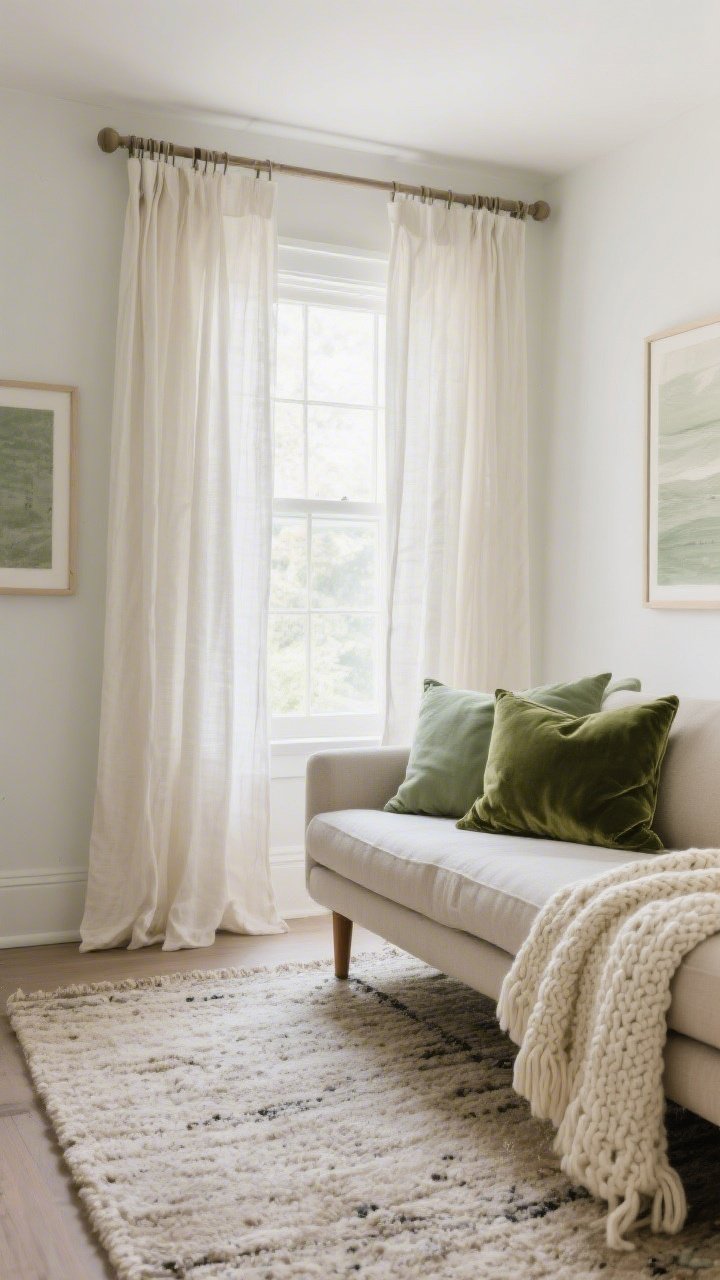
Textiles are like makeup for rooms—softening, flattering, and covering a multitude of sins. Get the scale right and your space will feel pulled together fast.
Textile Tactics
- Hang high, go wide: Mount curtain rods near the ceiling and extend wider than the window to make it look bigger. Choose light, breezy fabrics in small rooms.
- Right-size your rug: Bigger is better. At least front legs of furniture on the rug to unify the seating area.
- Mix textures: Linen + velvet + chunky knit = depth without clutter.
Color palette tip: Stick to 2–3 main colors and repeat them across pillows, throws, and art to feel cohesive.
8. Peel-and-Stick Power: Wallpaper, Backsplash, and Flooring
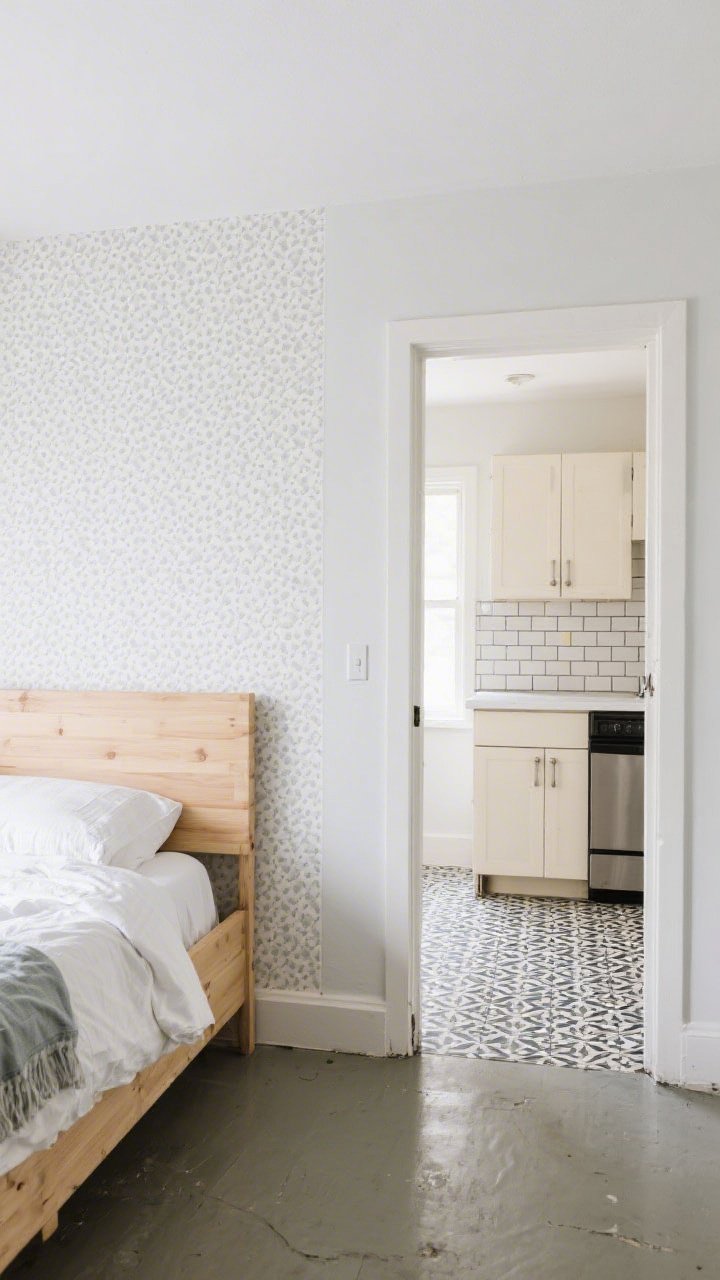
Renter-friendly, weekend-friendly, budget-friendly—peel-and-stick is basically decor cheat codes. It lets you go bold without commitment.
Where to Stick It
- Accent wall: A subtle pattern behind your bed or sofa frames the space without closing it in.
- Kitchen splash zone: Peel-and-stick backsplash makes tired cabinets look intentional.
- Floor tiles: Cover dingy vinyl with patterned peel-and-stick for instant charm.
Choose small-scale patterns for tiny rooms if you want calm; go big and graphic if you want drama. Both can work—just keep the rest simple.
9. Art That Fits (And Doesn’t Overwhelm)
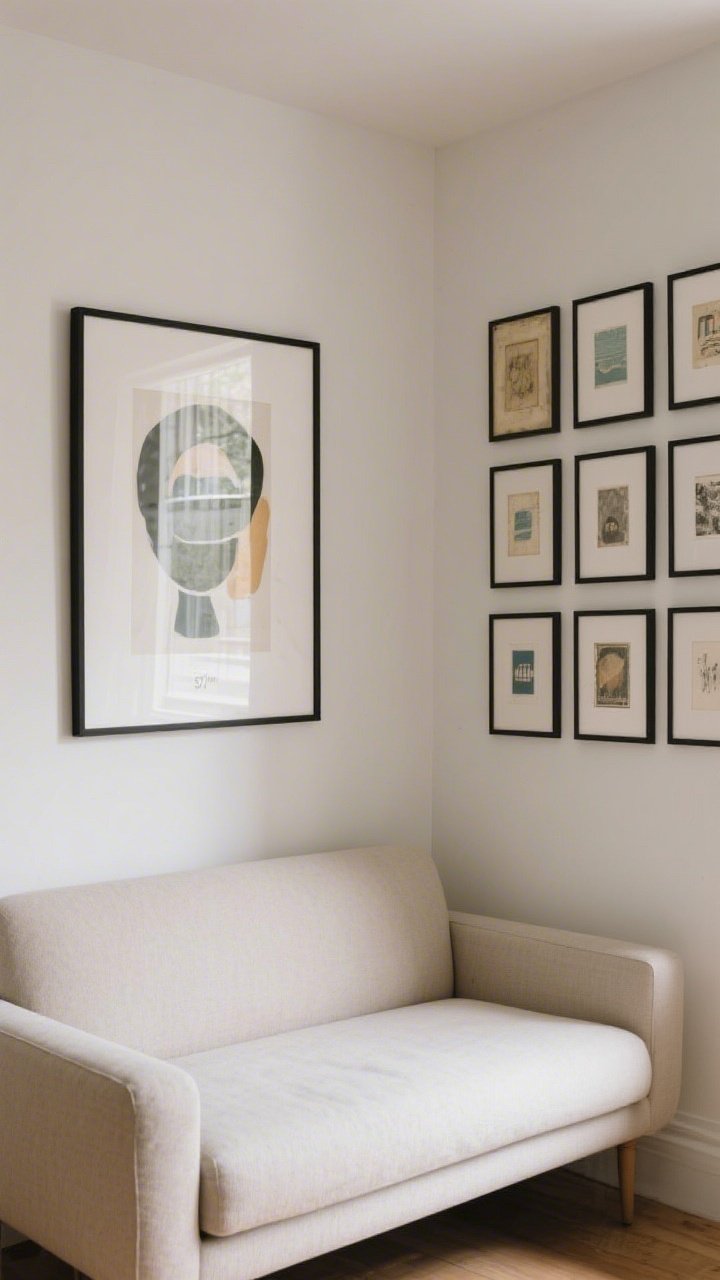
Tiny room, huge personality. The trick is picking art that’s the right scale and grouping it thoughtfully.
Curate Without Clutter
- One large piece over the sofa or bed can feel cleaner than a bunch of small ones.
- Grid gallery: Same frames, equal spacing = polished and calm.
- Digital downloads: Etsy + thrifted frames = budget museum wall.
Hang art at eye level (around 57 inches from the floor to center). It makes everything look intentional, not haphazard.
10. Style Your Surfaces With Restraint
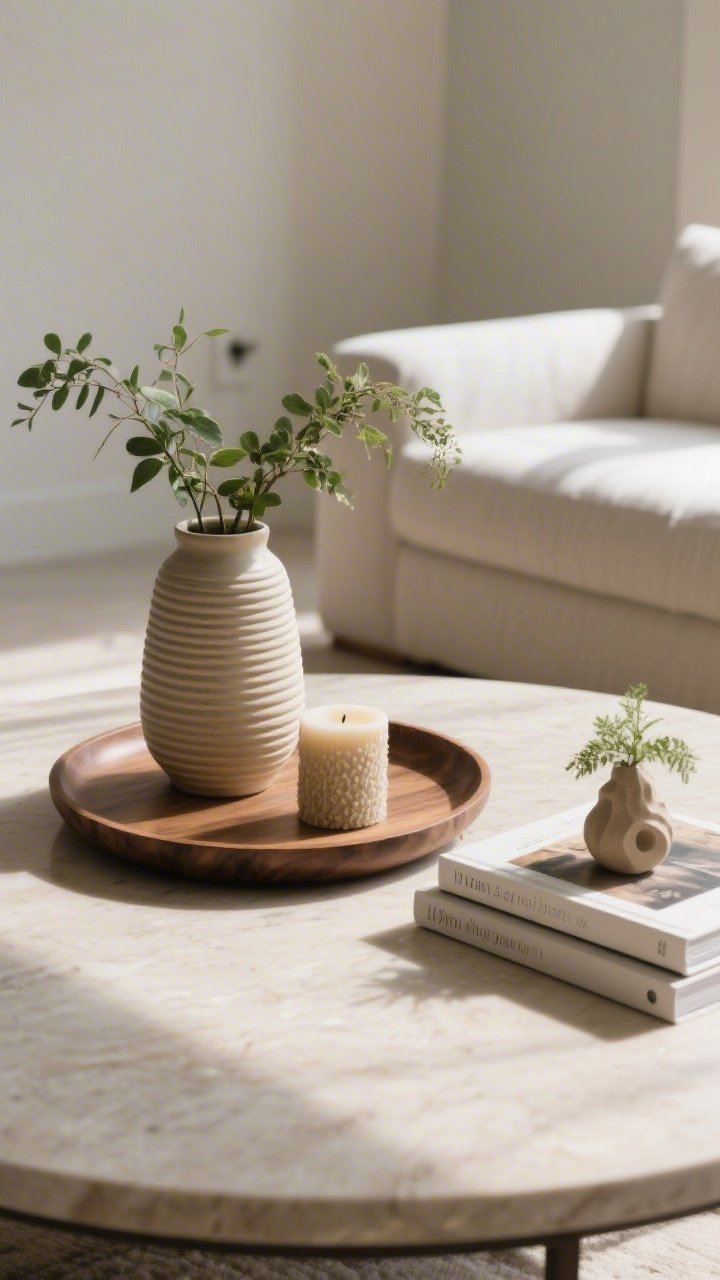
Flat surfaces are clutter magnets. Tame them with simple styling formulas that look curated but take two minutes to execute.
Pretty, Practical Formulas
- Rule of three: One tall item, one medium, one small. Vary textures and shapes.
- Tray it: Put perfumes, remote controls, or kitchen oils on a tray. Instantly neat.
- Books + object + plant: Stack 2–3 books, top with a sculptural object, add a small plant. Done.
Leave some negative space. Your eyes (and your brain) need room to breathe.
11. Zones That Make Sense (Even in One Room)
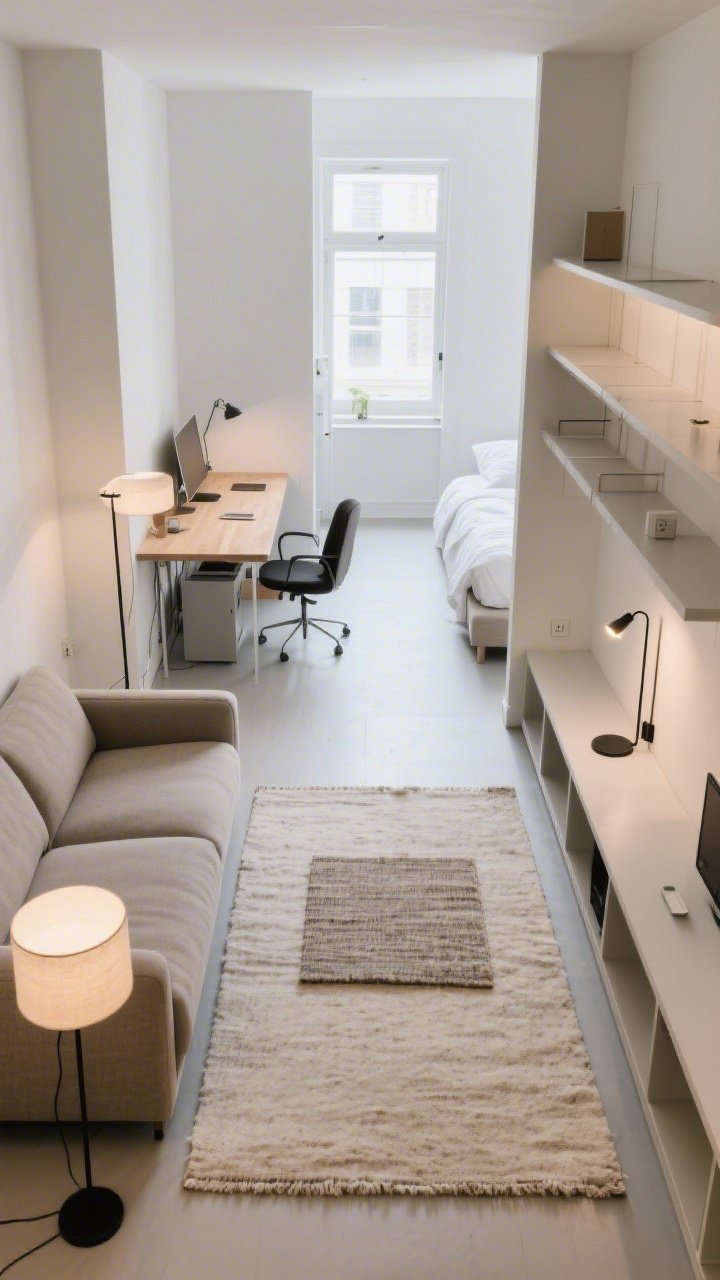
Small spaces get chaotic when everything blends together. Create zones for sleeping, working, eating—so your brain knows what happens where.
Easy Zoning Tricks
- Rug defines a zone: One under the sofa area, a different one under the bed or desk.
- Open shelving as divider: Low bookcase between bed and living area keeps things airy but separate.
- Lighting per zone: A desk lamp for work, a floor lamp for lounging, a sconce by the bed.
Keep walkways clear and avoid overfilling corners. If you bump into it twice, it’s too big.
12. Personality Pops: Hardware, Plants, and DIY Details
The finishing touches turn a budget makeover into a custom-looking space. Swap the small stuff, and suddenly your room feels designer-level.
Little Changes, Big Style
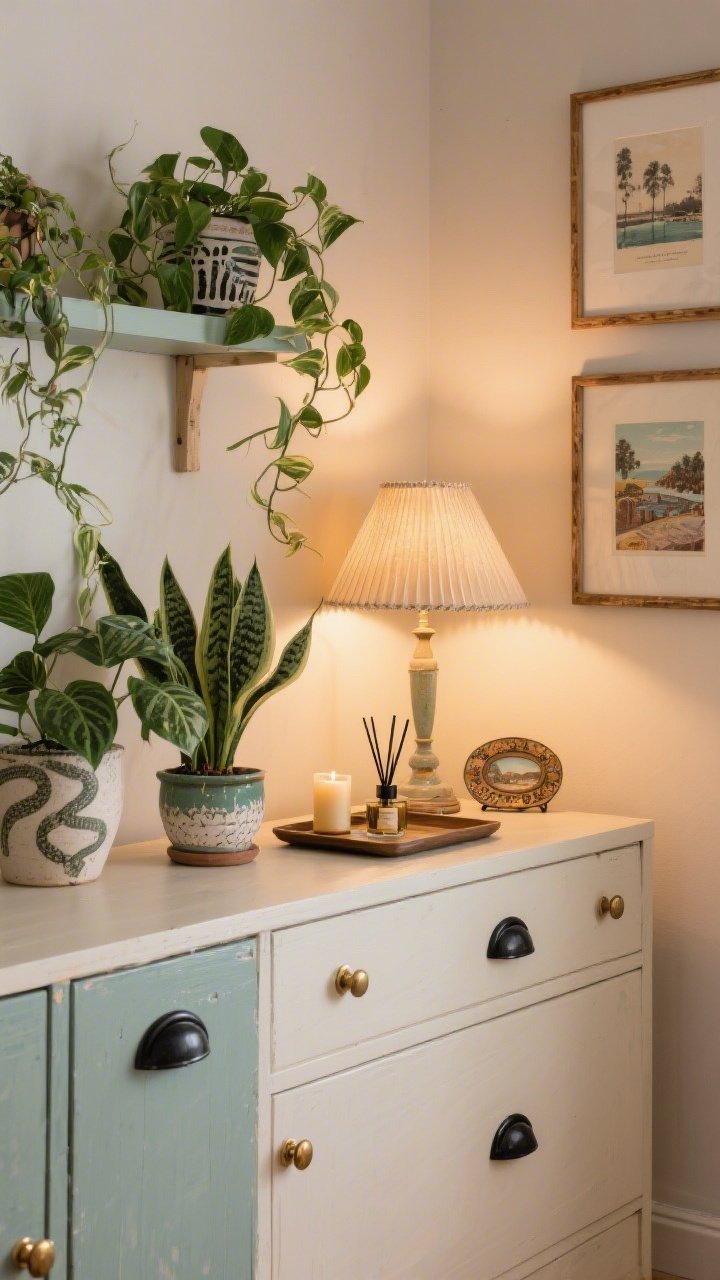
- New hardware: Change cabinet knobs, dresser pulls, and switch plates—cheap and transformative.
- Green therapy: Plants add life and color. Try pothos, snake plant, or ZZ for low-maintenance wins.
- DIY frames and lampshades: Paint frames to match your palette. Recover a lampshade with fabric or pleated paper.
- Styled scent: A subtle candle or diffuser makes the room feel finished (and fancy).
Remember: Your home should look like you live there—not a showroom. Add a quirky vintage find or a travel print to keep it real.
Budget-Friendly Shopping Cheats
- Hit Facebook Marketplace, thrift stores, and estate sales for solid-wood steals.
- Use color-matching paint sample pots for small DIYs instead of full gallons.
- Keep a room palette note on your phone so impulse buys actually fit.
You’ve got this. Tackle one section at a time and watch your small space transform—without wrecking your bank account or your weekend. When your friends ask how you pulled it off, feel free to say “Oh, just a few tiny tweaks.” We’ll keep your secrets.
Transform Your Room Without Overspending
To make this easier, use this Budget Room Makeover Checklist Workbook to follow a clear plan and avoid missing important steps