9 Budget Room Makeover Ideas Under $100 That Look Expensive
Posted in :
Want your space to look designer without torching your wallet? Same. The secret is knowing where to spend your small budget so it hits like a big one. These nine ideas are high-impact, low-cost, and ridiculously doable—even if you rent, share walls, or own exactly zero power tools.
1. Paint One Wall Like You Meant It
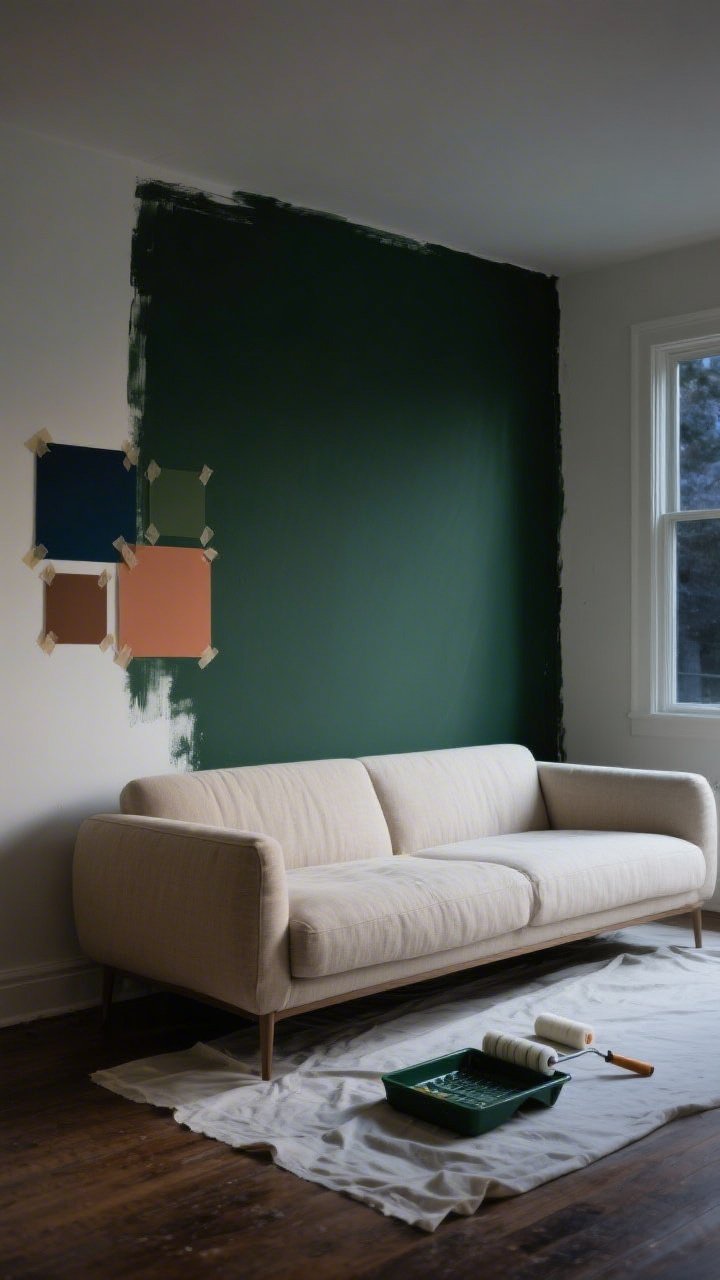
Whole-room paint is great, but a bold accent wall packs drama for way less time and money. Go moody navy, earthy terracotta, or deep olive—instant luxe. Bonus: it makes your furniture look more elevated, like it came from a boutique instead of a box.
Tips to Nail It
- Choose the right wall: Usually the one behind your bed, sofa, or a big window.
- Test swatches: Paint 3–4 squares and check them at different times of day.
- Go satin or eggshell: Slight sheen = richer look and easier cleaning.
Cost check: A quart or gallon (depending on wall size) plus a roller kit can easily slide in under $100. FYI, leftover paint is perfect for touch-ups or mini projects (see Section 6).
2. Swap Every Old Knob for Chic Hardware
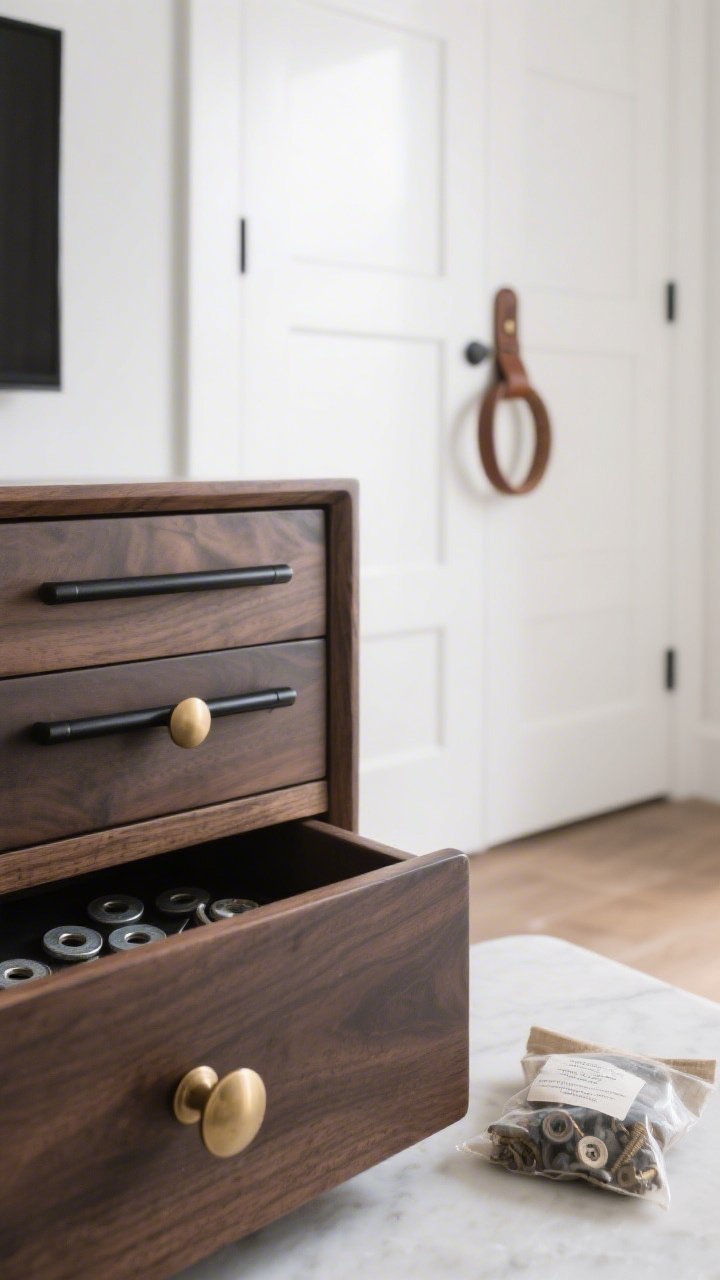
This is the five-minute facelift your room’s been begging for. New hardware on dressers, consoles, or nightstands makes budget furniture look custom. Think matte black bars, brushed brass rounds, or marble pulls—simple switch, big flex.
Where to Upgrade
- Dressers and nightstands: Mix sizes for visual interest (larger knobs on bigger drawers).
- Media consoles: Sleek T-bar pulls = instant modern.
- Closet doors: Replace blah handles with leather loops or chunky knobs.
Pro move: If the new screws are too long, add washers behind the drawer front. And keep the old hardware in a labeled bag—future you might want it back.
3. Layer Textures Like a Stylist
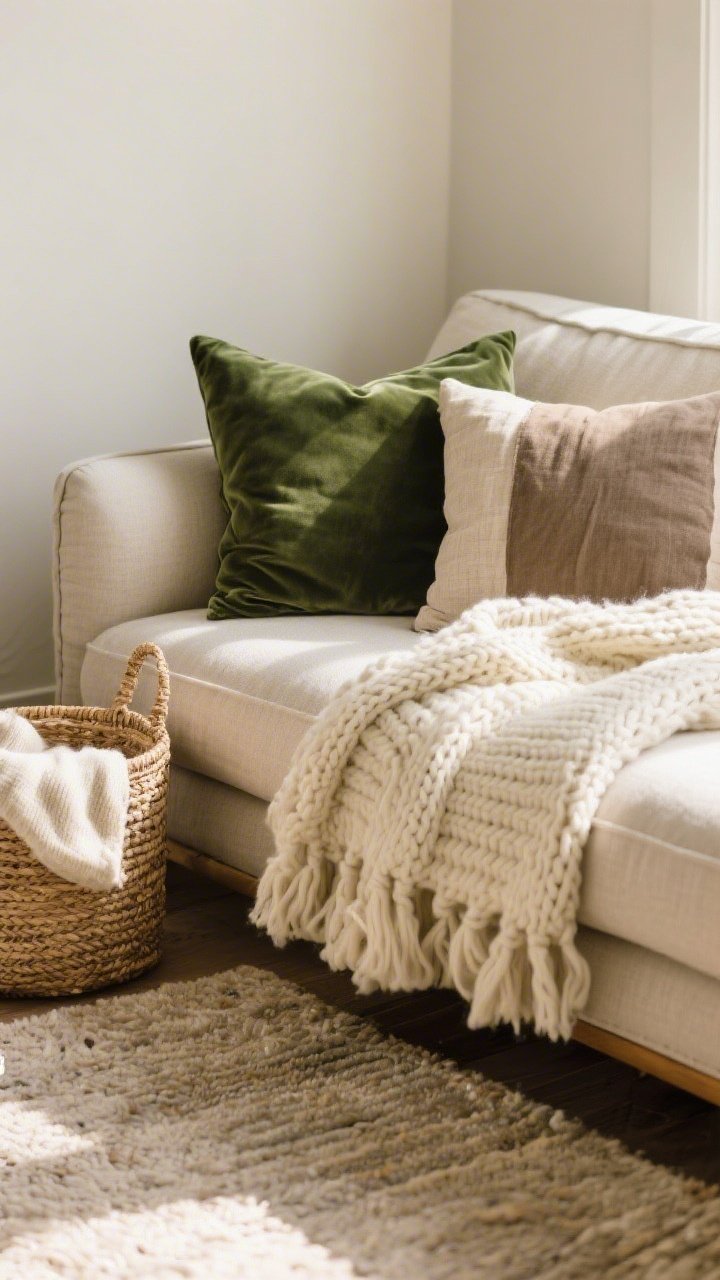
Texture is the secret sauce that screams “designer” even when your budget is whispering. Stack cozy throws, nubby pillows, woven baskets, and a soft rug to create depth and warmth. It distracts from, well, everything else.
How to Mix Without Mess
- Rule of three: Combine one chunky knit, one smooth velvet, and one natural fiber like linen or jute.
- Stay in a palette: Pick 2–3 colors and vary the textures within them.
- Upgrade inserts: Swap polyfill for down-alternative to get that luxe “chop.”
Cost check: A couple of new pillow covers + one throw or basket = under $100 and totally worth it.
4. Light It Like a Boutique
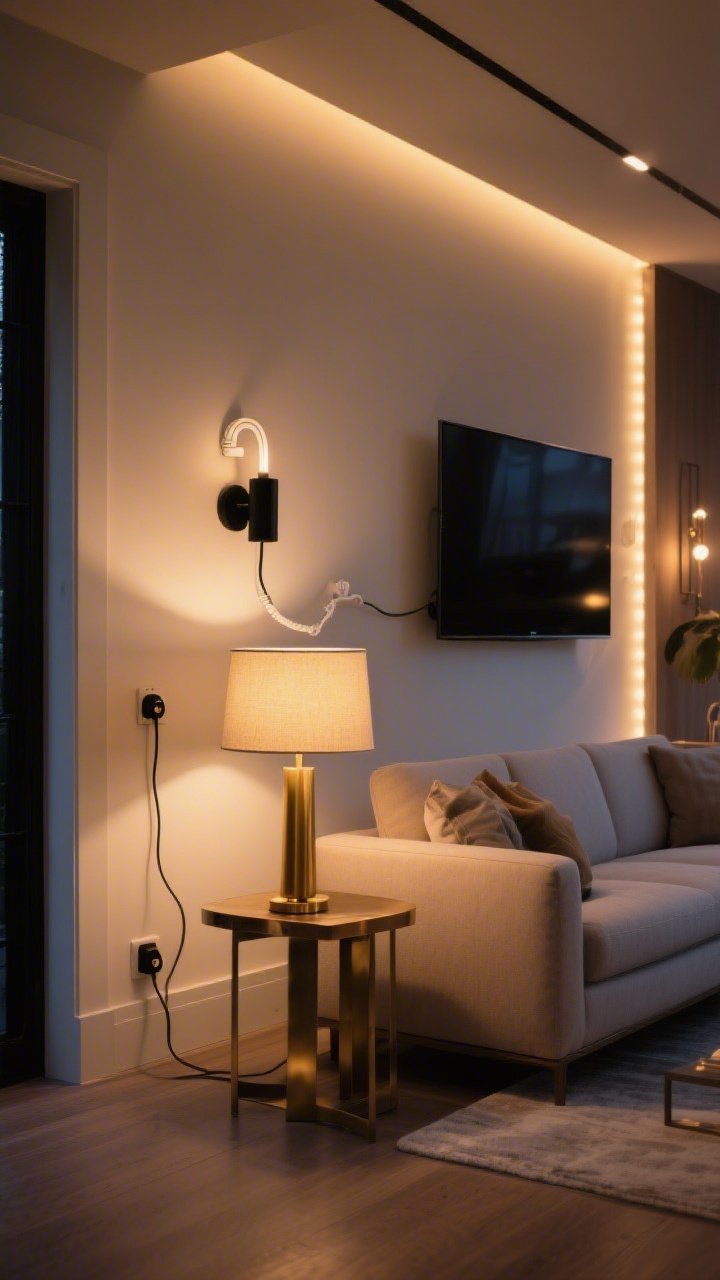
Overhead lighting alone = hospital vibes. Add layered lighting with table lamps, floor lamps, or plug-in sconces to get that soft, expensive glow. Warm bulbs (2700–3000K) make everyone look good—including your furniture.
Bright Ideas
- Plug-in sconces: Mount above nightstands or a sofa and hide the cord with a neat cable cover.
- Accent lighting: A small LED strip behind a mirror or TV looks custom (and low-key futuristic).
- Dimmer switches: Try a plug-in dimmer for lamps—mood lighting in seconds.
Pro tip: Mix metals with confidence—brass lamp + black frame = balanced, not matchy-matchy.
5. Frame Your Windows (Even If You Don’t Have a View)
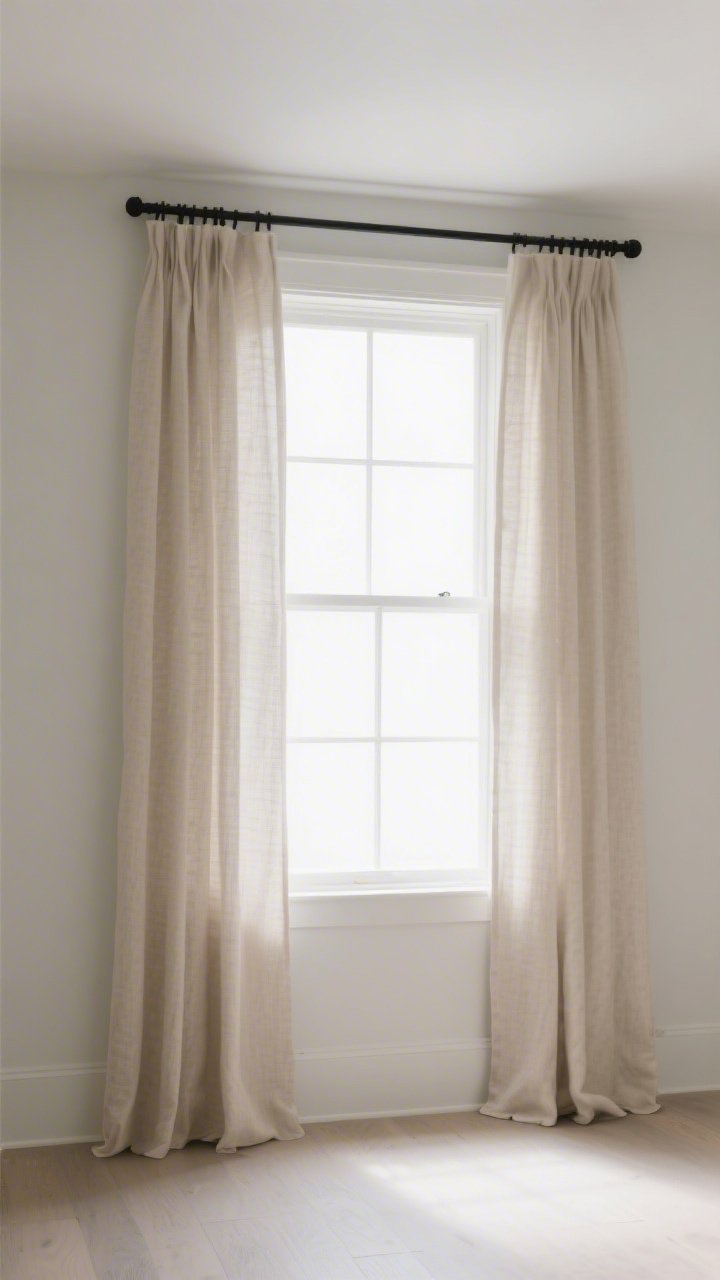
Window dressings are your room’s eyeliner. Curtains hung high and wide make ceilings feel taller and windows look bigger—seriously, try it. Choose simple linen-look panels and a clean black or brass rod.
Hang Like a Designer
- Mount high: 4–6 inches above the window or all the way to the ceiling for drama.
- Extend wide: 8–12 inches past the frame so panels don’t block light.
- Skim or puddle: Aim for just touching the floor or a tiny 1-inch break.
Cost check: Budget rods + two panels can come in under $100 if you scout sales. IMO, this upgrade alone makes a room feel “done.”
6. DIY a Luxe Headboard or Bench (No Tools Meltdown Required)
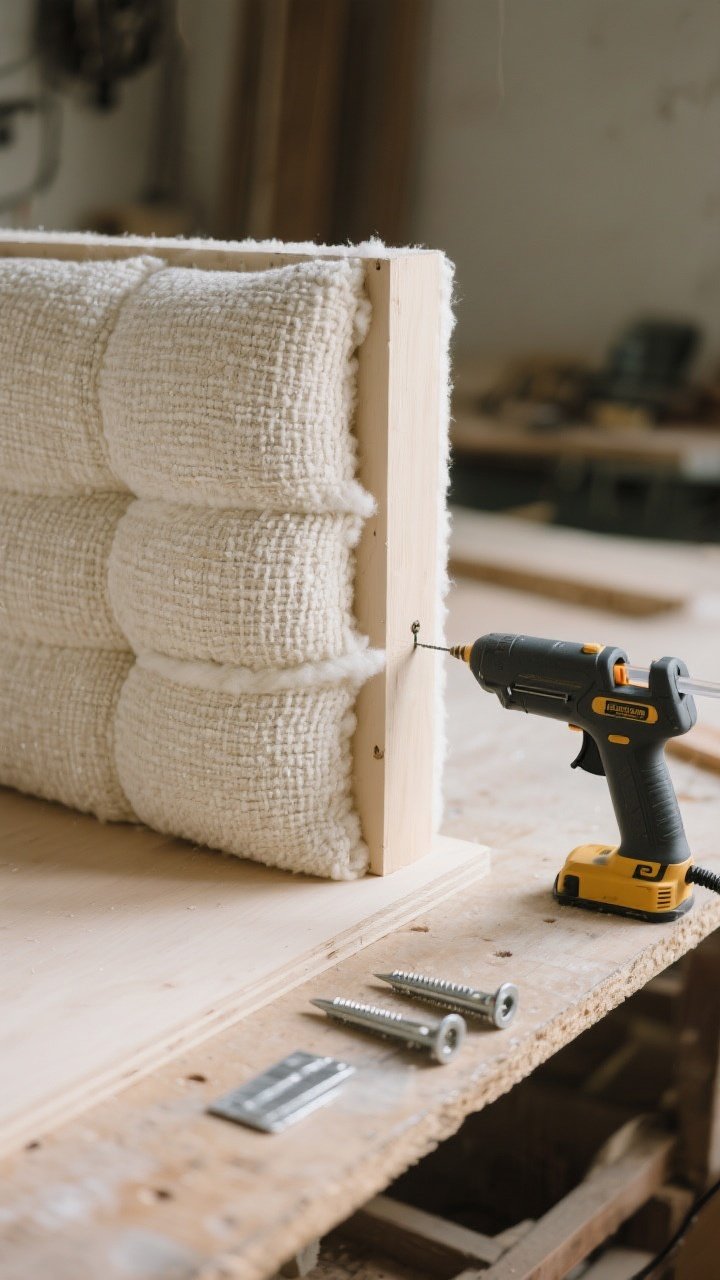
Upholstery scares people, but this version is laughably easy. Wrap foam with fabric and staple it to a thin board for a minimalist headboard—or use a bench base and top it with a cushion. Choose a textured fabric like boucle, velvet, or tweed for that high-end hotel vibe.
Simple How-To
- Materials: Foam, batting, fabric, staple gun, plywood/MDF (or repurpose an old headboard/bench).
- Wrap snugly: Pull fabric tight before stapling; corners should fold like a gift.
- Mounting: French cleat for headboards; benches can sit free-standing at the bed end.
Cost check: Fabric remnant + foam + staples typically stay within budget, especially if you thrift the base.
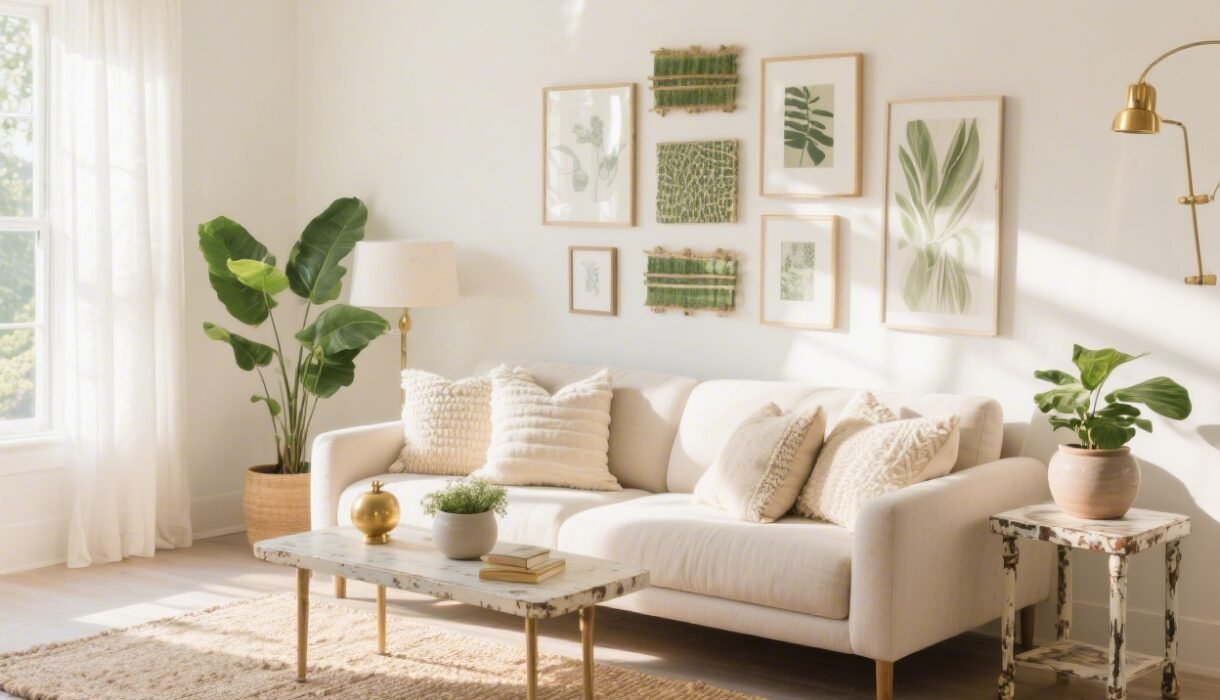
7. Curate a High-Low Gallery Wall
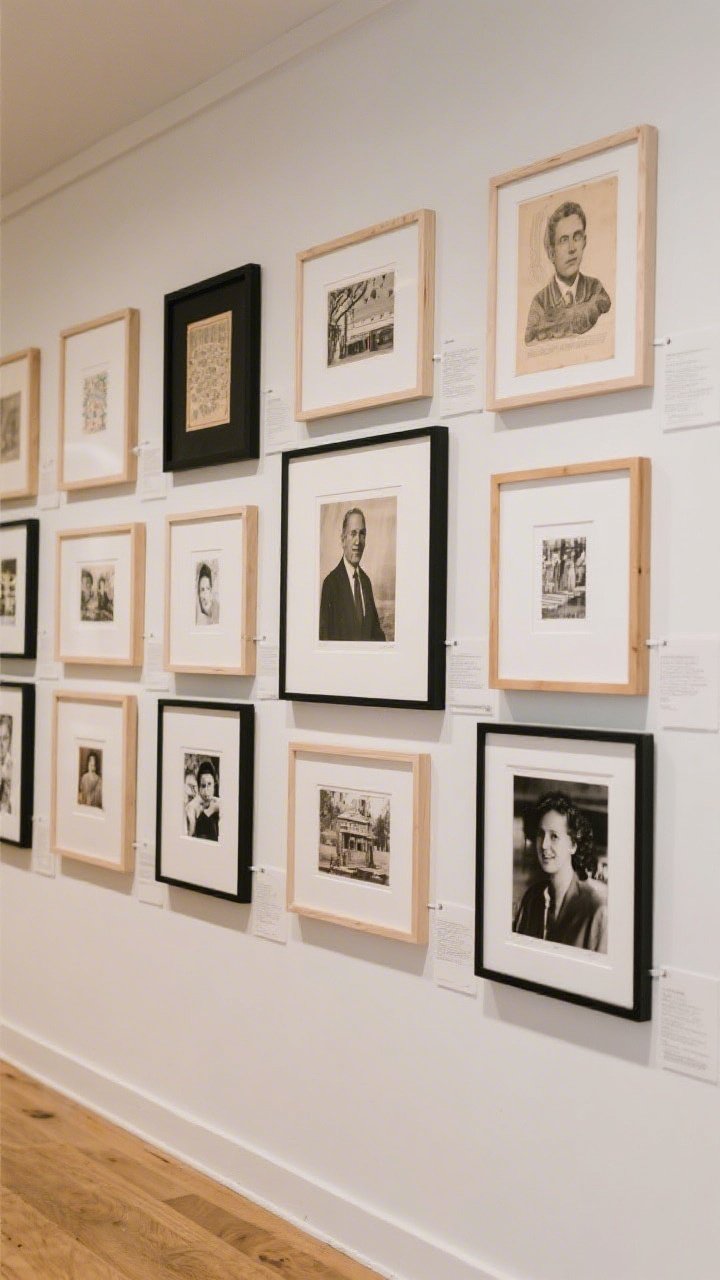
Art makes you look put-together fast. Create a gallery wall with a mix of thrifted frames, printable art, and personal photos. Keep the color story consistent so it reads chic, not chaotic.
Layout That Works Every Time
- Start with a hero: One larger piece as the anchor; build out from there.
- Keep spacing tight: 2–3 inches between frames feels modern and intentional.
- Mix frame finishes: Two finishes max (e.g., black + light wood) for cohesion.
Pro tip: Print vintage art from public domain collections and upgrade with matting—mats are the secret to that museum vibe. Command strips save your walls if you’re renting, FYI.
8. Style Surfaces Like a Coffee-Table Influencer
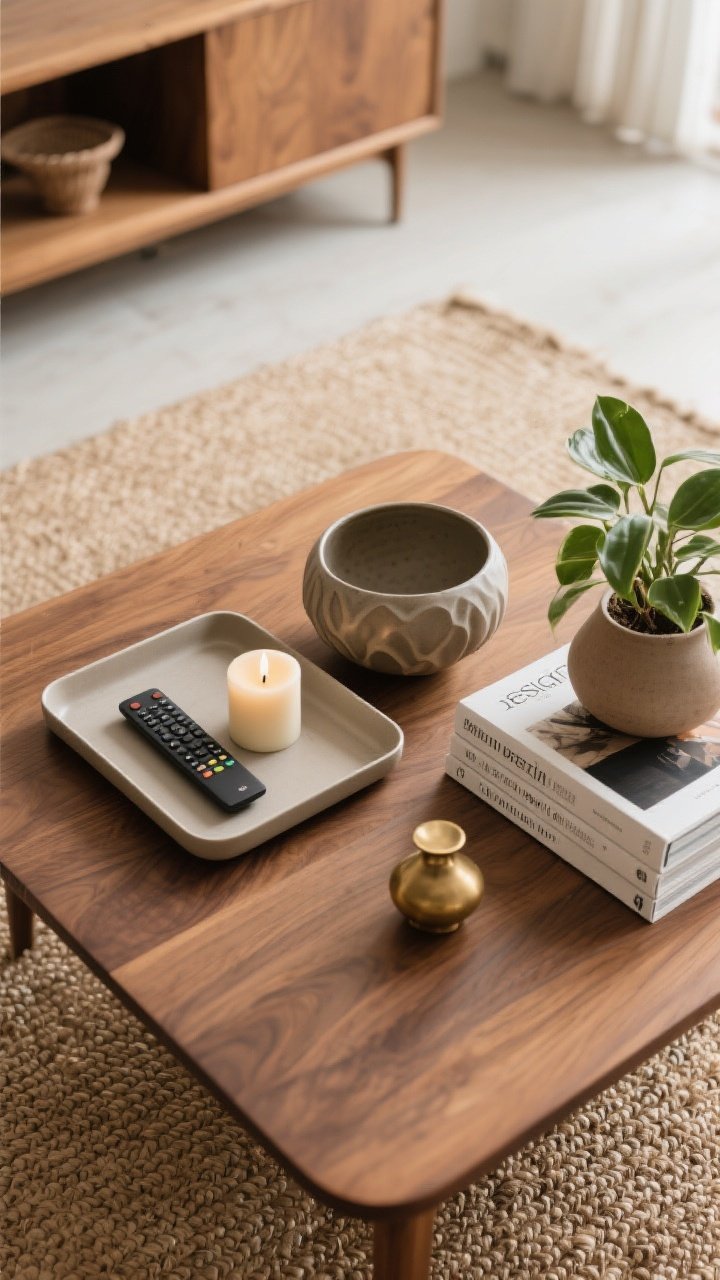
It’s not clutter; it’s styling. Group objects in odd numbers, vary heights, and repeat materials for a pulled-together look. A stack of books, a sculptural bowl, and a candle? Chef’s kiss.
The Formula
- Tray it up: Corral remotes and candles on a tray to create a “zone.”
- Add life: Fresh greens or a low-maintenance plant instantly perks up a room.
- Repeat textures: Wood + ceramic + metal is a foolproof trio.
Cost check: Thrifted books, a chic candle, and a secondhand bowl—elevated look, tiny bill. Rotate items seasonally so it always feels fresh without buying more.
9. Hide The Ugly: Cords, Clutter, and Eyesores
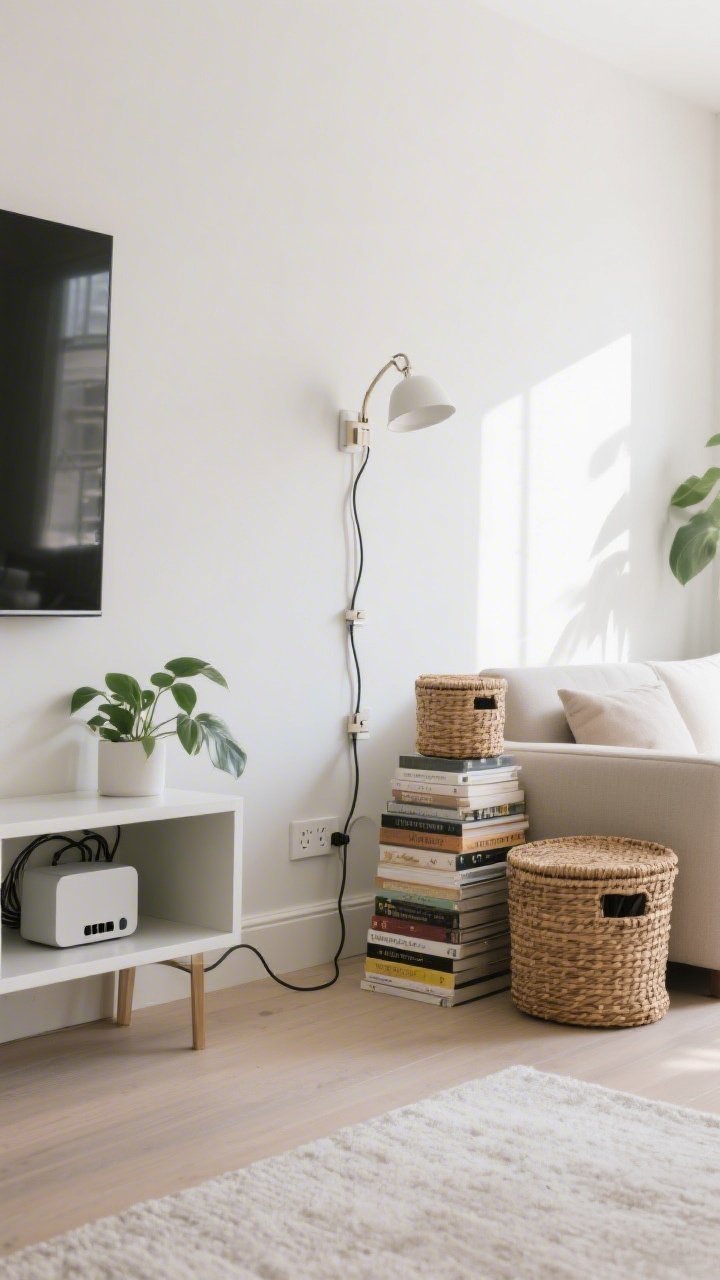
The sneakiest way to look expensive? Clean lines and concealed chaos. Tuck cords, hide routers, and corral bits and bobs so your room reads calm and curated instead of “tech store after dark.”
Quick Conceal Tricks
- Cable management: Use cord covers painted wall color, adhesive clips, or a cable box under the media console.
- Basket brigade: Lidded baskets for toys, throws, or random chargers—stack two by the sofa and call it styled.
- Pretty decoys: Slide a decorative book stack in front of a router; place a plant to mask a power strip.
Pro tip: Edit surfaces weekly. Five-minute tidy + hidden cords = instantly pricier-looking space.
Budget Breakdown Cheat Sheet
- Paint + tools: $35–$60
- Hardware set: $20–$40
- Textiles (pillows/throw): $30–$70
- Lamp or plug-in sconce: $30–$60
- Curtain rod + panels: $50–$100 (watch for sales)
- DIY headboard/bench materials: $40–$90
- Gallery wall prints + frames: $30–$80
- Styling accents: $20–$60
- Cable management + baskets: $15–$50
Pick one or two from the list and you’ll see a transformation. Stack three or four and your space will look like it hired a stylist—without you needing a second job.
You’ve got this. Start with the quick win that excites you most, snap a before pic (trust me), and make your room look unapologetically expensive—on a gloriously not-expensive budget.
Avoid Costly Room Makeover Mistakes
Use this checklist workbook to plan your makeover before buying anything and avoid wasting money.