14 Easy Room Makeover Checklist Ideas for Beginners That Wow Fast
Posted in :
You don’t need a sledgehammer or a trust fund to make your room look amazing. You just need a plan, a few smart swaps, and the confidence to try. This checklist is your friendly guide—zero gatekeeping, all wins. Ready to refresh your space without crying over your bank account? Let’s go.
1. Start With A Vision: One Mood, One Mission
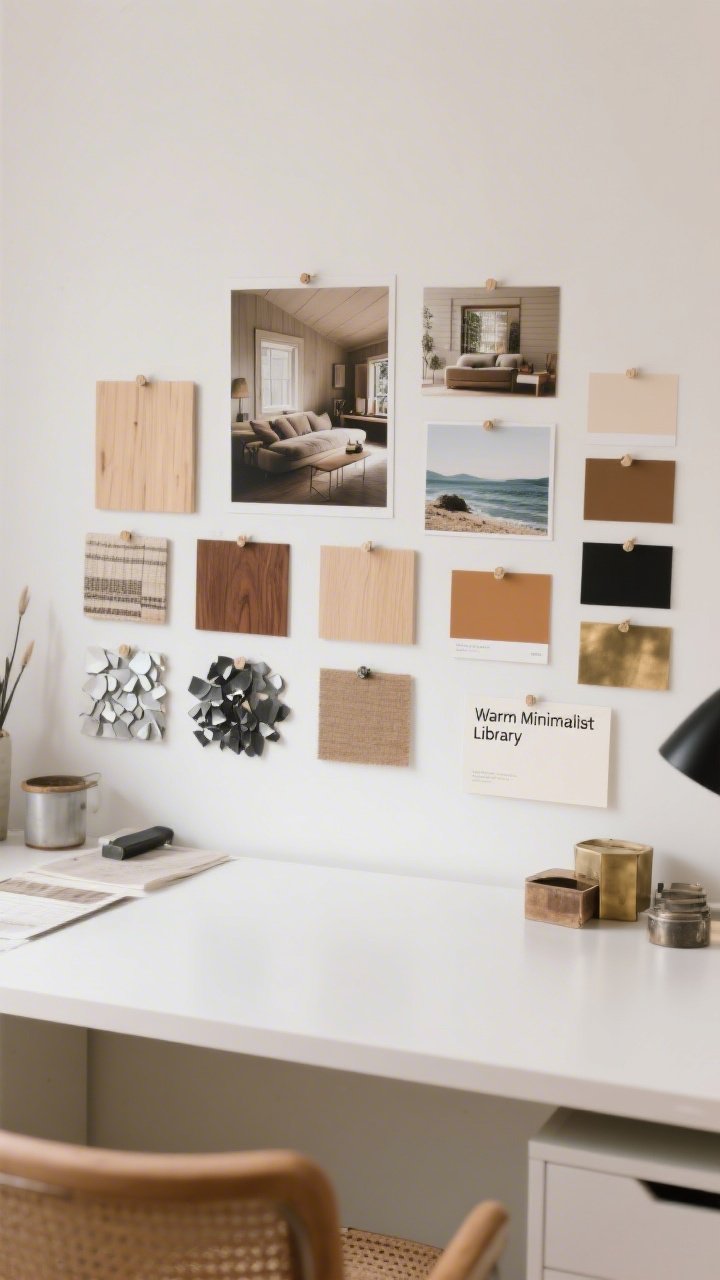
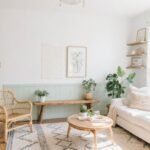
Think of this as your GPS. Without a vision, you’ll buy cute things that don’t match, and suddenly your room looks like a yard sale. Pick one vibe—cozy cabin, clean minimal, soft coastal, earthy boho—and let that steer every decision.
How To Lock Your Look
- Create a quick Pinterest board with 10–15 images. Spot the repeats: colors, textures, shapes.
- Choose one metal (e.g., black or brass), one wood tone (light oak, walnut), and one accent color.
- Set a simple rule: “If it doesn’t fit the board, it doesn’t enter the cart.”
Pro tip: Name your mood. “Warm Minimalist Library” beats “uhh…neutral?” every time.
2. Edit First: Declutter Like You Mean It
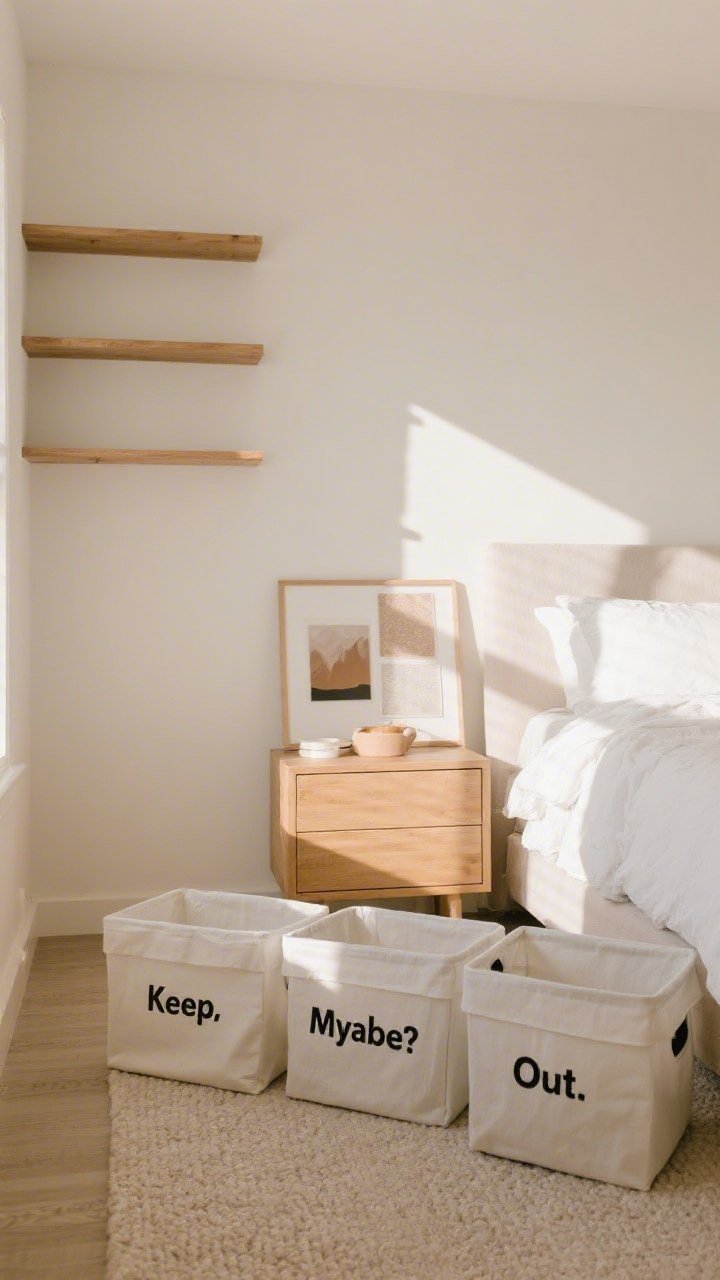
Makeovers don’t start with buying. They start with editing. Clear surfaces, pull out decor, and give your room a 10-minute audit. You’ll be shocked how much “meh” you’ve been tolerating.
Three-Box Method
- Keep: Only what fits the mood board.
- Maybe: Store it. If you don’t miss it in 30 days, donate.
- Out: Broken, dated, or duplicates.
FYI: Empty space is not failure. It’s breathing room for style.
3. Define A Focal Point: Give Eyes A Place To Land
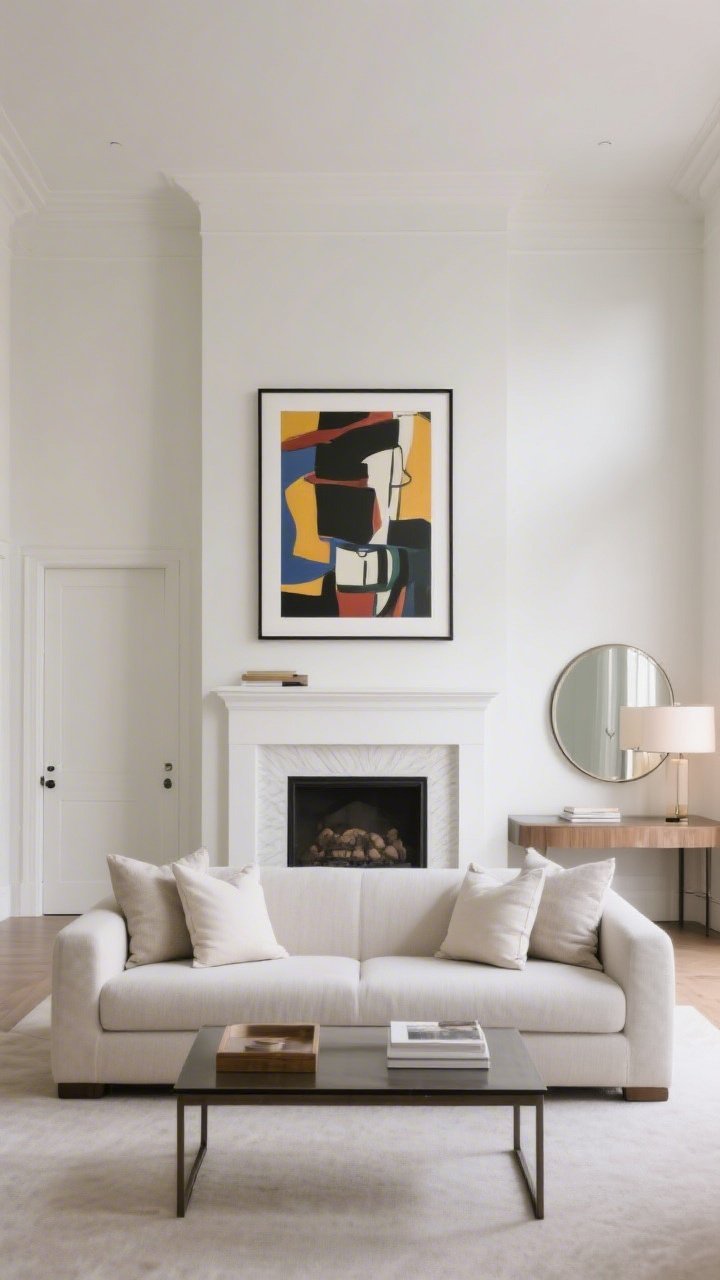
Every great room has one moment that whispers, “I’m the star.” That could be a statement headboard, dramatic mirror, or gallery wall. Choose your focal point and let everything else play support.
Easy Focal Point Ideas
- Above the sofa/bed: One big art piece (24×36” or larger) or a symmetrical pair.
- Opposite the entry: Console table + big round mirror + lamp.
- Fireplace or window: Highlight with balanced decor and matching heights.
Make the focal point bold but simple. No clutter. That’s how it pops.
4. Paint Or Peel-And-Stick: Instant Drama
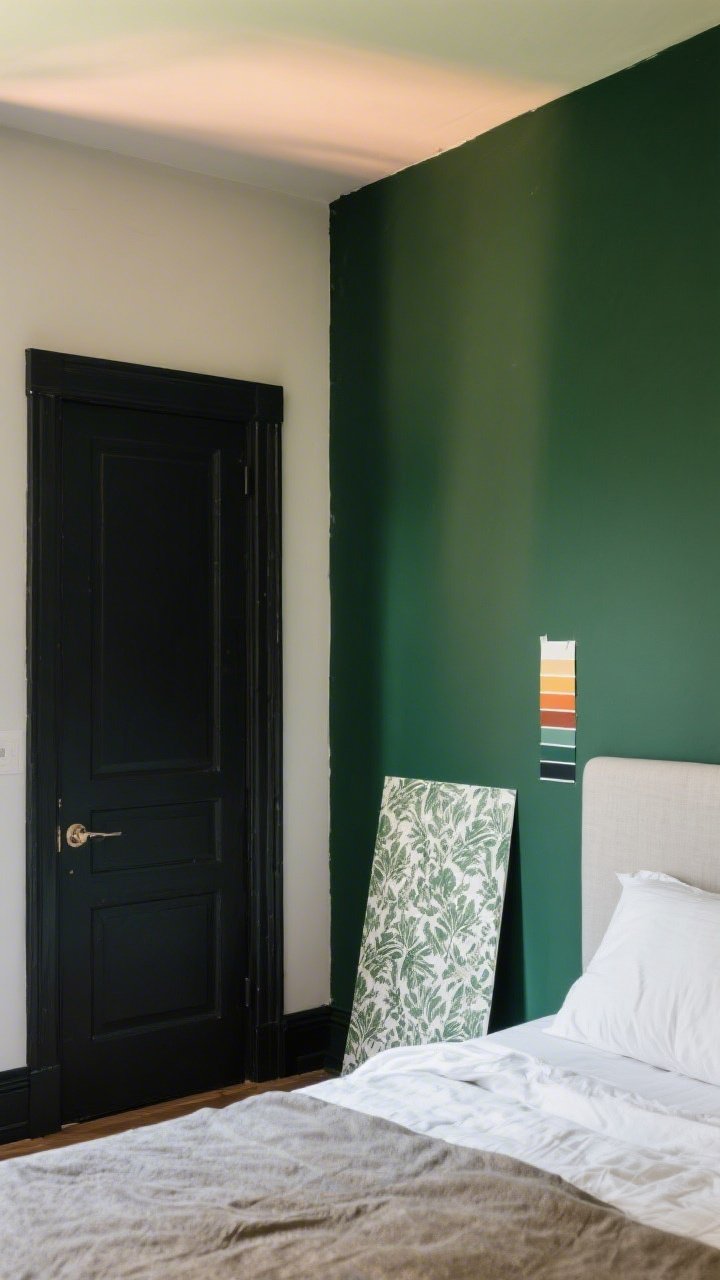
Color is the fastest way to change a room’s mood. If painting the whole room feels scary, do an accent wall or paint just the trim and doors for a design-y upgrade. Peel-and-stick wallpaper is rental-friendly and looks way pricier than it is.
Color Cheat Codes
- Small rooms: Light, warm neutrals (greige, creamy white) feel airy.
- Cozy corners: Deep green, navy, clay—hello, mood.
- Ceiling: A soft tint can add height and glow (trust me, it’s magic).
Pro tip: Test swatches on different walls and check them morning and night. Lighting is sneaky.
5. Layer Lighting: From “Meh” To Magazine
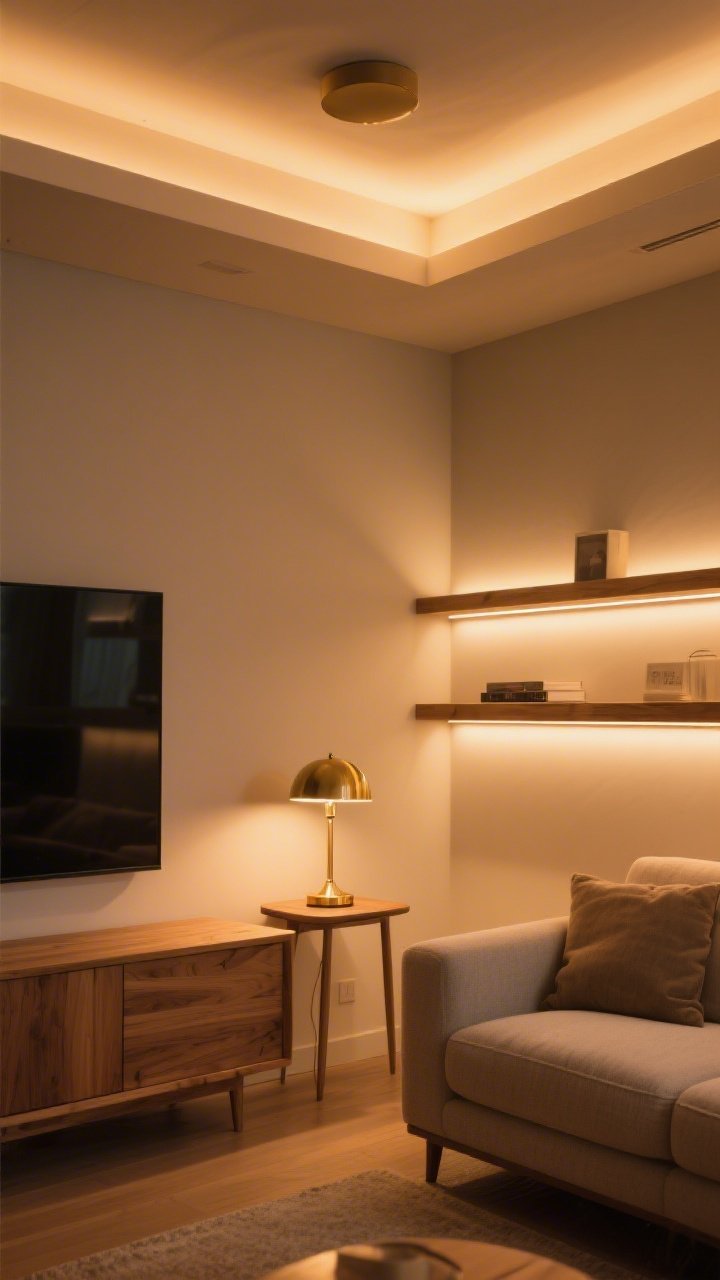
Overhead light only = hospital chic. Pass. You need layers: ambient, task, and accent. Think of lighting like jewelry—stack it for sparkle.
Build Your Lighting Trio
- Ambient: Overhead or flush mount (swap builder-grade if you can).
- Task: Table lamps/reading sconces near sofas, beds, desks.
- Accent: Floor lamp, picture light, LED strip under shelves.
Use warm bulbs (2700–3000K). Your skin—and your room—will thank you.
6. Rugs That Fit (Finally): Frame The Space
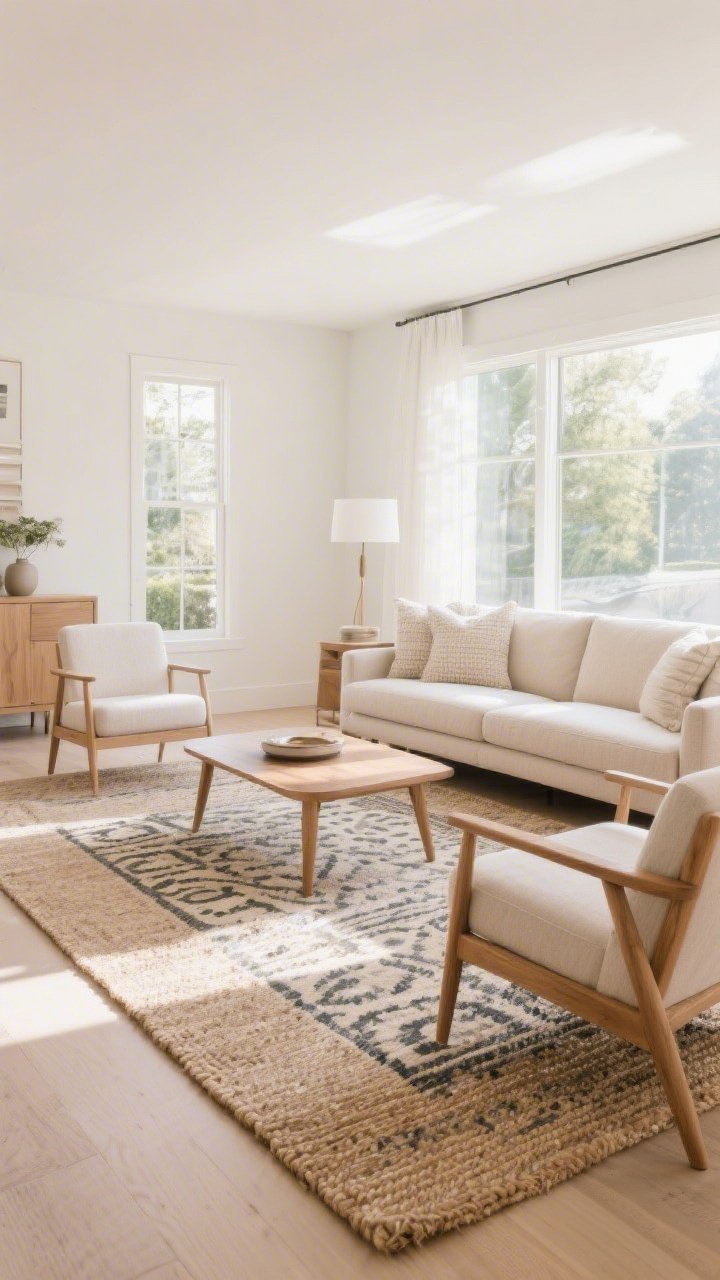
The wrong rug makes a room feel off, even if everything else is cute. Get the biggest rug you can reasonably afford. It should anchor your furniture, not float like a bath mat in the middle of the floor.
Sizing Rules
- Living room: Front legs of all seating on the rug, 8×10 or larger.
- Bedroom: Rug extends 18–24” past each side of the bed (8×10 for queen).
- Dining: Chairs stay on the rug when pulled out (add 24” around table).
Layer a patterned rug over a larger jute for texture and budget-friendliness. Chef’s kiss.
7. Textiles With Texture: Softer = More Luxe
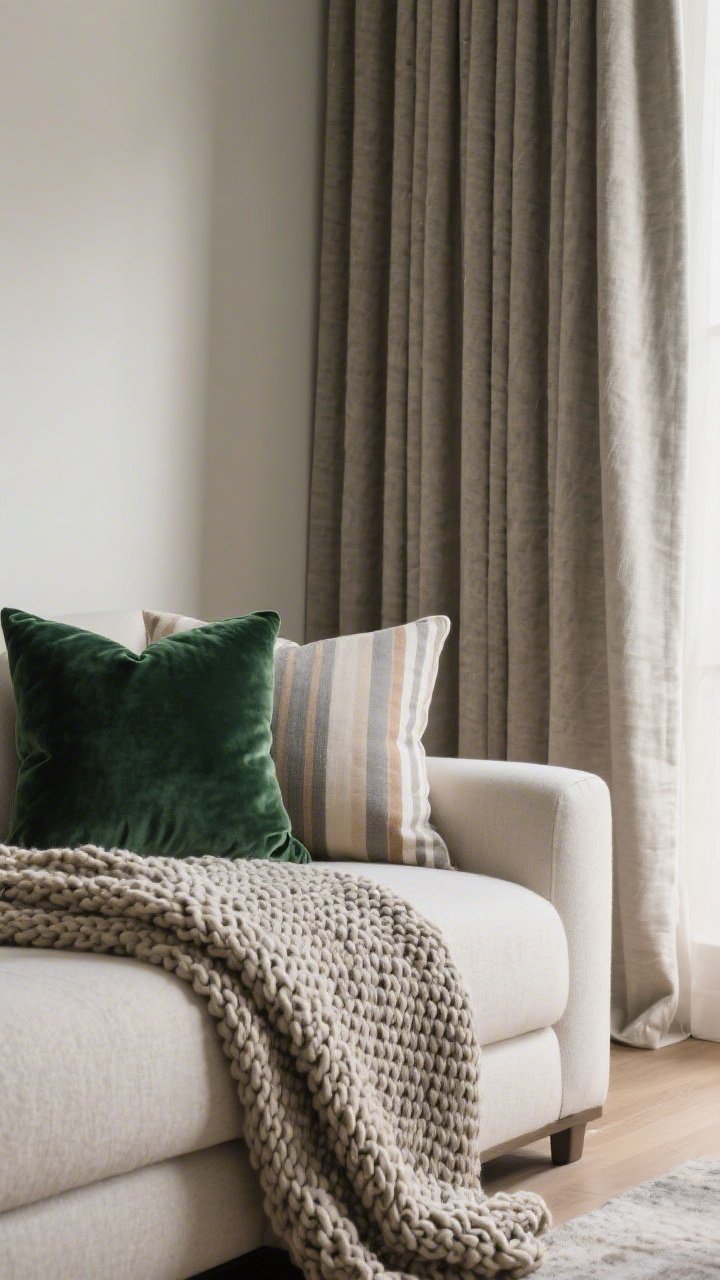
When a room feels flat, add texture. Pillows, throws, curtains, and bedding make everything look intentional, even on a tight budget.
Textile Mix That Always Works
- One chunky knit + one velvet + one subtle pattern (stripes or small-scale print).
- Neutral base with two accent colors that repeat around the room.
- Curtains hung high and wide—touching the floor—make windows look grand.
Swap pillow covers seasonally and keep inserts. It’s the wardrobe change your sofa deserves.
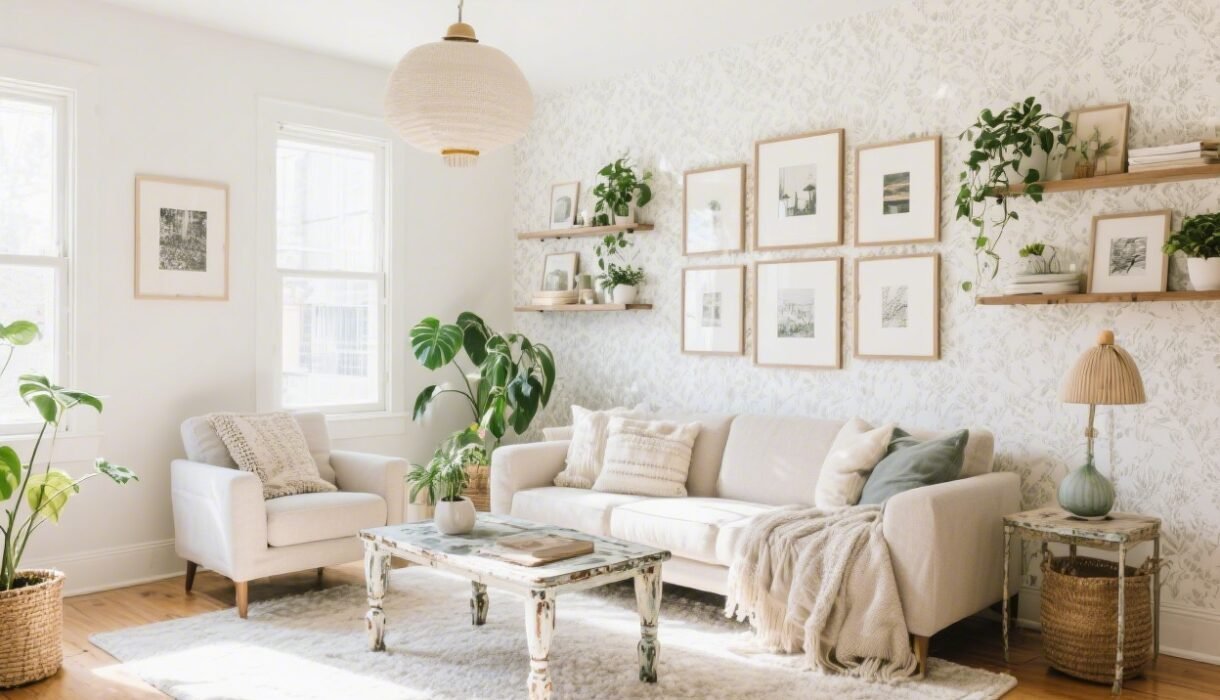
8. Art That Fits (Literally): Scale Over Scatter
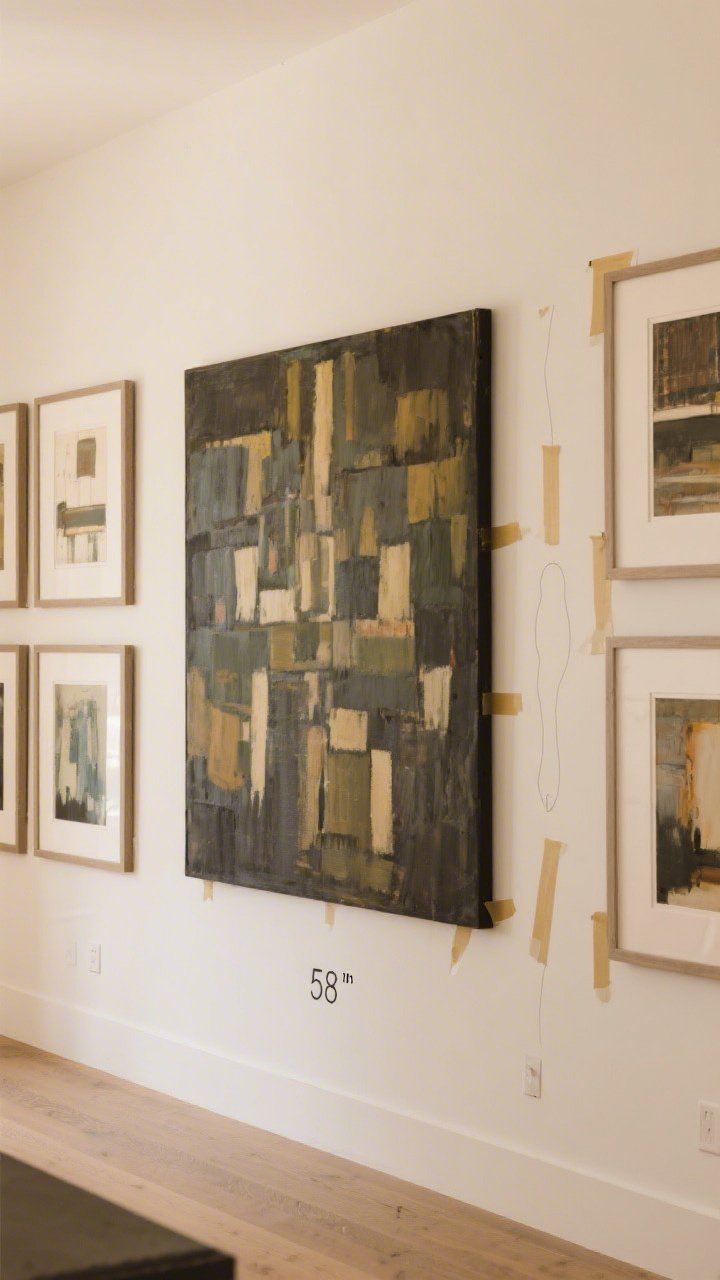
Tiny art sprinkled around your walls looks timid. Go bigger or group pieces to create impact. And place them at the right height—center at about 57–60” from the floor.
Fail-Proof Art Options
- One large piece: Oversized canvas or framed print for the focal wall.
- Gallery wall: Same frames, varied art; or varied frames, same color palette.
- Diptychs/triptychs: Instant symmetry, zero guesswork.
Use painter’s tape to mock up size before you hang. Your walls will appreciate it.
9. Style Your Surfaces: The Rule Of Three
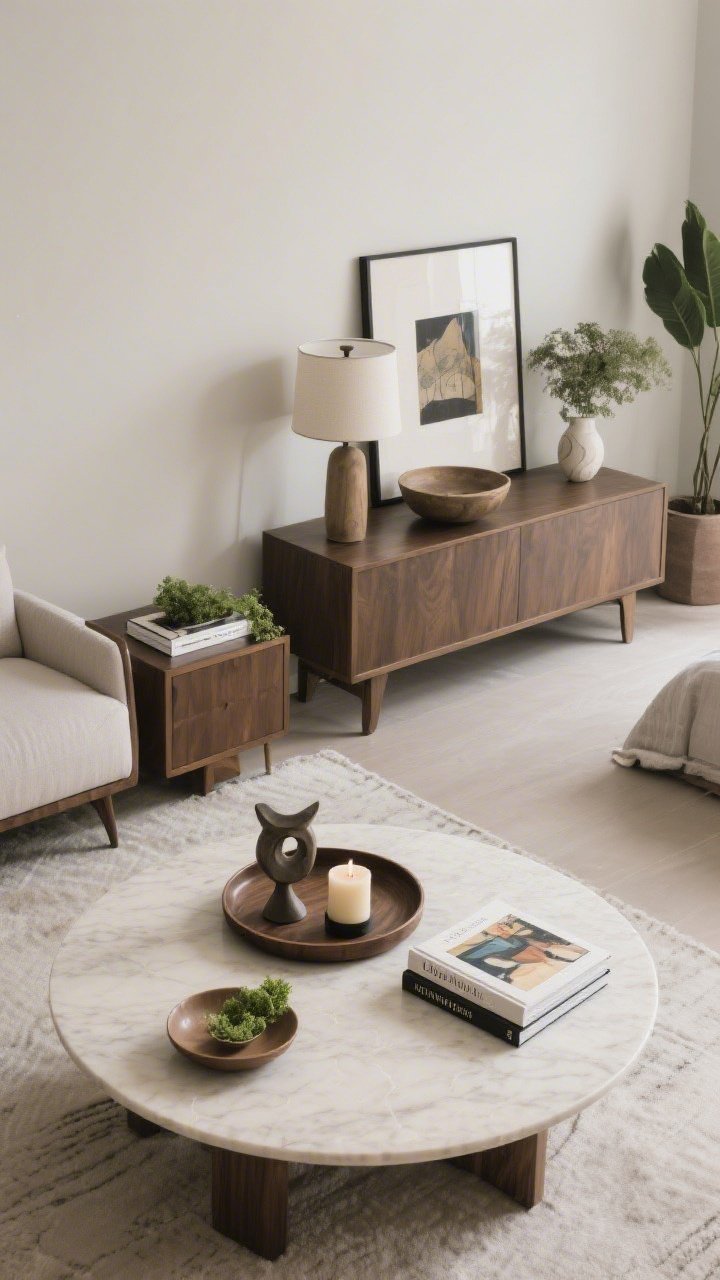
Flat surfaces are where style happens. Nightstands, consoles, coffee tables—keep them edited and layered. The magic formula? Height + Shape + Texture.
Plug-And-Play Vignettes
- Coffee table: Tray + books + sculptural object or candle.
- Nightstand: Lamp + book + small dish or vase with greenery.
- Console: Art or mirror + lamp + bowl + plant.
Group in threes, vary heights, and leave negative space. It’s styling, not Tetris.
10. Plants, But Make Them Easy
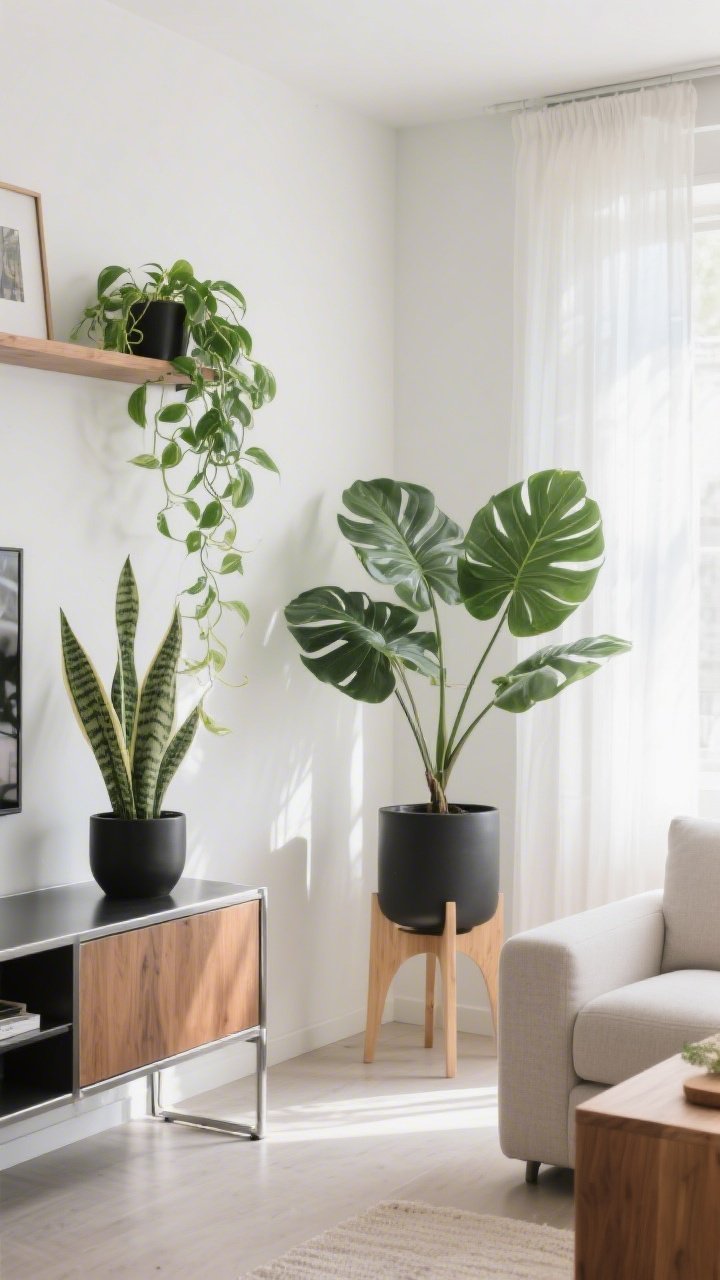
Real or faux, plants add life, texture, and color—no training required. If you’ve murdered a succulent before (relatable), pick a low-maintenance option and call it a day.
Beginner-Friendly Greenery
- Low light: ZZ plant, pothos, snake plant.
- Bright light: Fiddle leaf fig (if you’re feeling brave), rubber plant.
- Faux: Mix with real for believability; keep them dust-free.
Use planters that match your metals or wood tones for cohesion. Done and done.
11. Upgrade Hardware: Small Swap, Big Glow-Up
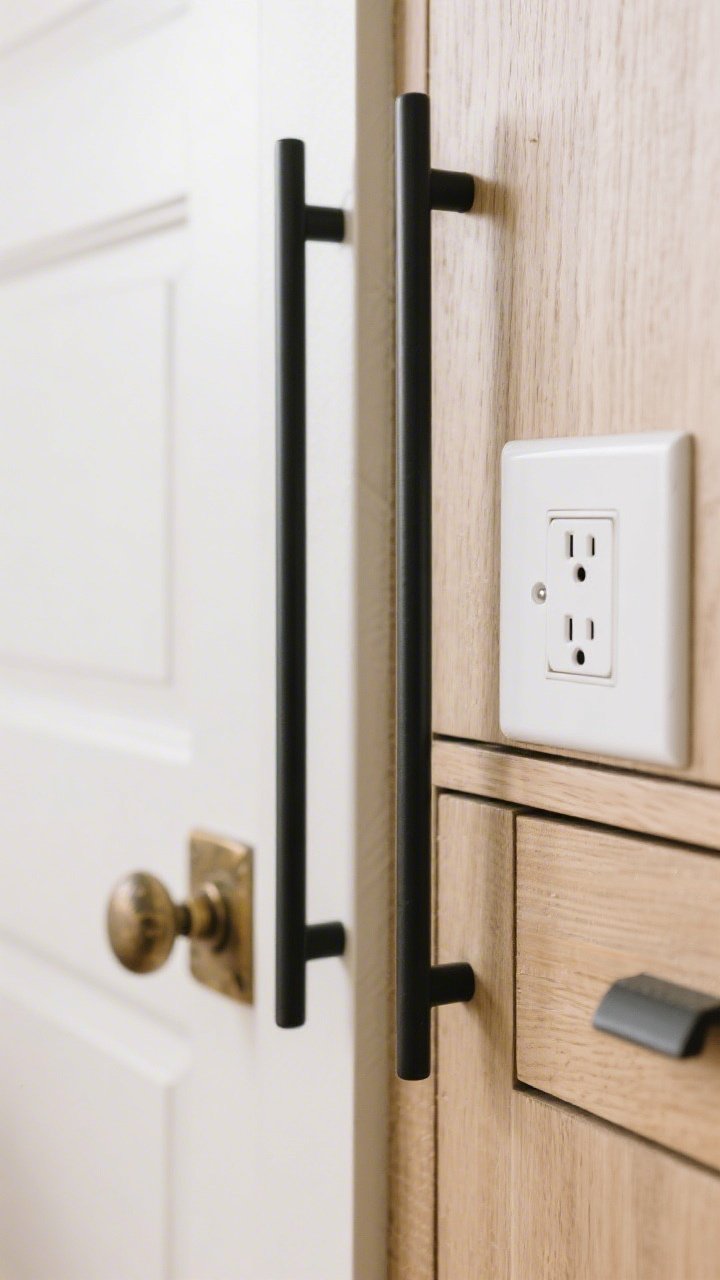
Handles, knobs, and hooks are the earrings of your room—tiny but transformative. Switch builder-grade hardware to matte black, aged brass, or ceramic for a fast, affordable upgrade.
High-Impact Swaps
- Cabinet pulls: Go longer for a custom look.
- Door handles: Match your metal finish for a unified vibe.
- Switch plates and outlet covers: Replace yellowed plastic with clean white or metal.
Keep finishes consistent across the room. It reads intentional, not chaotic.
12. Balance Your Layout: Flow First, Furniture Second
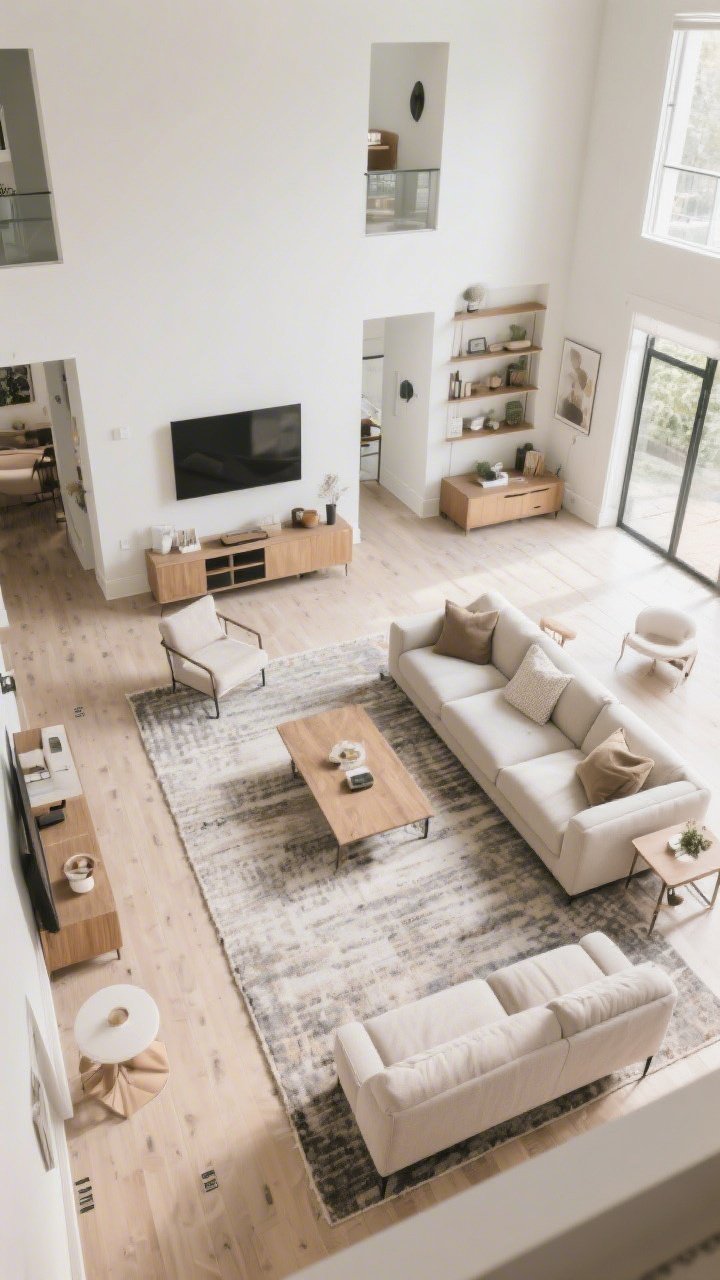
Even gorgeous pieces look wrong if the layout is off. Start with function: where you sit, read, watch, sleep, or work. Then arrange furniture to support that.
Layout Checkpoints
- Leave 30–36” for walkways; 15–18” between coffee table and sofa.
- Rug edges align with seating zones—use them to define areas in open spaces.
- Float furniture off walls if possible; it makes rooms feel bigger.
Take a photo after you move things. The camera catches weird angles the eye ignores.
13. Curate Your Color Repeats: The 60/30/10 Rule
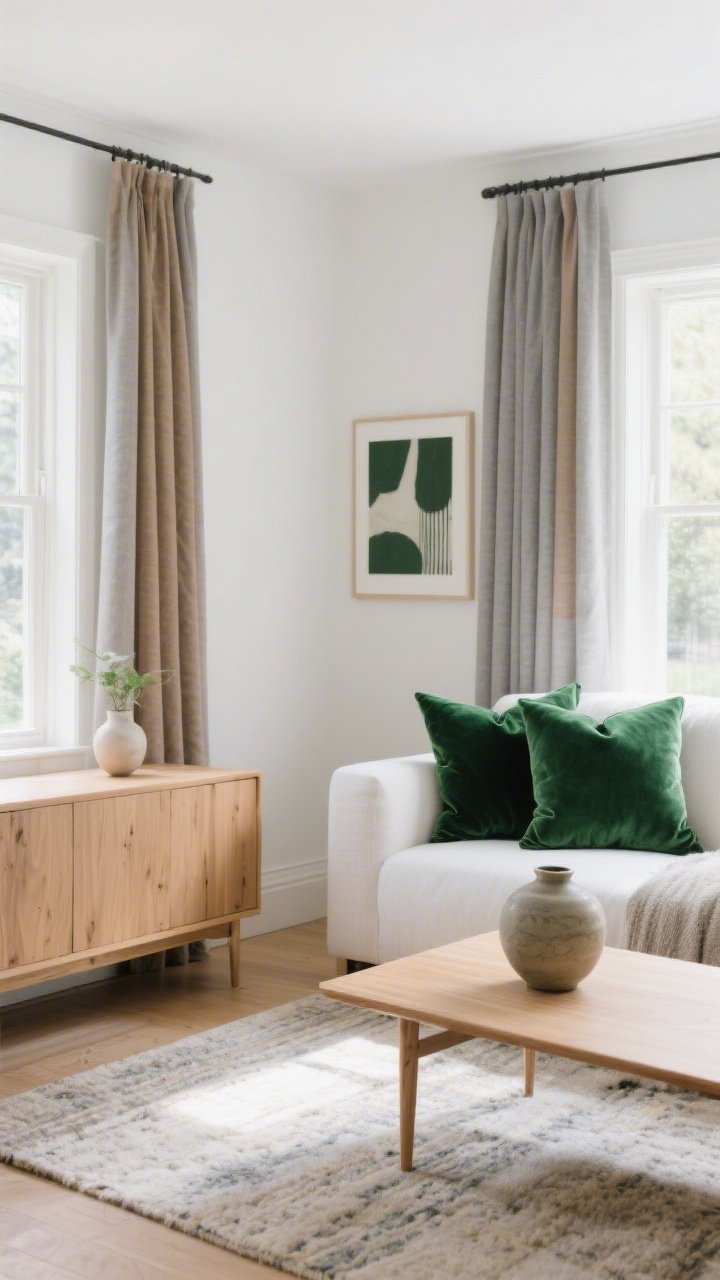
Color looks expensive when it’s intentional. Use 60% base color (walls, large furniture), 30% secondary (rugs, curtains), and 10% accent (pillows, art, accessories). Then echo your accent color at least three times.
Try This Palette Recipe
- Base: Warm white walls + light oak wood tones.
- Secondary: Soft gray or tan textiles.
- Accent: Deep green or clay in pillows, art, and a vase.
IMO, repetition is what makes a room feel pulled together—not the price tag.
14. Add Personality: The One Weird Thing
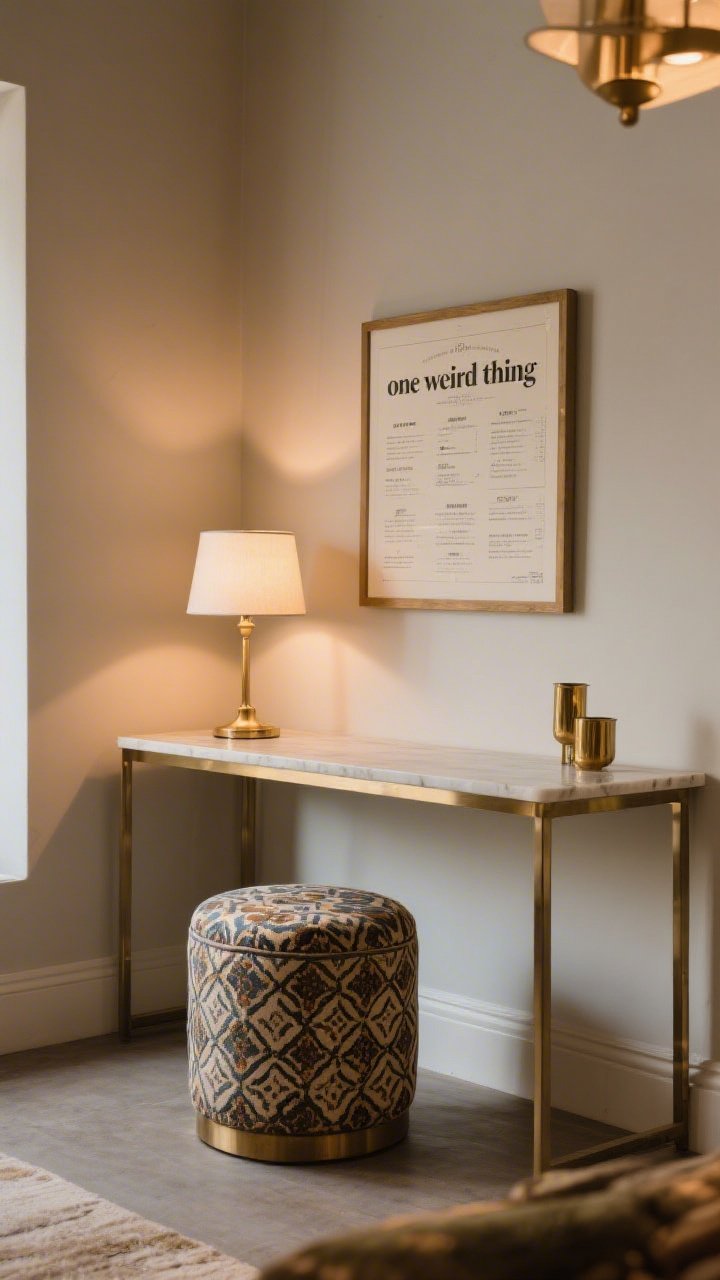
Perfectly matched rooms can feel like hotel lobbies. Add a curveball—a vintage find, bold lamp, quirky art, or patterned stool. It’s your room; let it tell your story.
Where To Find Your “You” Piece
- Thrift stores and flea markets: Hunt for frames, lamps, trays, stools.
- Travel souvenirs: Frame menus, maps, ticket stubs.
- DIY art: Oversized canvas, simple shapes, two colors—surprisingly chic.
One statement is chic. Five statements are chaos. Edit like an art director.
Quick Mini-Checklist To Execute
- Pick your mood and palette.
- Declutter and define your focal point.
- Choose lighting layers and right-size a rug.
- Upgrade textiles, art scale, and surface styling.
- Add plants, hardware upgrades, and a functional layout.
- Repeat colors intentionally—and finish with one personal statement piece.
You don’t need a massive budget or a full weekend to make your space feel new. Start with one section today—swap a rug, hang a big art piece, or restyle a nightstand. Little wins add up, and suddenly your room looks like the “after” shot. You’ve got this.
Start Your Room Makeover The Right Way
If you’re not sure where to start, this workbook walks you through everything step-by-step in a simple way.