12 Cheap Room Makeover Ideas for Small Spaces You’ll Want to Copy Asap
Posted in :
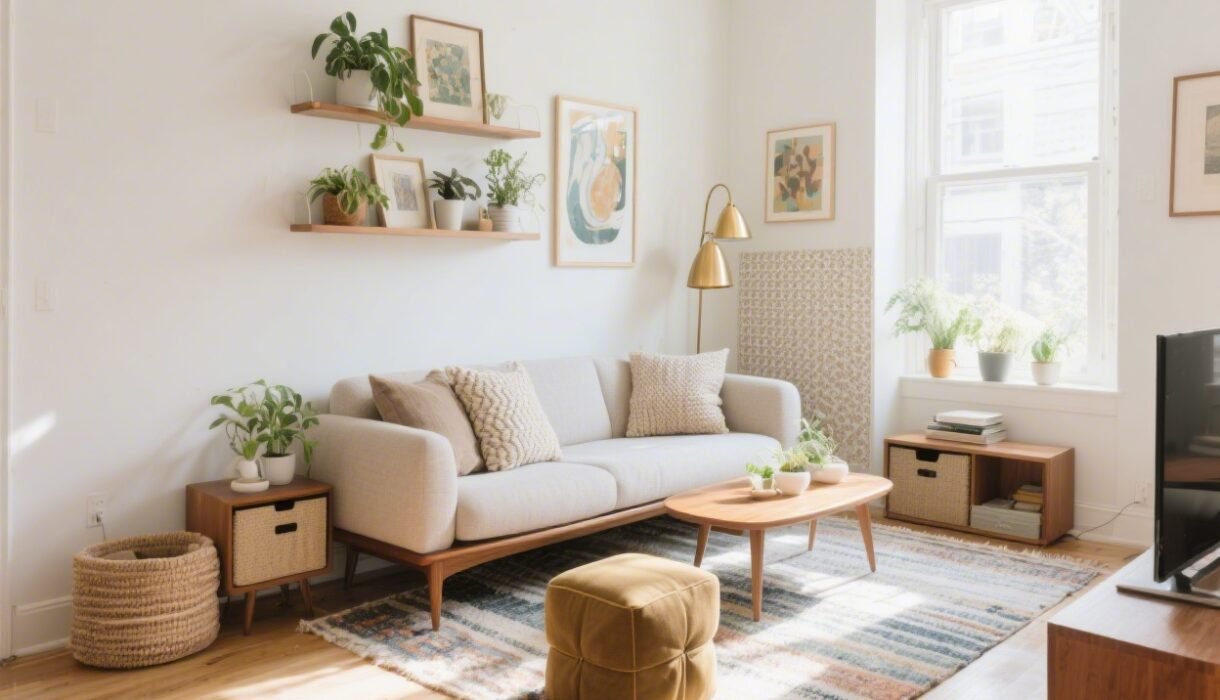
Small space, big dreams? Same. You don’t need a demo or a designer to make a tiny room look incredible. With a few smart moves (and a tiny budget), you can create a vibe that feels intentional, cozy, and totally you. Let’s make your space do the most—without spending the most.
1. Edit Ruthlessly, Then Style What’s Left
Before you buy anything, take stuff out. Like, almost everything. A small space gets crowded fast, and clutter kills the mood. Keep only what you love or use. Then give those favorites a proper spotlight.
How to do it
- One-in, one-out rule: Every new item replaces something else.
- Group by category: Books together, decor together, tech together. It’ll help you see duplicates.
- Style in odd numbers: Decor looks best in 3s or 5s—try a stack of books + candle + small plant.
When the base is clean and edited, everything else you add feels intentional—not like a yard sale.
2. Paint (Or Fake It) For Big Impact
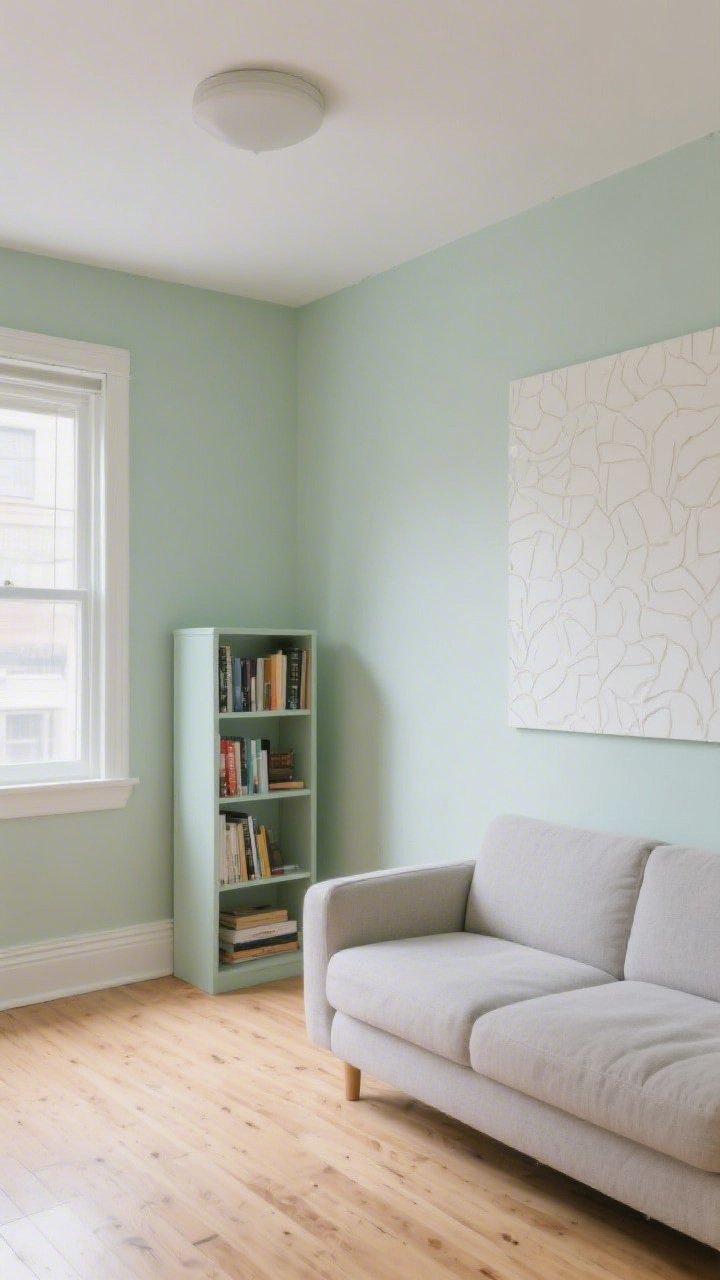
Paint is the cheapest magic trick. One can can change the room’s mood, hide scuffs, and visually expand the space. If painting walls isn’t an option (hi, renters), try peel-and-stick or paint furniture instead.
Color moves that work in small rooms
- Light and airy: Soft whites, greige, or pale sage make walls recede.
- Moody box: Go all-in with a deep color on walls and trim to cozy up awkward rooms.
- Color-drench accents: Paint baseboards, doors, or a single bookcase the same color as the wall for a custom look.
- No paint allowed? Use removable wallpaper, oversized art, or draped fabric panels to create a faux feature wall.
FYI: Paint your ceiling a whisper-light shade of the wall color to make the room feel taller.
3. Work Vertical: Shelves, Hooks, And High Curtains
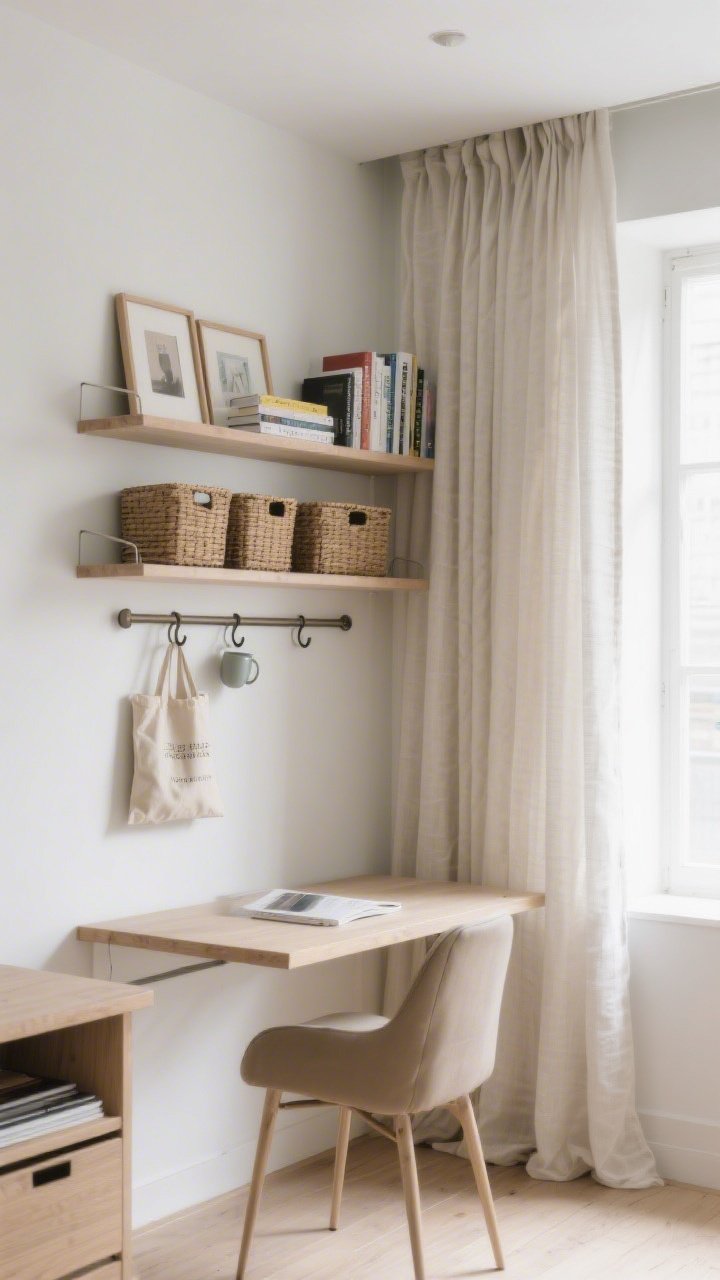
When the floor is precious real estate, think up. Maximize walls with storage that doubles as decor. It’s functional and looks intentional, aka the small-space holy grail.
Vertical upgrades to try
- Floating shelves: Stack two or three above a desk or sofa for books, frames, and baskets.
- Hooks and rails: In entryways and kitchens, they hold bags, mugs, utensils—clutter, begone.
- Ceiling-high curtains: Mount rods close to the ceiling and go long. Instant height.
- Over-the-door organizers: Hide an entire hobby behind a door—crafts, hair tools, or cleaning supplies.
Bonus: Use matching baskets on shelves to keep everything looking tidy and cohesive.
4. Rethink Your Furniture Footprint
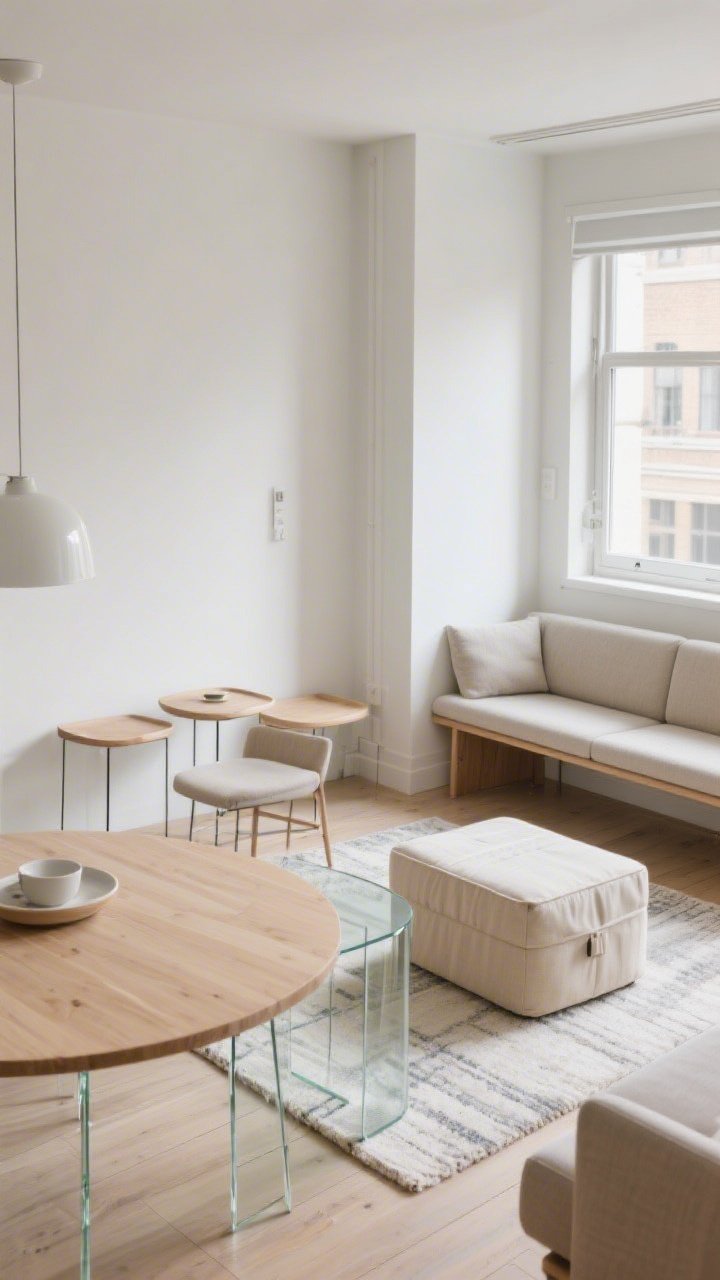
You don’t need tiny furniture—just the right shapes. Streamlined legs and glass or light wood finishes keep things from feeling bulky. Multi-use pieces are your MVPs.
Smart swaps
- Round tables: Better flow than squares in tight rooms.
- Nesting tables or stools: Pull out when you need them, tuck away when you don’t.
- Benches over chairs: Slide under a table or window when not in use.
- Storage ottoman: Coffee table + extra seating + blanket hoarder. Done.
And IMO, if your rug is too small for your furniture, it’s shrinking your room. Size up where you can.
5. Use Mirrors Like A Lighting Designer
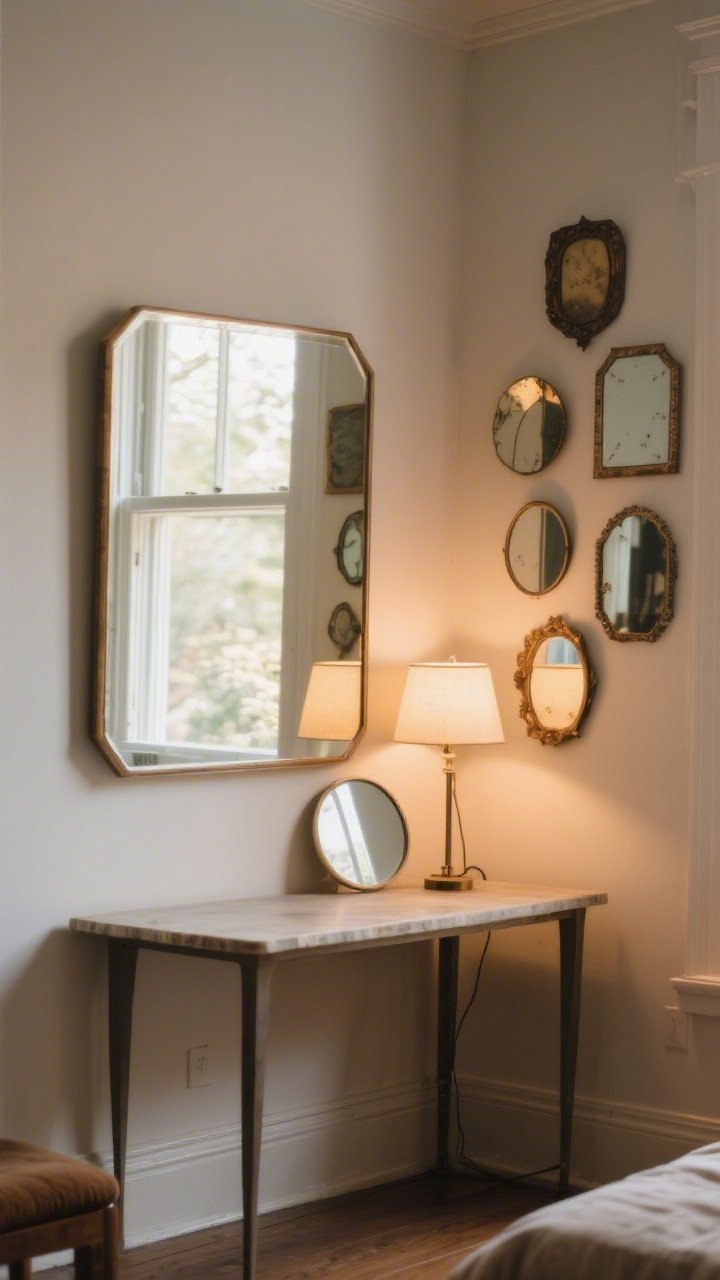
Mirrors bounce light, add depth, and make your room look twice as big—no reno required. They don’t even have to be pricey. Thrift a frame, add a mirror insert, and you’re set.
Mirror placement tips
- Across from a window: Doubles natural light and views.
- Behind a lamp: Amplifies ambient light at night.
- Gallery of small mirrors: Mix shapes for a collected look on a narrow wall.
- Leaning floor mirror: Adds drama and makes ceilings feel taller.
Just avoid placing one where it reflects clutter. A messy corner times two is… not the goal.
6. Layer Textures Like A Pro
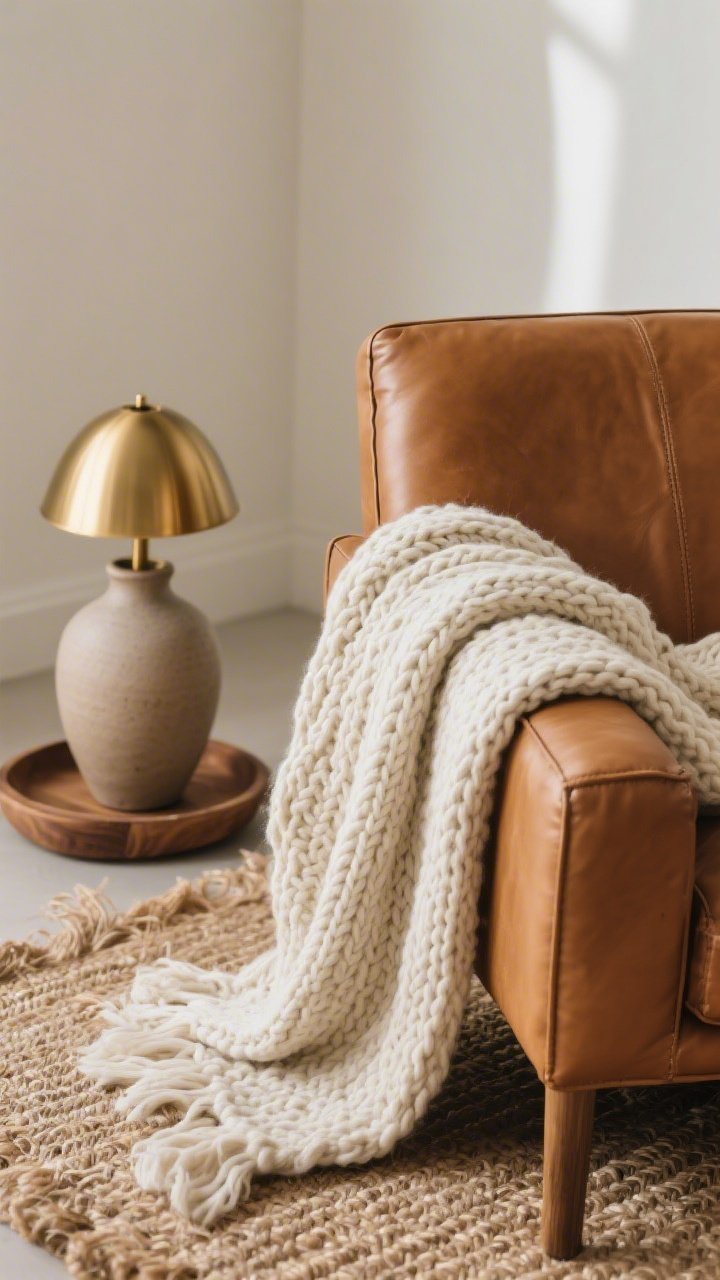
If your room feels flat, it probably needs texture, not color. Mixing materials adds warmth and dimension—especially in neutral spaces. It’s the difference between “rental beige” and “calm, curated sanctuary.”
Texture combos that always work
- Soft + rough: A chunky knit throw on a smooth leather chair.
- Shiny + matte: Brass lamp next to a ceramic vase.
- Natural fibers: Jute rug, linen curtains, and a wood tray—instant earthy vibes.
- Patterned pillows: Mix scales: one big print, one small, one solid. Boom—balanced.
Keep your palette tight (2–3 colors max), then let texture do the heavy lifting.
7. Create Zones With Rugs And Lighting
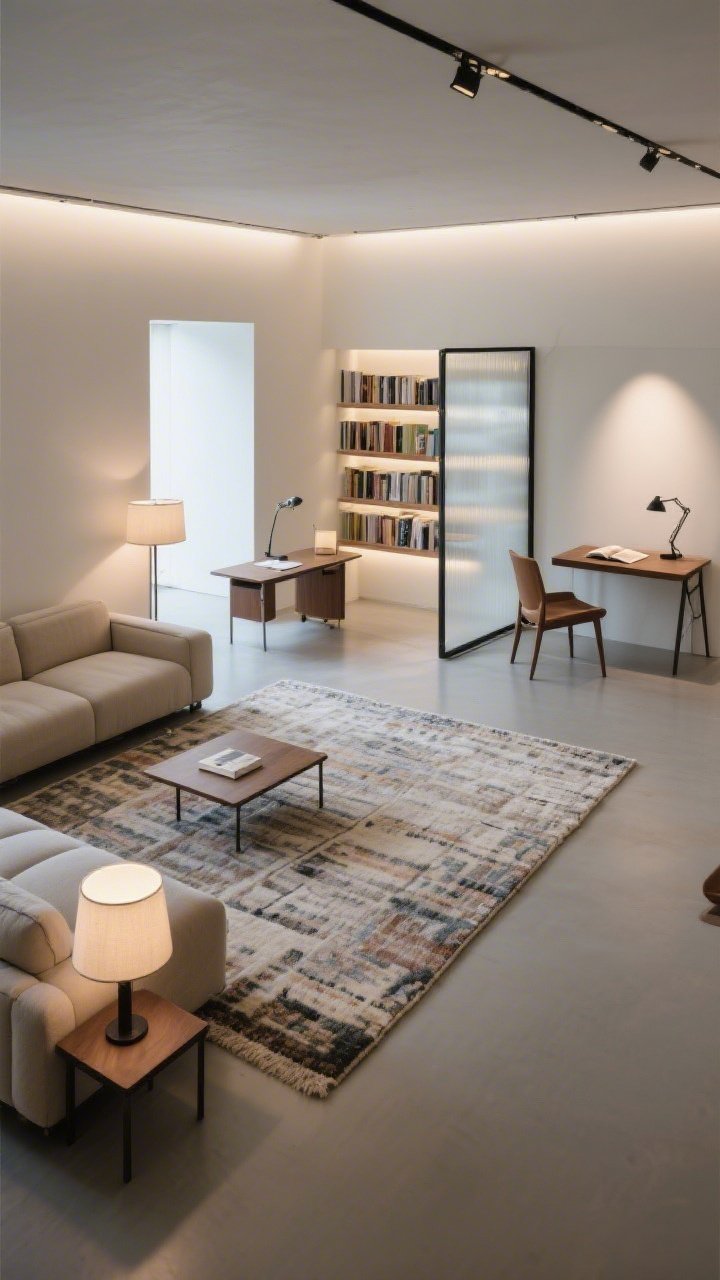
Small rooms work harder when you define zones: lounge here, work there, sleep over there. You don’t need walls—just a few smart anchors.
Zone-setting tricks
- Rugs: Use one large rug to unify or two smaller ones to separate living and working areas.
- Lighting layers: Overhead light for general, a floor lamp for reading, a desk lamp for tasks.
- Furniture orientation: Angle a chair or sofa to subtly “frame” a section.
- Room dividers: Try a folding screen, curtain, or bookshelf for a hint of separation without blocking light.
When every area has a purpose, your space feels bigger and your brain feels calmer. Science-ish.
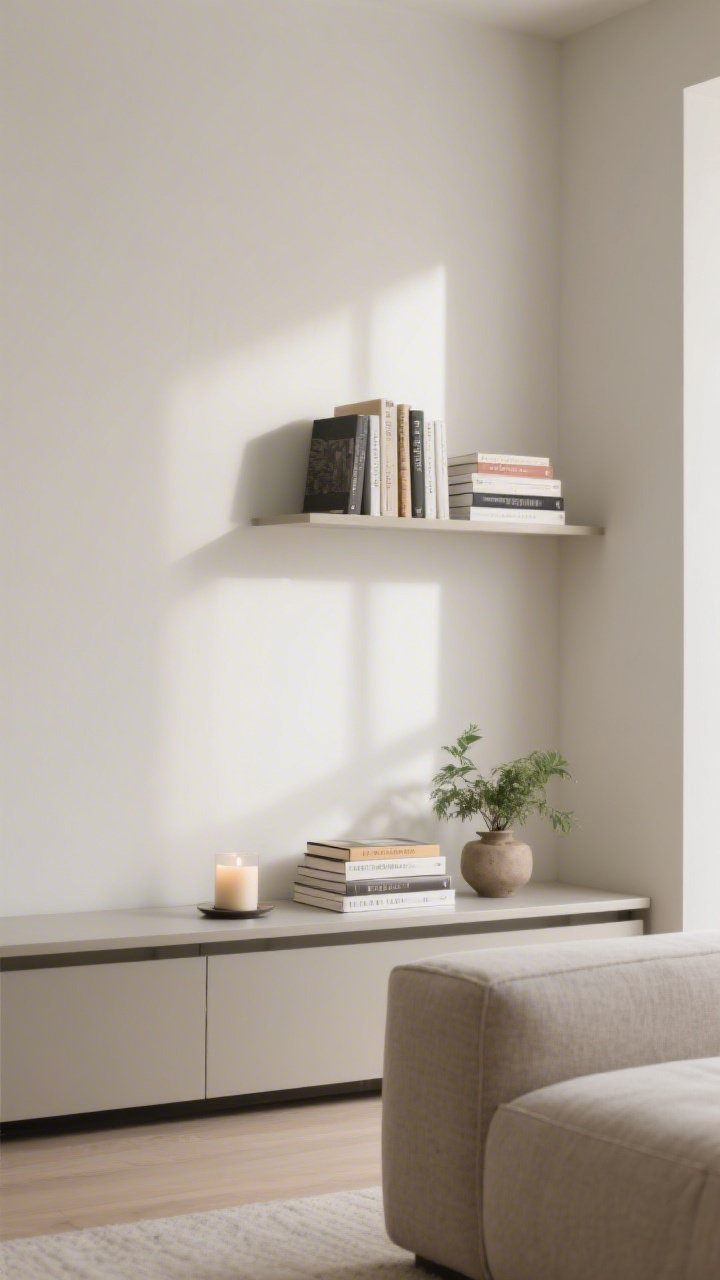
8. Style Surfaces With The Rule Of Thirds
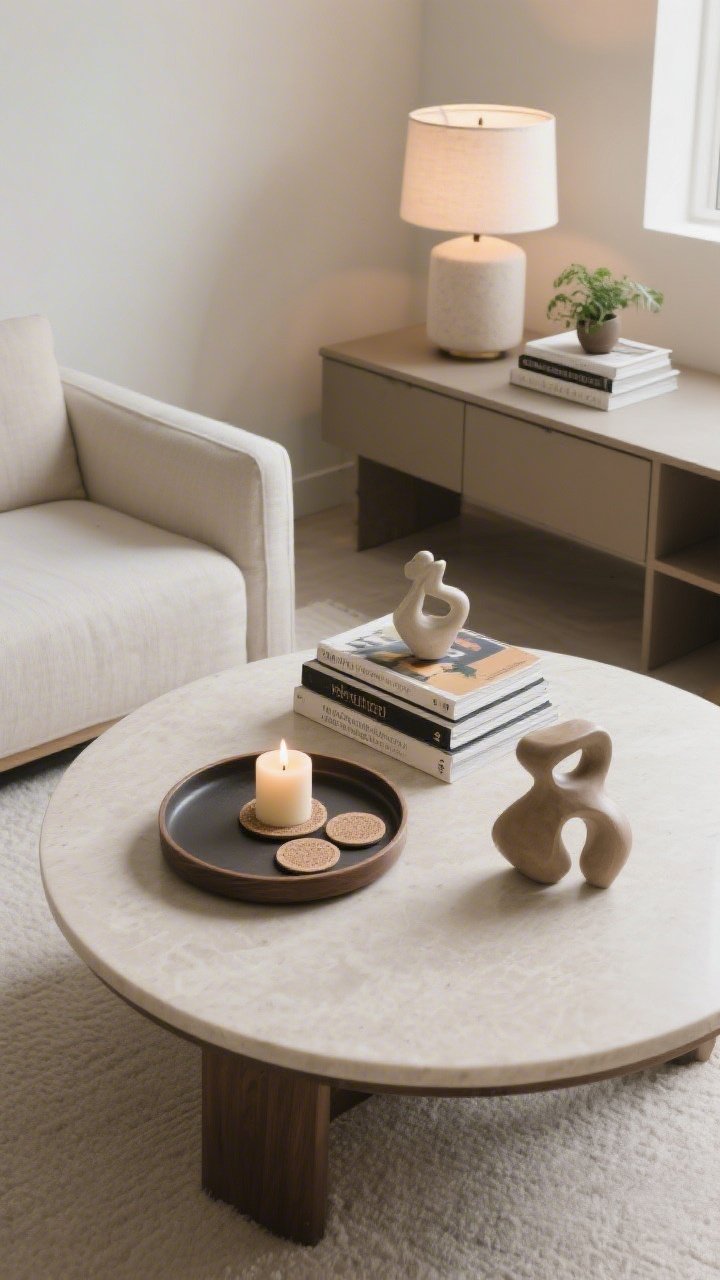
Nightstands, consoles, coffee tables—they’re styling goldmines, but they can also turn into junk piles. Use simple formulas so it looks elevated without constant fussing.
Foolproof surface styling
- Nightstand: Lamp + book stack + small dish or plant.
- Coffee table: Tray with candle + coasters, stack of books, sculptural object.
- Console: Tall element (lamp or vase), medium (frame), low (bowl or beads).
- Kitchen counter: Board leaning as “art,” crocks for utensils, fruit bowl for color.
Stick to three items per surface to keep things pretty and practical.
9. Go Big On Art (Even If It’s DIY)
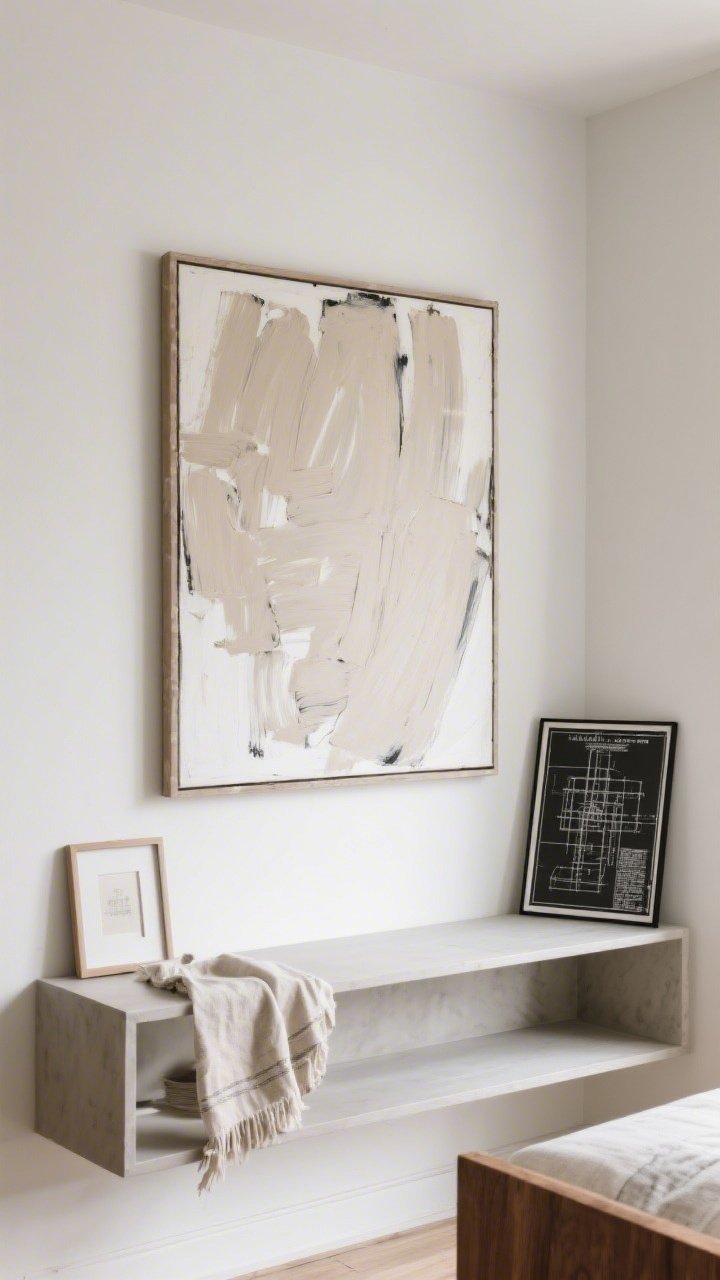
One oversized piece of art beats a dozen tiny frames that clutter the wall. You can DIY something abstract in an afternoon and frame it on the cheap.
Budget art ideas
- Canvas + leftover paint: Big brushstrokes, done. Neutrals look high-end.
- Engineering prints: Blow up a photo at a copy shop for a few dollars.
- Fabric or wallpaper: Frame a pretty remnant for instant pattern.
- Thrift flip: Repaint old frames; keep the mat for a gallery vibe.
Hang art at eye level and anchor it to furniture to avoid the floating look.
10. Swap Your Lighting For Instant Atmosphere
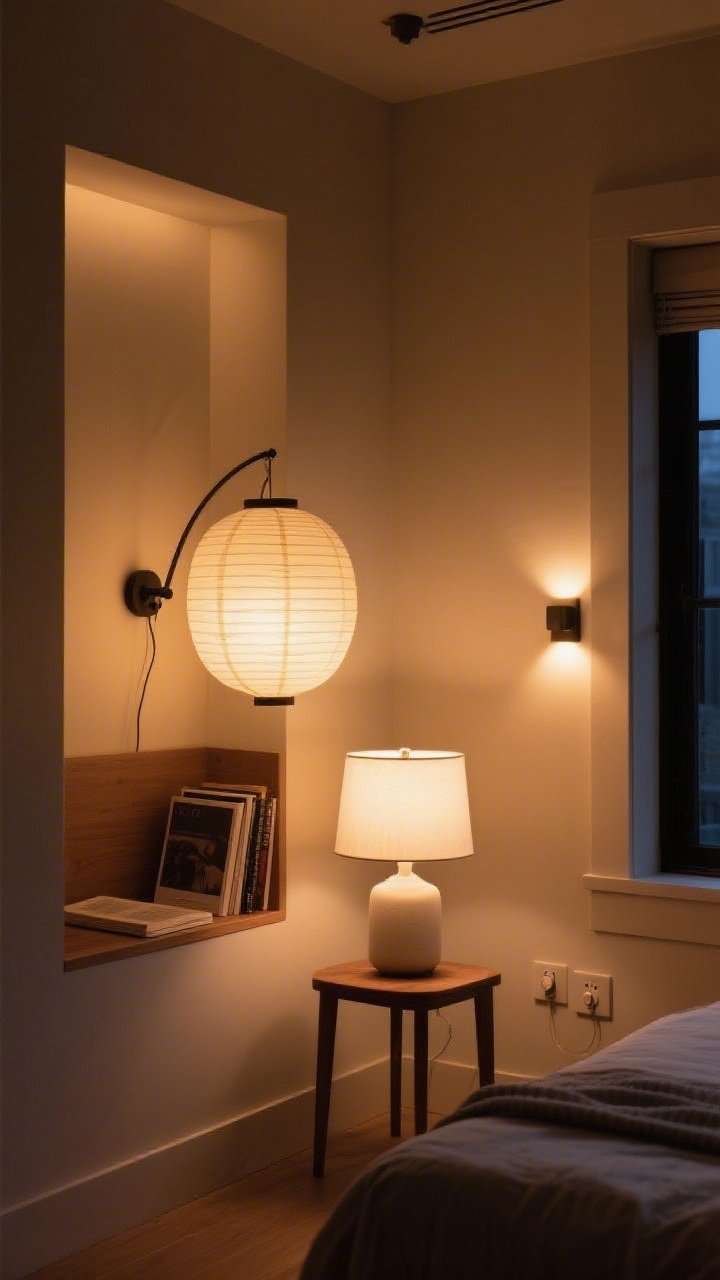
Overhead “landlord special” lighting is not the vibe. Warmer bulbs and layered lamps change everything. It’s affordable and wildly effective.
Lighting upgrades that matter
- Bulbs: Choose warm white (2700K–3000K) for cozy, inviting light.
- Plug-in sconces: Get the built-in look without hardwiring.
- Paper lanterns: Big, soft glow. Cheap and chic.
- Dimmer plugs: Control the mood—movie night vs. work mode.
Place lights in corners to open up the room. A dark corner shrinks a space faster than a giant sectional.
11. Camouflage Storage Like A Minimalist Magician
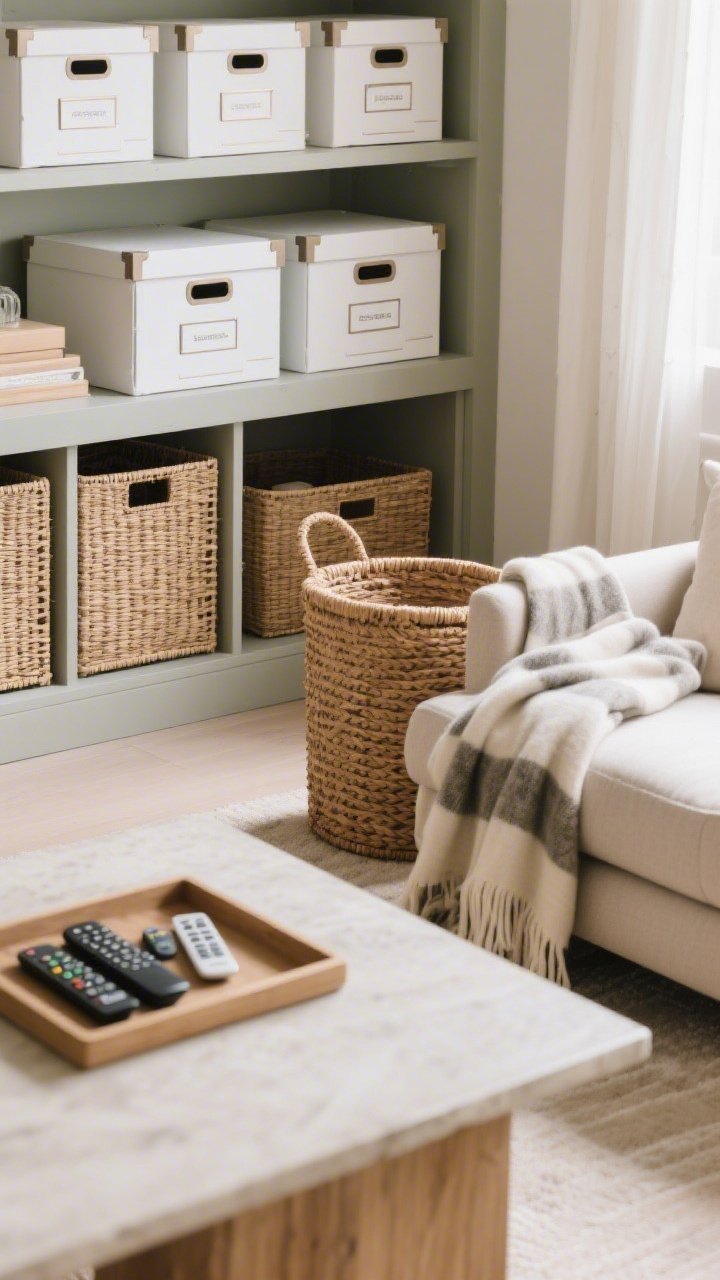
Storage is everything in small spaces—but it doesn’t have to scream “I have 47 chargers.” Hide it in plain sight with matching containers and smart furniture.
Stealth storage ideas
- Under-bed bins: Store off-season clothes, spare linens, or shoe overflow.
- Matching boxes on shelves: Label the backs for a clean look; your secrets are safe.
- Trays everywhere: Corrals remotes, skincare, and desk clutter into one tidy zone.
- Baskets as decor: Tuck near sofas for throw blankets or kids’ toys—cute and useful.
Pro move: Choose a single material (like rattan or white boxes) for a calm, cohesive look across the room.
12. Refresh Textiles For A Whole New Mood
Swap a few soft goods and suddenly the room feels brand new. It’s the easiest seasonal refresh, and it won’t wreck your budget.
Textile swaps to try
- Pillow covers, not pillows: Mix a neutral base with two accent colors for easy rotation.
- Throw blanket: Go chunky for winter, lightweight for summer.
- Curtains: Linen blends look luxe and filter light beautifully.
- Runners and bath mats: High-impact pattern in small, affordable doses.
FYI: Iron or steam drapes so they hang straight. Wrinkly curtains are an instant downgrade.
Quick Shopping Checklist (Budget-Friendly)
- 1–2 gallons of paint or peel-and-stick wallpaper
- Two curtain panels + higher/longer rod
- One large mirror or set of small thrifted ones
- Floating shelves + baskets/boxes
- Two lamps (table or floor) + warm bulbs
- New pillow covers + throw
- Tray, vase, and a couple of frames
- Rug that fits the layout (bigger than you think!)
Final pep talk: You don’t need to overhaul everything to make a big impact. Start with editing, add light, go vertical, and bring in texture. Mix in a bold art moment, a smarter rug, and cozy lighting. Then sit back and enjoy your small space doing the absolute most—on the absolute least budget. You’ve got this.
Start Your Room Makeover The Right Way
If you’re not sure where to start, this workbook walks you through everything step-by-step.