10 Small Room Transformation Ideas on a Budget You Can Try Today
Posted in :
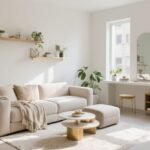
You don’t need a demolition crew (or a billionaire budget) to make a tiny room feel bigger, smarter, and way more stylish. With a few strategic swaps and some DIY magic, you can completely change the vibe—like, by this weekend. Ready to make your small space work harder and look cooler? Let’s dive in.
1. Paint With Purpose (And Yes, the Ceiling Counts)
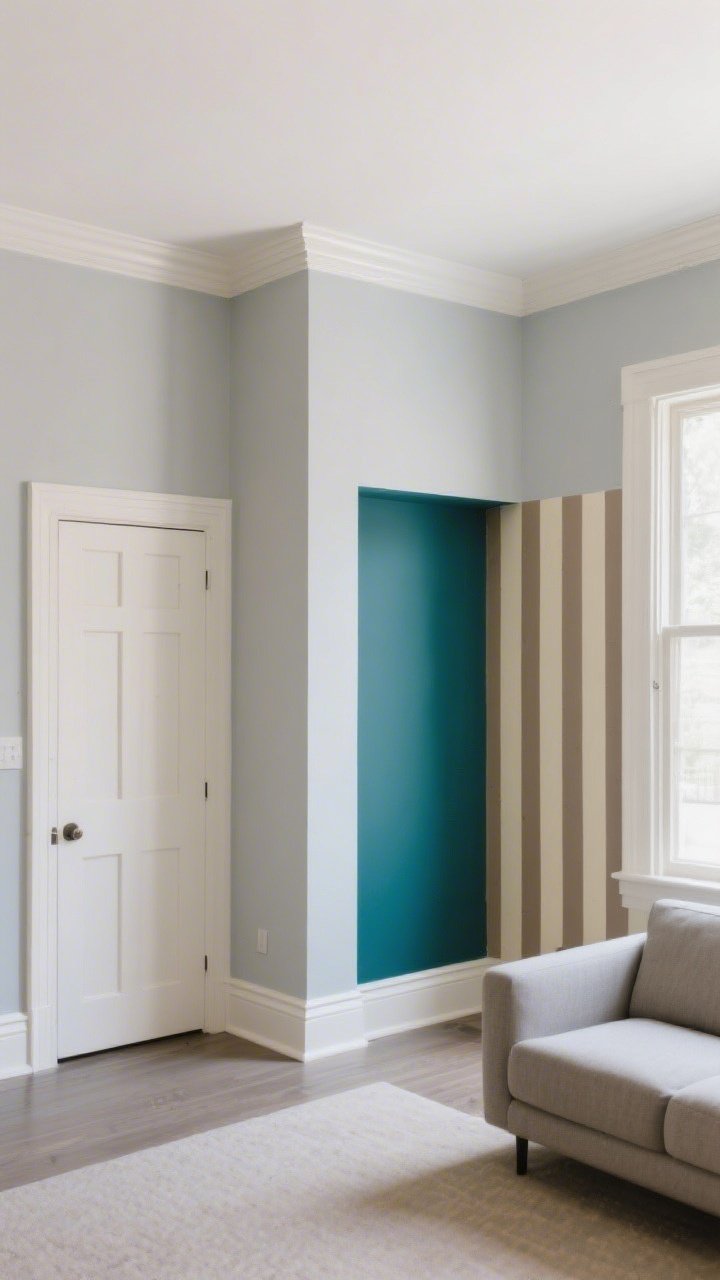
Paint is the cheapest, fastest way to change a room’s mood. Go light and airy for instant spaciousness, or create drama with a deep accent wall. And please—don’t ignore the ceiling. It’s your stealth design weapon.
Smart Paint Moves
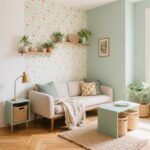
- Go tone-on-tone: Paint walls, trim, and doors the same light shade for a seamless, taller look.
- Try color drenching: Use one moody color on walls and trim for a cozy, jewel-box vibe.
- Lift the ceiling: Paint it a shade lighter than your walls or use a satin finish to bounce light.
- DIY stripe trick: Horizontal stripes widen a narrow room; vertical stripes make low ceilings feel higher.
2. Mirrors: The Easiest “Bigger Room” Illusion
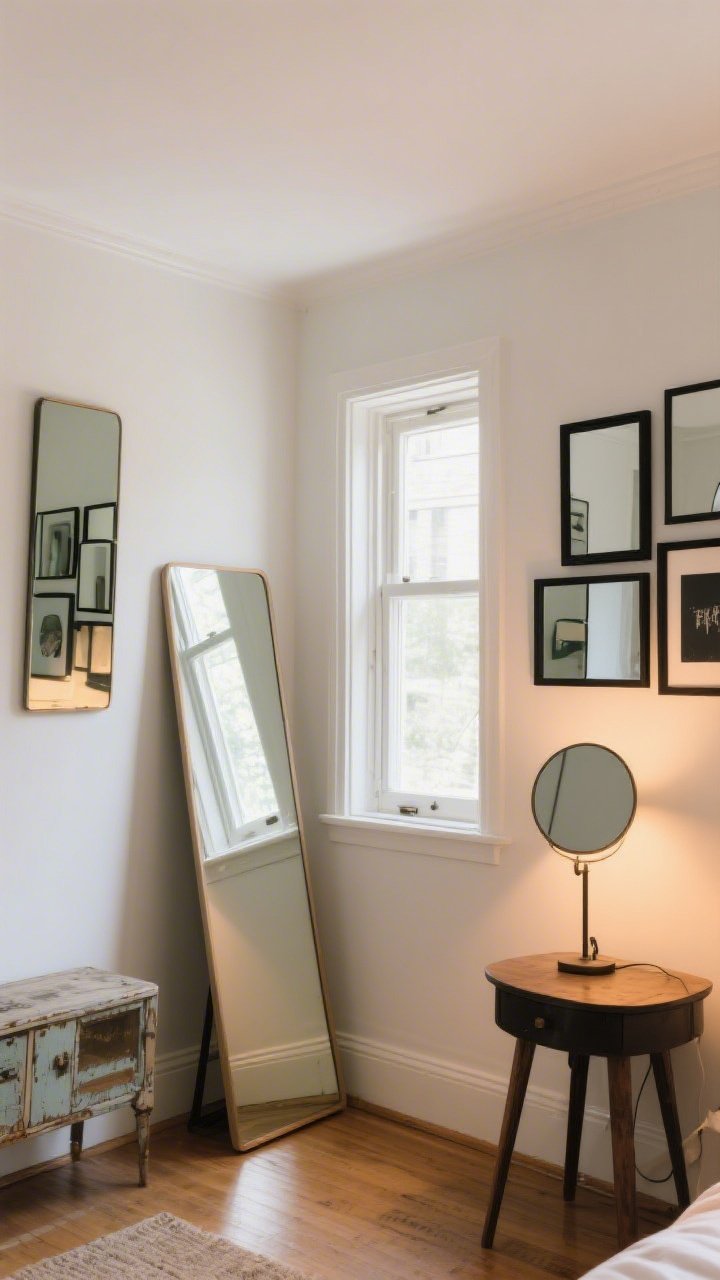
Mirrors are basically Photoshop for rooms. They double your light, reflect your best angles, and make tiny spaces feel twice as open. Place them thoughtfully and they’ll do the heavy lifting.
Mirror Placement Tips
- Opposite a window: Bounce natural light deeper into the room.
- Behind a lamp: Amplify warmth and cozy glow at night.
- Large leaning mirror: Expand the vertical space and add a designer vibe without drilling.
- Gallery of small mirrors: Thrift-store frames plus a little spray paint = instant charm wall.
3. Furniture That Works Overtime (Because Who Has Space?)
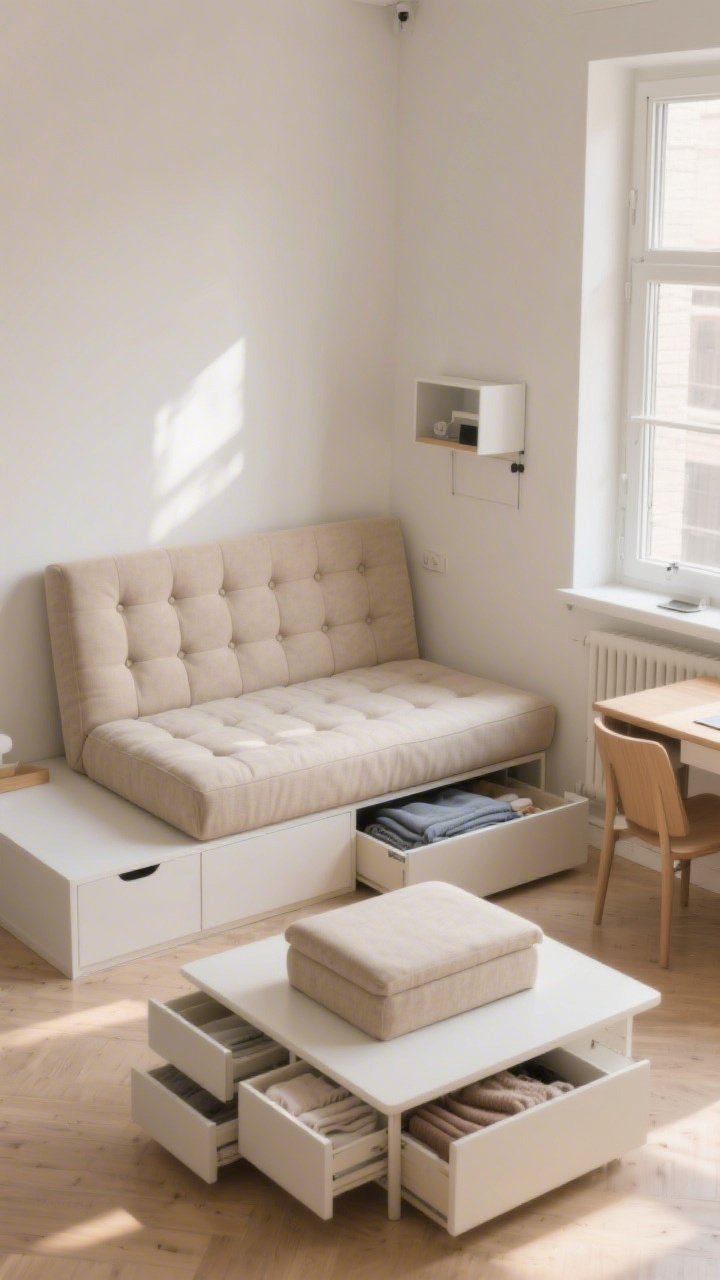
Small rooms don’t need less furniture—they need smarter furniture. Think movable, stackable, or with hidden storage. Multifunctional pieces clear visual clutter and keep your floor plan flexible.
Affordable MVPs
- Storage ottoman: Coffee table by day, blanket hoarder by night.
- Nesting tables: Pull out for guests, tuck away in seconds.
- Drop-leaf or wall-mounted table: Dining, desk, or crafting zone on demand.
- Daybed or futon: Seat plus sleep zone—great for studios and guest corners.
4. Vertical Space: Your Secret Real Estate
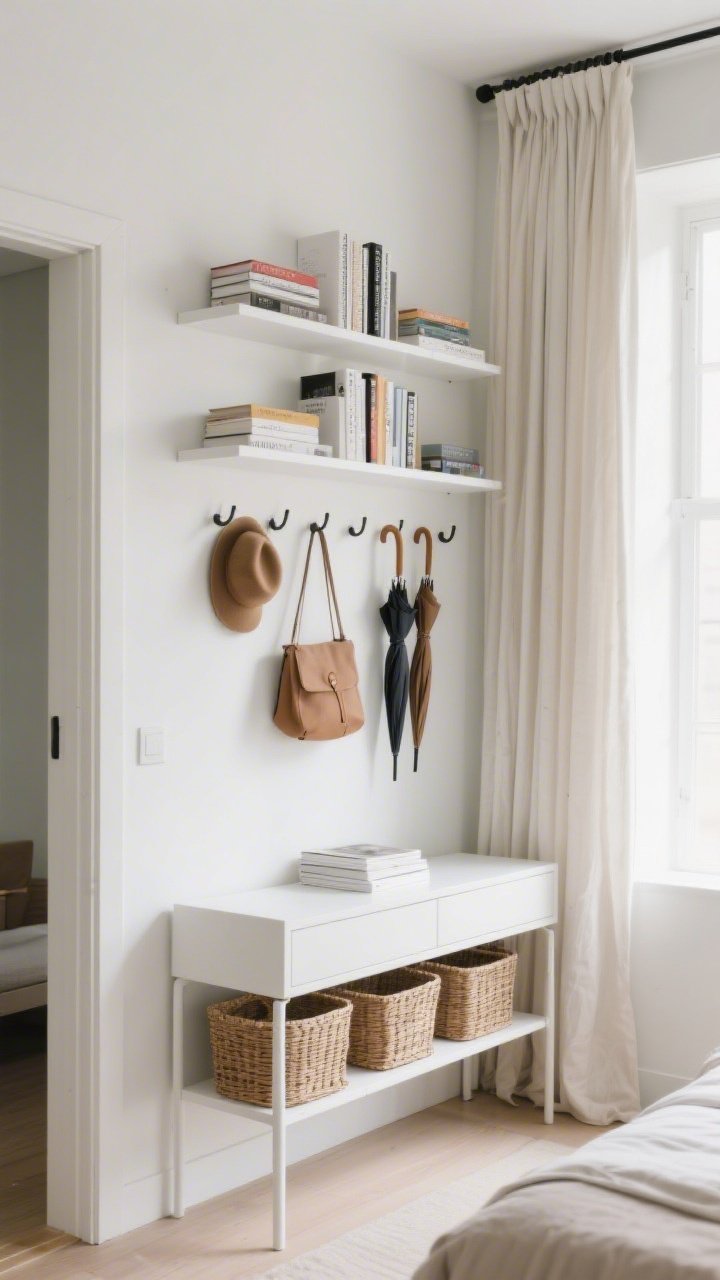
When floor space is precious, build up—not out. Use your walls like storage skyscrapers and your room instantly feels bigger and cleaner. Bonus: it looks intentional and chic.
Go Up, Not Out
- Float it: Wall-mount nightstands or shelves to free floor space.
- Ceiling-high curtains: Hang rods near the ceiling to elongate walls. Yes, even if your windows are short.
- Peg rails and hooks: Entryway chaos? Not anymore. Bags, hats, and umbrellas—hang it all.
- Tall bookcases: Anchor with baskets at the bottom, decor at the top for balanced storage.
5. Edit Like a Stylist: Less Stuff, More Wow
Small rooms get overwhelmed fast. Curate what’s on display and keep only the good stuff visible. FYI: negative space is a design choice, not laziness.
The Mini-Declutter Playbook
- One-in, one-out rule: If a new item comes in, something else leaves.
- Contain chaos: Use matching bins or baskets on open shelves for a clean, cohesive look.
- Style in threes: Group decor items by height and texture for instant polish.
- Hide the cords: Adhesive cable raceways and cord clips = cleaner lines and calmer brain.
6. Lighting Layers That Fake Square Footage
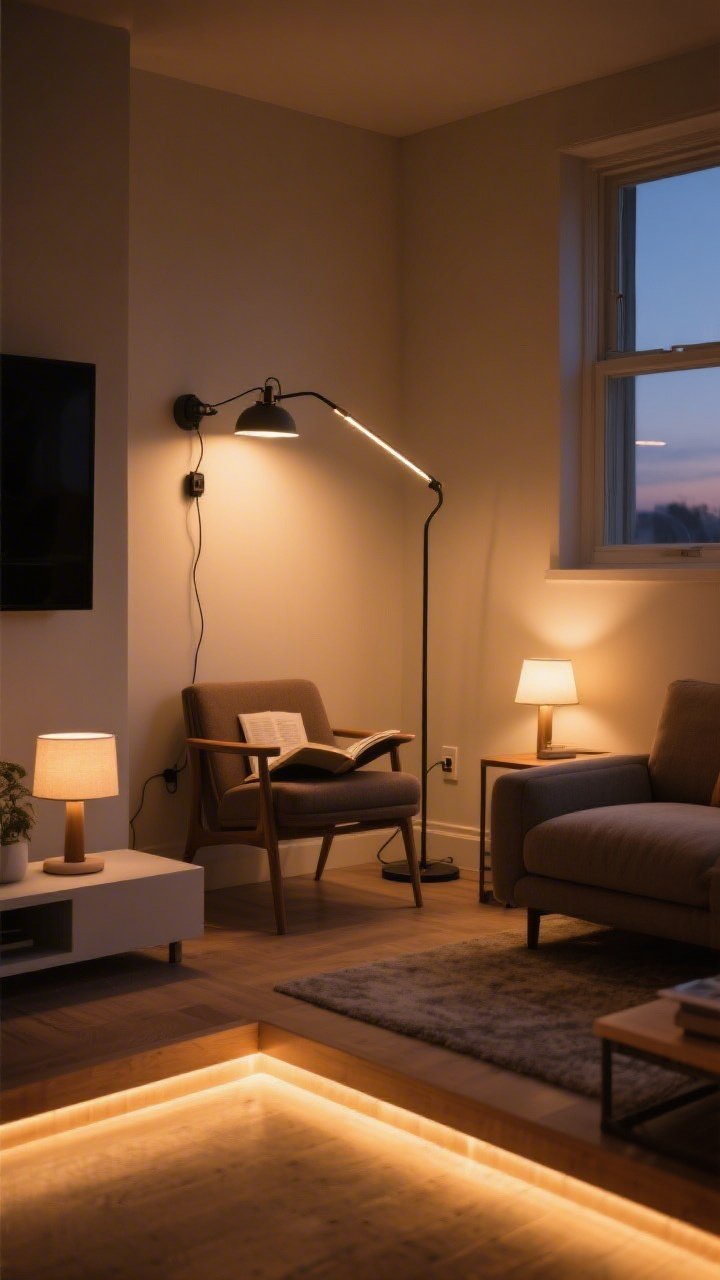
Overhead light alone is… harsh. Layered lighting adds depth and zones, which makes rooms feel bigger and more intentional. It’s the difference between “dorm room” and “designer.”
Budget Lighting Strategy
- Task lights: Clip-on desk lamps or swing-arm sconces (plug-in = rental-friendly).
- Ambient glow: Floor lamps in dark corners and table lamps near seating.
- Accent lighting: LED strip lights under shelves or cabinets for subtle drama.
- Warm bulbs: 2700K–3000K soft white keeps things cozy, not clinical.
7. Textiles That Trick the Eye (And Feel Amazing)

Textiles are your secret softness and style weapon. With the right rugs, curtains, and throws, your small room will feel layered, luxe, and way more purposeful.
Texture + Pattern Tips
- Oversize rug: Make it big enough so front legs of furniture sit on it—unifies the space.
- Light, airy curtains: Sheers or linen blends soften light and extend visually when hung high and wide.
- Limit busy patterns: Use one statement pattern and support with solids to avoid visual chaos.
- Mix textures: Nubby knits, smooth cotton, woven baskets—contrast equals interest.
8. Create Zones (Even If Your Room Is Basically a Shoebox)
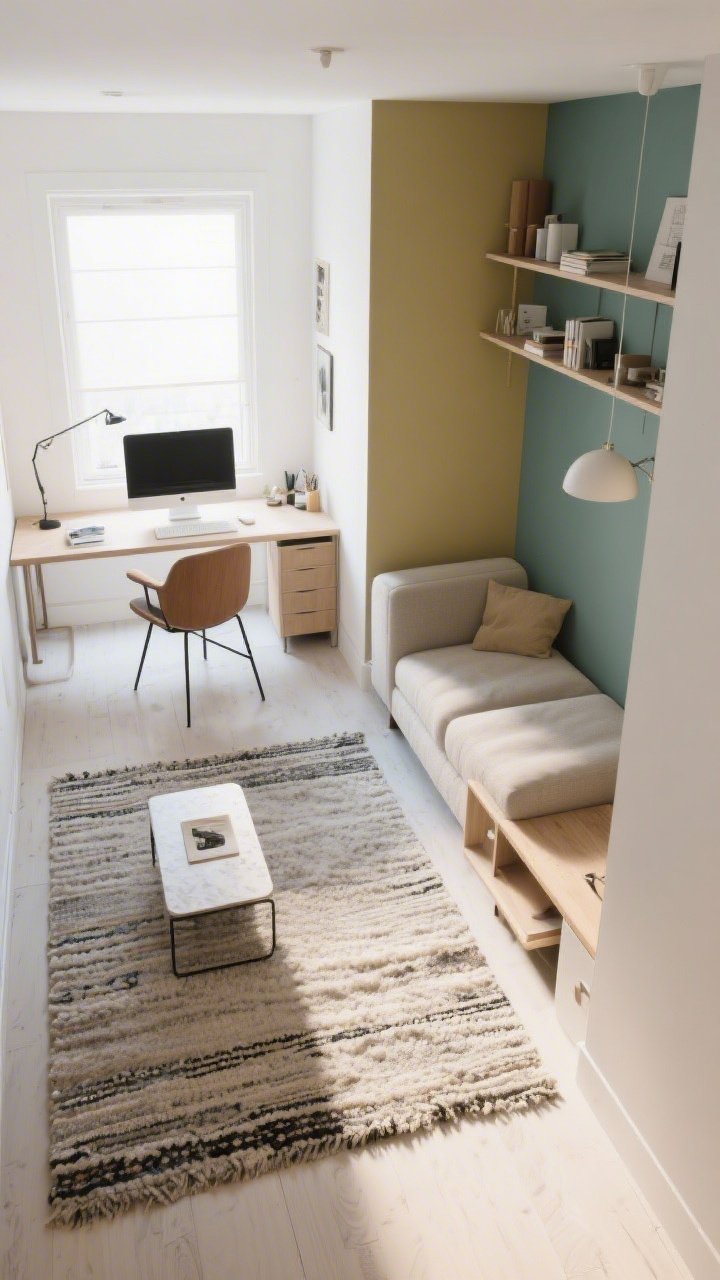
Defining zones makes a small room feel organized and thoughtful. You’re telling your brain, “This area is for work; that corner is for chilling.” It works, trust me.
How to Zone Like a Pro
- Rug = boundary: Use a small flatweave under a desk area or a plush rug for lounging.
- Back-of-sofa divider: Float a sofa with a narrow console table to hint at separate areas.
- Screen time: Folding screens or open shelving create separation without feeling boxed in.
- Color coding: Use complementary color palettes to signal different functions.
9. DIY Art and Statement Walls That Don’t Break the Bank
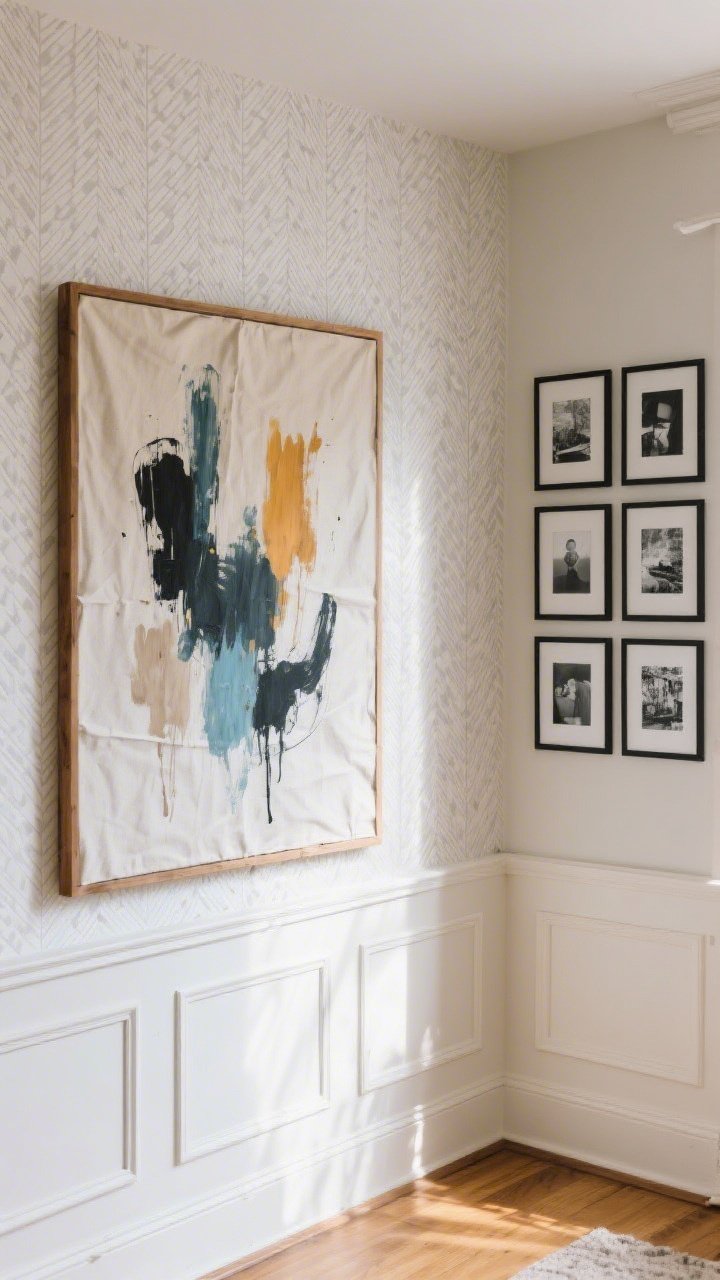
Art doesn’t need to be fancy (or expensive) to look amazing. A single bold moment can carry a whole room and make it feel styled, not cramped.
Fast, Affordable Statements
- Oversized canvas hack: Stretch drop cloth over a wooden frame, then paint abstract swashes. Instant modern art.
- Removable wallpaper: Perfect for rentals and for just one accent wall.
- Grid gallery wall: Print black-and-white photos at home; use identical frames for cohesion.
- Architectural sticker panels: Peel-and-stick molding or beadboard gives subtle texture without heavy tools.
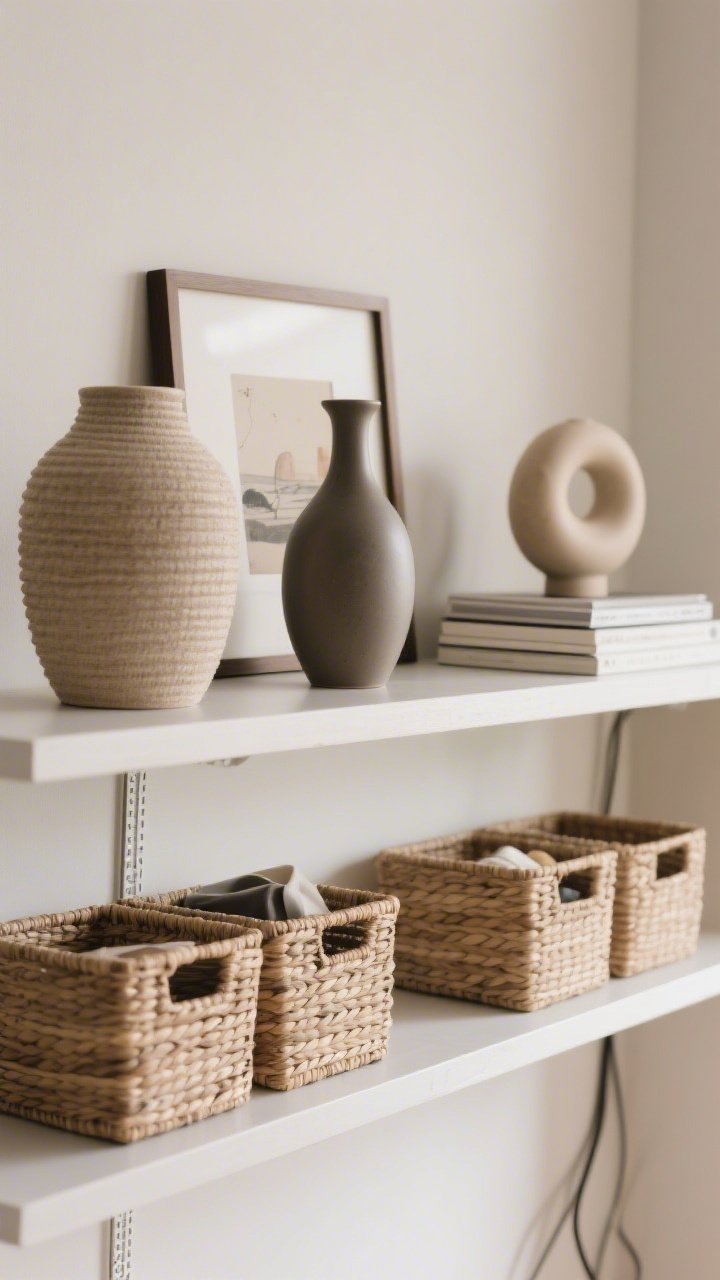
10. Style Surfaces With Intention (No More “Stuff Piles”)
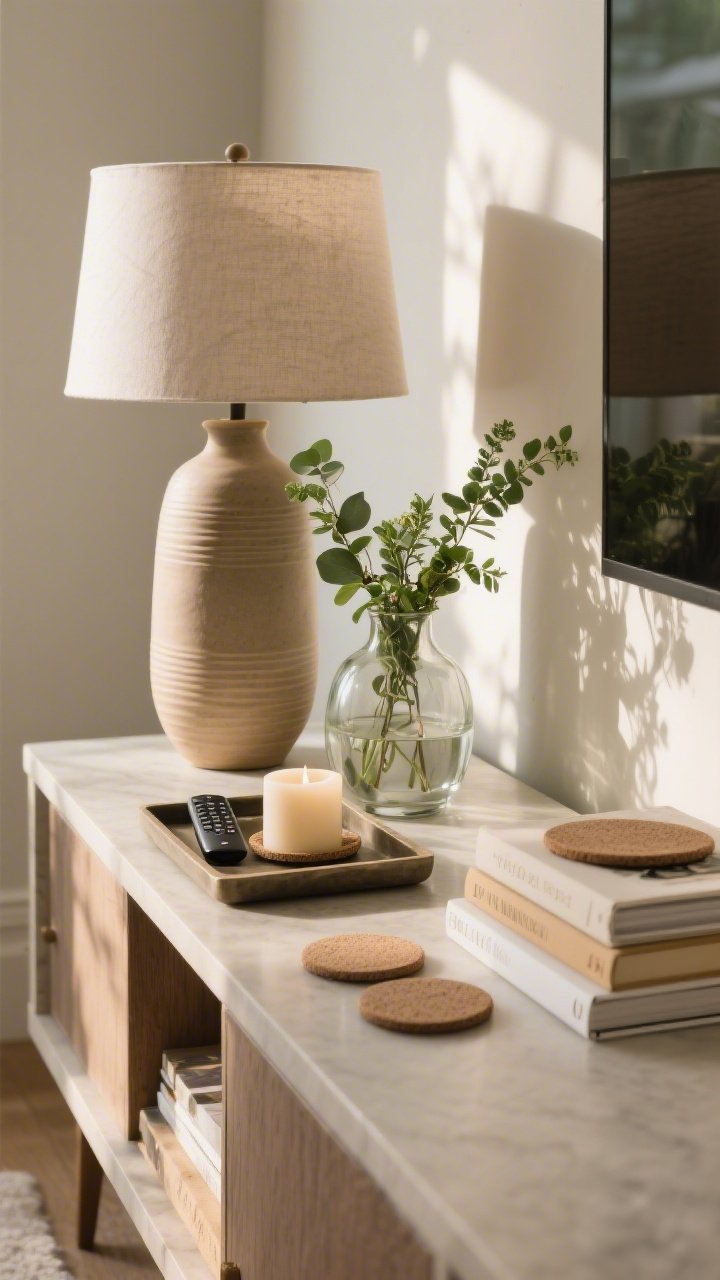
Flat surfaces are clutter magnets. When you style them deliberately, the whole room feels calmer and more curated. It’s a small change with big payoff, IMO.
Surface Styling Formula
- Rule of heights: Mix tall (lamp), medium (vase), and low (tray/book) items.
- Add life: A small plant or fresh greens wake up any vignette.
- Use trays: Corrals remotes, candles, and coasters so it looks styled—not scattered.
- Leave breathing room: Empty space is part of the design. Edit until it feels calm.
Budget-Savvy Shopping Tips
- Thrift and flip: Solid wood pieces are easy to sand and repaint. Change hardware for an instant upgrade.
- Sample sizes: Paint sample pots are perfect for trim, doors, or small furniture refreshes.
- Swap before you shop: Move lamps, art, and textiles around your home for a free mini-makeover.
- Sales and seconds: Check clearance aisles for damaged-box lighting and seasonal textiles.
Quick Weekend Plan
- Day 1 morning: Declutter and measure. Make a simple floor plan.
- Day 1 afternoon: Paint accent wall or ceiling; hang higher curtains.
- Day 2 morning: Install a mirror and swap in layered lighting.
- Day 2 afternoon: Style surfaces, lay a larger rug, and hang a DIY art piece.
You don’t need more square footage to love your space—you just need a strategy. Pick two or three ideas from this list and try them today. Small room, big mood. You’ve got this.
See Results Faster With A Simple Plan
This workbook helps you focus on the changes that actually make a difference.